Christmas nativity coffee mugs make beautiful gifts. They are also great for keeping your drinks warm during Advent and Christmas. You can choose between a plain nativity, a True Story nativity design, or make both.
Last week, we shared a beautiful Santa mug, our first Cricut Mug Press project. To say that we are completely obsessed with making mugs now is an understatement. When we discovered a nativity image in Cricut Design Space, we had to put it on a mug.

Nativity Christmas Mug
Pin For Later-
Reader’s Favorite!
Printable Christmas Nativity
-
Reader’s Favorite!
DIY Nativity Christmas Ornament Crafts for Kids {And Adults!}
Nativity Christmas Coffee Mug made with Cricut Mug Press
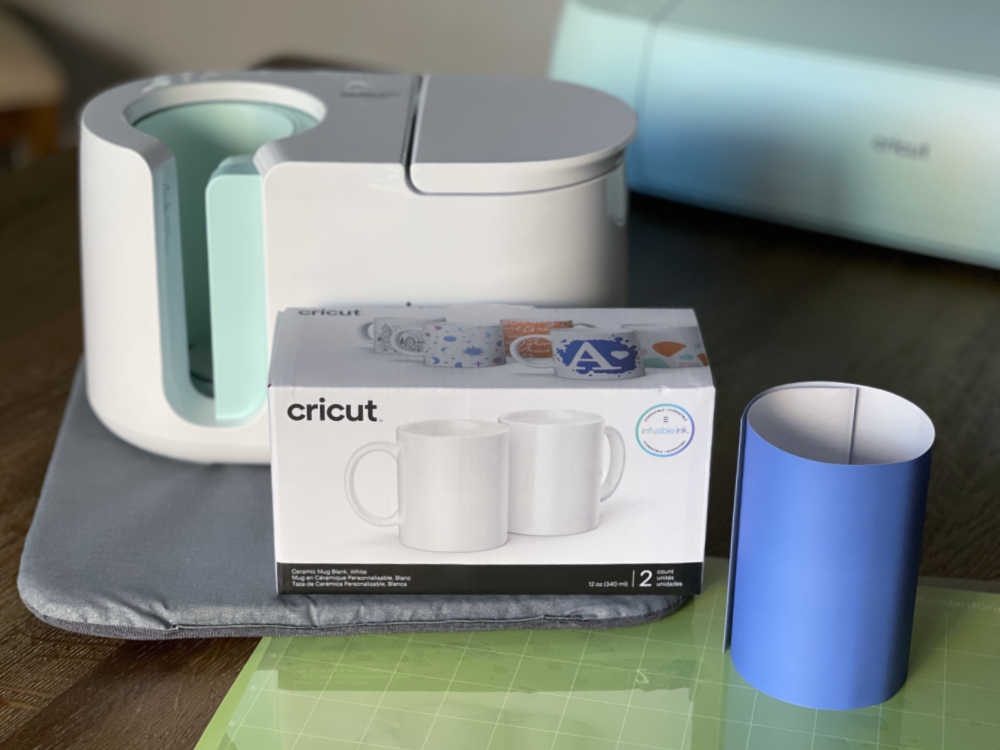
Nativity Christmas Coffee Mug Materials and Tools:
- 12 oz ceramic Cricut mug blank – this must be a sublimation mug! Do not use any old plain white mug. It won’t work!
- Infusible Ink sheet in preferred color – we used True Blue and Cherry
- Light Grip Mat – a regular grip mat is pictured, but the blue light grip mat is preferred
- Cricut Cutting Machine – Explore 3, Explore 2 or Cricut Joy
- Cricut Mug Press
Nativity Christmas Coffee Mug Directions:
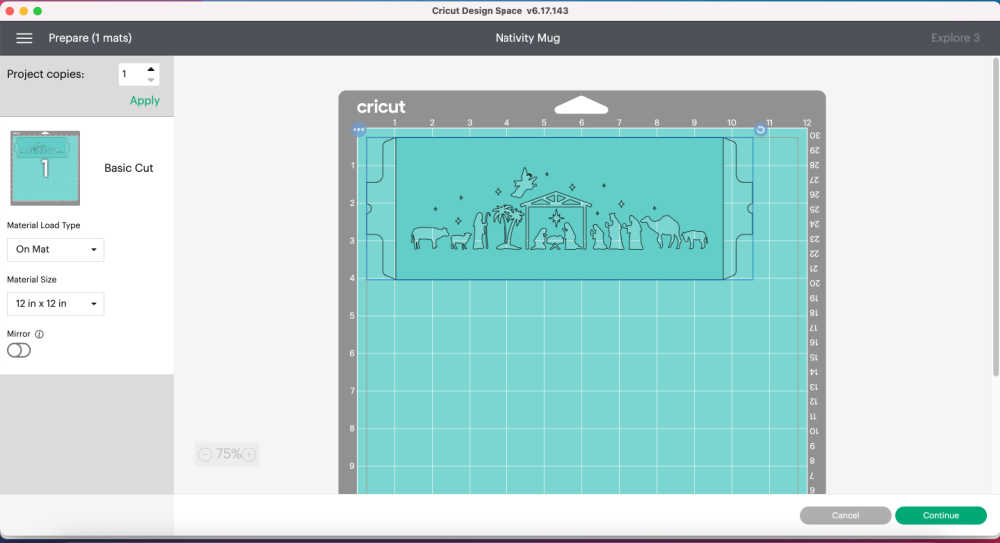
Join our newsletter to receive access to the 2 mug designs in Cricut Design Space. Choose your design and click “Make It.” If you’d like to customize it, click “Customize” to edit the design.
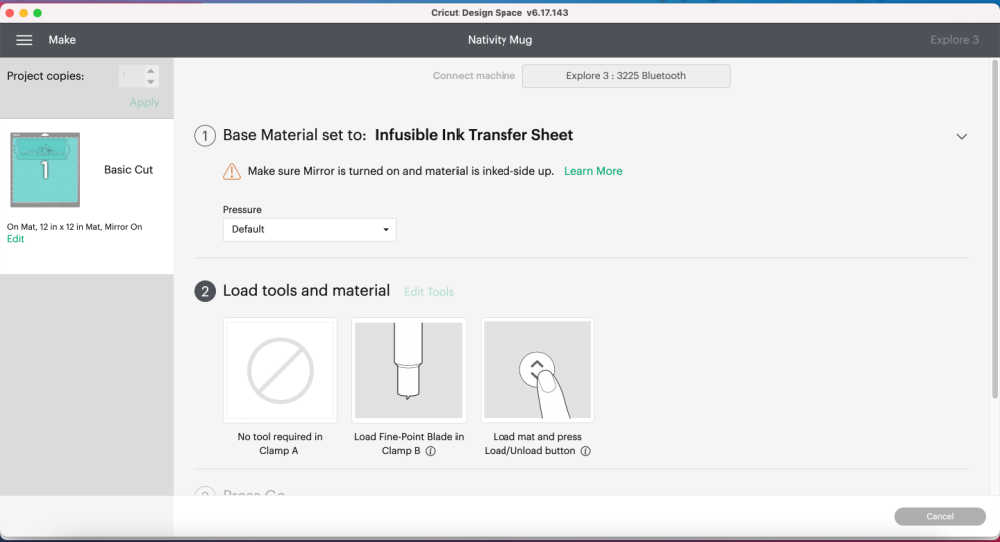
Make sure to “Mirror” the design, especially when making the “True Story” design. Choose Infusible Ink Transfer Sheet as your material.
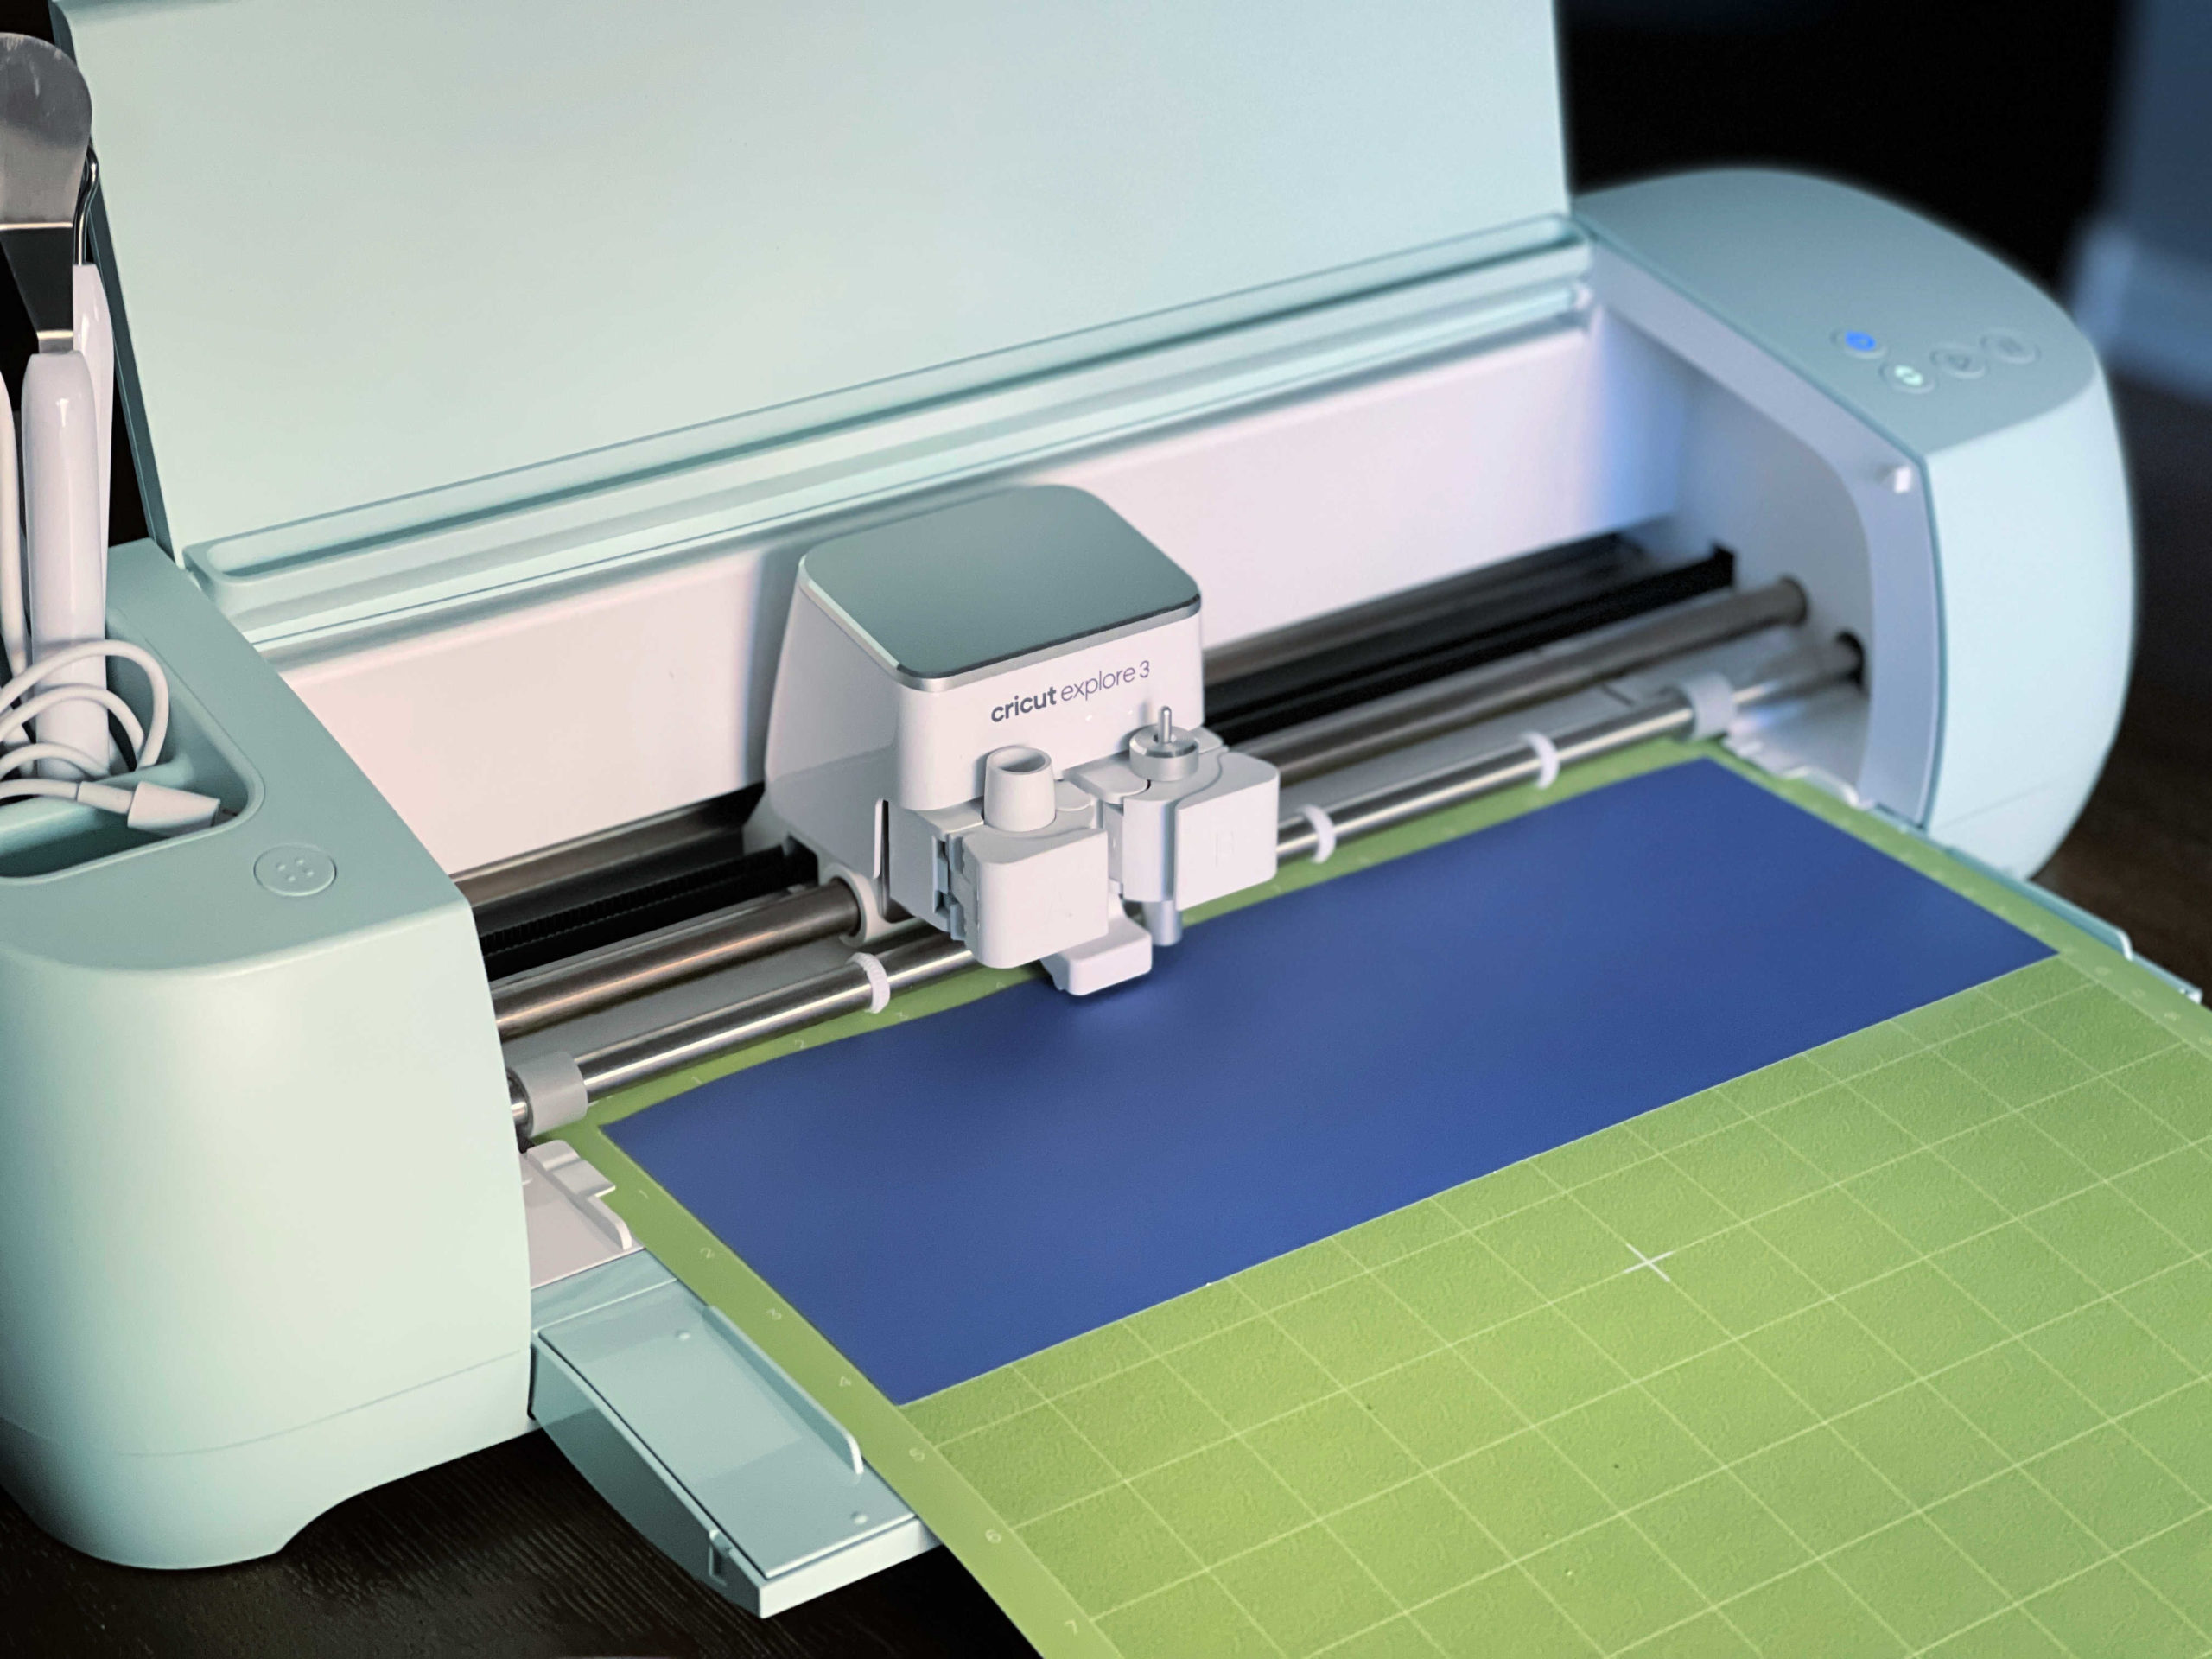
Put the transfer sheet with the infusible ink side facing up on a Light Grip cutting mat and follow the directions on the machine to cut. We used a standard grip mat on the blue mug, and it worked fine, but the light grip is much better for the Infusible Ink Sheets.

When the machine is done cutting, weed your design. Weeding Infusible Ink Transfer Sheets is super easy. Just gently bend the sheets and pop out the needed parts.
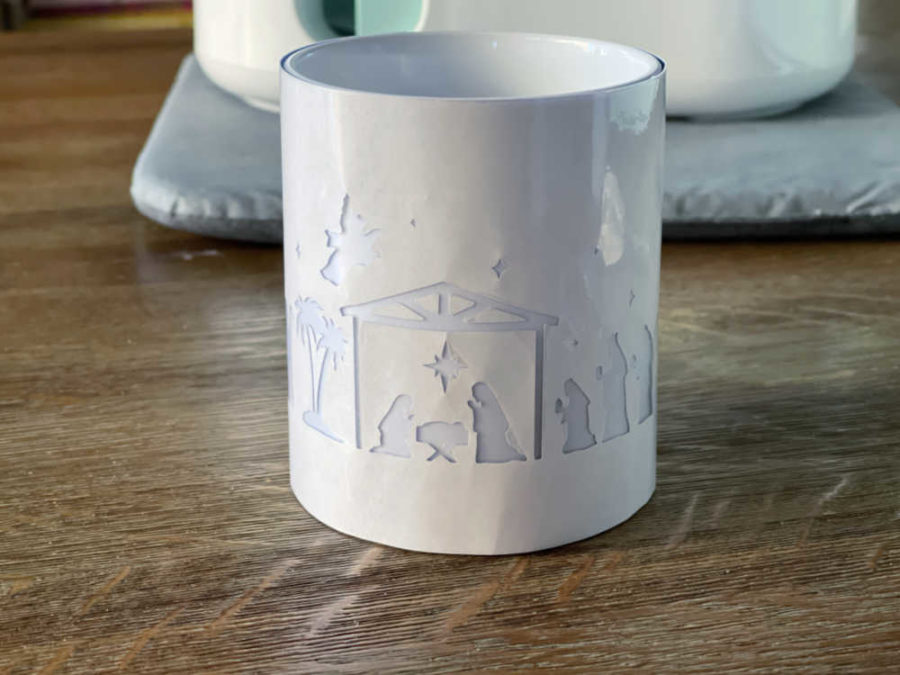
Cricut suggests you prep your mug by wiping with alcohol and wiping it down with a lint roller. We sometimes forget to do that, and so far, so good, but you should definitely prep your mug.
Place Infusible Ink Transfer Sheet around the cleaned mug with the white part facing out. Use the sticky tabs on either side of the sheet to center the design around the mug. If you need to secure it a little more, use heat-resistant tape.
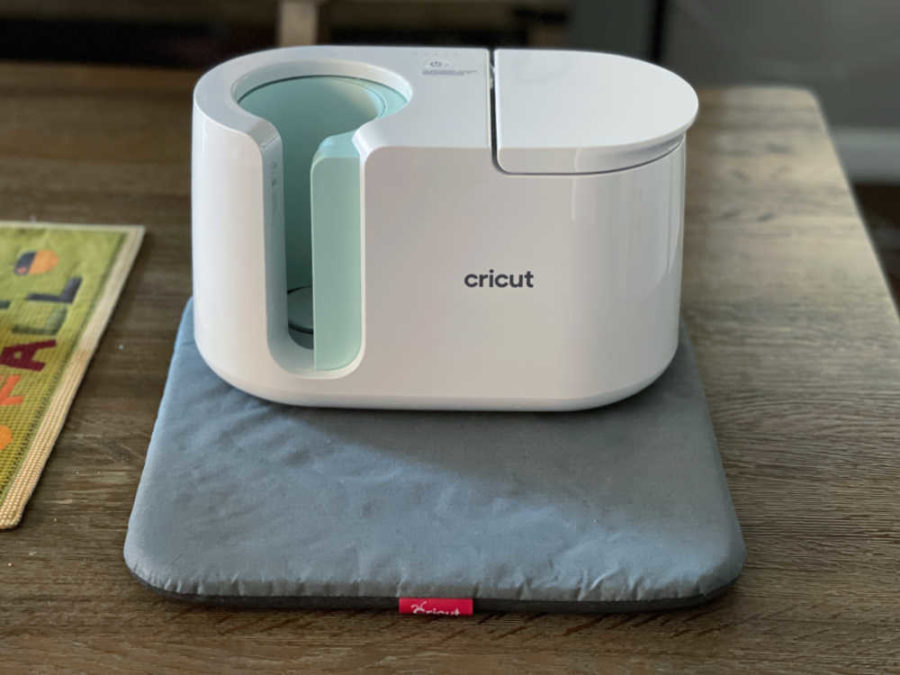
Set the Mug Press on a heat-safe surface. The Cricut Easy Mat is a great place to put the Mug Press. Turn the press on and wait for it to beep to let you know it’s ready.
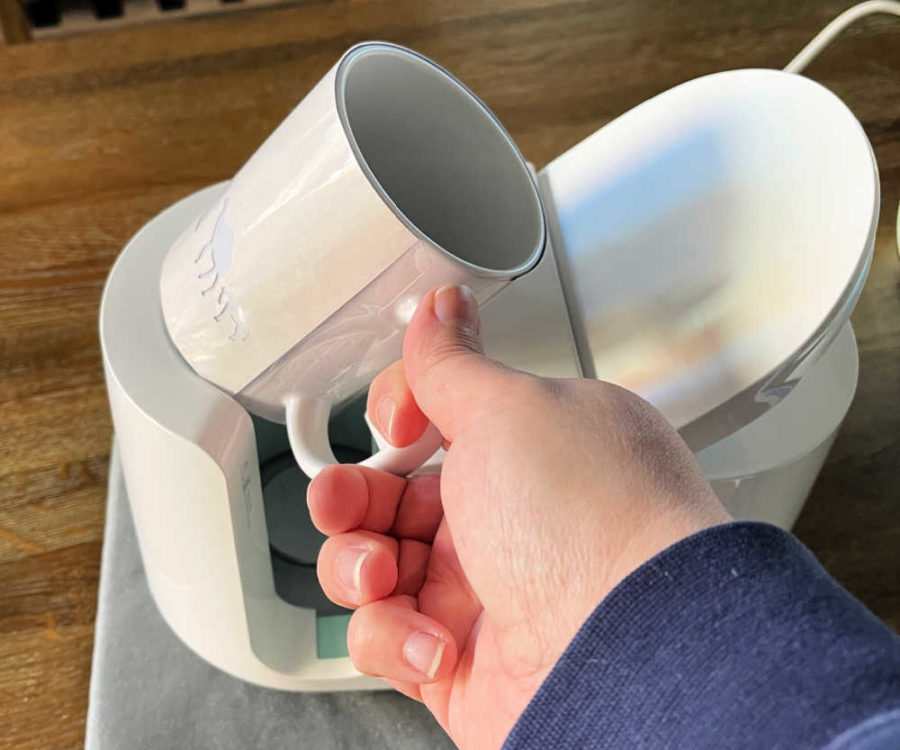
Tilt the mug so you don’t catch the bottom of the transfer sheet, and carefully place it in the press.
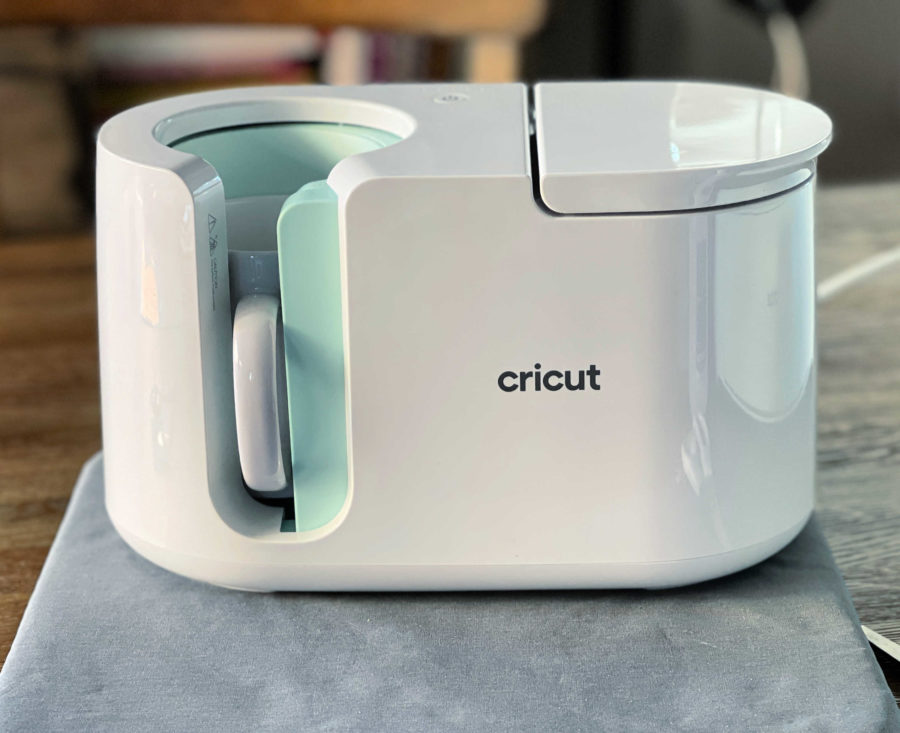
Gently close the Mug Press and wait for the press to finish.
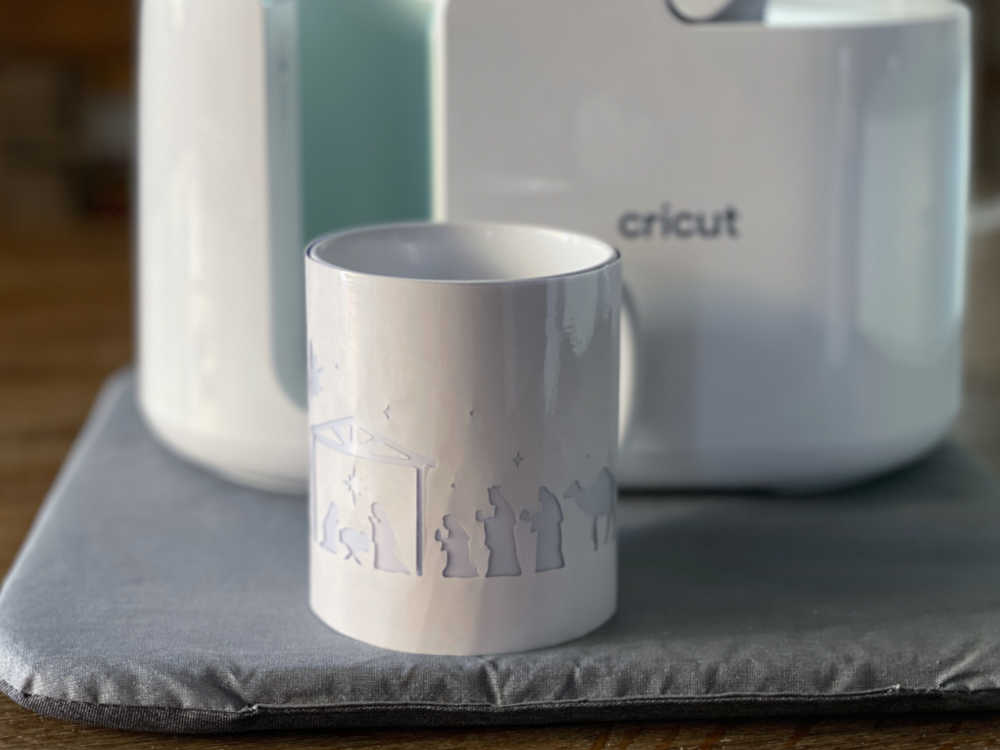
Once the mug is done, the press will beep to let you know. Open the press and carefully remove the mug. Place it on a heat-proof surface to cool. Allow it to cool before attempting to remove the transfer sheet. The mug will be very, very hot!



Once the mug has cooled completely, it is ready to use!


