Make a smiling snowman mug using Cricut Mug Press and Infusible Ink Pens. Let a Cricut machine draw the design for you!
Check out how easy it is to use Infusible Ink Pens to make an adorable snowman mug! All you need are the Infusible Ink pens and some paper from your computer printer along with a mug blank and your Cricut Mug press. Fill this guy with Melted Snowman Hot Chocolate to keep or give away as gifts.
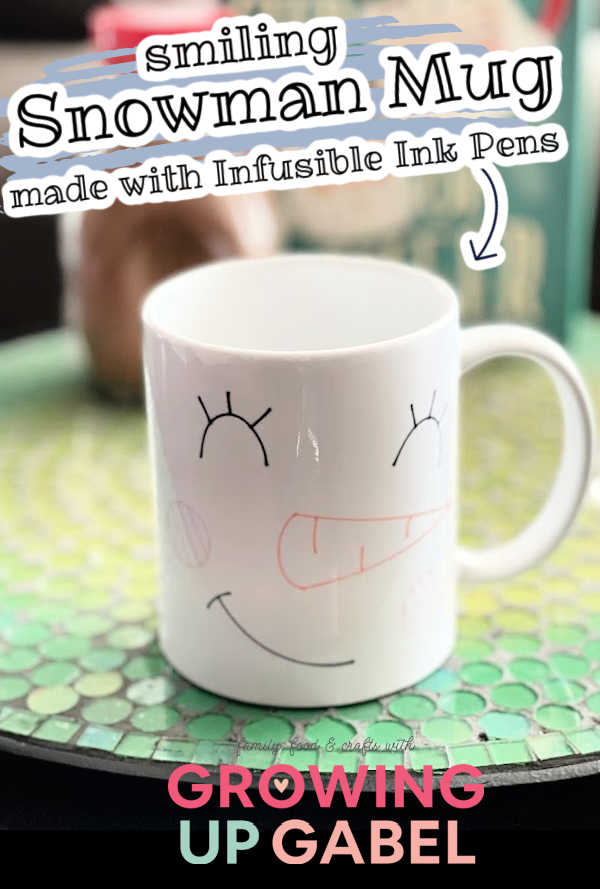
Somewhere in your Cricut stash you may have a pack of Infusible Ink Pens that you’re not sure why you bought them or how to use them. The awesome thing about the Infusible Ink Pens is that you don’t need anything other than a piece of white paper from your printer to use them. The paper can go right in the mug press and it transfers the Infusible Ink from the paper onto your mug. So easy!
If you don’t have pens – don’t worry! We have other mugs a cut Santa mug that use Transfer Paper in How to Make Christmas Mugs with the Cricut Mug Press.
Smiling Snowman Mug Made with Infusible Ink Pens
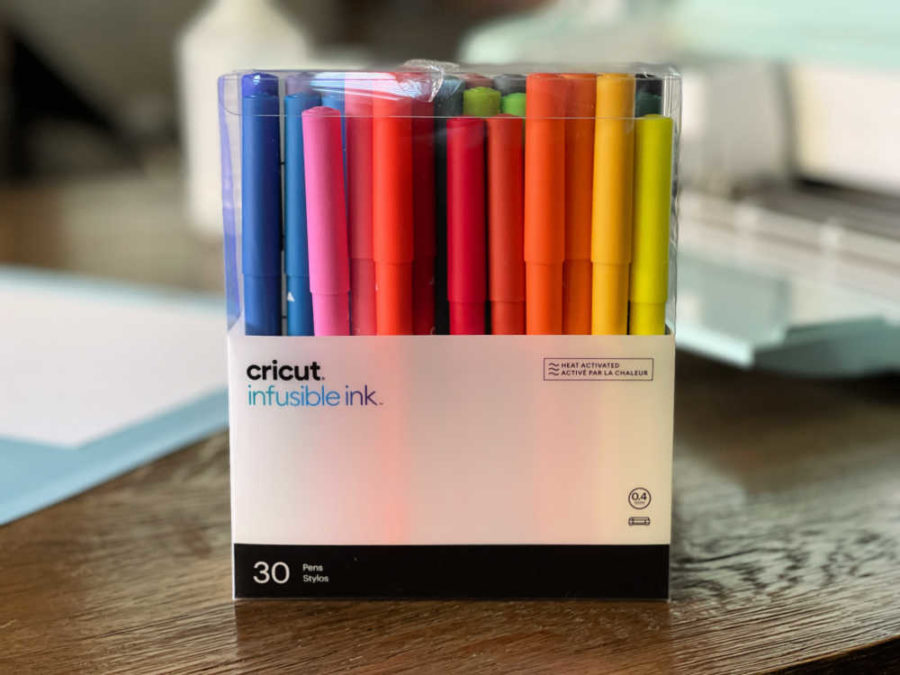
Smiling Snowman Face Mug Materials and Tools:
- Infusible Ink Pens in Orange, Bubble Gum and Black (or any colors you like)
- Printer paper
- 12 oz Mug Blank – Mugs must be sublimation mugs! Do not try to use any old plain white mug. It won’t work.
- Light Grip Cutting Mat
- Cricut Explore 3
- Cricut Mug Press
- Heat Resistant Tape
Smiling Snowman Face Mug Directions:
Open the snowman mug design in Cricut Design Space. We offer the design free to our newsletter subscribers!
If you are happy with the design as it is then click “Make It.” Otherwise, you can click “Customize” and edit as needed.
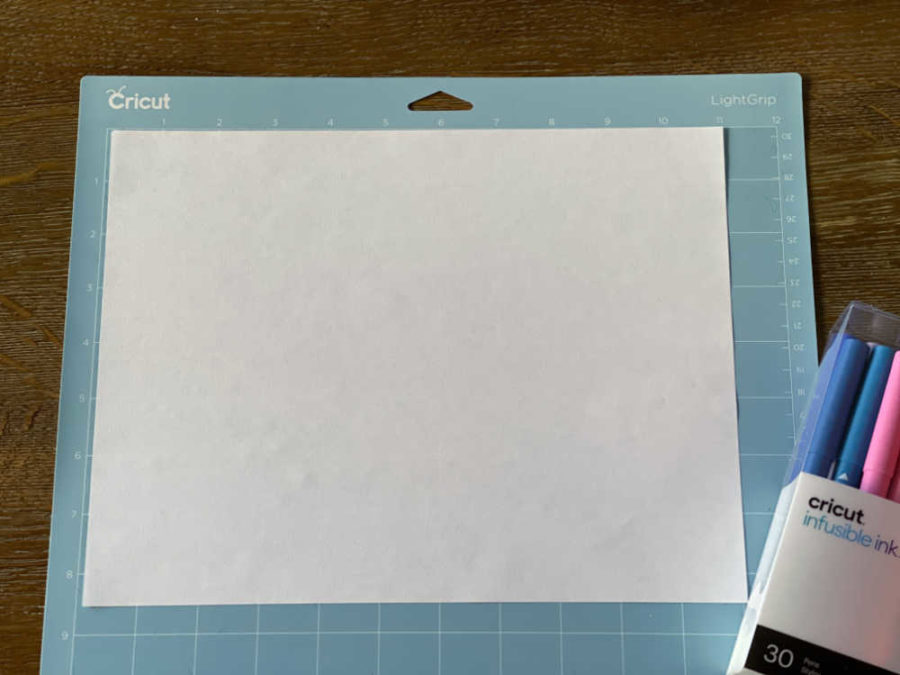
Put a piece of white printer paper on a light grip cutting mat and follow the directions in Design Space to load the mat into the machine.
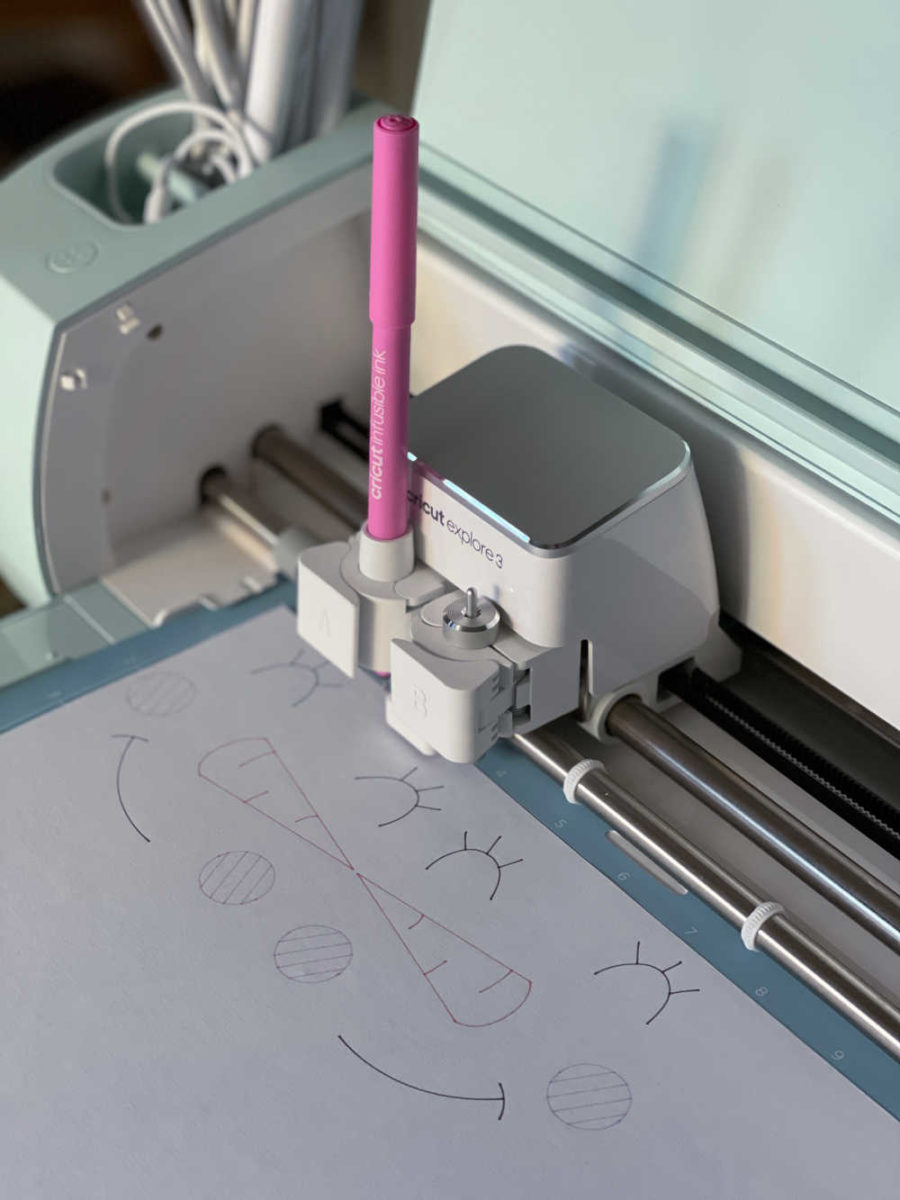
On Explore 3, you will put the Infusible Ink Pens into clamp A. Just make sure that you push the pens down until they CLICK. Then close the clamp. The machine will prompt you when to change the color pens.
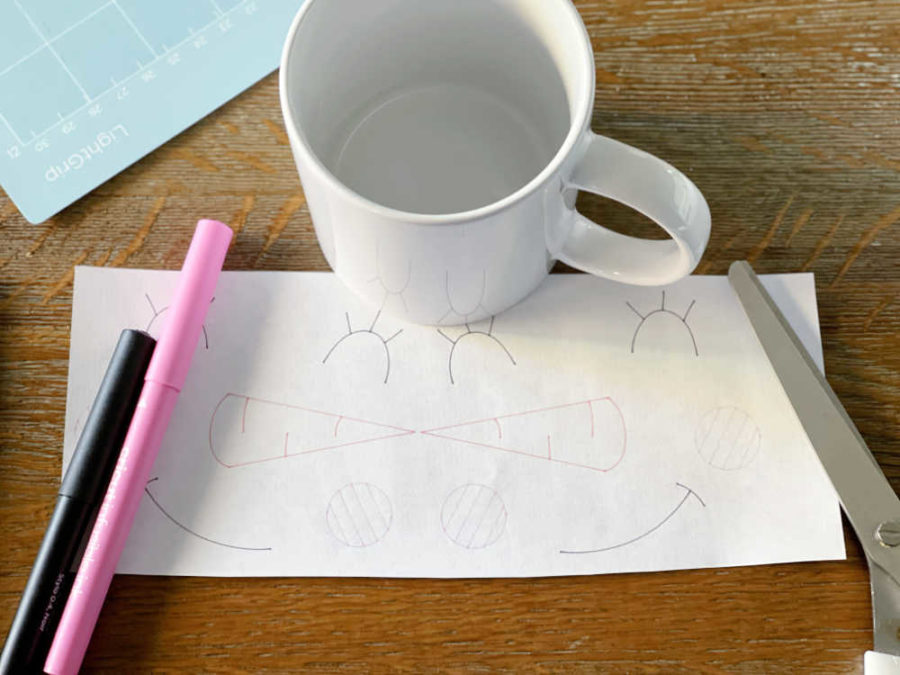
Unload the mat from the machine when prompted. Remove the paper from the mat. Trim the paper leaving a small margin along the snowman faces. Note that we changed the design of the mug so that the noses aren’t so close anymore.
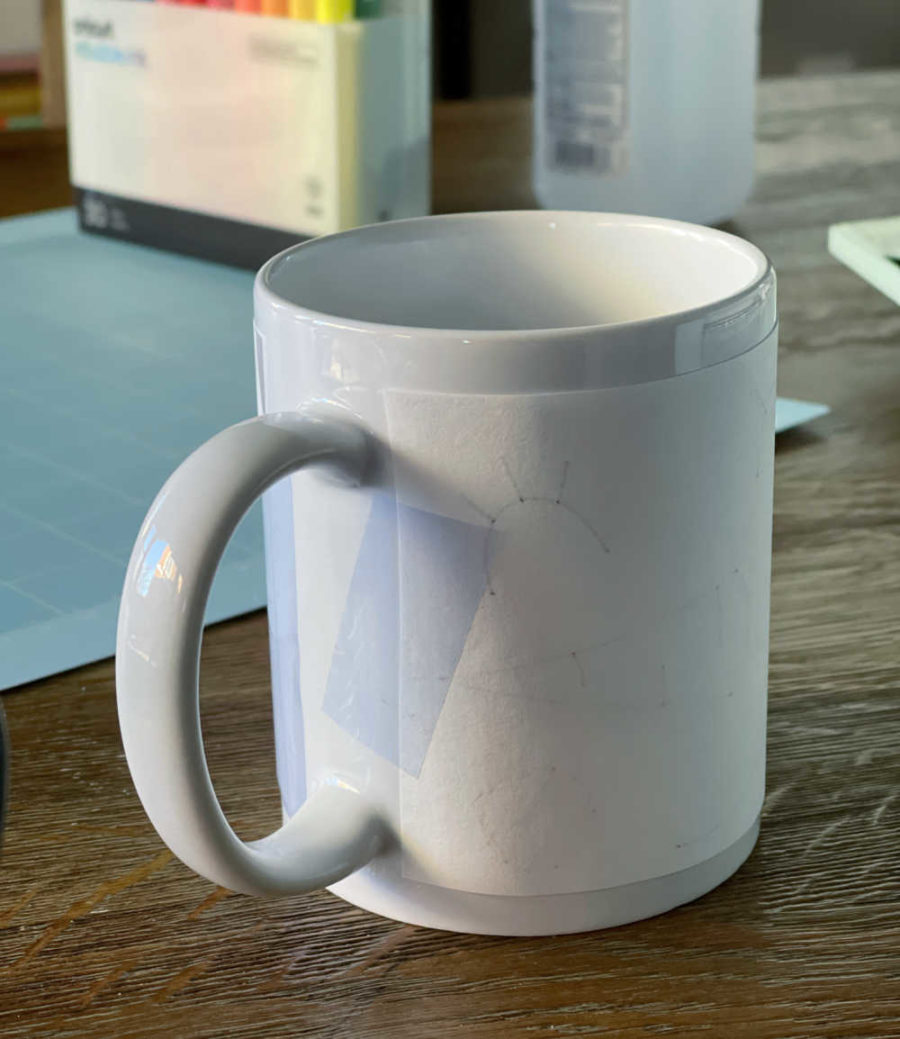
Cricut suggests you prep your mug by wiping with alcohol and wiping it down with a lint roller. We sometimes forget to do that and so far so good, but you should definitely prep your mug.
Line up the design on the mug with the drawing facing the mug. Make sure it fits and trim the paper as needed. We lined our paper up on the top and trimmed the bottom so that the faces were where we wanted on the mug. Use heat-resistant tape to secure the design to the mug. The heat tape is blue so it is easy to see.
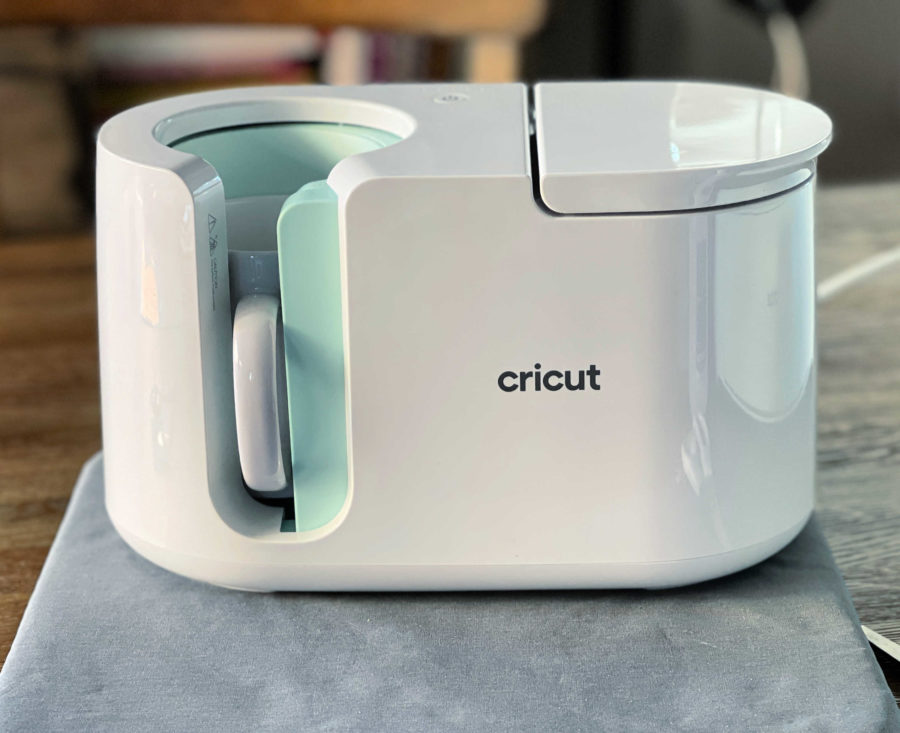
Turn on your Mug Press. Make sure it is on a heat-safe surface like an Easy Press mat. When the Mug Press beeps, it is ready. Tilt the mug a little as you put it in the hot press. Carefully push the lever down to close it. The press will beep when the mug is done.
Once the mug is done, the press will beep to let you know. Open the press and carefully remove the mug. Place it on a heat-proof surface to cool. Allow it to cool before attempting to remove the transfer sheet. The mug will be very, very hot!
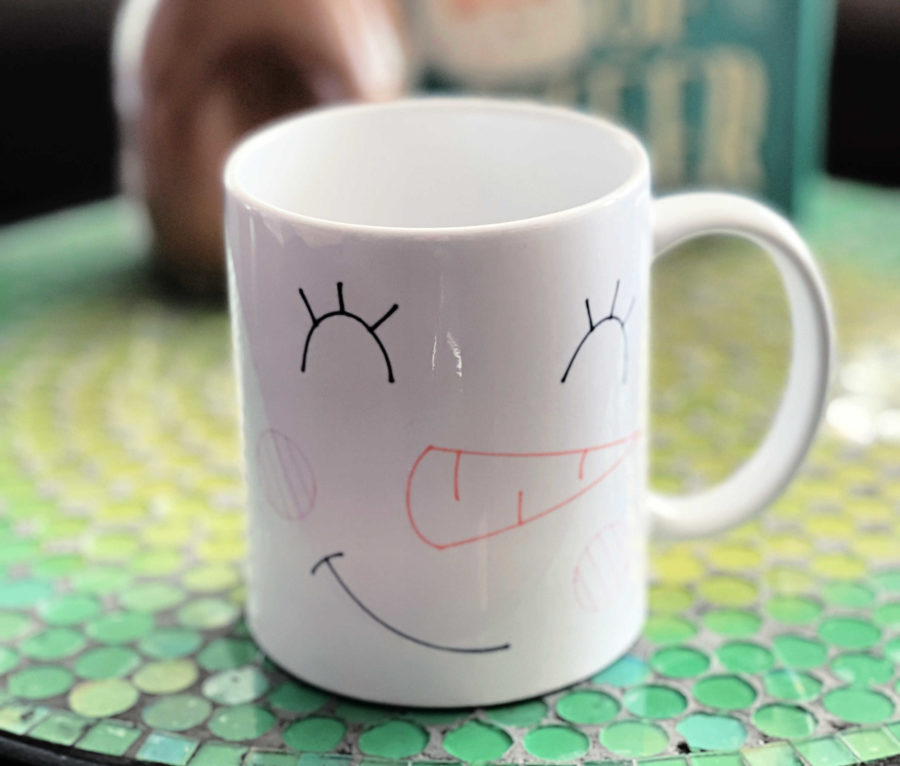
The face on the mug is very light. If you want it darker, you can try running the design through twice, but we haven’t tried this yet.
