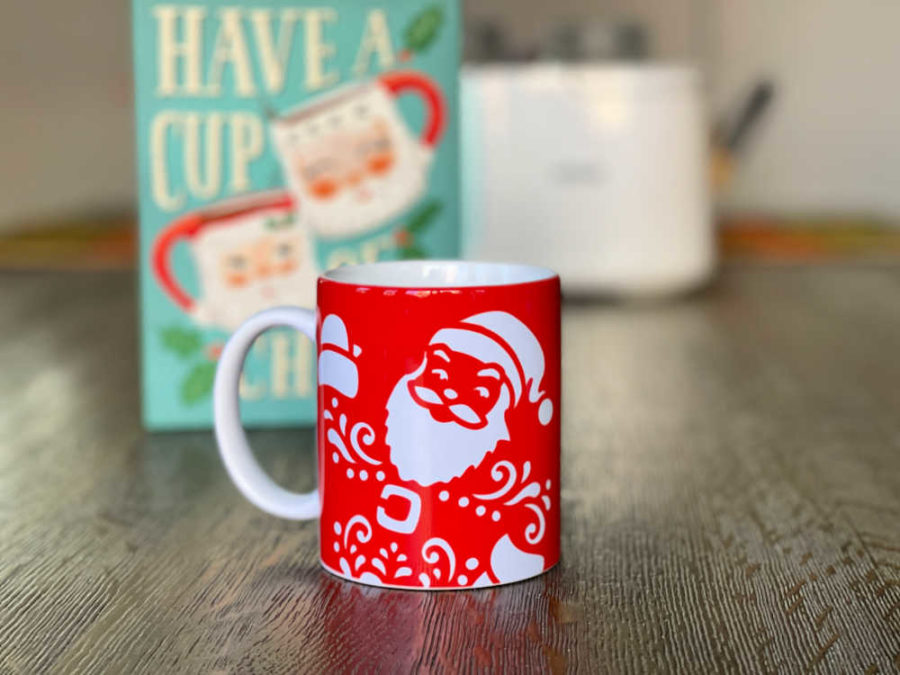
Make personalized Christmas mugs for gifts using the Cricut Mug Press. Learn how to make a Santa mug using Infusible Ink and a Cricut Mug Press.
Personalized mugs make great gifts for anyone on your list, and with the Cricut Mug Press, they are quick and easy to make. Pair a mug with a Melted Snowman Hot Cocoa jar or Homemade Flavored Coffee for a fun gift set. Cricut sent us a Mug Press to try out for making gifts this holiday season.
Christmas is always a fun time of year for crafting. Making personal, handmade gifts is one of the best parts of the season. One of our favorite ways to create handmade holiday gifts is with Cricut cutting machines. We have made:
How to Make Christmas Mugs with the Cricut Mug Press

Christmas Mugs Materials and Tools
The Cricut Mug Press uses Cricut Infusible Ink to create designs on mugs. It is similar to the Infusible Ink Monogram Pilow we made. The Mug Press creates the heat to bond the ink to the mug.
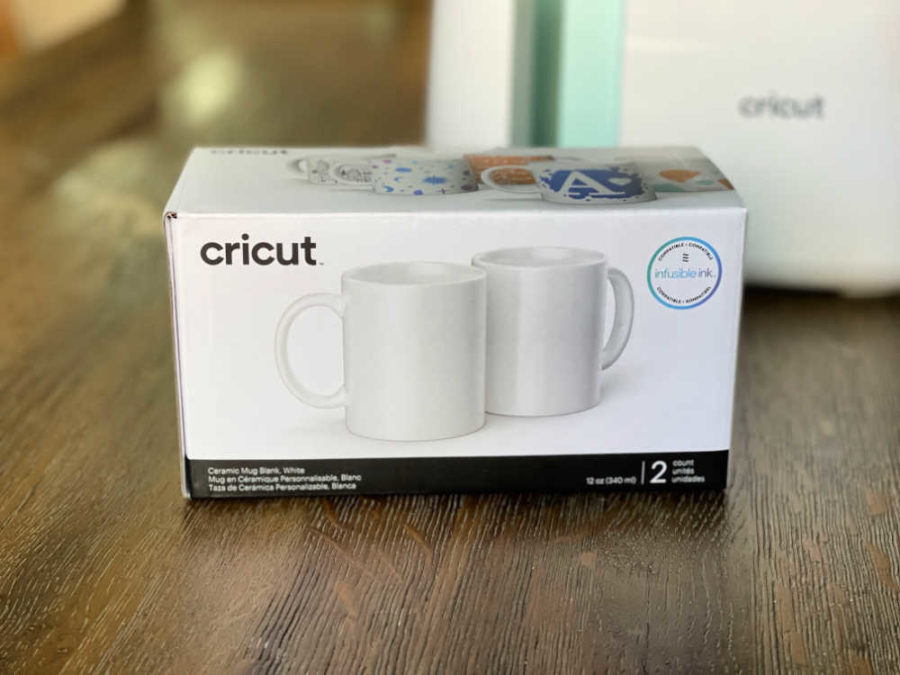
The press works with 2 different sizes of Cricut mug blanks – 12 oz and 15 oz. The mugs must be sublimation mugs. You can’t use just any mug in the press.
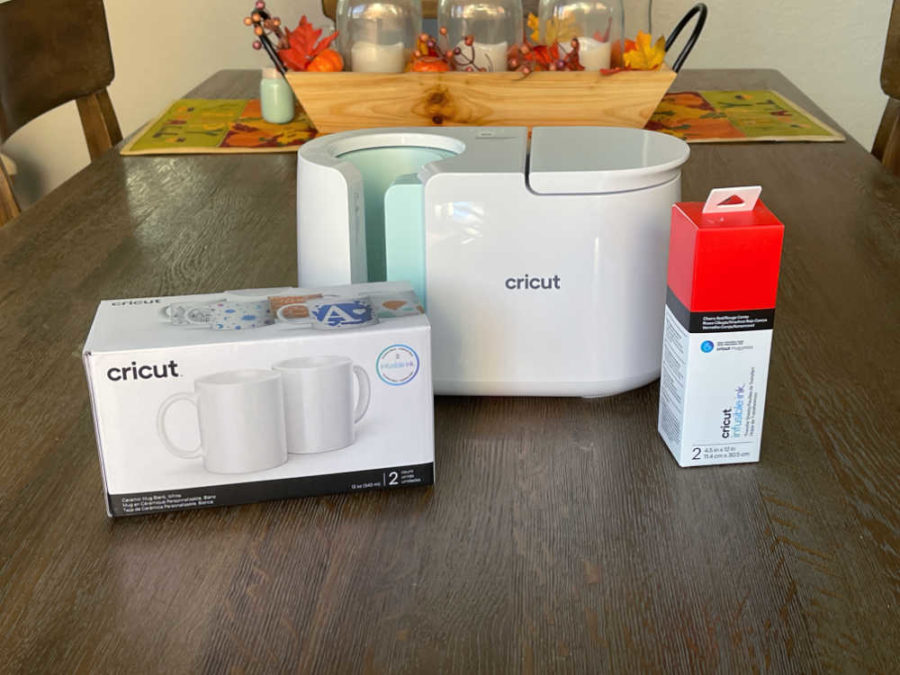
Tools Needed:
Materials Needed:
- Mug Blank – The mugs must be sublimation mugs. We used the Cricut mugs.
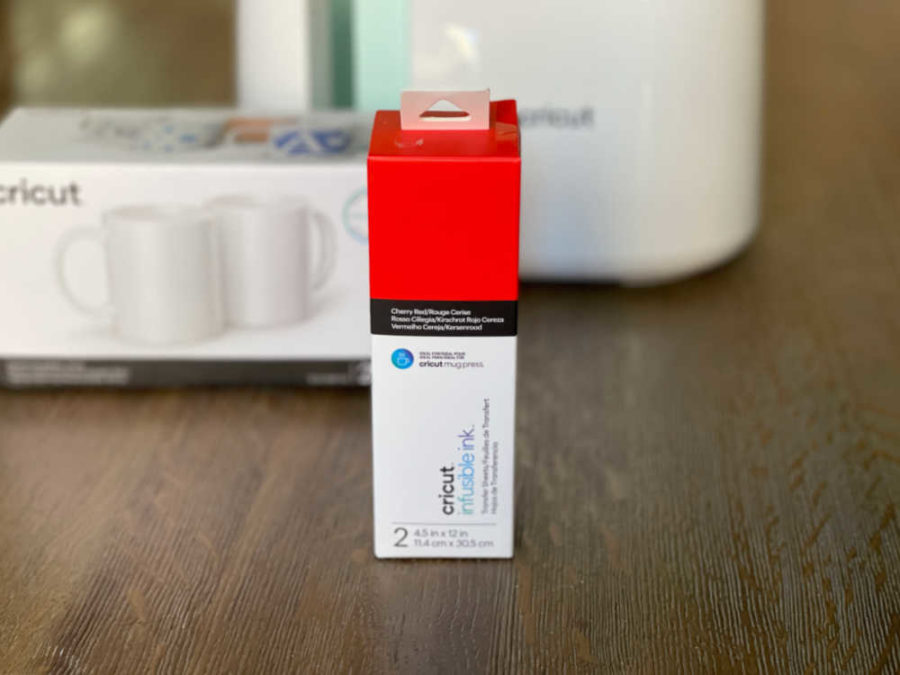
- Infusible Ink sheets – You can use the sheets made for the mug press or cut down the larger size. We used Cherry.
- Heat transfer tape (optional)
Christmas Mug Instructions:
Create Mug Design in Cricut Design Space
Open Cricut Design Space on your computer, tablet, or phone. You can search for “Desing Press Mugs” under Projects to find a pre-made design you like. This is best for your first project. Or you can search for “Mug Design Setup, ” a template you can use to design your own mug.
You can also sign up for our newsletter, and we will send you the link to find the Santa mug designs ready to cut.
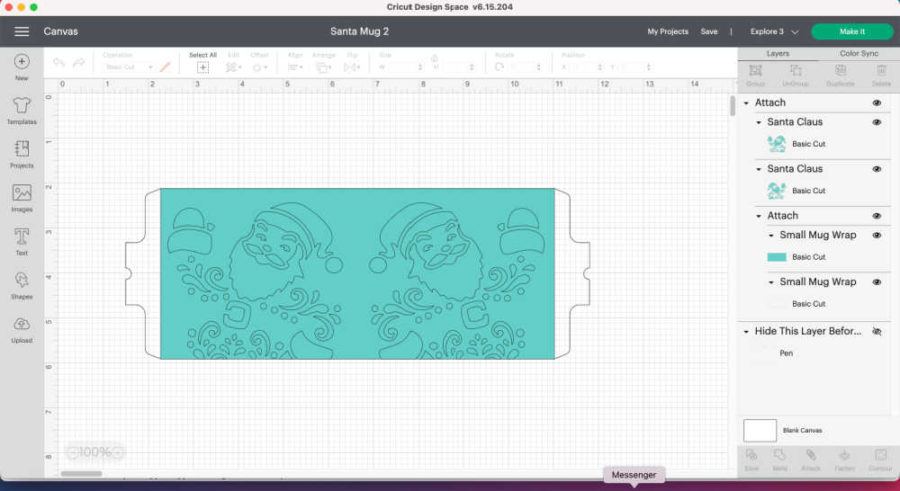
Once your design is ready to go, hit “Make it” in the top right of Design Space. You want the tabs on the right sides to cut, so leave that layer.
Let the Cricut machine cut out the design
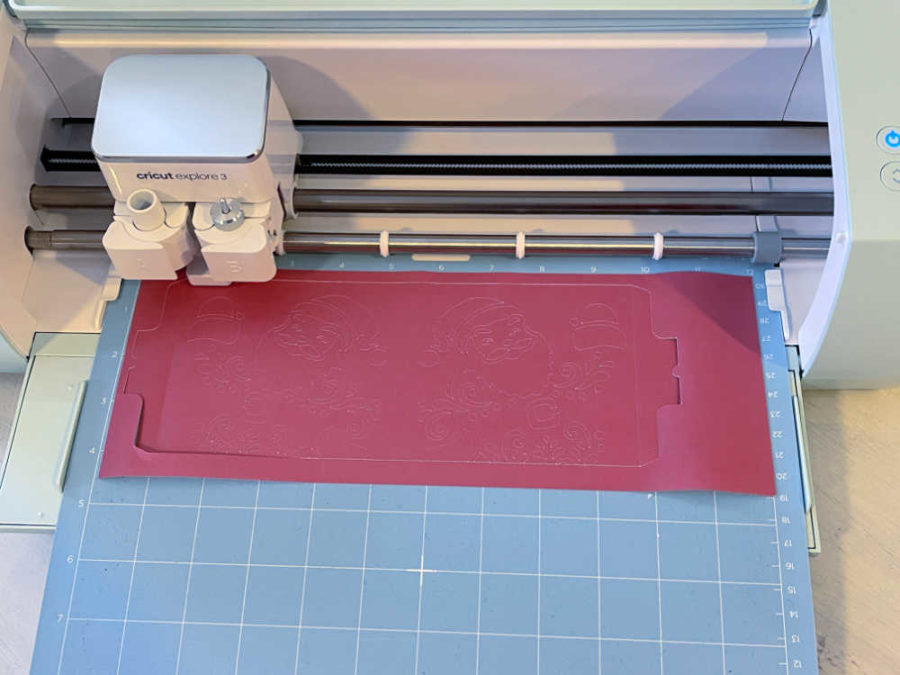
We cut this using Cricut Explore 3 using a Light Grip Mat. One of the cool things about the Mug Press is that you can also use a Cricut Joy machine for the 12 oz mugs.
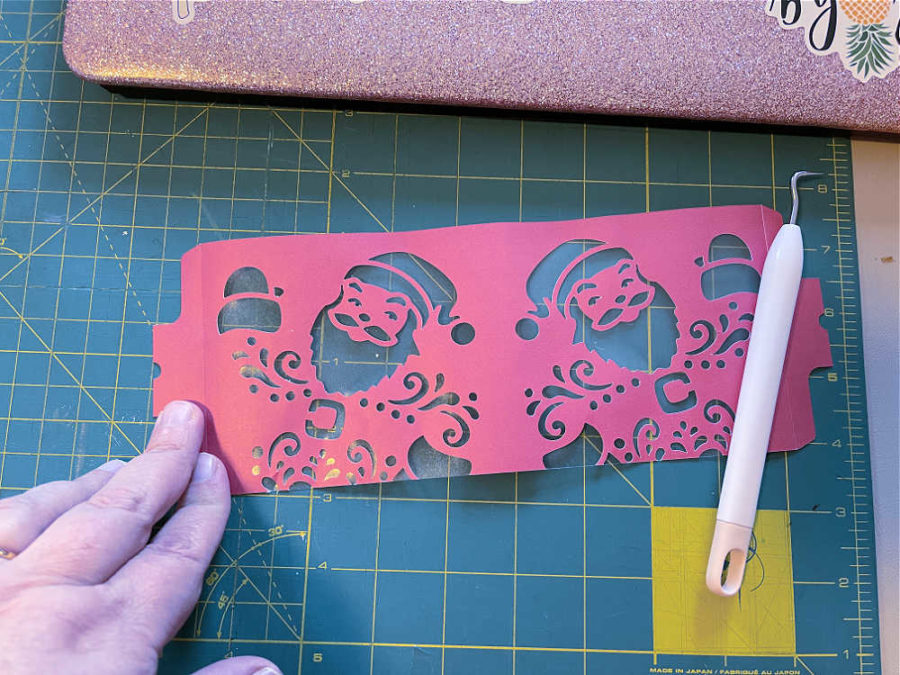
For this design, you want the mug to be red and Santa to be white. So you will weed out the Santa cuts. Also, don’t forget to weed the tabs. You want that part sticky to help secure the Infusible Ink sheet onto the mug.
Affix the weeded Infusible Ink to the mug
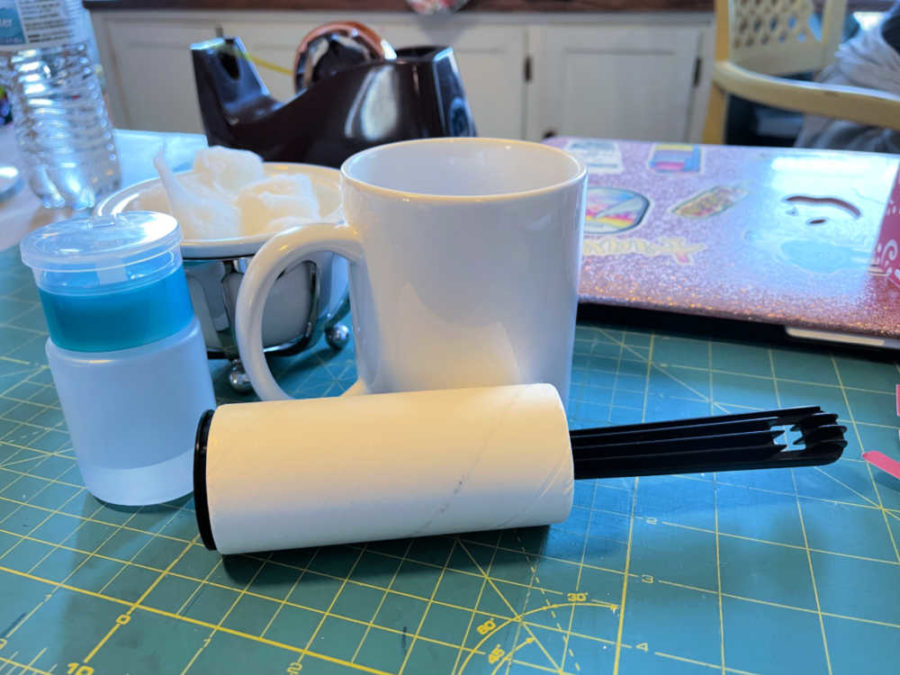
Prep the mug by wiping it with rubbing alcohol and running a lint roller over the mug to remove dirt and dust.
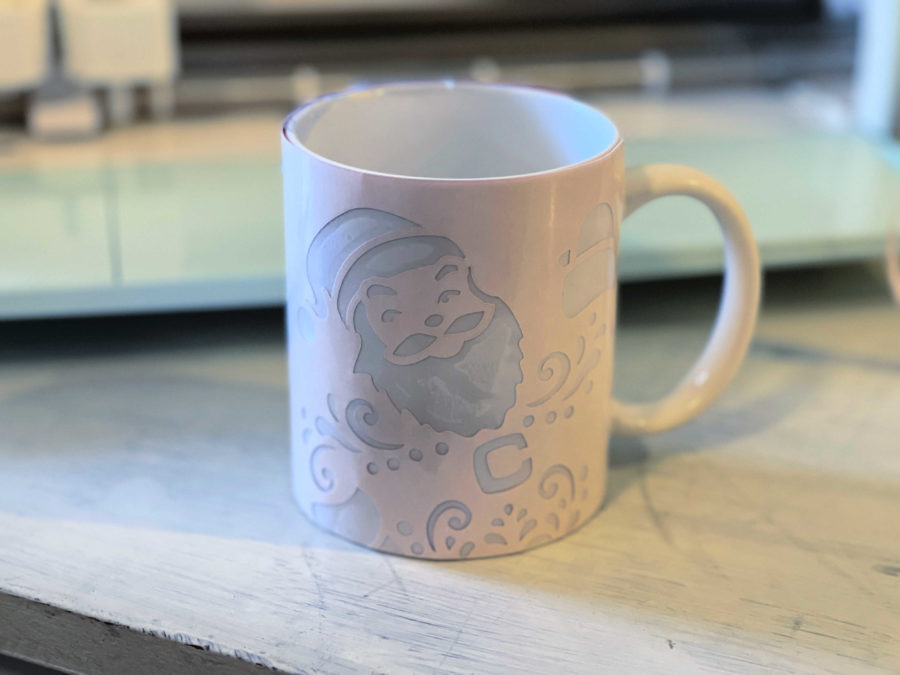
Once the mug is clean, carefully wrap the Infusible Ink sheet around the mug with the colored side against the mug.
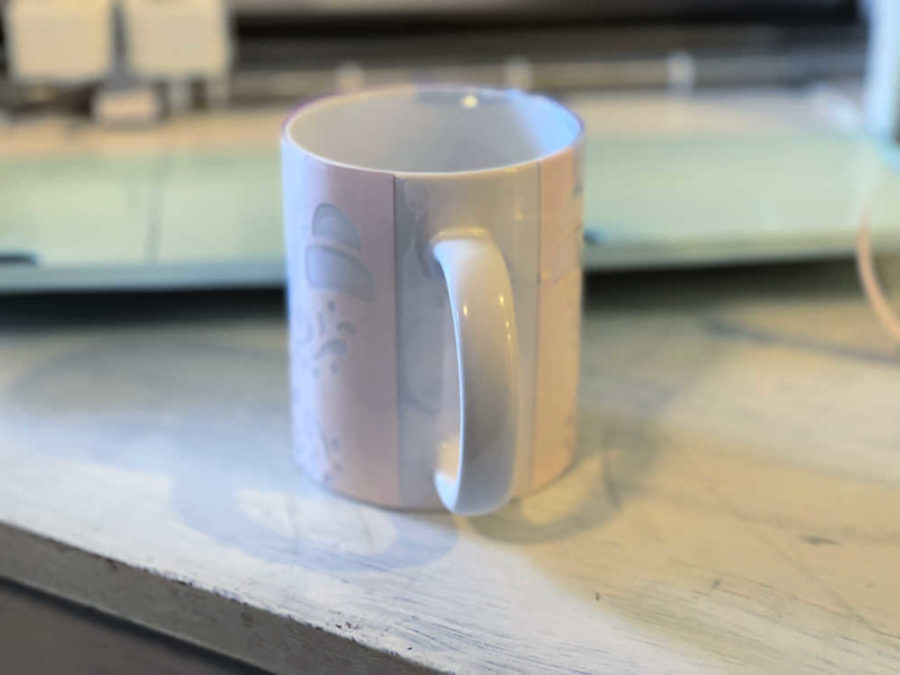
Use the tabs to adhere the ink to the mug. Center it by getting the tabs right under the handle. You can also use heat transfer tape to secure it if it feels loose. It will probably feel like it’s not tight enough on the top and bottom. Just get it as snug as you can.
Heat the Mug in the Cricut Mug Press
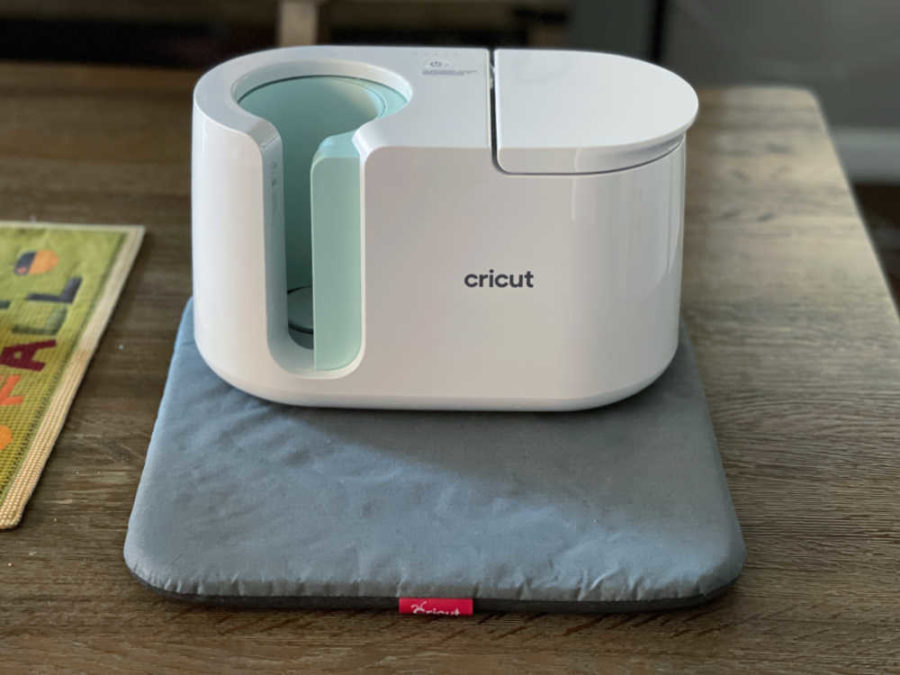
Place mug press on a heat-safe surface. The Cricut Easy Press Mat is perfect for using the Mug Press. The Mug Press gets very hot so you want to ensure that it is on a heat-proof surface. The Easy Press Mat can handle the heat of the press. Turn the Mug Press on and let it heat up. It will beep when it’s ready.
Carefully place the mug in the mug press by holding the mug handle. Tilt the mug press a little as you put it in so it won’t get stuck on the press while going in. Hold the handle and press down on the top to close the press. The mug press will start working and will beep when it is done.
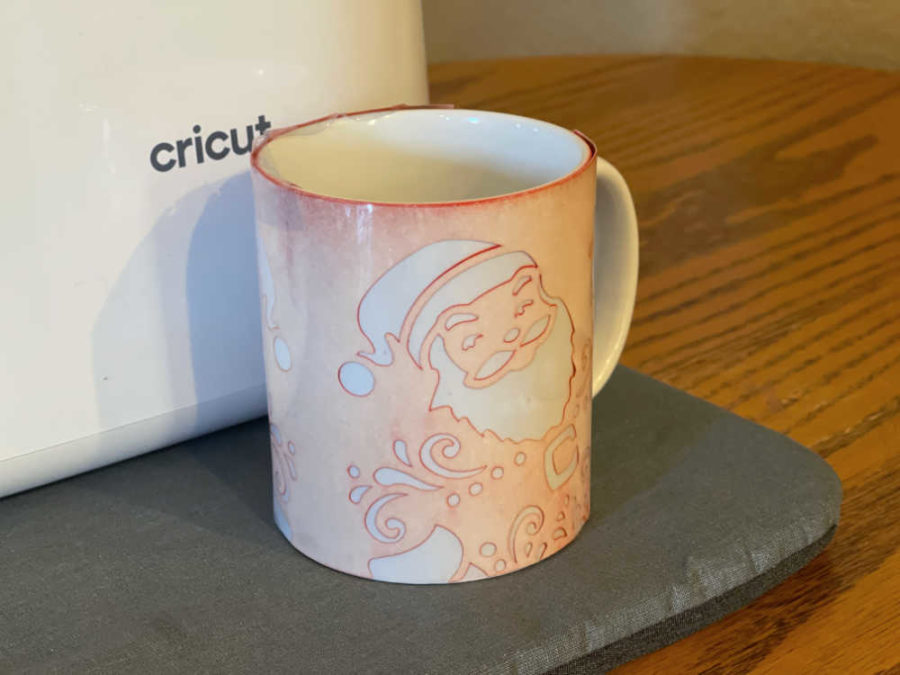
Open the press back up and very carefully remove the mug by the handle. The mug will be very hot! Place it on the Easy Press Mat and allow it to cool. Once it is cool, carefully remove the Infusible Ink sheet.