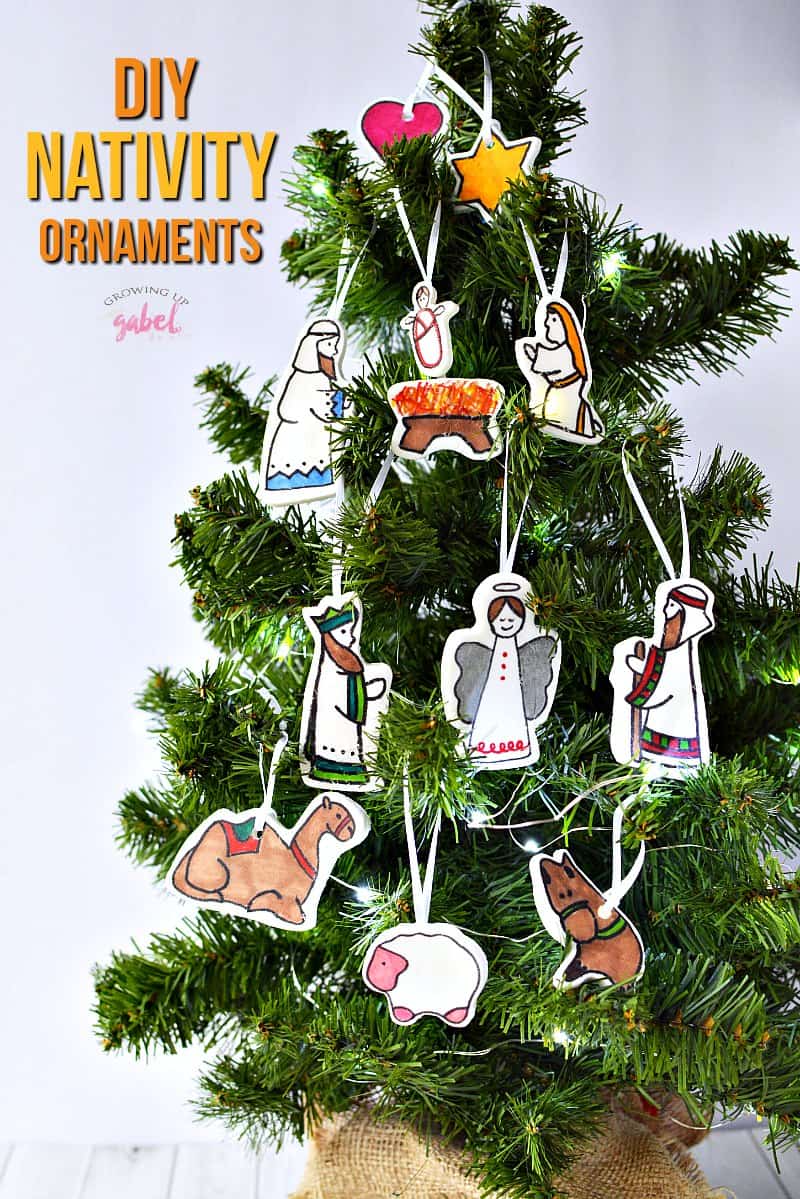
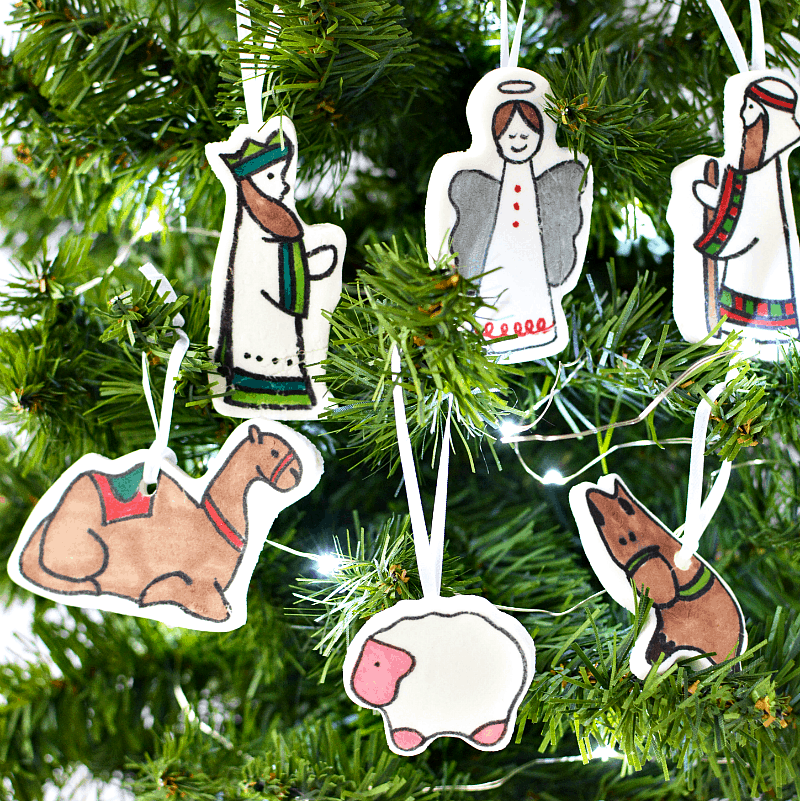
Make homemade DIY nativity Christmas ornaments with baking soda dough, cookie cutters, and markers.
Making homemade Christmas ornaments with your kids is a fun holiday tradition. Making a new set each year also helps build up your ornament sets. DIY Emoji Christmas Ornaments are always a favorite with the tween and teen crowd. Easy DIY Pasta Christmas Ornaments are great for younger kids. And for a Girls Night “In” try How to Make Adorable Wine Cork Reindeer.
These nativity Christmas ornaments are made using a baking soda dough, which you will love better than salt dough.
DIY Nativity Christmas Ornament Crafts for Kids and Adults
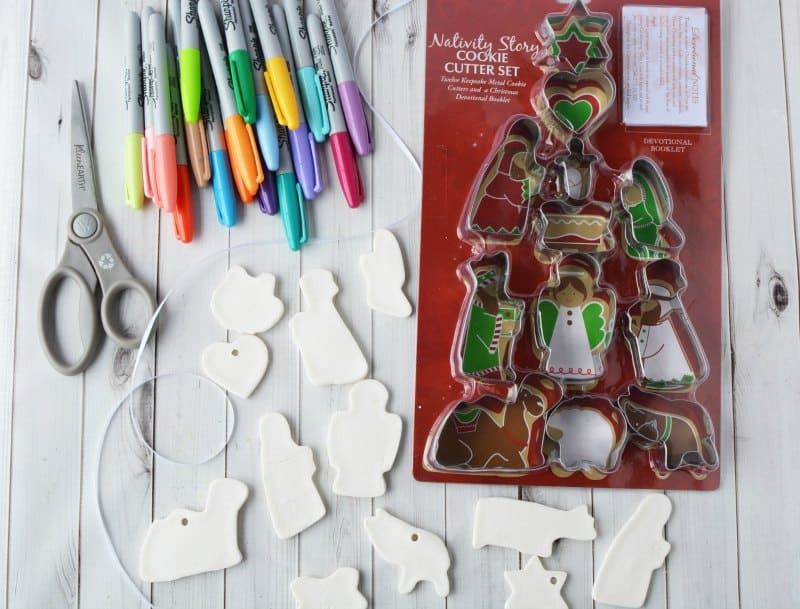
Nativity Christmas Ornament Materials:
- Baking Soda Dough
- Nativity Cookie Cutters
- Permanent Markers
- 1/8″ ribbon
- Scissors
- Hot Glue & Hot Glue Gun
Nativity Christmas Ornaments Instructions:
Make a batch of baking soda dough. When the dough is cooled so you can handle it, roll the dough out. Go slowing and try to get the dough as smooth as possible. If there are wrinkles, they will remain and may show a bit in the final piece.
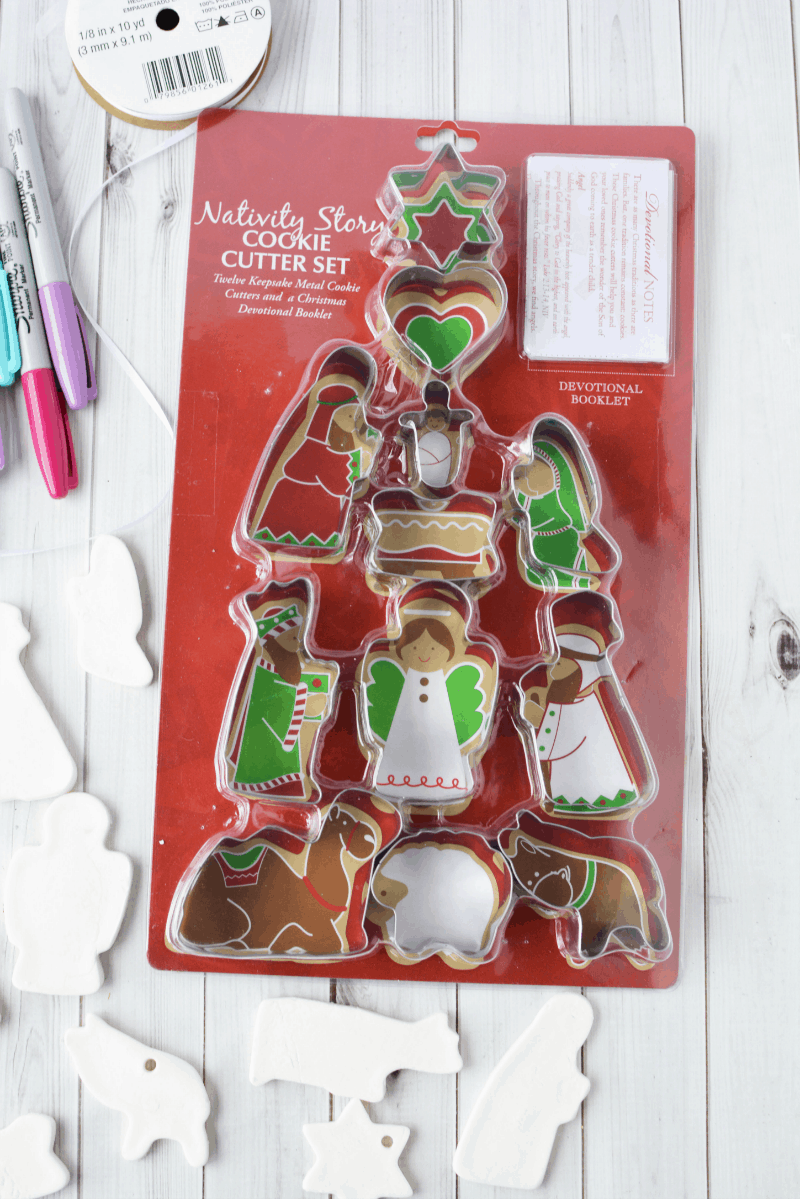
Next, cut out 1 of each shape of the nativity cookie cutters available online. Keep the packaging to use as a guide when decorating later on.
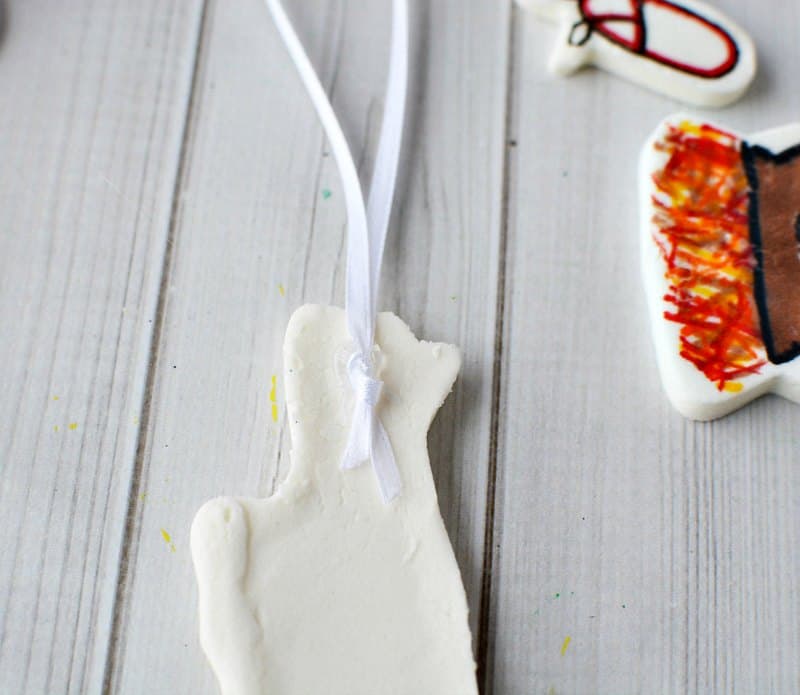
Once the ornaments are cut out, You will need to decide whether or not to put holes into the heads of all of the ornaments or just glue on ribbon to hang them. We only put holes in certain ornaments because otherwise, the hole would cut into the head of the nativity piece. We cut a few holes and also glued some hanging ribbons on the back as shown below. Use a straw to make the holes, if desired.
Once you have decided on the hols, it’s time to bake the ornaments according to the instructions in the original recipe. Then allow the ornaments to dry in the oven as it cools. Set them out overnight on cooling racks. Once your ornaments are completely dry, it’s time to decorate!
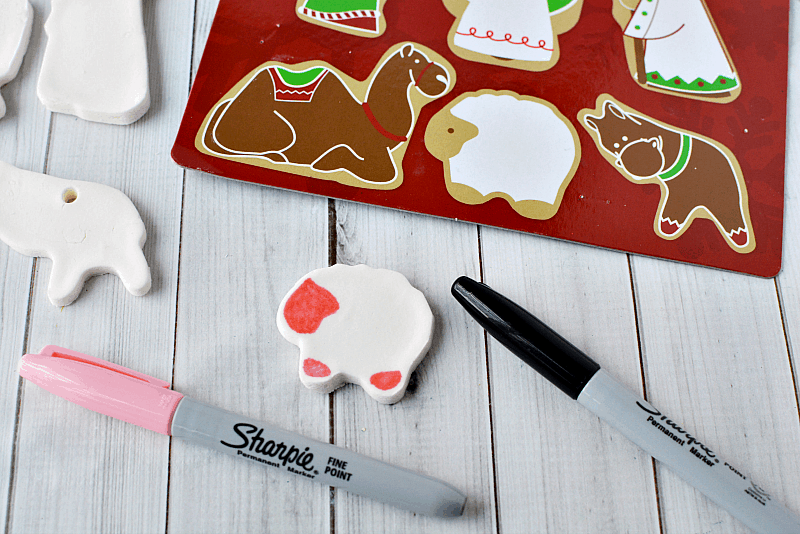
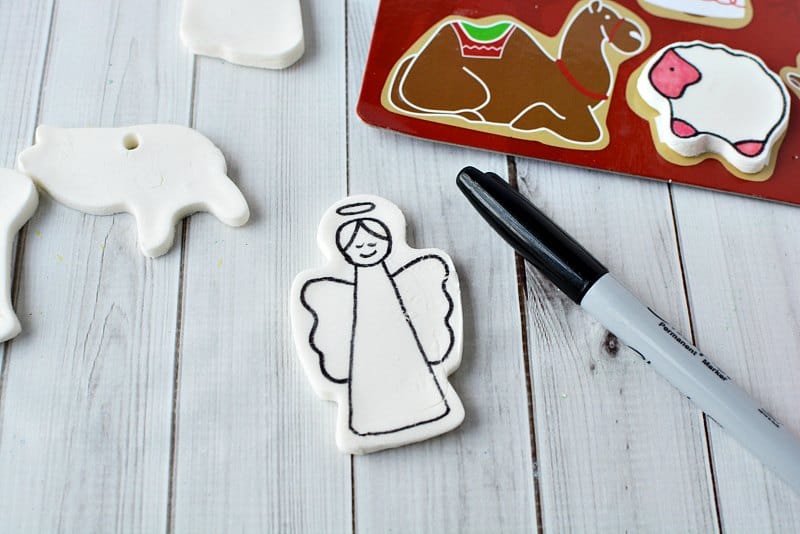
You can decorate the by using the cookie-cutter packaging as guide in drawing the lines onto the front of the ornament. Or you can get creative and decorate any way you like.
To use the guide from the packaging, for the majority of the ornaments, start with the black outline and then add color. You could draw the outlines very lightly with a pencil and cover with a permanent marker if you are worried about making a mistake.
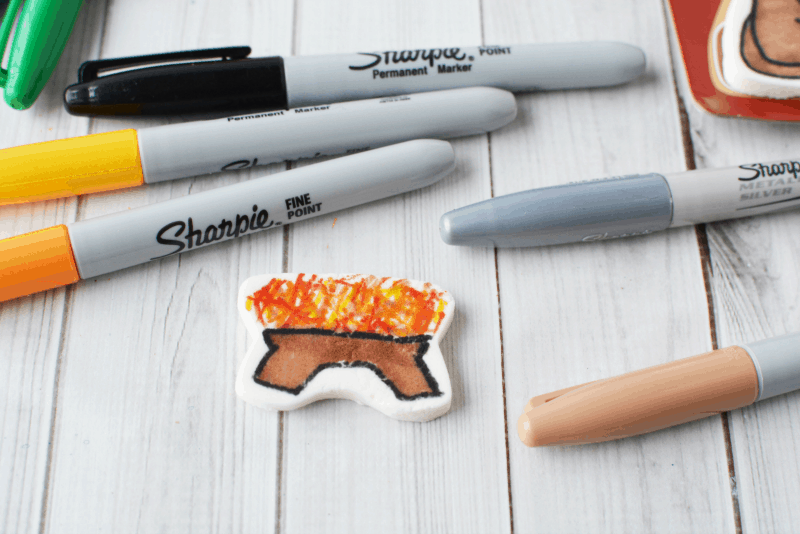
The lighter/brighter sharpies worked better for this project because the dough really soaks up the marker pigment and made the dark colors quite dark. If necessary, you can test the marker color on the back of the ornaments, or cut a scrap piece to do this.
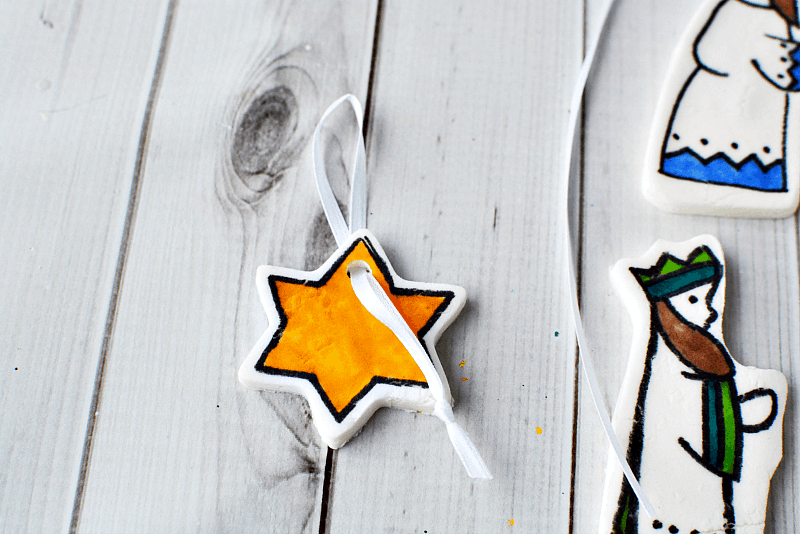
Once your ornaments are decorated, add a ribbon to hang them. Cut about an 8″ piece of ribbon and tie the ends in a knot.
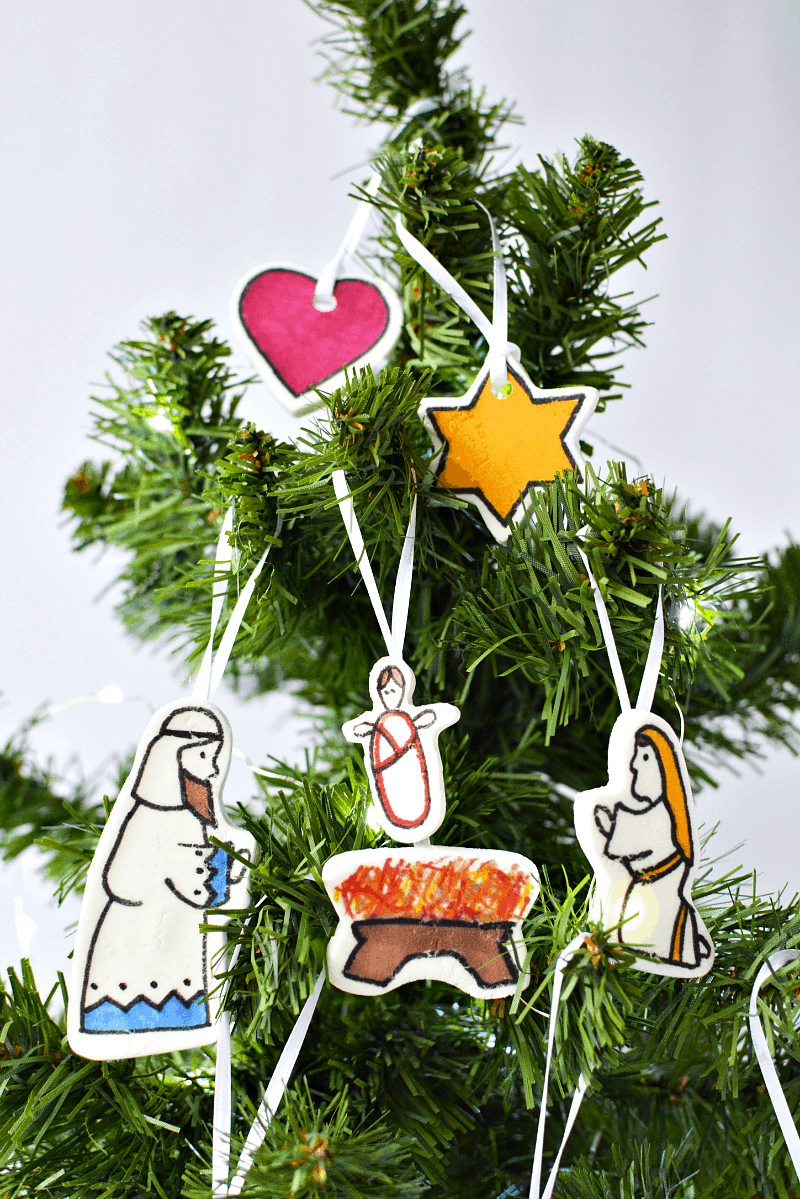
Slide the looped end through the hole and bring the knot through the loop creating a slip knot. Pull tightly and hang onto the tree.
For ornaments without a hole, tie a knot in the ribbon and attach it to the back of the ornaments with hot glue. Let set to harden.
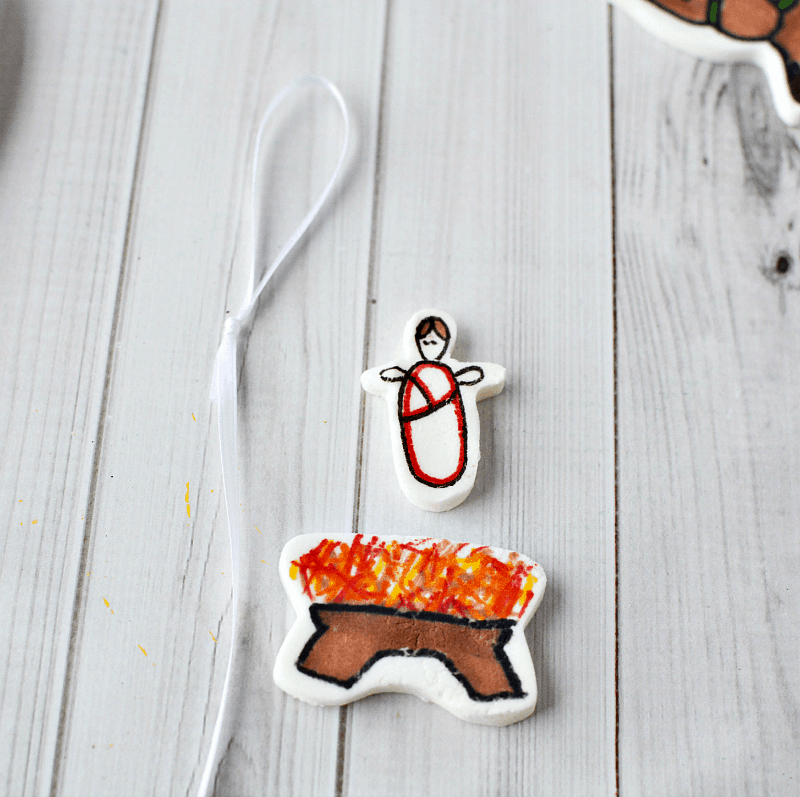
In this set, baby Jesus and his manger are two separate pieces. To hang them together cut a piece of ribbon about 12″ in length. Tie one end about 3″ in length and knot.
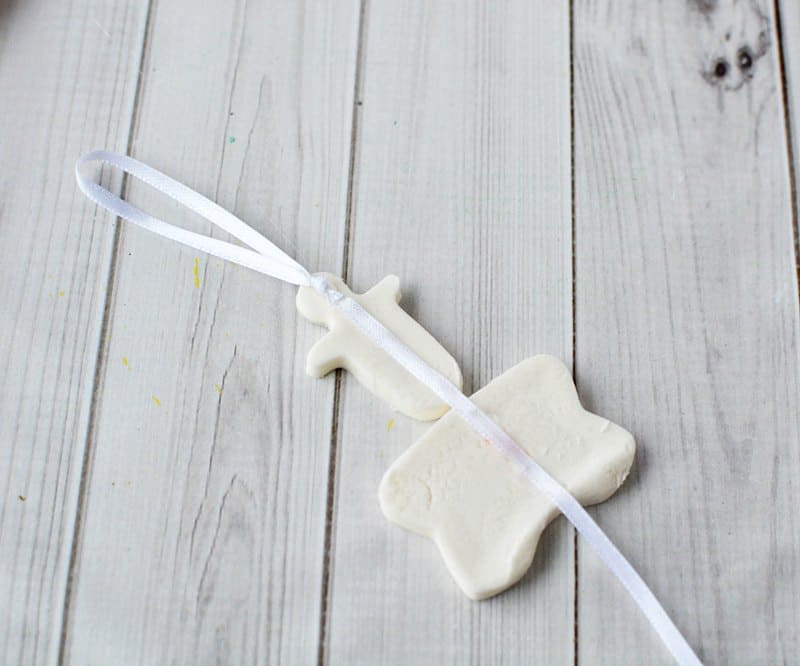
Place the baby and crib face down. Affix the ribbon to the back of the baby and crib as shown with hot glue. Let set to harden. Trim excess ribbon.
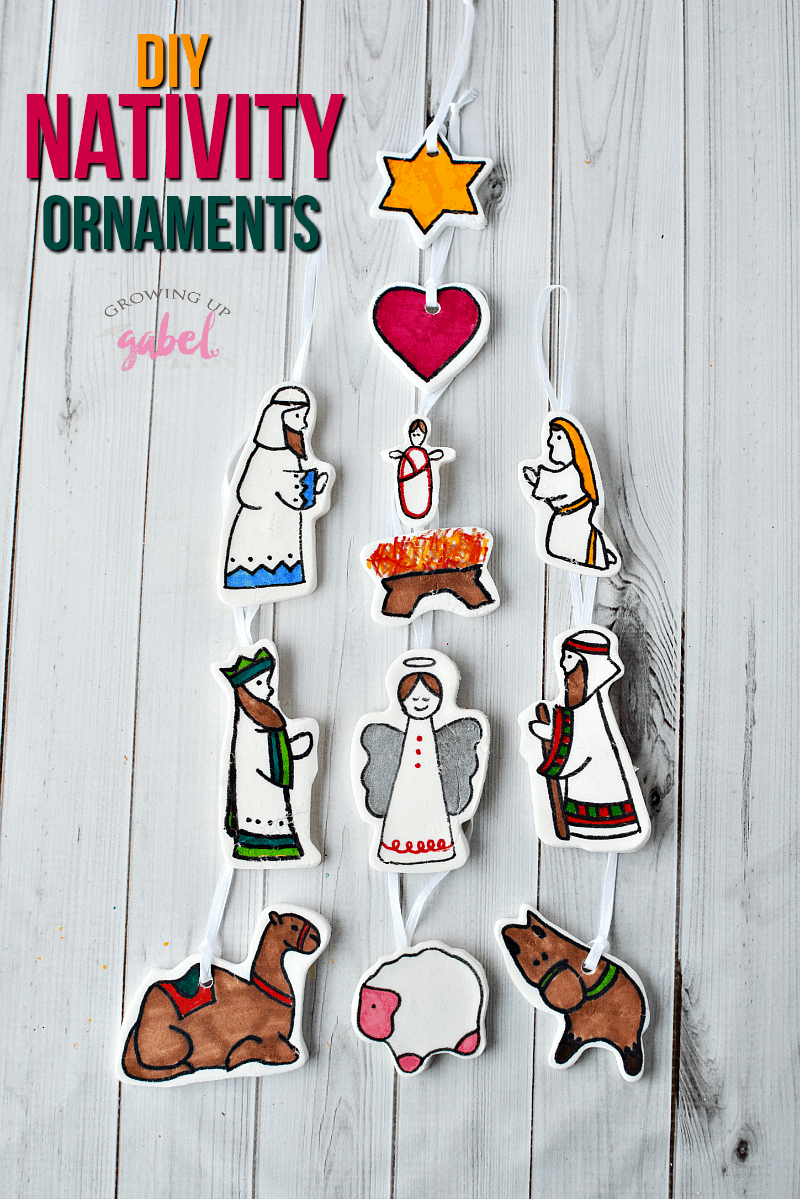
The ornament set is the shape of a tree, as they are displayed in the package. So you can hang these on a tree randomly, or try to keep their “shape” and start with the star and work your way down and out the tree branches.
There are 12 separate pieces to this nativity. It’d be fun to use it as a lesson or activity to make with kids during the 12 days of Christmas from December 25 until January 5th. Yes, that’s after Christmas. But those days are usually much slower and less chaotic! It’s a great time to spend time as a family celebrating the season.
DIY Nativity Christmas Ornament Crafts for Kids {And Adults!}
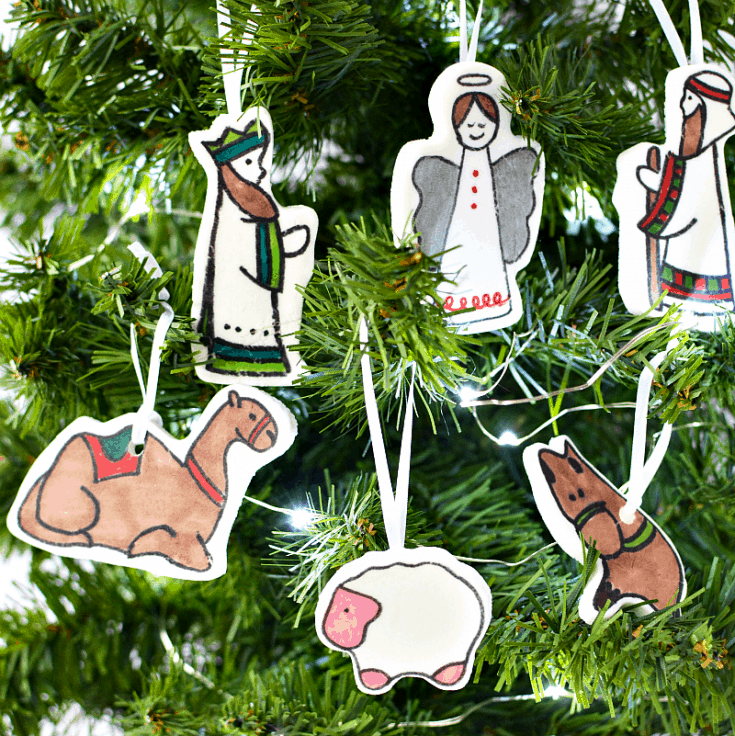
DIY nativity Christmas ornaments to make with baking soda dough, cookie cutters, and markers.
Materials
- Baking Soda Dough
- Nativity Cookie Cutters
- Permanent Markers
- 1/8″ ribbon
- Scissors
- Hot Glue & Hot Glue Gun
Instructions
- Cut out 1 of each shape of the nativity cookie cutters available online.
- You will need to decide whether or not to put holes into the heads of all of the ornaments. We only put holes in certain ornaments because otherwise, the hole would cut into the head of the ornament. We did cut a few holes and also glued some hanging ribbons on the back as shown below. Use a straw to make the holes, if desired.
- Bake the ornaments. Then allow to dry in the oven and let sit overnight on cooling racks.
- Decorate the ornaments. Begin by using the cookie-cutter packaging as a guide in drawing the lines onto the front of the ornament.
- For the majority of the ornaments, start with the black outline and then add color. You could draw the outlines very lightly with a pencil and cover with a permanent marker if you are worried about making a mistake.
- The lighter/brighter sharpies worked better for this project because the dough really soaks up the marker pigment and made the dark colors quite dark. If necessary, you can test the marker color on the back of the ornaments, or cut a scrap piece to do this.
- Once your ornaments are decorated, add a ribbon to hang them. Cut about an 8″ piece of ribbon and tie the ends in a knot. Slide the looped end through the hole and bring the knot through the loop creating a slip knot. Pull tightly and hang onto the tree.
- For ornaments without a hole, tie a knot in the ribbon and attach it to the back of the ornaments with hot glue. Let set to harden.
- In this set, baby Jesus and his manger are two separate pieces. To hang them together cut a piece of ribbon about 12″ in length. Tie one end about 3″ in length and knot.
- Place the baby and crib face down. Affix the ribbon to the back of the baby and crib as shown with hot glue. Let set to harden. Trim excess ribbon.
- The ornament set is the shape of a tree, as they are displayed in the package. So you can hang these on a tree randomly, or try to keep their “shape” and start with the star and work your way down and out the tree branches.

