
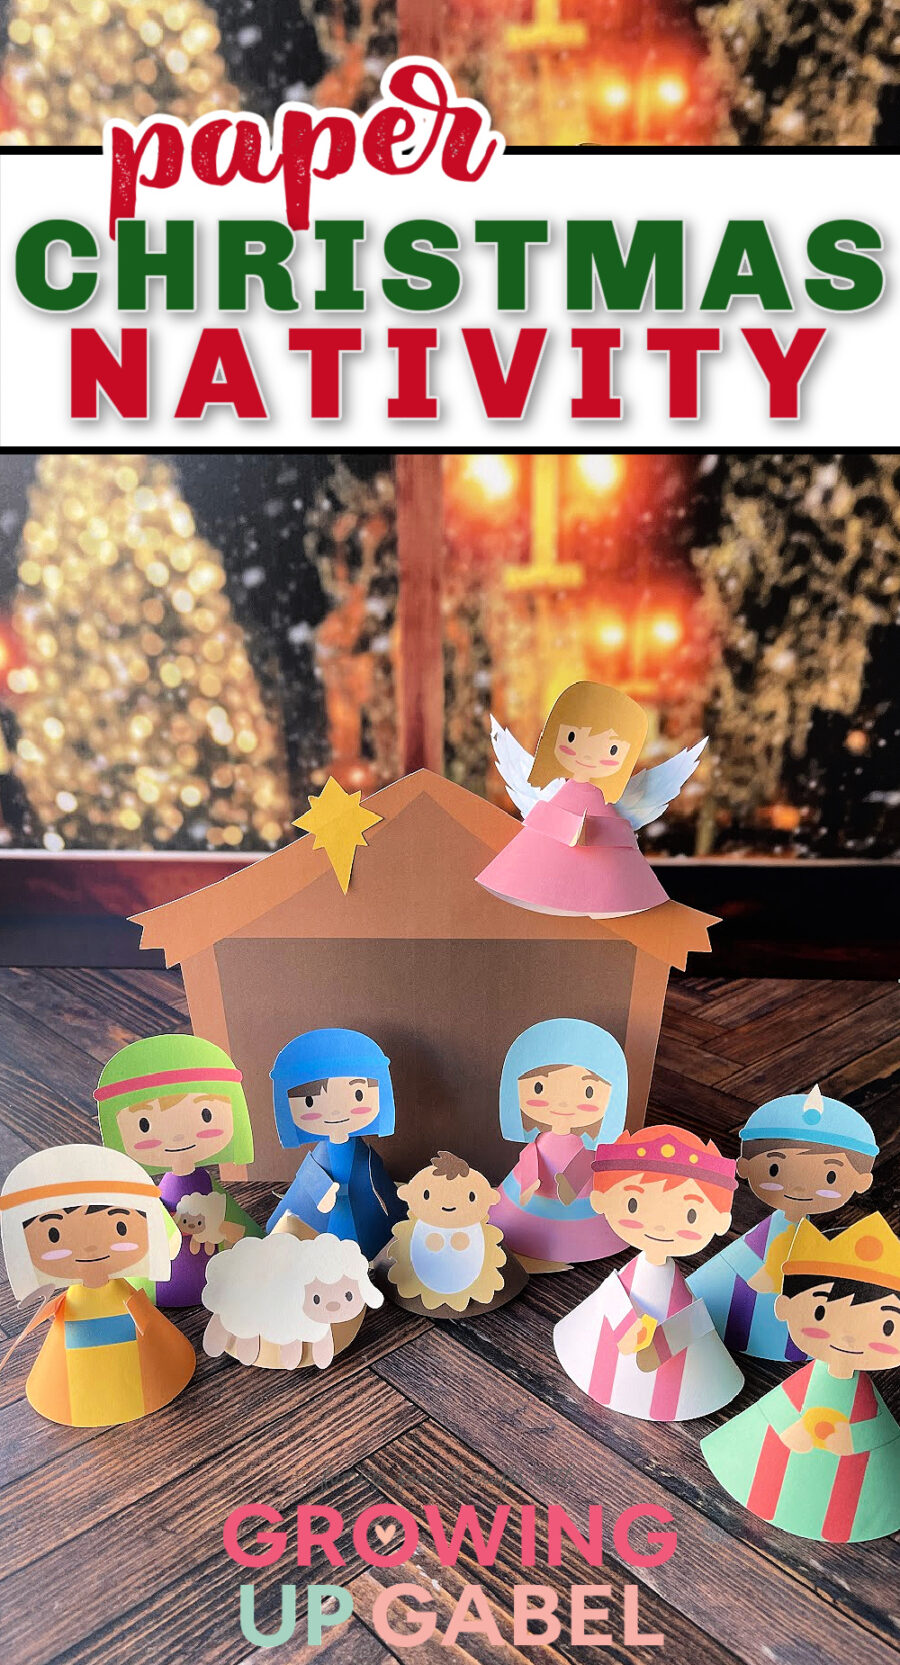
A printable Christmas nativity with 10 main characters is great for telling the Bible nativity story and setting the scene for Christmas.
A printable Christmas nativity is great for telling the Bible nativity story, especially for kids. This easy-to-make nativity scene includes the nativity characters of Joseph, Mary, and baby Jesus, an angel, the three kings or wise men, and two shepherds with sheep. Create a full scene with a stand-up manger and hay for the floor. Finish the scene with a nighttime backdrop complete with a starry sky. Made from paper, this nativity set is perfect for toddlers but so cute that all ages will love it.
Printable Christmas Nativity
Other Nativity Crafts You May Like:
Printable Christmas Nativity Supplies and Tools:
To make the Nativity, you will need the following:
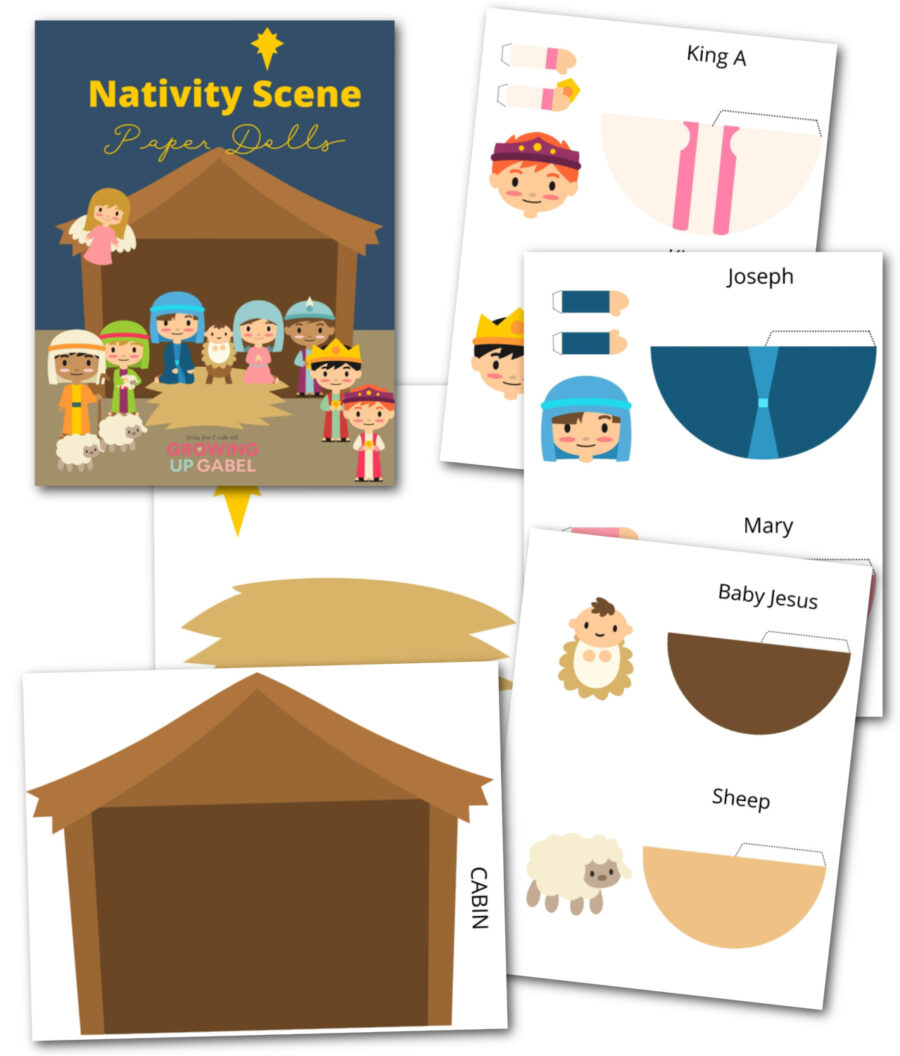
- Nativity Scene Paper Dolls Printable
- Scissors or a Cricut Cutting Machine (Explore or Maker)
- Tape, glue, or Glue Dots
If using a Cricut cutting machine, you will also need the following:
- LightGrip Cutting Mat
- Cricut Design Space
How to Make the Printable Christmas Nativity
Download the Nativity Scene Paper Dolls set to your computer. You will print it and then cut out all the pieces. You can cut it out using scissors or the “Print then Cut” option on a Cricut Explore or Maker machine. If using scissors, skip down to the next section.
How to use Print then Cut on Cricut

Cutting out the nativity pieces using “print then cut” makes cutting them out super easy. We have already uploaded the entire set into Design Space. The Nativity Paper Dolls printable kit includes a link to the project in Design Space. All you need to do is click that link and open it on your computer or device. Make sure to save it!
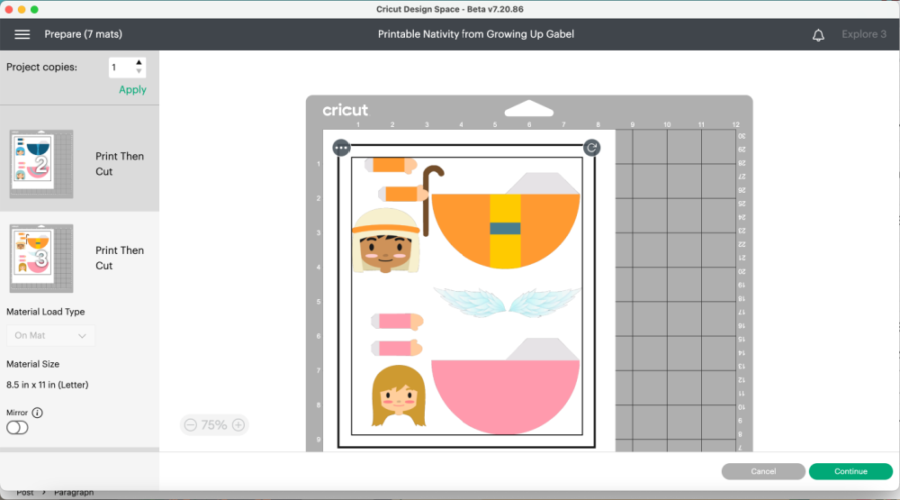
You can click “Customize” if you would like to make changes to the project, or you can click “Make It” to go straight to the Print then Cut feature. Design Space will lead you through the process. First, you will send each sheet to your printer to print.
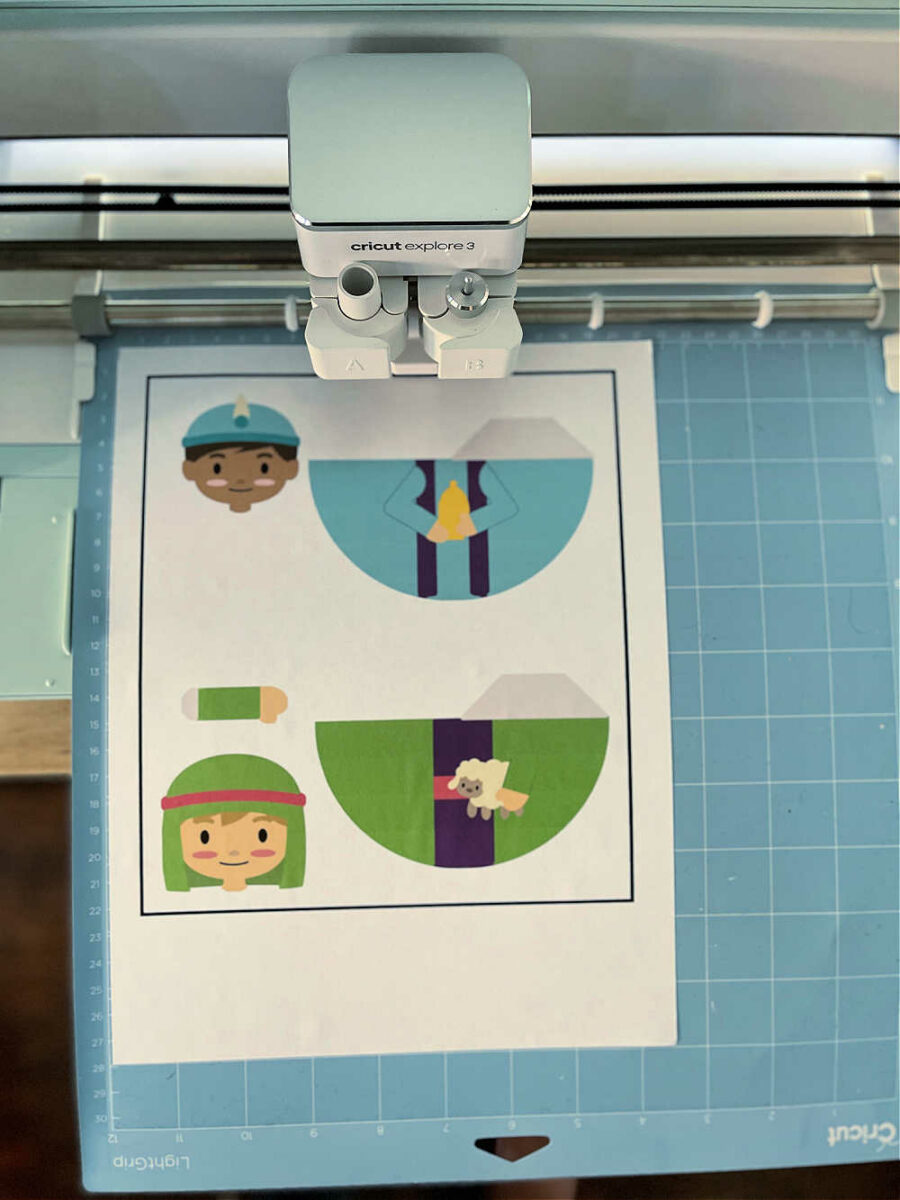
Then, you put the printed sheet on a LightGrip cutting mat. Follow the prompts in Design Space to load the mat into the machine and cut it out.
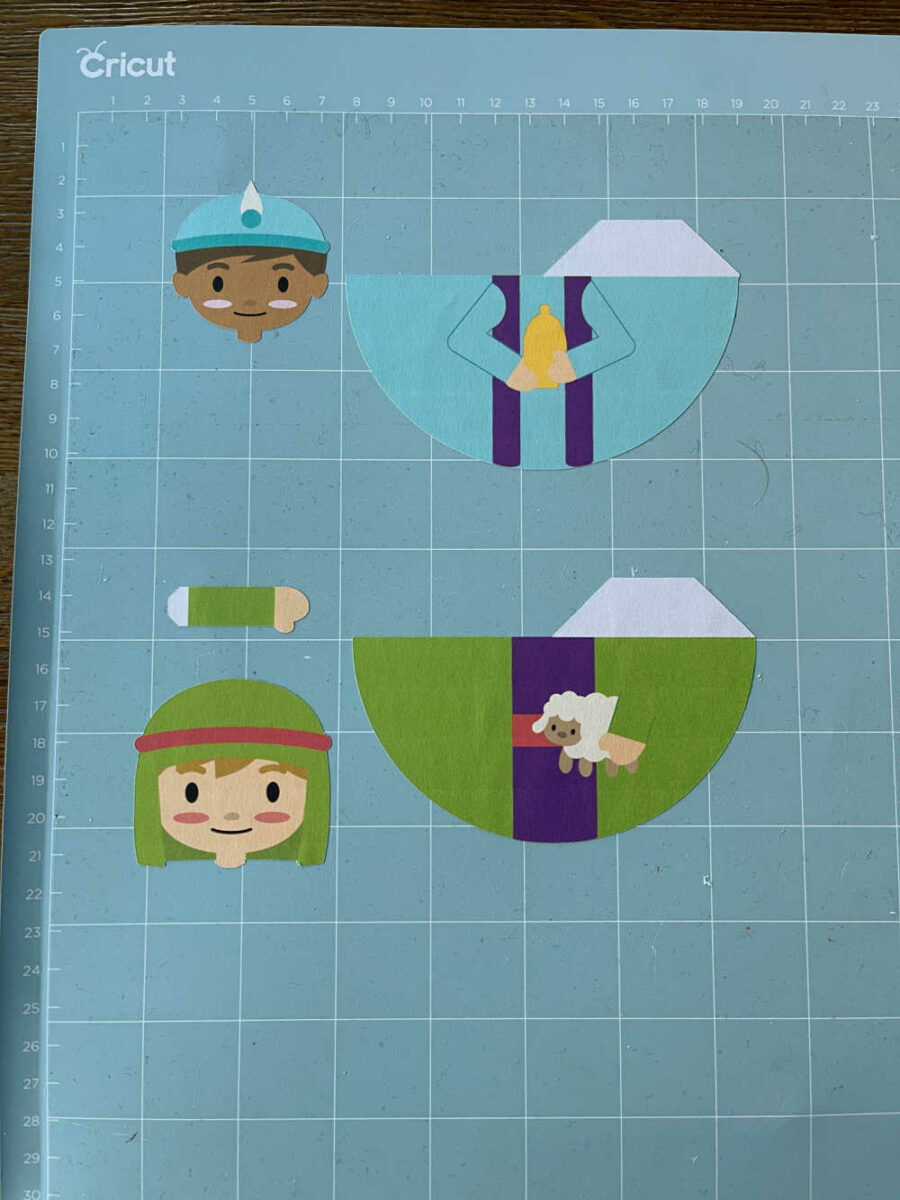
When the machine is finished cutting, unload the mat. Gently pull the paper and the cutout pieces off the mat. Repeat this process for all 7 sheets.
The only sheet that is not included in the Cricut files is the Cabin Stand. That is simple enough to cut out with scissors by hand.
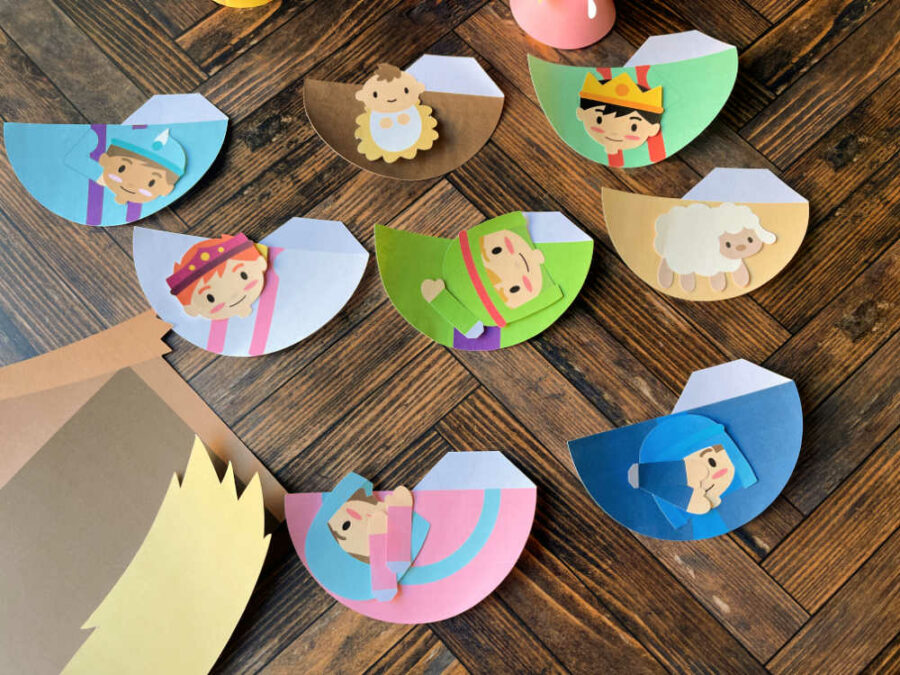
Assemble the Nativity Characters
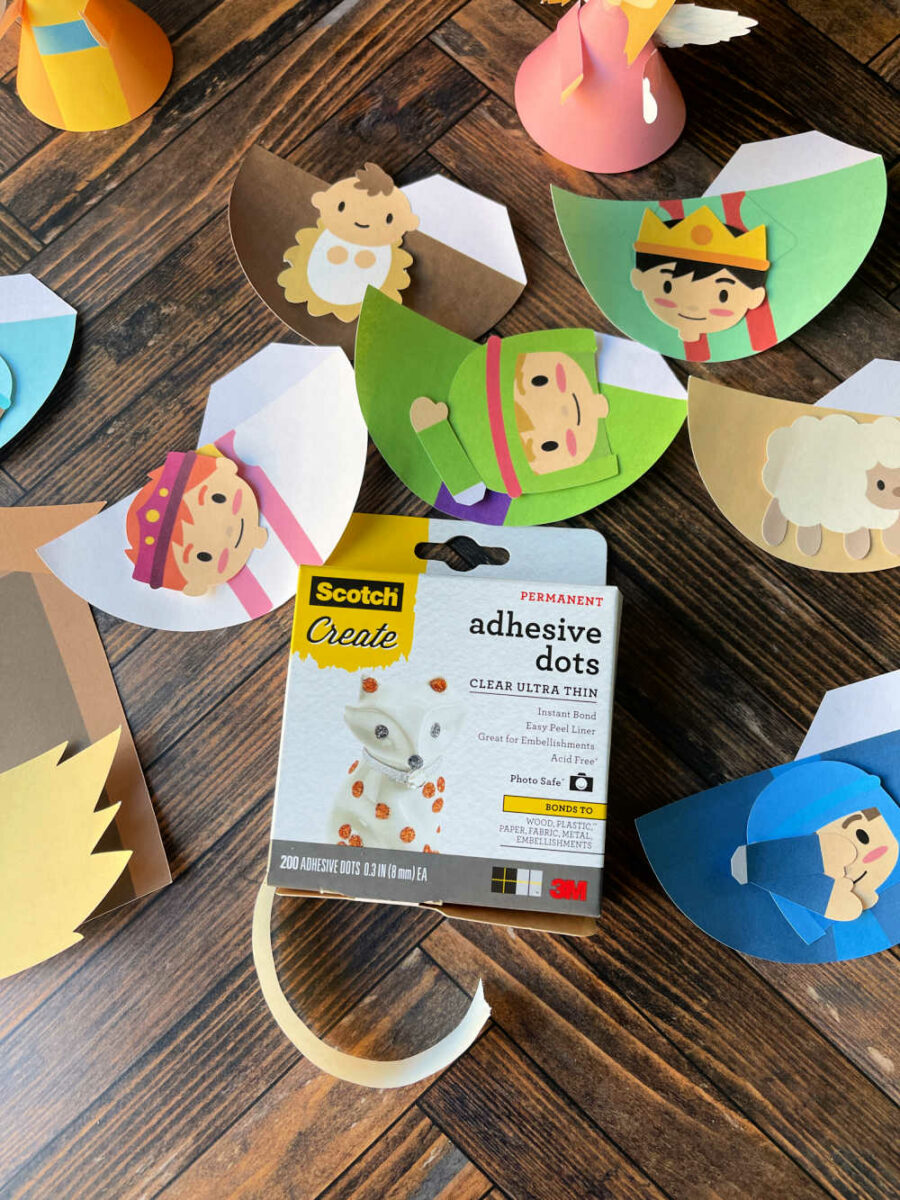
Once the nativity pieces are cut out, you will assemble them using tape, glue, or Glue Dots. We used Glue Dots to assemble the entire set.
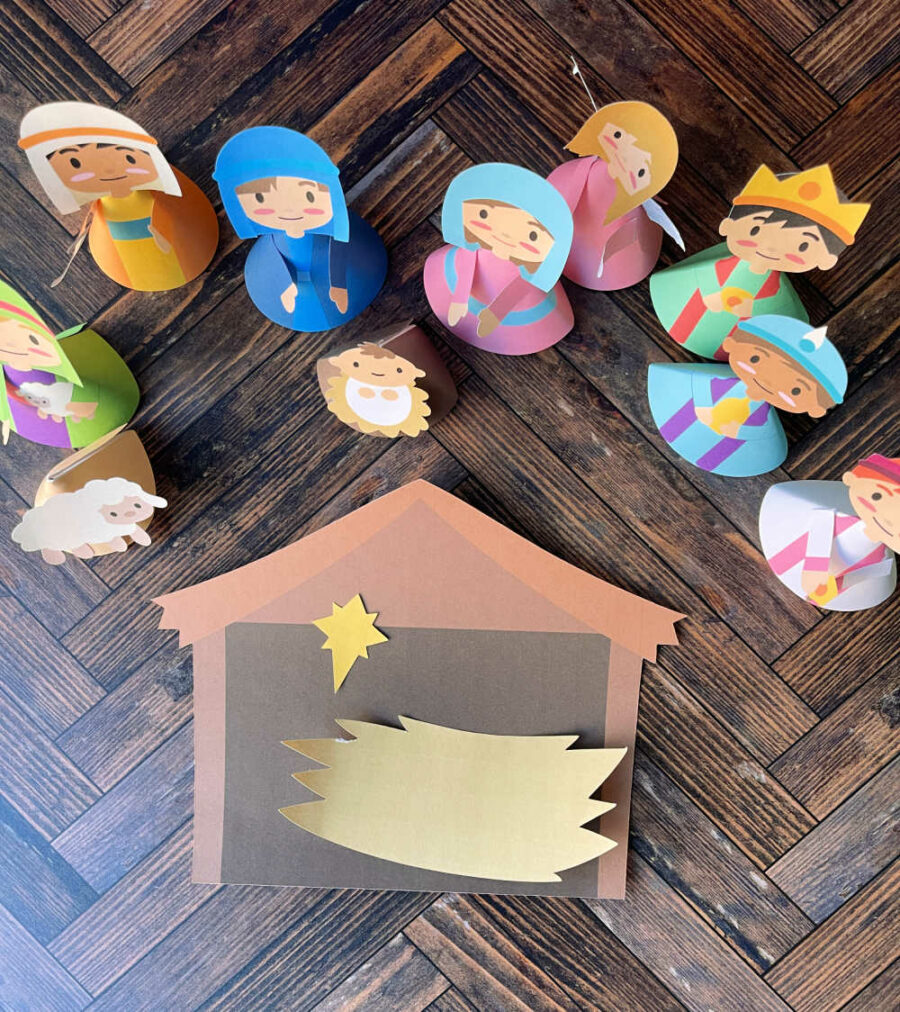
Characters in the Nativity
The nativity includes 10 basic nativity characters. If you’d like more shepherds or sheep, just print more out. The nativity includes:
- Joseph, Mary, and Baby Jesus
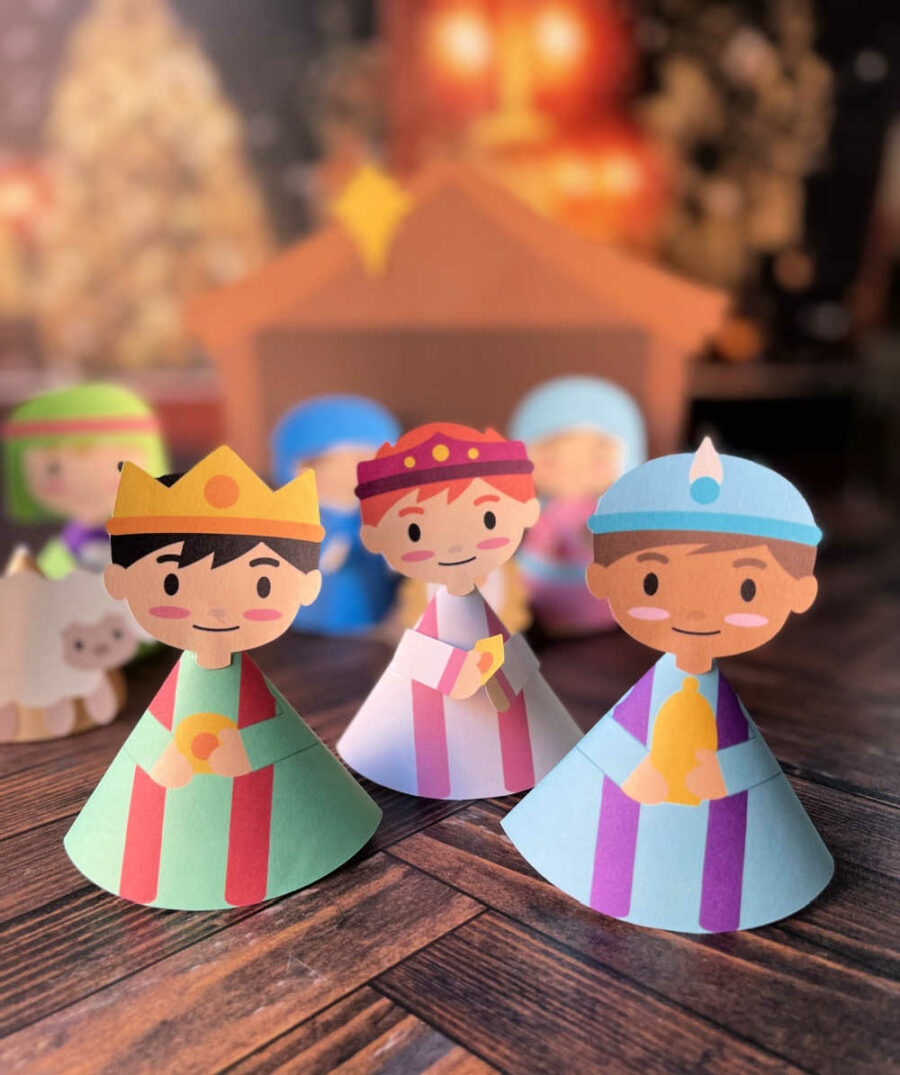
- 3 kings or wisemen
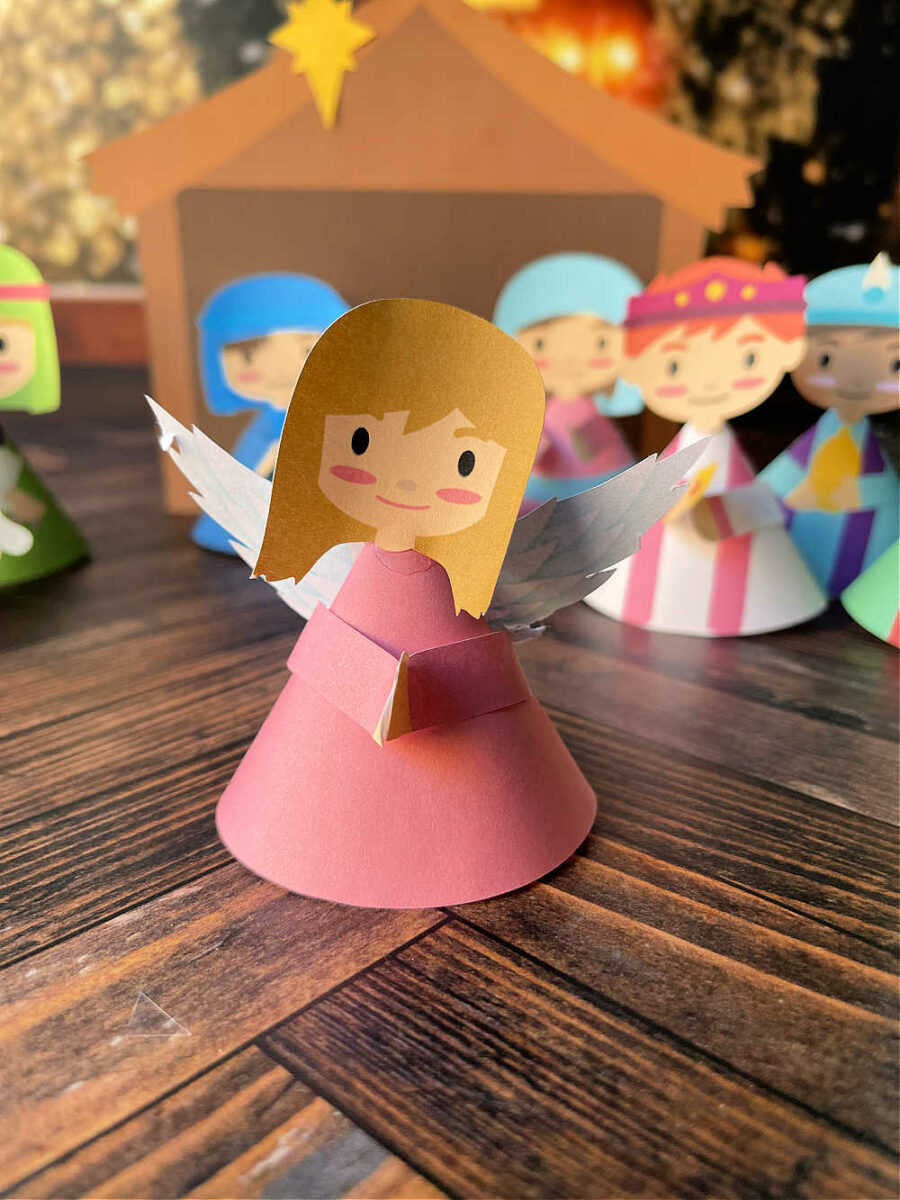
- An angel
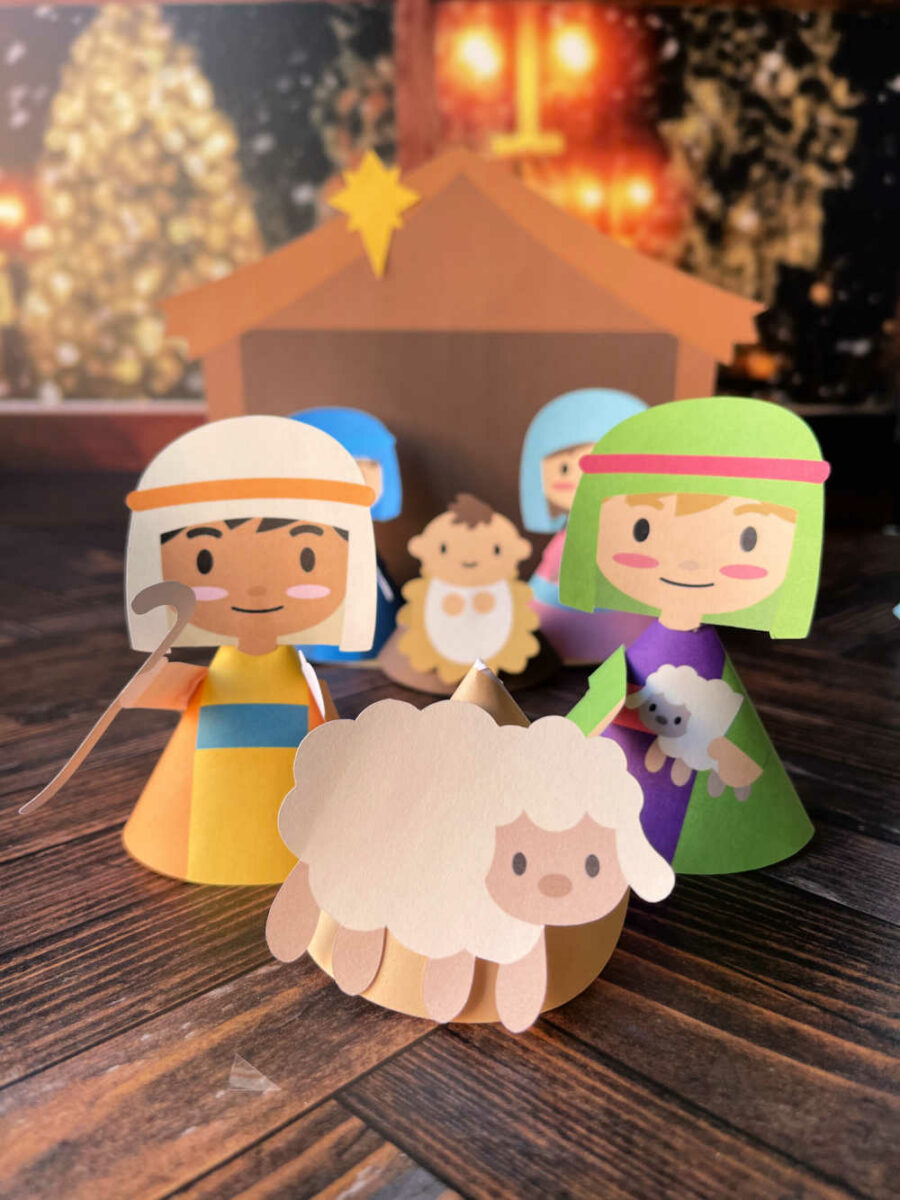
- 2 shepherds and 1 sheep (print as many as you like to make a flock)
It also comes with a manger and a stand, hay for the manger floor, a star, and a nighttime backdrop.
Make the Nativity Character Bodies
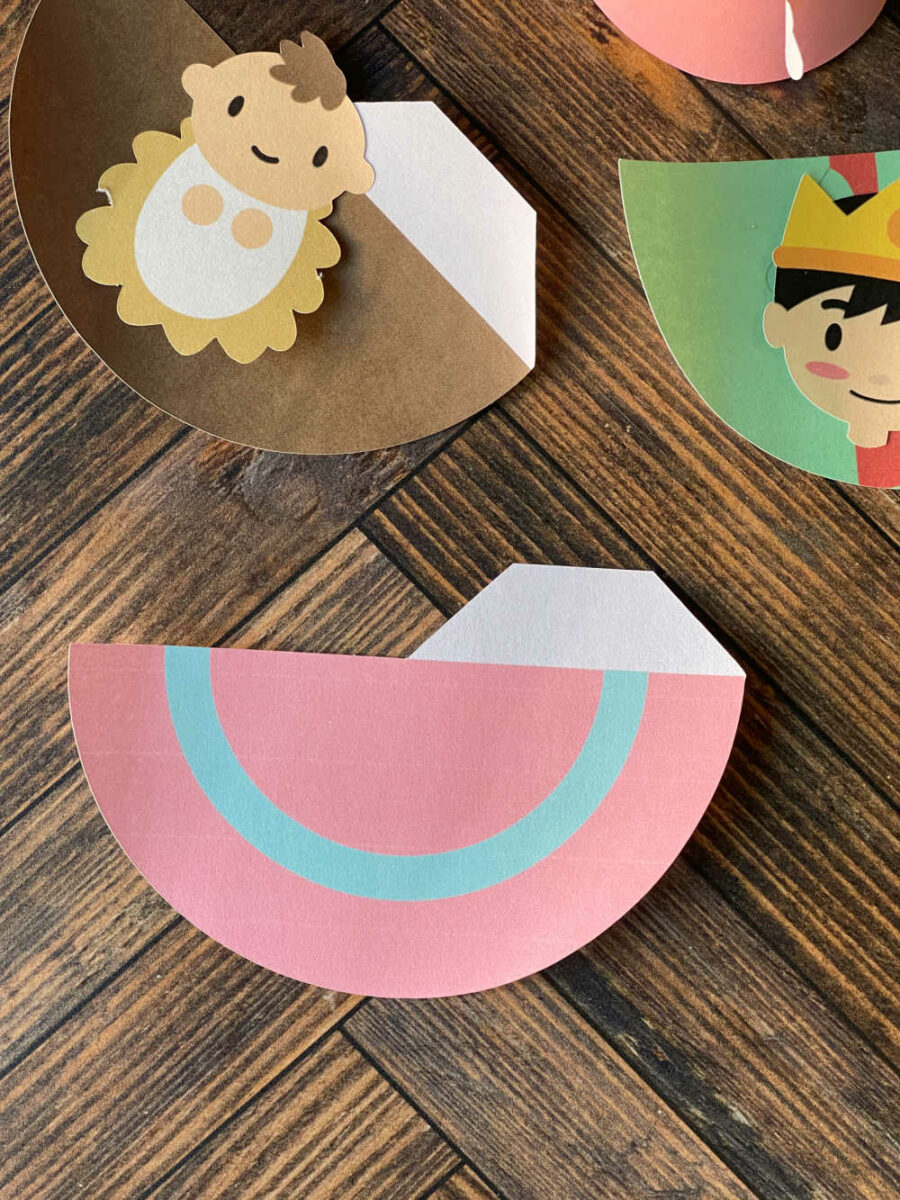
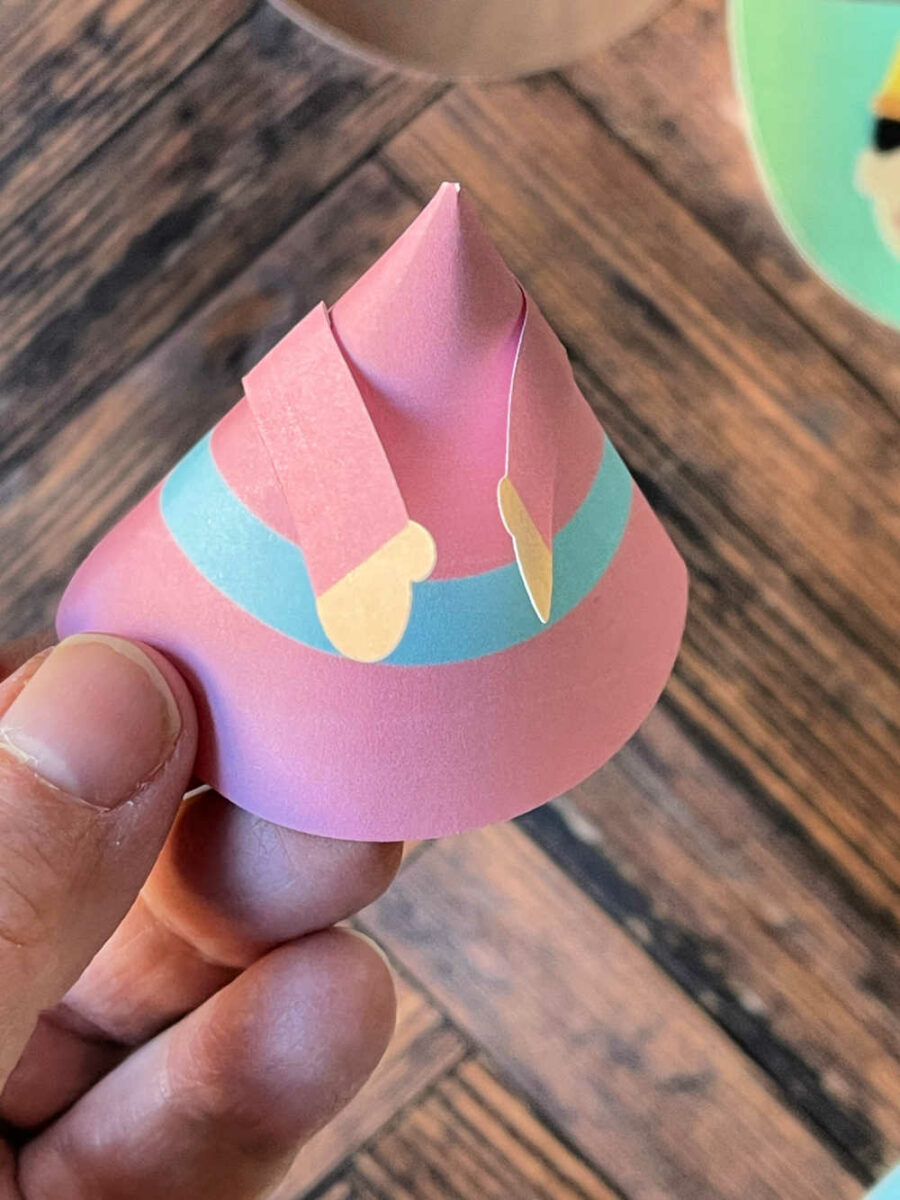
To assemble the nativity pieces, first, fold the white tab on the large body piece underneath so it is hidden behind. Place 2 glue dots on the top of the tab.
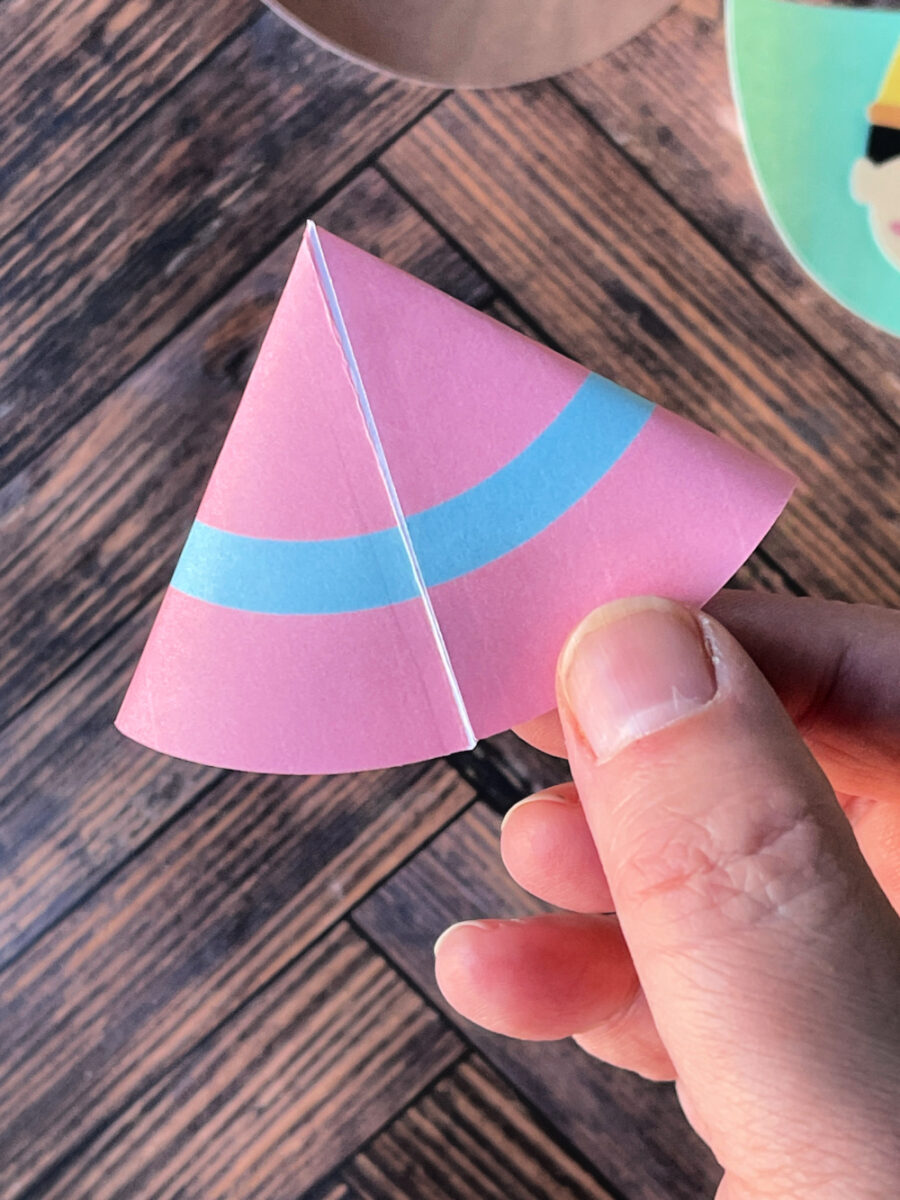
Then roll the paper into a cone, tucking the tab underneath so it is not visible from the back. Tuck it in and press to “glue” the cone shut.
Glue the arms to the bodies, if needed
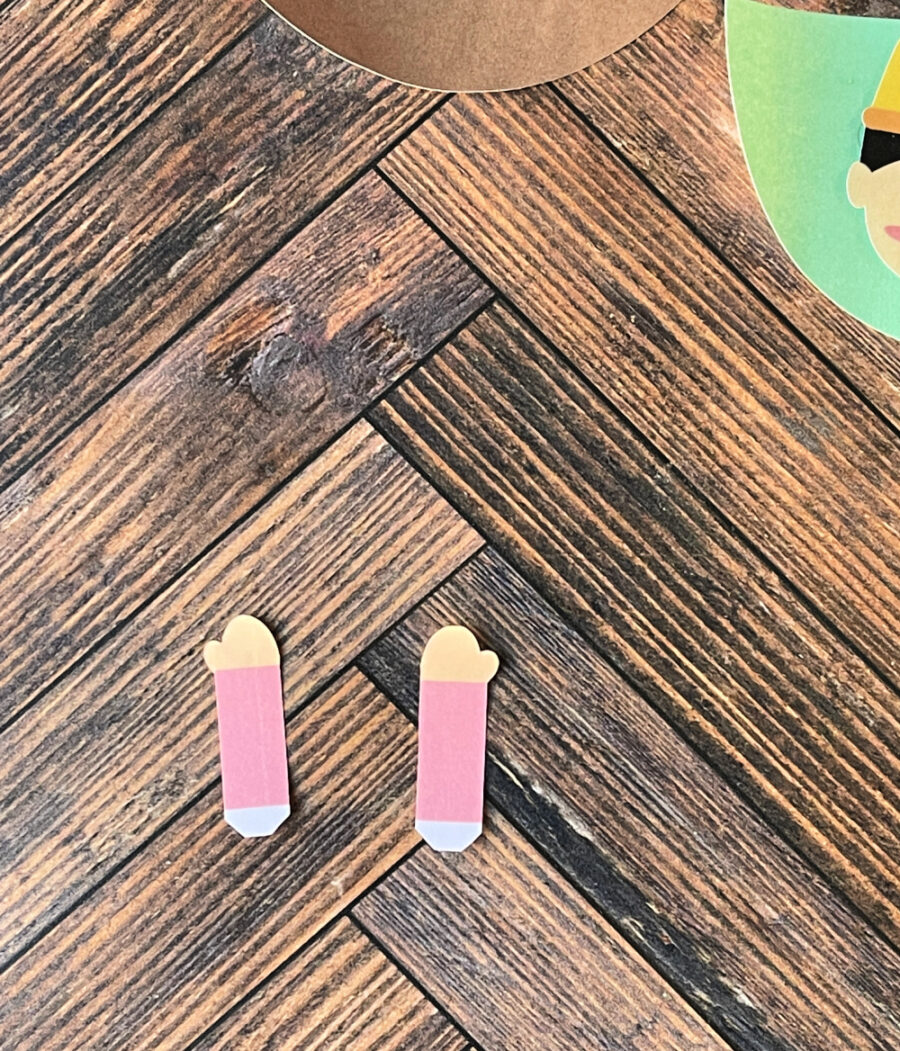
Some nativity characters have arms that need to be attached to the body. To do this, fold down the white tabs at the end of the arms underneath the printed side. Put a glue dot on each tab.
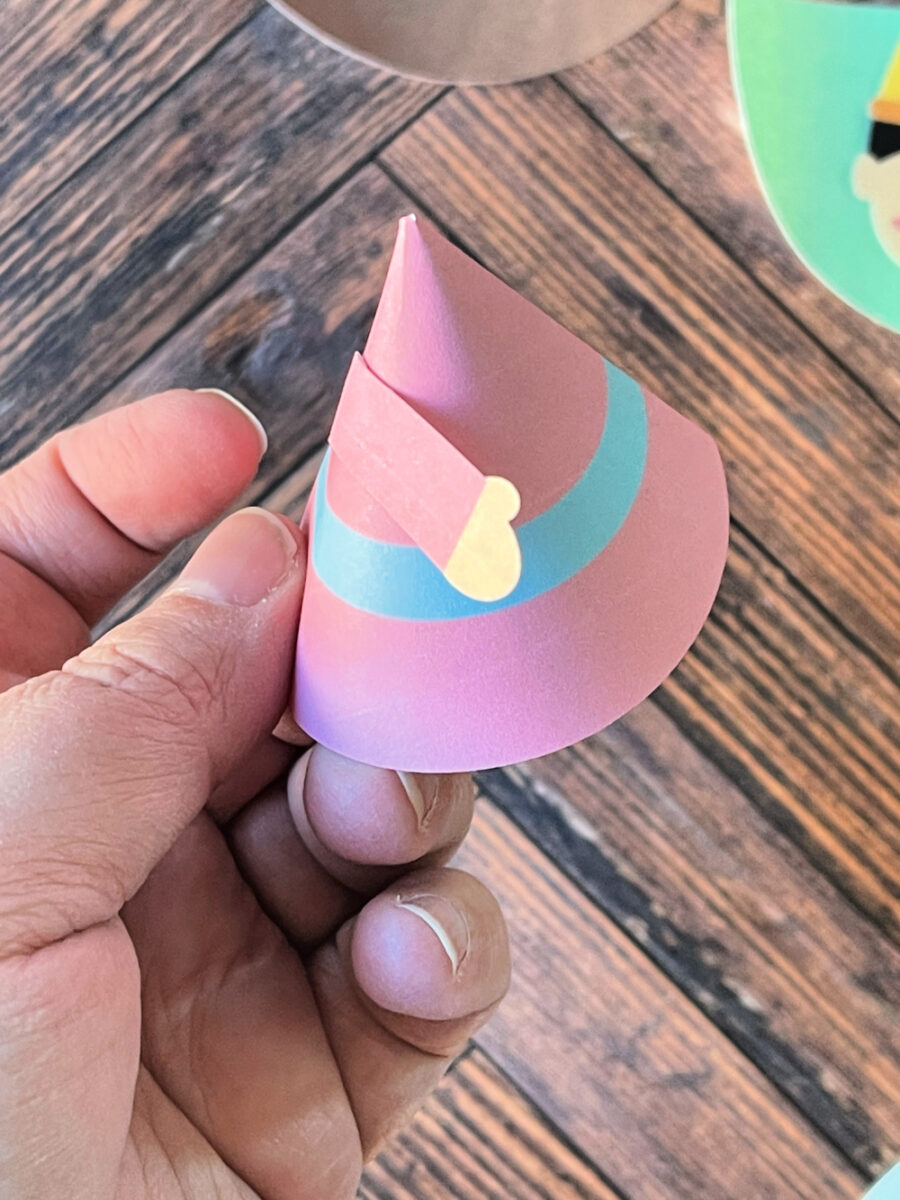
Press the arms onto the sides of the body. It may help to gently fold the body flat a little bit to position the arms.
You can position the arms wherever you think they look best.
Glue the head to the body
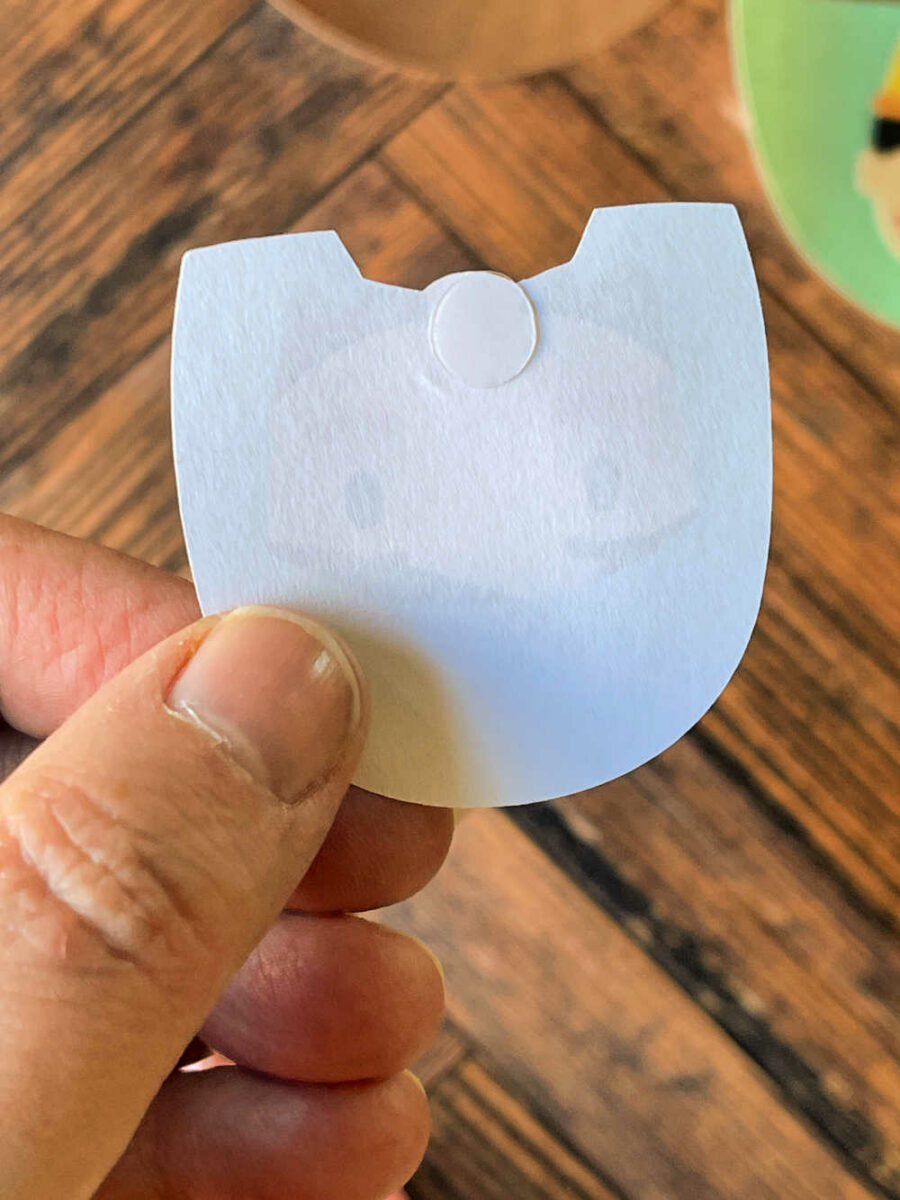
Next, attach the head of each person to the body. Put a Glue Dot or spot of glue on the neck of the head.
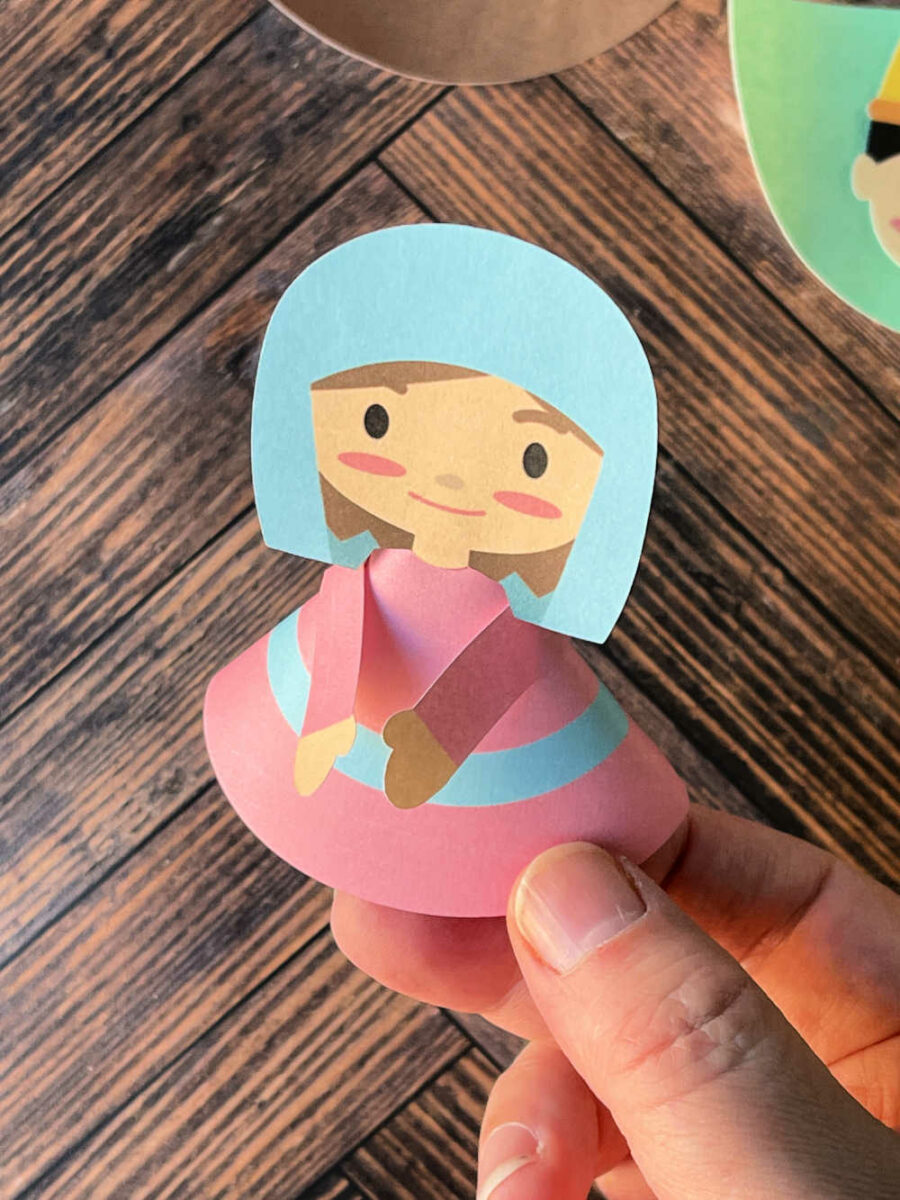
Gently attach the head using your judgment for placing.
Repeat the same process to attach the arms and heads for every character. For baby Jesus, roll the brown piece like it’s a body and then glue on the baby. Use the same process for the sheep.
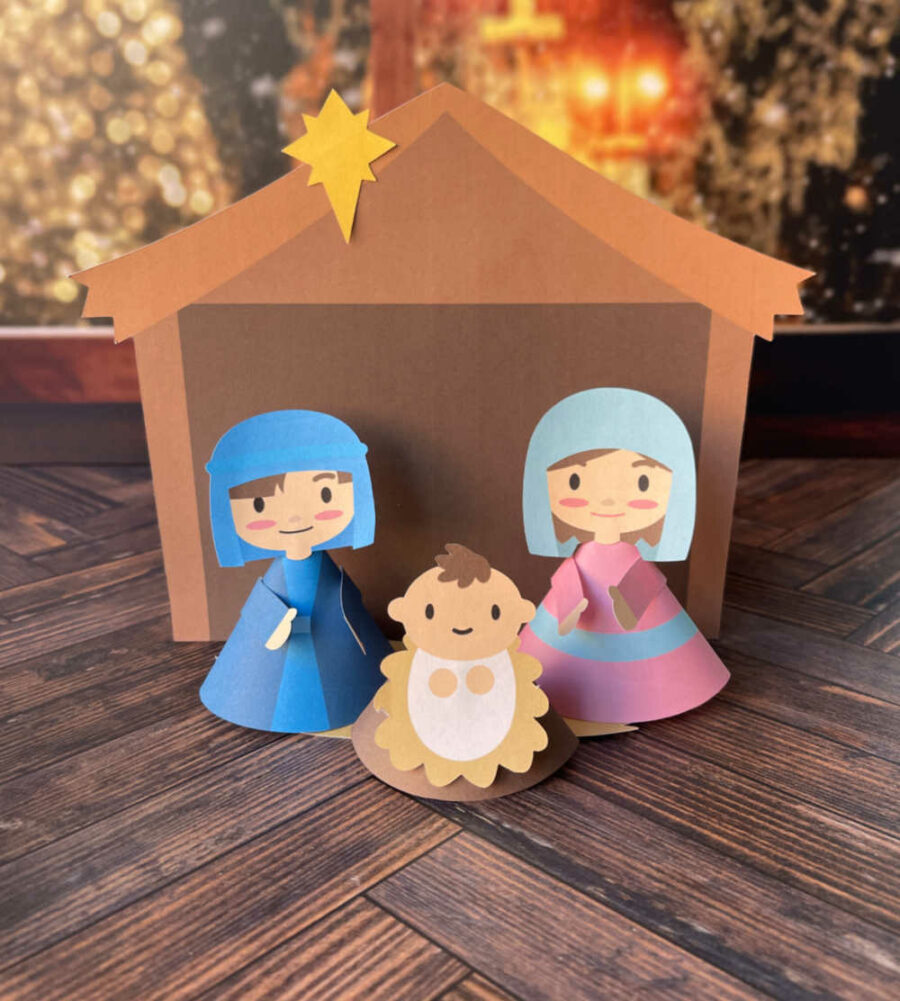
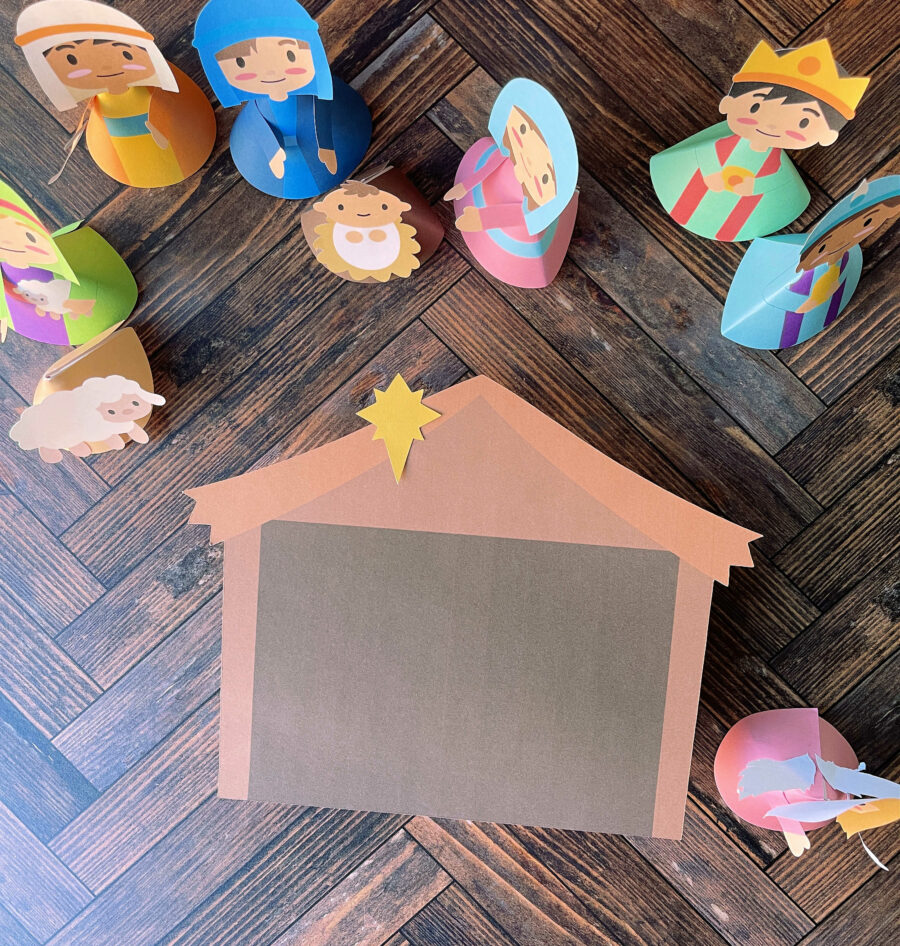
Build the Manger
The manger is made with the manger, hay, star, and the cabin stand.
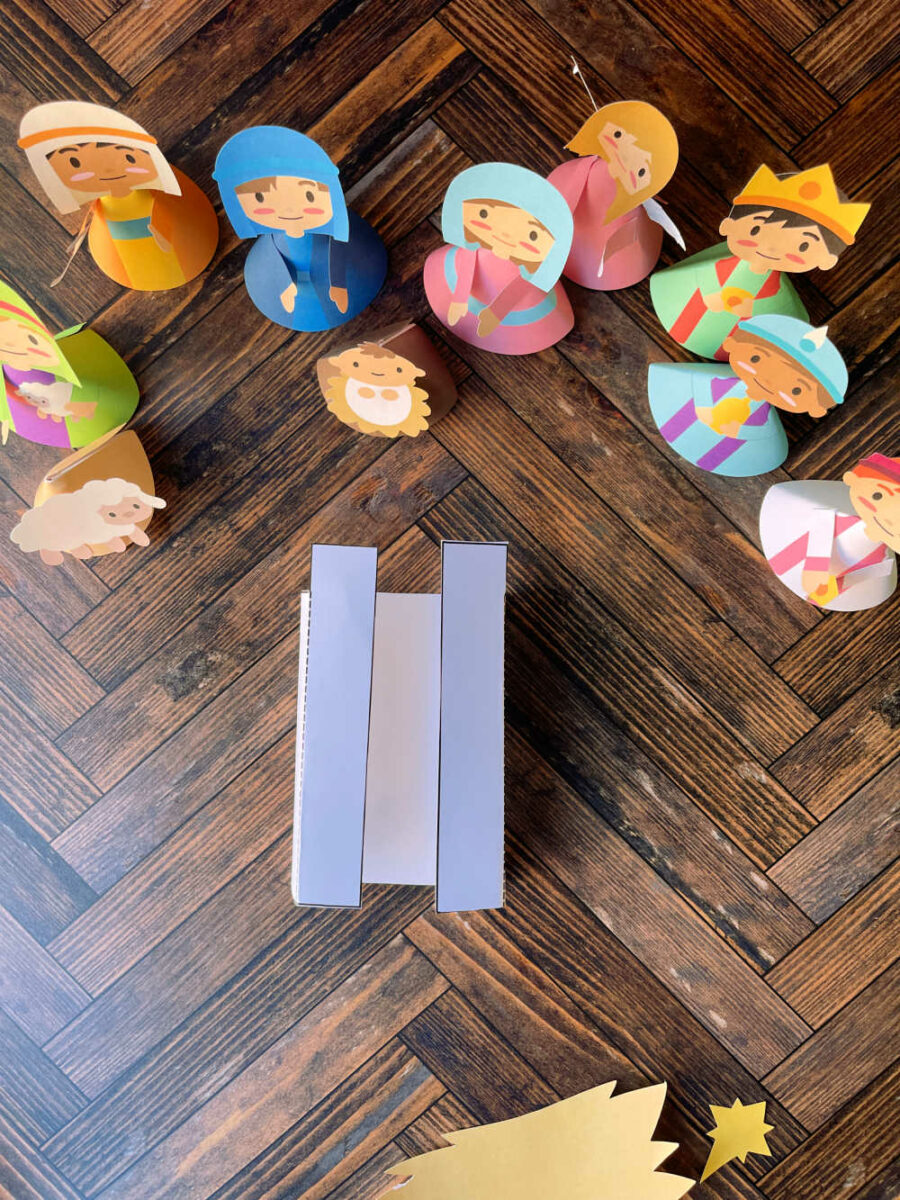
To make the manger stand, cut out the solid lines. Fold accordion style on the dotted lines.
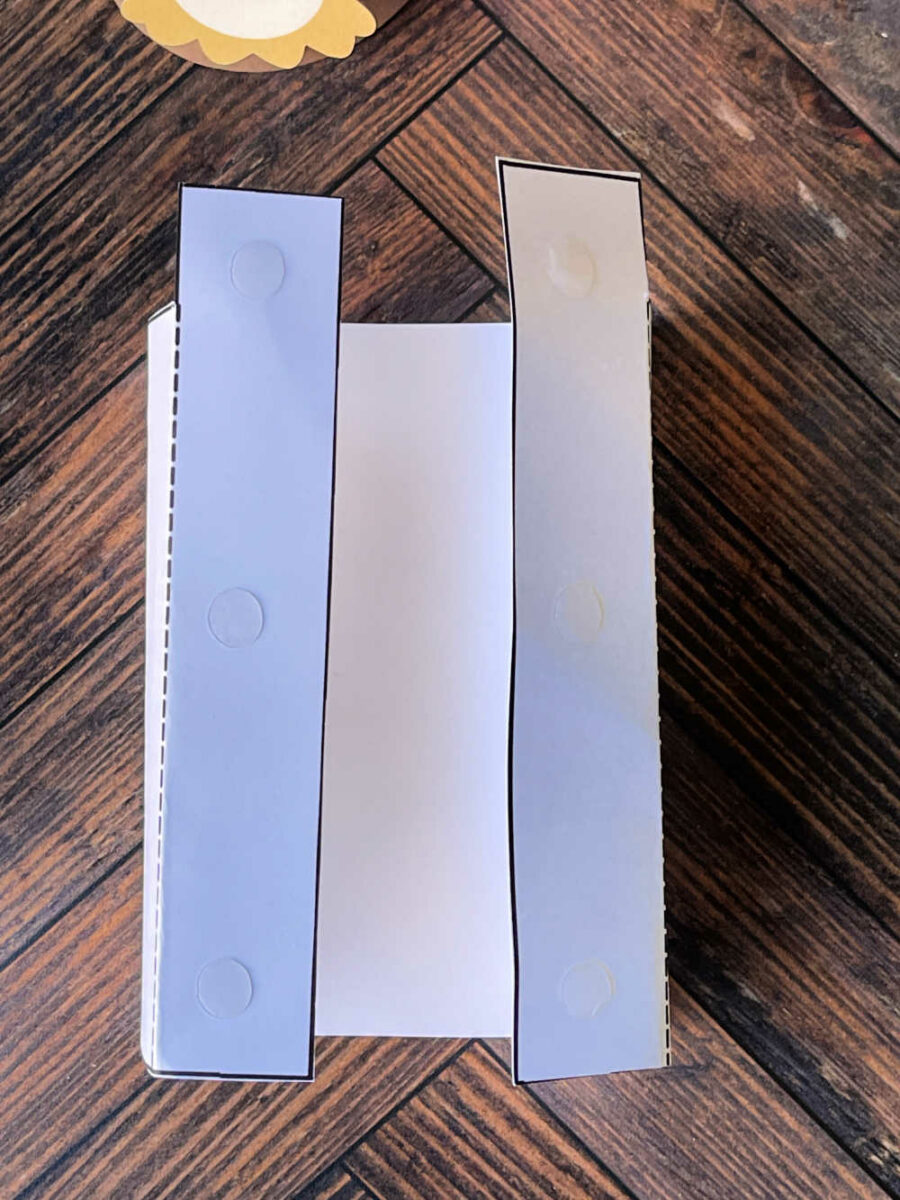
Put glue or Glue Dots along the folded pieces of the manger stand.
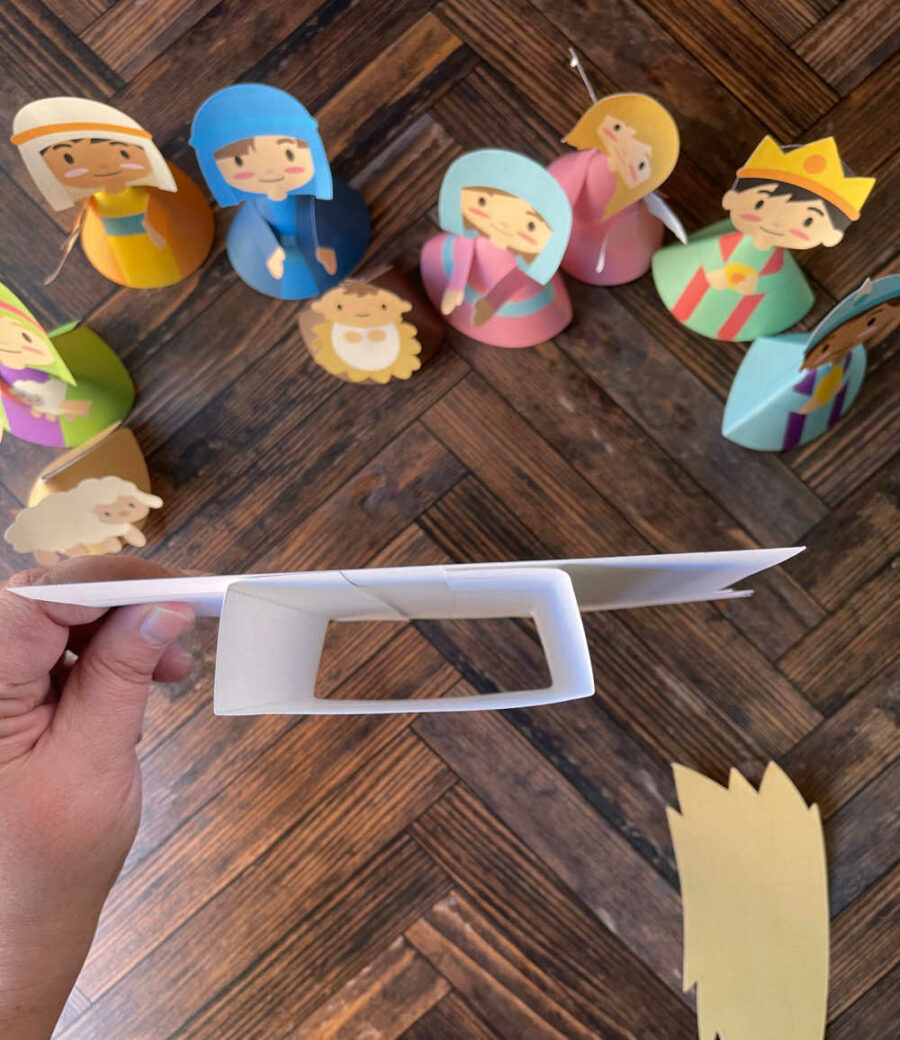
Glue the stand to the back of the manger with the open side facing the manger.
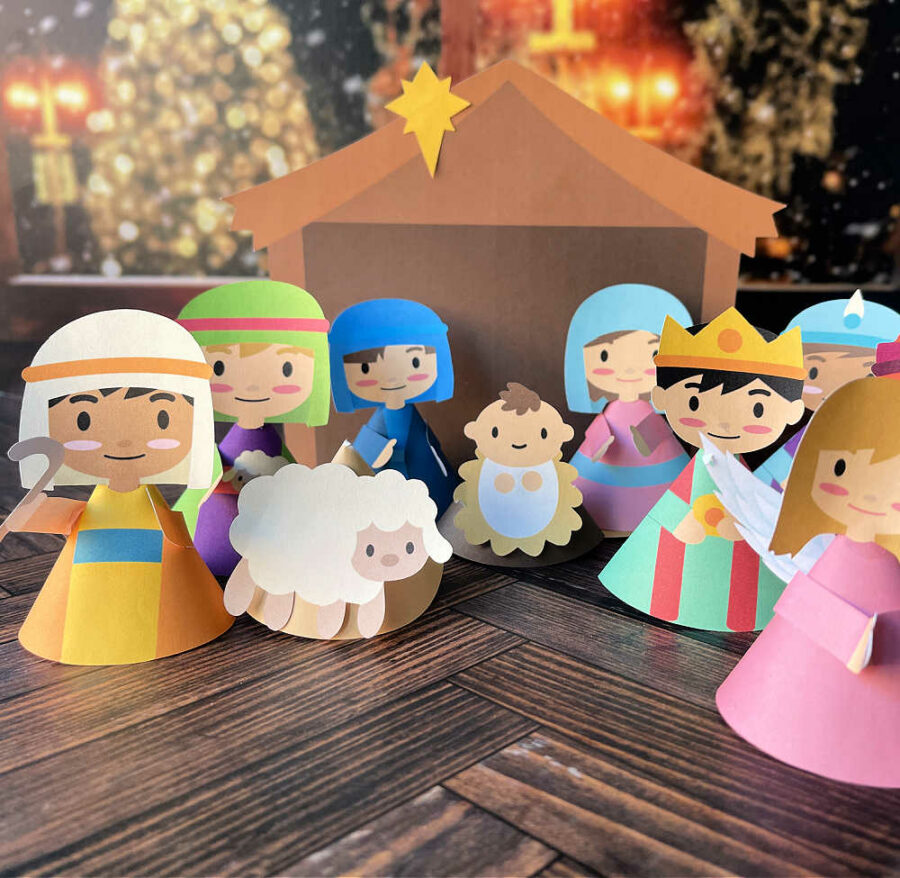
Glue the star to the roof of the manger. The hay is not attached to the manger. You can just lay it on the table in front of the manger.

You can also glue the angel to the roof of the manger.
The entire nativity is ready to go! Enjoy displaying it during the Christmas season.