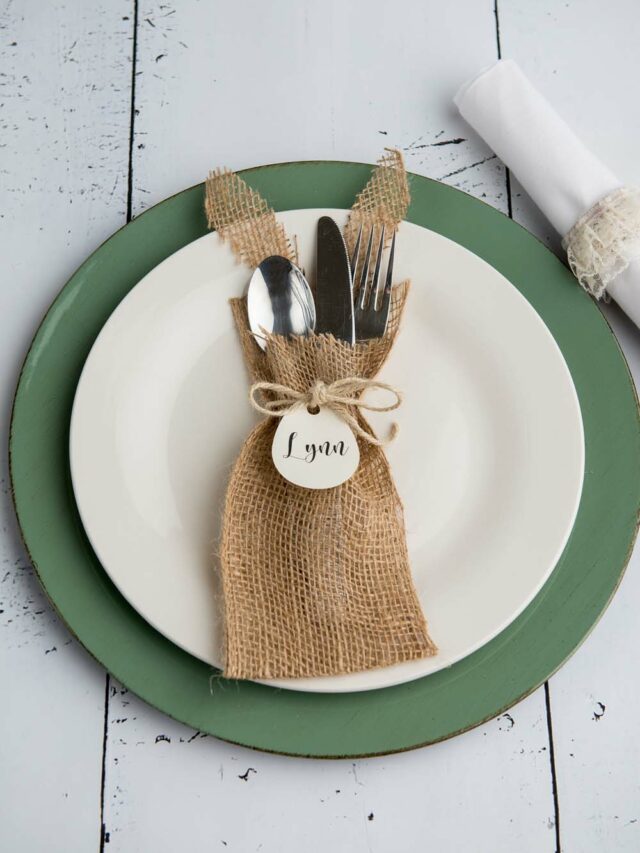
DIY bunny ears Easter silverware holders create a charming Easter tablescape! Perfect for adding a rustic touch to your Easter place settings, these burlap silverware holders are easy to make using a bunny ear template and a Cricut cutting machine.
With their adorable bunny ear designs and 4 different name tag options, these Easter silverware holders will delight your guests and make your Easter celebrations extra special. In this tutorial, we’ll walk you through how to make these cute and functional silverware holders step-by-step, so you can impress your guests with your DIY skills and add a personal touch to your Easter table decor.

Easter Silverware Holders
Pin For Later-

Reader’s Favorite!
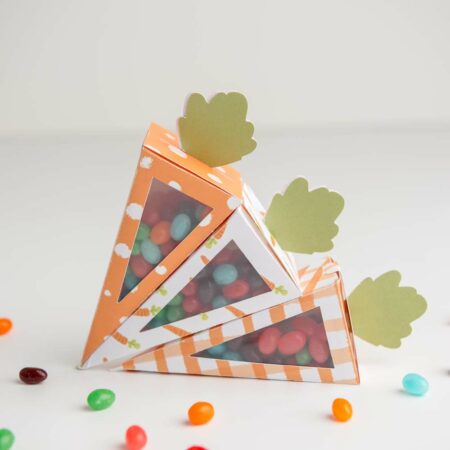
How to Make a Carrot Treat Box with Cricut
-
Reader’s Favorite!
Easter Bunny Plate with Cricut

Easter Silverware Holders Materials and Tools
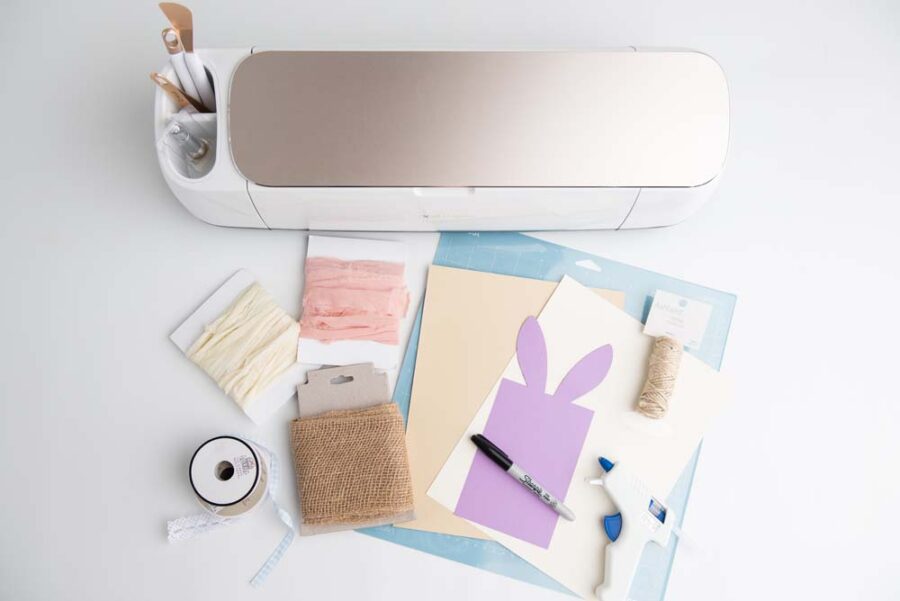
- Cricut Cutting Machine
- 65-80 lb Cardstock – 8.5″ x 11″ sheets
- 5″-6″ Burlap
- Easter Silverware holder SVG file
- Hot glue gun and glue sticks
- Cricut LightGrip mat (blue)
- Ribbon of your choice
- Printer (if using Print then Cut)
- Pen or Sharpie
- Scissors
Easter Silverware Holder Instructions
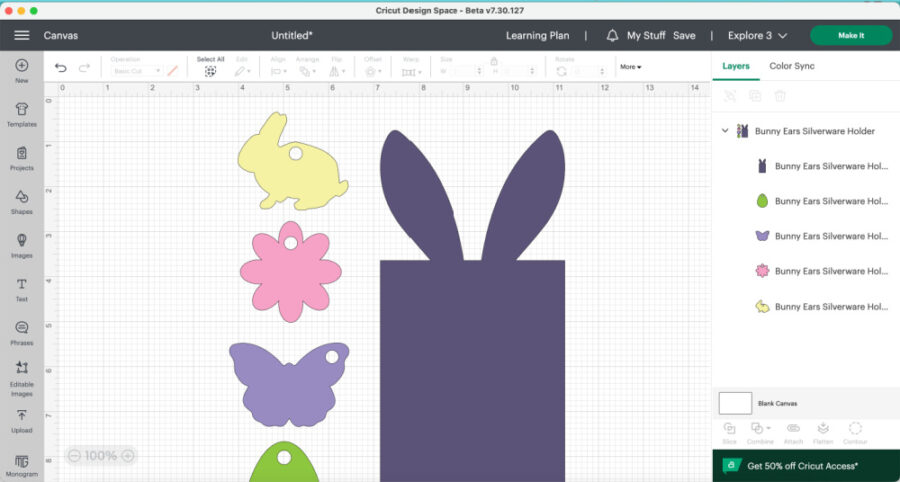
Upload the silverware holder SVG file into Design Space. Need help uploading? See our tutorial on How to Upload an SVG or Image to Cricut Design Space.
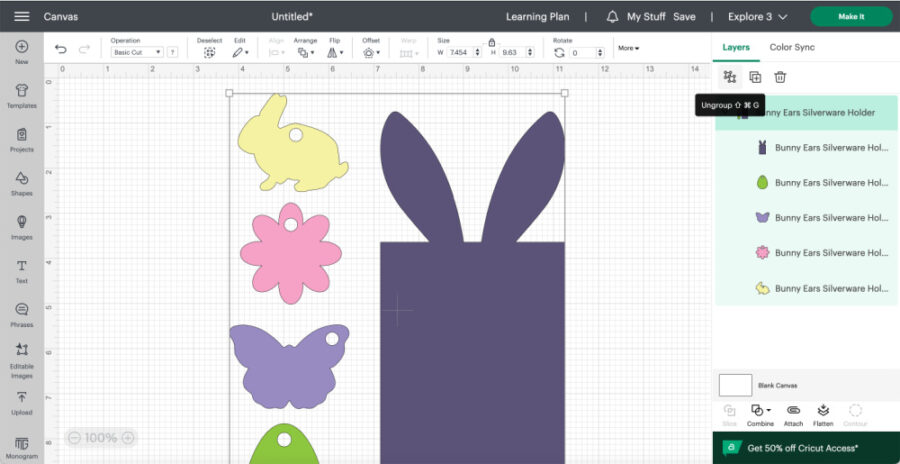
Highlight the design and click “Ungroup” in the top right of the dashboard. This will allow you to work in each layer individually.
First, you will cut out just the bunny ears layer. Turn off all the other layers by clicking the eye icon on the right-hand side of the layers panel, while leaving the purple ear tracing template visible.
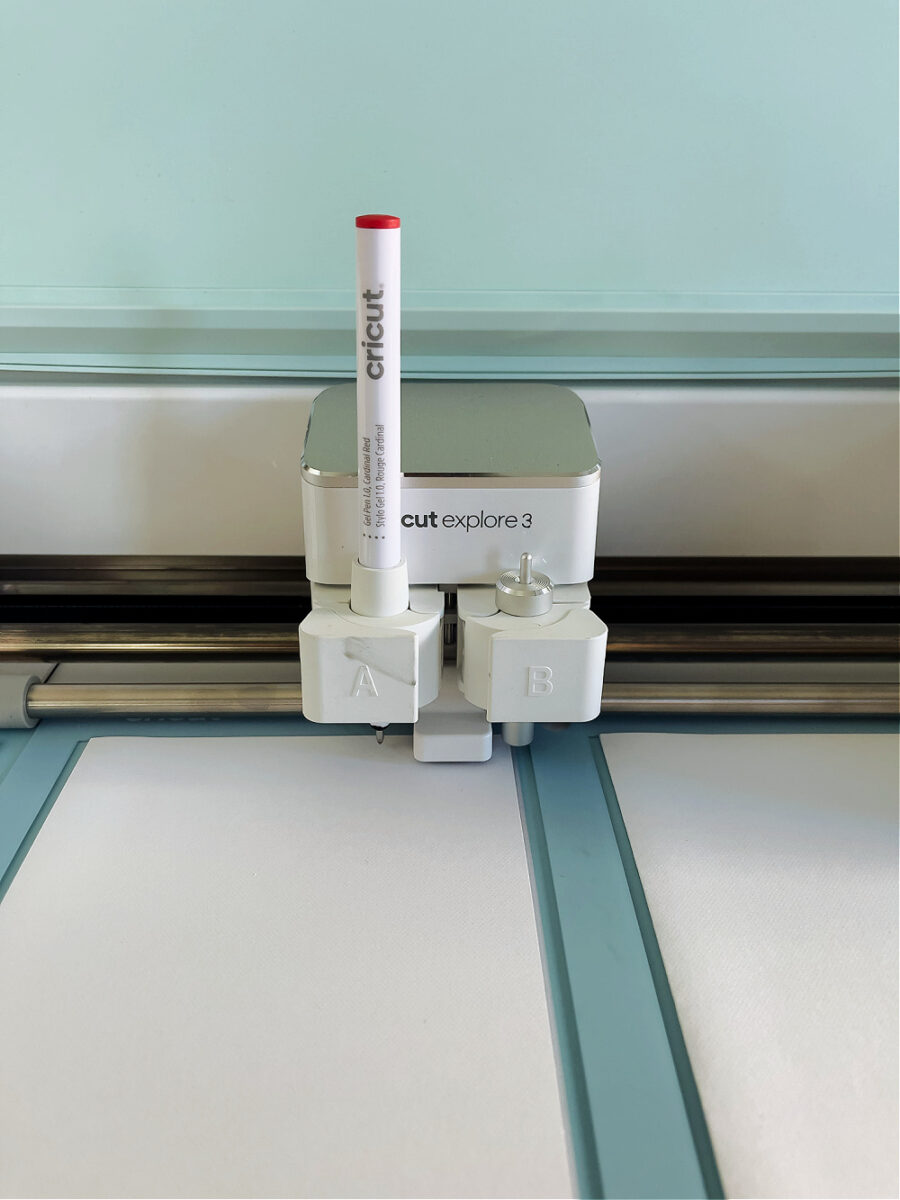
Send the bunny ears to your Cricut machine to cut.
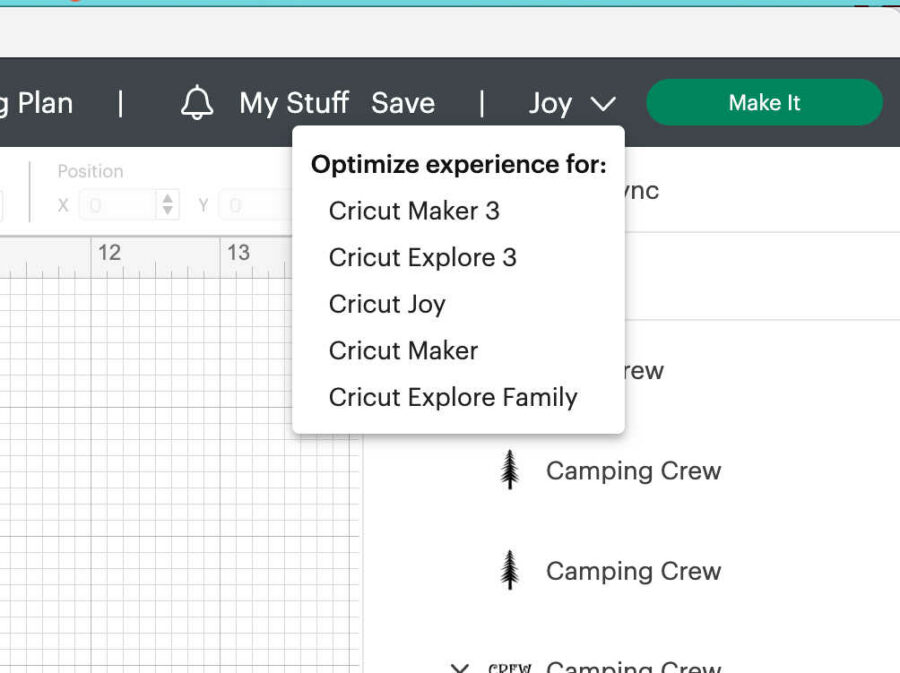
Choose your machine in the drop-down box on the top right.
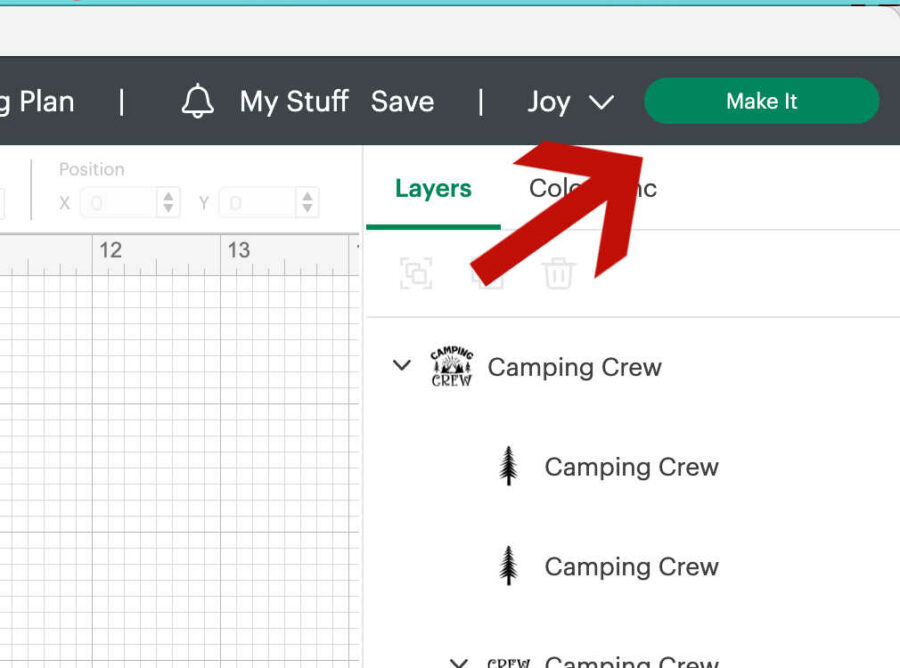
Then click “Make it” on the top right of the screen.
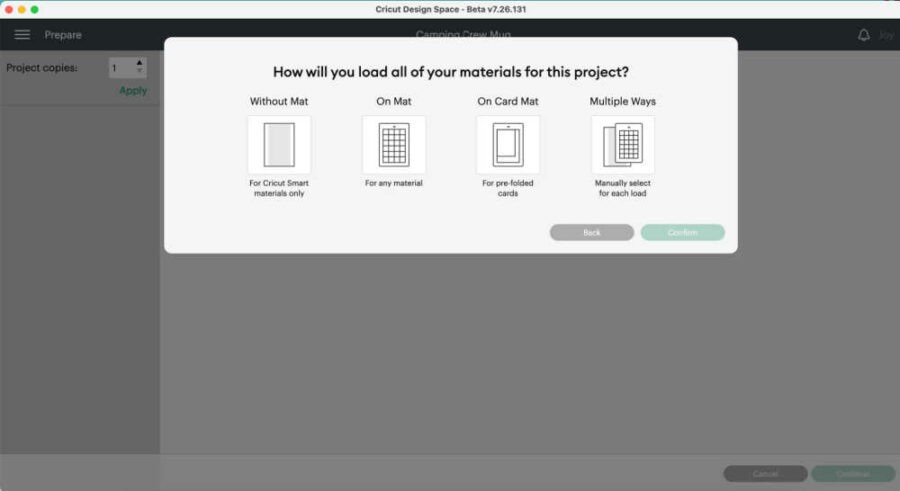
On the next screen, choose “On mat for any material.”Click “Confirm” in the bottom right corner.

On the next screen, you will see how the Cricut will cut your image on the vinyl. If you use a mat, it will show you where the image will be on the mat. You can move the image around as needed.
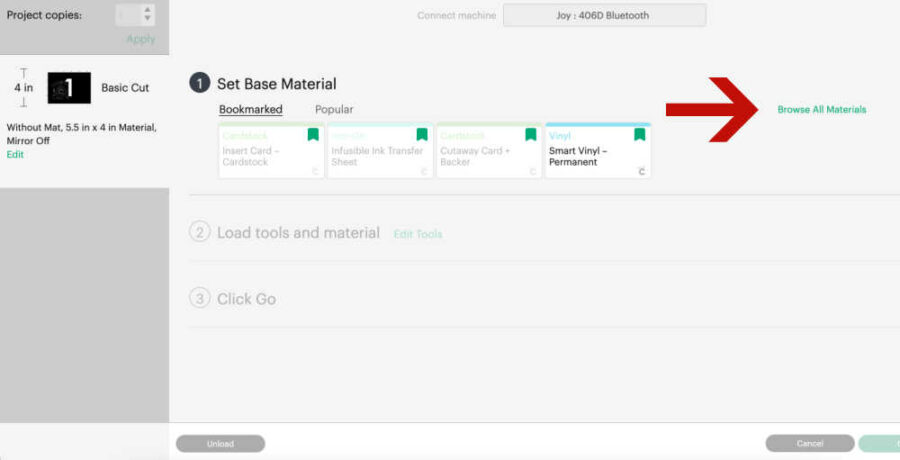
Once you click continue, Design Space will connect via BlueTooth to your machine. Once it has connected, you will choose the material you want to cut. You can click “Browse Materials” and choose medium cardstock.
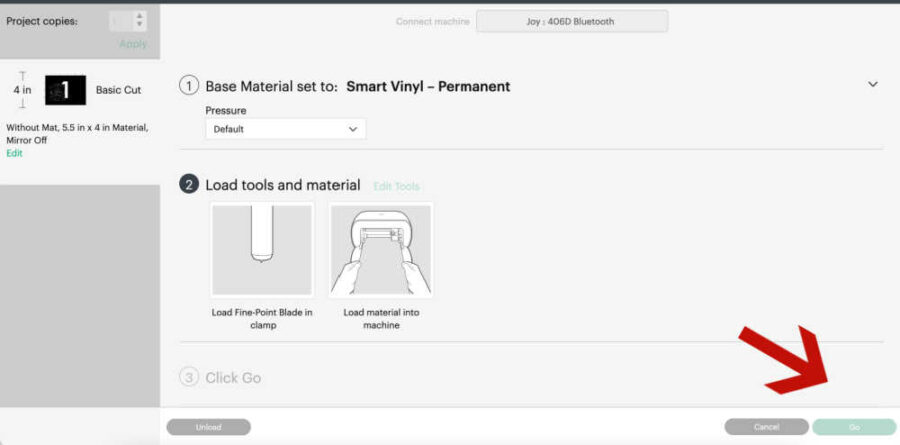
The machine is set to default pressure. Change the pressure to high pressure.
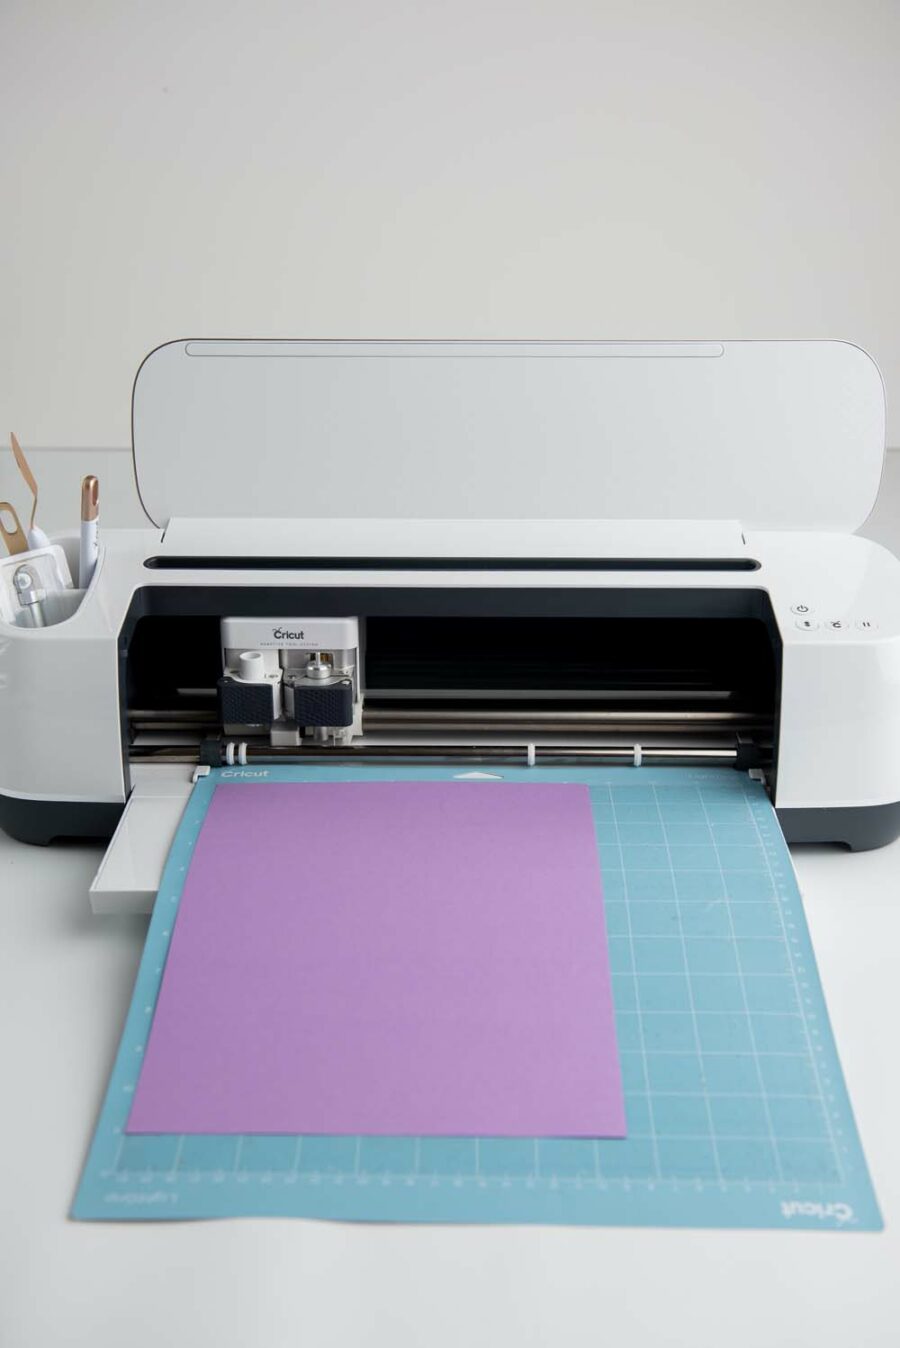
Put the cardstock on LightGrip Mat and load it into the machine. Press the “Go” button on the bottom right of the screen. Once the cut is finished, unload the mat and click “Done” in Design Space. Remove the bunny ears and excess cardstock from the mat.
How to add names to the silverware holders.
There are 4 shapes you can cut out and use to put names on for place settings: a bunny, a butterfly, an egg, and a flower. You can leave them blank and use them as decoration as well. There are a few different ways you can add names to the tags.
First, you can cut out the shapes you want with your Cricut and then handwrite the names on the tags.
Second, use the “Print then Cut” option with a Cricut Explore and Maker. The Cricut Joy does not have a print-then-cut option.
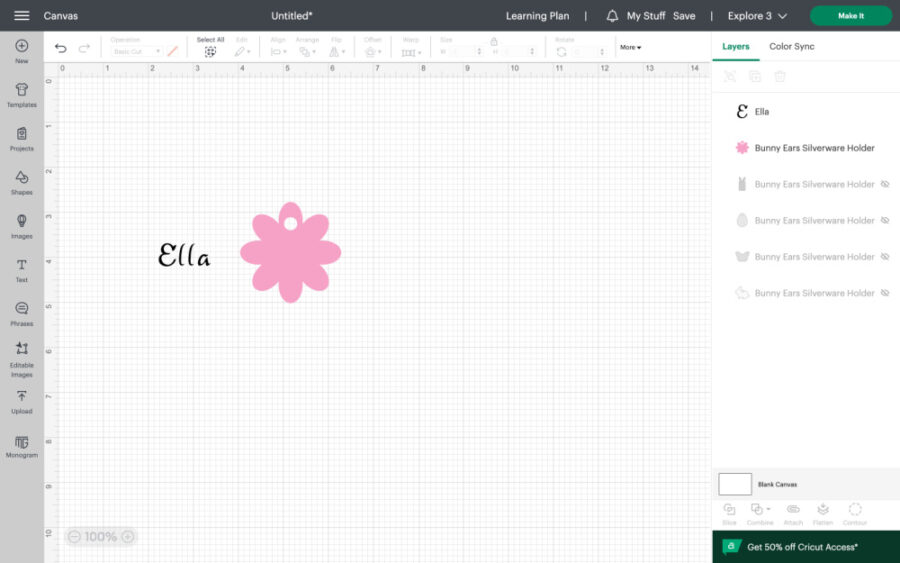
To do this, add text to the canvas and type the name. We hid all other layers except the flower. You can work on 1 tag at a time or multiple tags simultaneously. Use the eye on the right side to hide and unhide layers.
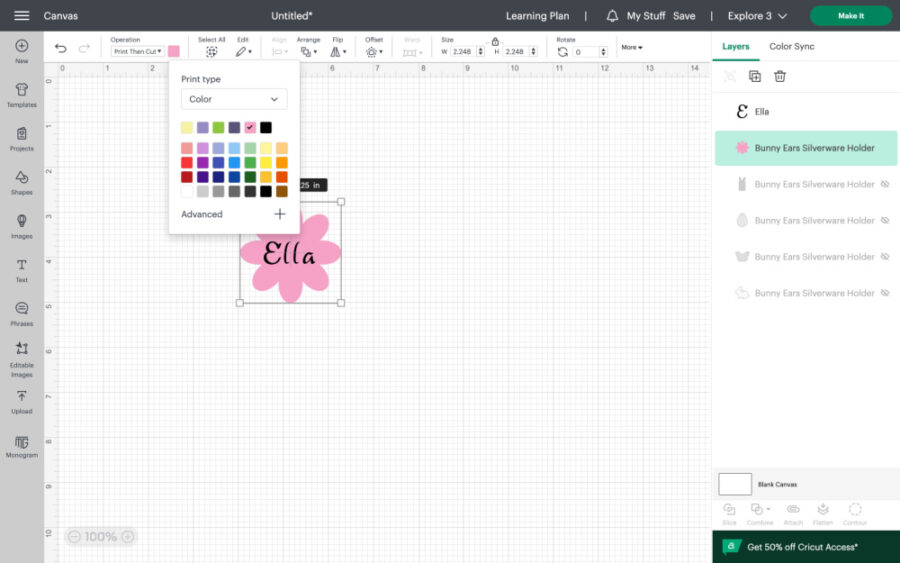
You can change the color and the tag size if you want.
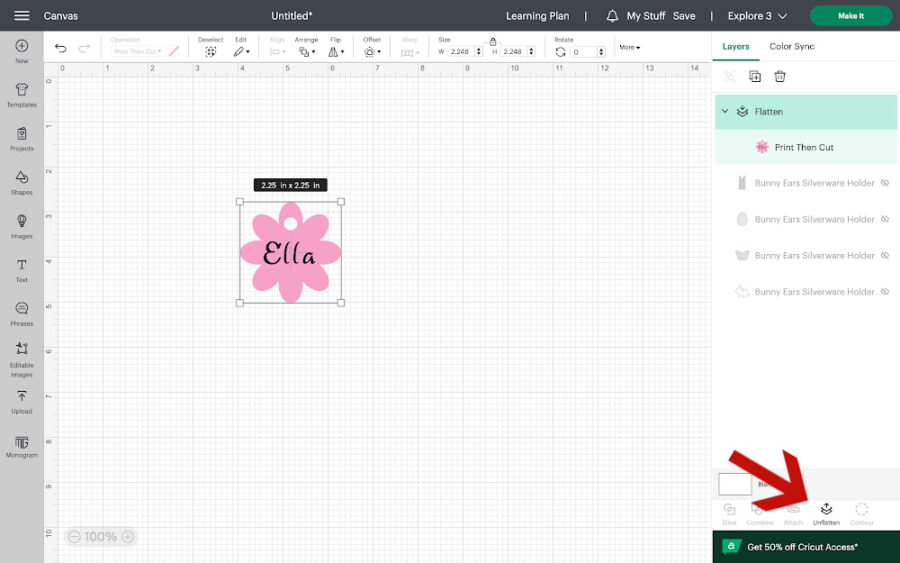
Move the name to where you’d like it on the tag. Select both layers (the tag and the text) and hit flatten on the bottom right of the dashboard. This will create a print and cut layer.
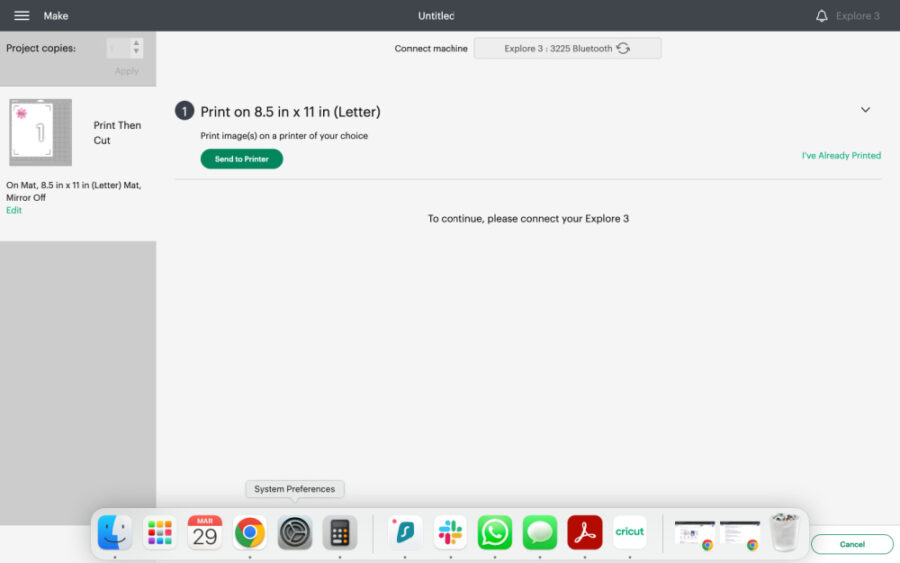
Click “Make it” and then follow the prompts to send the tag to your printer to print. You can print on paper or cardstock.
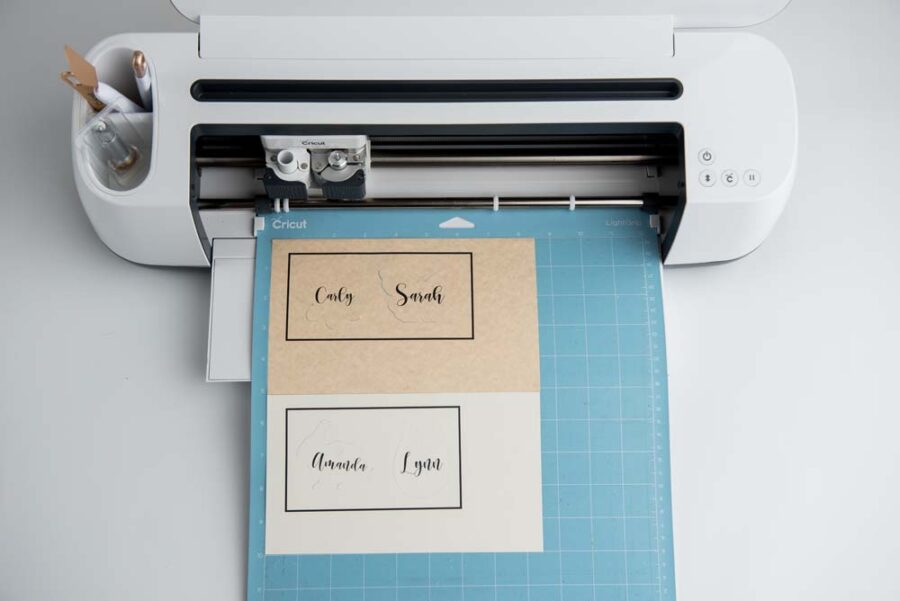
Remove the paper from your printer and put it on a blue LightGrip mat to cut. Follow the prompts in Design Space to load the mat into the machine to cut. Unload the mat when finished cutting and remove the tags from the mat.
Finally, you can add the text using the write function with a Cricut Pen. Check out our Easy Pumpkin Thanksgiving Place Cards for instructions on using a Cricut pen to write names. You can use a pen with all Cricut cutting machines, including the Joy.
Assemble the Silverware Holders
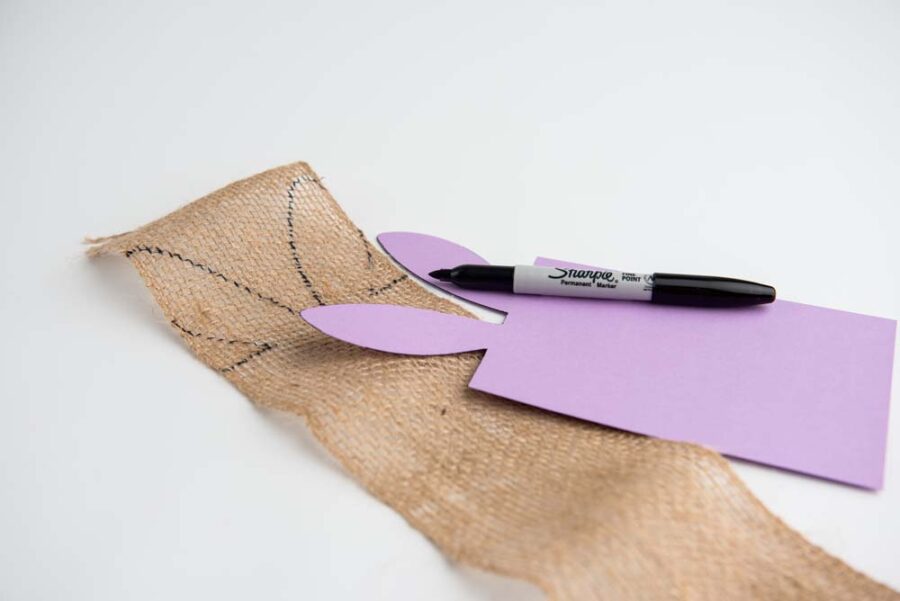
Once all pieces are cut, use the ear tracing template and trace the tops of the ears on the burlap. We used burlap, but you could also use felt, a thick ribbon, or other fabric. Use scissors to cut out the ears.

Line up the silverware to determine the length of burlap needed to cut and fold over to create the pocket for utensils. After the length is cut, line up the edges and apply a line of hot glue down each side.

Use the ribbon to tie a bow from the back of the pocket to the front, add the tags previously cut, and you’re finished! You can also use yarn or twine instead of ribbon to attach the tag to the holder.


How to Make Bunny Ears Easter Silverware Holders
Equipment
- Cricut Cutting Machine
- Hot glue gun and glue sticks
- Cricut LightGrip mat (blue)
- Ribbon of your choice
- Printer (if using Print then Cut)
- Pen or Sharpie
- Scissors
Materials
- 65-80 lb Cardstock 8.5″ x 11″ sheets
- 5″- 6″ Burlap
- Easter Silverware holder SVG file
Instructions
- Upload the silverware holder SVG file into Design Space.
- Highlight the design and click “ungroup.”
- Turn off all the other layers by clicking the eye icon on the right-hand side of the layers panel.
- Click "make it."
- Choose On mat printing. If the design looks fine, click continue.
- Choose Medium cardstock as the material and increase the cut pressure.
- Put cardstock on a LightGrip mat. Load into the machine and click "Go." Unload mat when finished and remove bunny from the mat.
- There are 4 shapes you can cut out and use to put names on for place settings. You can print and then handwrite the names.
- To use print then cut for the names, use the text option to add the name or names to the canvas.
- Move the name to where you’d like it on the tag. Select both layers (the tag and the text) and hit flatten on the bottom right of the dashboard.
- Click “Make it” and then follow the prompts to send the tag to your printer to print. You can print on paper or cardstock.
- Remove the paper from your printer and put it on a blue LightGrip mat to cut. Follow the prompts in Design Space to load the mat into the machine to cut. Unload the mat when finished cutting and remove the tags from the mat.
- Once all pieces are cut, use the ear tracing template and trace the tops of the ears on the burlap.
- Line up the silverware to determine the length of burlap needed to cut and fold over to create the pocket for utensils. After the length is cut, line up the edges and apply a line of hot glue down each side.
- Use the ribbon to tie a bow from the back of the pocket to the front, add the tags previously cut, and you’re finished!