
Learning how to upload an SVG or image file to Cricut Design Space is one of the best ways to make the most of your Cricut machine. Once the files are uploaded, you can edit and manipulate them to make all kinds of crafts and DIY projects. Uploading the files is quick easy to do in just a few steps.
How to Upload an Image or SVG file into Cricut Design Space
What is an SVG?
SVG stands for Scalable Vector Graphics, and it is a type of image file that is based on vectors. Vectors are mathematical equations that define the shapes and lines in an image, which means that an SVG image can be scaled up or down without losing quality. On the other hand, images are made up of pixels, and if you scale them up too much, they can become blurry or pixelated.
If you have a specific image or logo that you want to use, like a printable for a birthday party, uploading it as an image file (JPG or PNG) can be the easiest option. Additionally, if you have a photo or a drawing that you want to use in your project, you can upload it as an image and use Cricut Design Space’s tools to edit and manipulate it. These files are usually best used with Cricut’s Print Then Cut feature, although they can sometimes be edited so that they cut like an SVG file.
Why Upload an SVG?


The main advantage of using SVGs is that they can be resized without losing quality. This means that you can use the same design for different projects, and you won’t have to worry about it looking blurry. Additionally, SVGs are editable, which means that you can change the colors, shapes, and other elements of the design to fit your needs.
Uploading SVGs and Images to Design Space
We use Design Space on a Mac laptop. The app may be a little different for uploading.
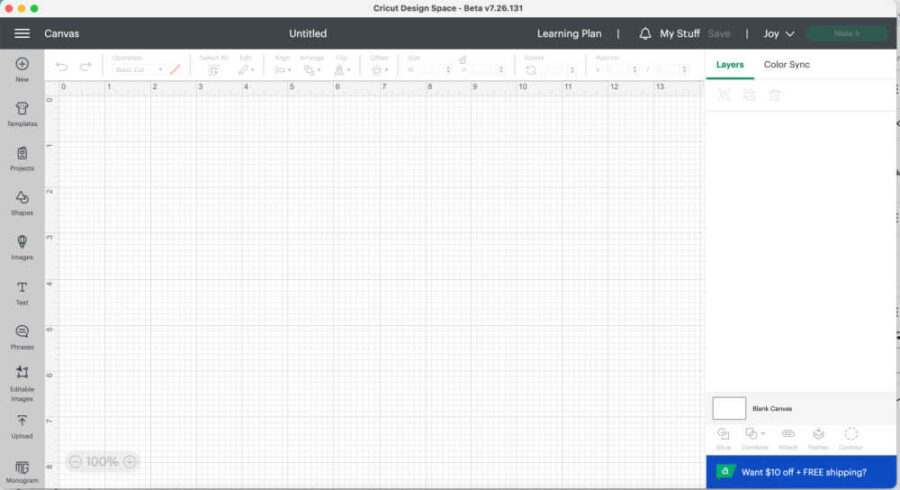
On your laptop, open Design Space and click “New Project” on the top left of the screen. This will bring you a blank canvas, as you see above.
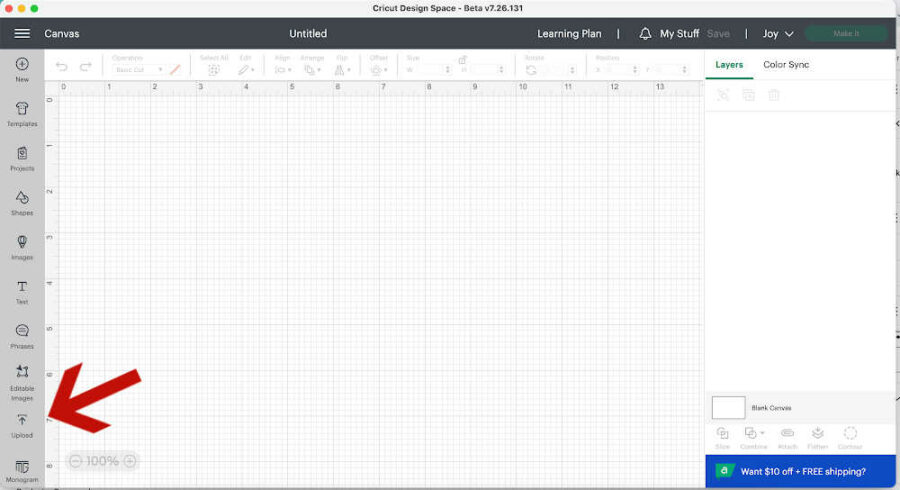
Click “Upload” on the bottom of the gray dashboard on the left side of the screen.
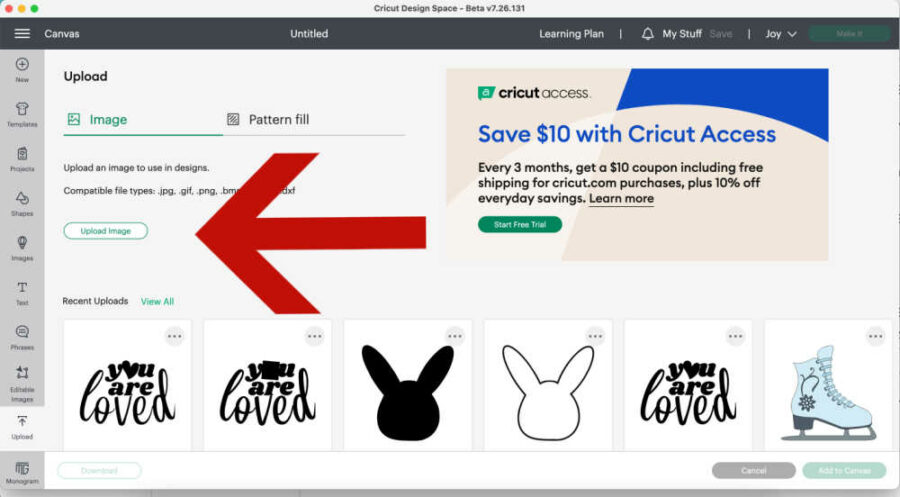
Click “Upload Image” on the next screen.
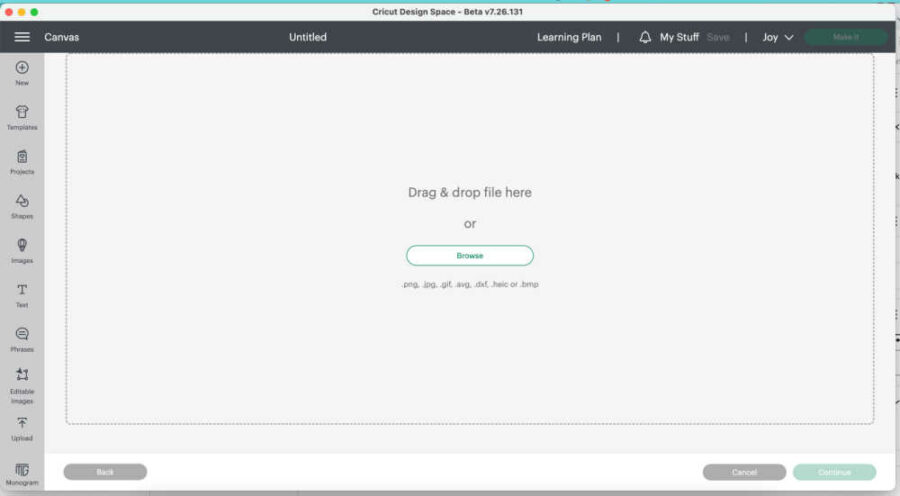
Click “Browse” and choose the SVG file you want to upload.

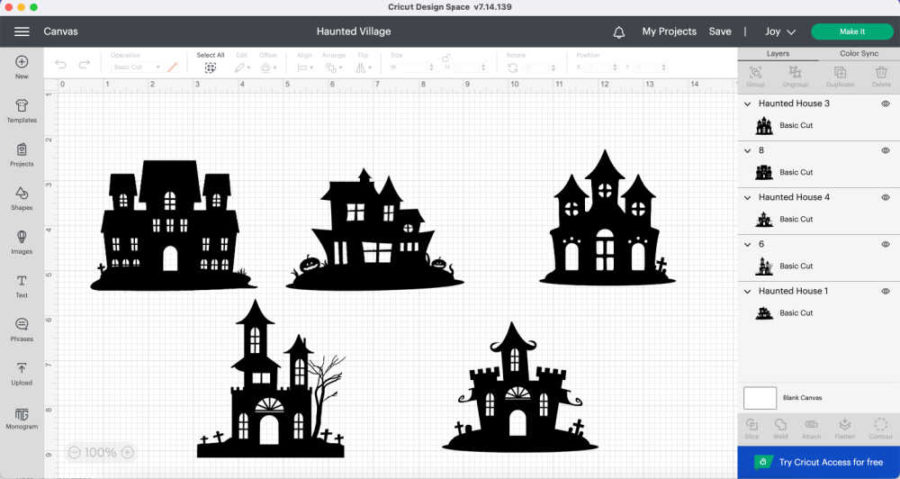
Because this is an SVG file, your only option will be to create a cut file. SVGs are the best type of file for cutting materials like adhesive vinyl and heat transfer vinyl. They are also best if making a project out of cardstock. If you are purchasing files to use on a Cricut, make sure you get an SVG.
On the top right, name the file and then press upload on the bottom right. This will add the SVG to your Design Space account.
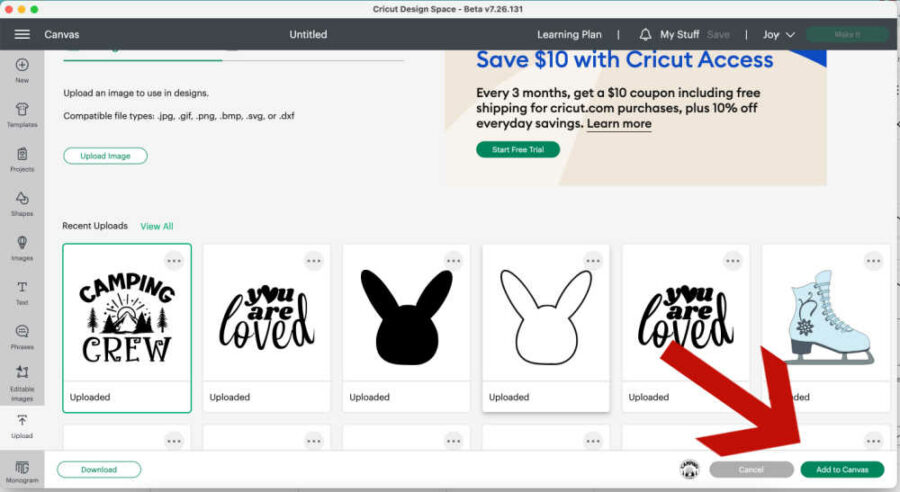
The next screen shows that the SVG has been uploaded and is ready to select. Once it is uploaded, the image will remain in your account. When ready to use the design, click “Add to canvas” on the bottom right. Your image is now on the Design Space canvas, ready to be edited and cut.
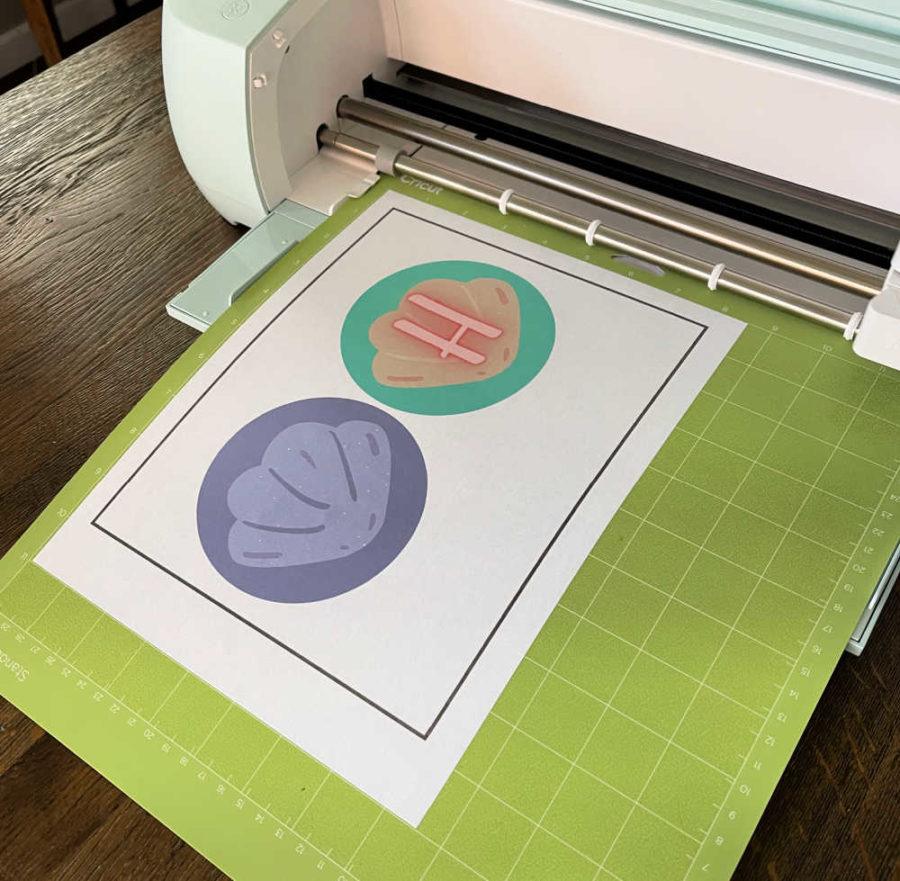
Resize the cut image to fit the blank.

You may need to adjust the file size when it is added to the canvas in Design Space. Measure the size of your blank. Readjust the size of your image in Design Space to fit.
Edit the image.
You can leave the image just as it is and create your craft. Most SVG files will come in layers. So you can highlight the image and then click “Ungroup” to work on different file layers.
That’s it! Your SVG or image file is now ready to be used in all your creative endeavors.