Add a sweet twist to your elf’s adventures with a printable elf ice cream shop. This delightful DIY project is fun for parents to set the scene for their children, offering them a whimsically sweet surprise come morning.
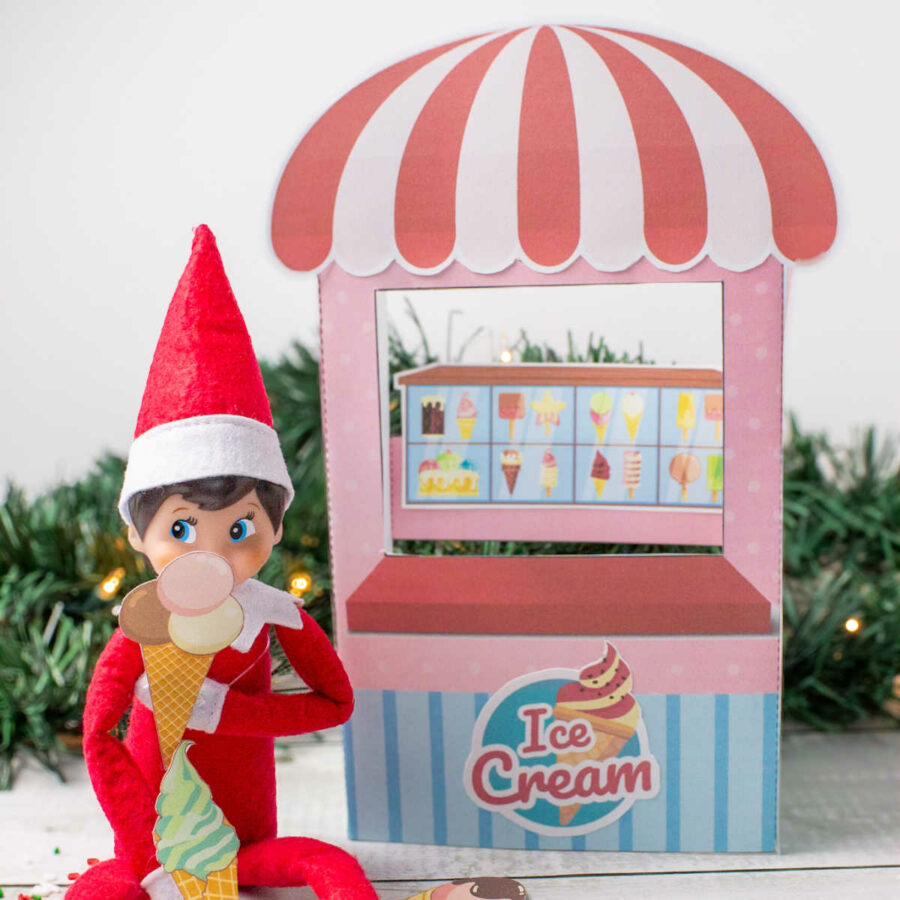
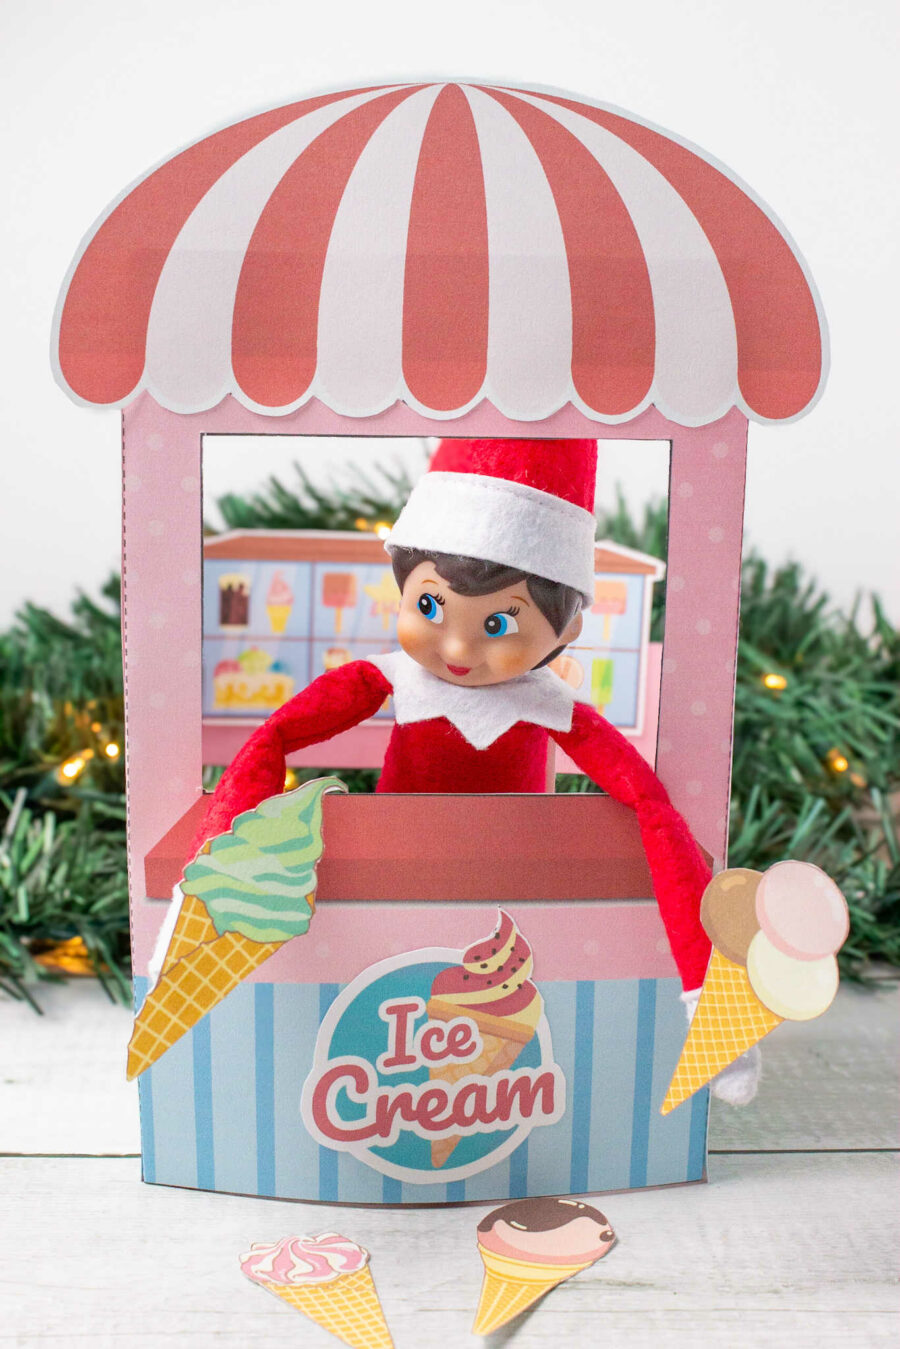
The Printable Ice Cream Shop is a paper-based, cut-out model of a delightful ice cream stand, complete with mini-ice cream cones. It’s designed to be the perfect size for your family’s Christmas Elf. You can use the shop over many days and use it to create several enchanting scenarios where your elf either “sells” ice creams to other toys or enjoys a mini cone itself.
Magical Printable Elf Ice Cream Shop
The holiday season is a time of fun family traditions like an Advent calendar or going on a Christmas Light Scavenger Hunt. The ‘ family elf ‘ tradition is another fun Christmas tradition families engage in. Once you have officially adopted an elf and perhaps set up an Elf house, now what?
But finding something creative to have the elf do every night can make December feel like a very long month. Use this cute Elf Ice Cream shop to make the month sweeter.
Printable Elf Ice Cream Shop
Pin For Later-
Reader’s Favorite!
Elf Welcome Party
-
Reader’s Favorite!
Magical Printable Elf House to Color
How to Create the Elf Ice Cream Shop
Download, print, and cut:
You can print the house on paper or cardstock, depending on your desired sturdiness. Cardstock will make a more durable house, especially if played with often.
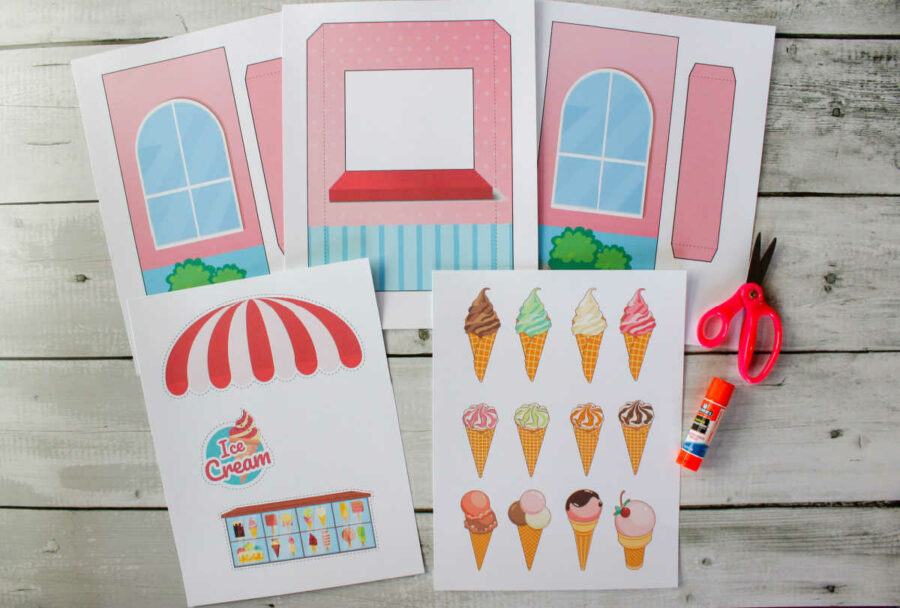
Download the files to your computer and print them on a color printer.
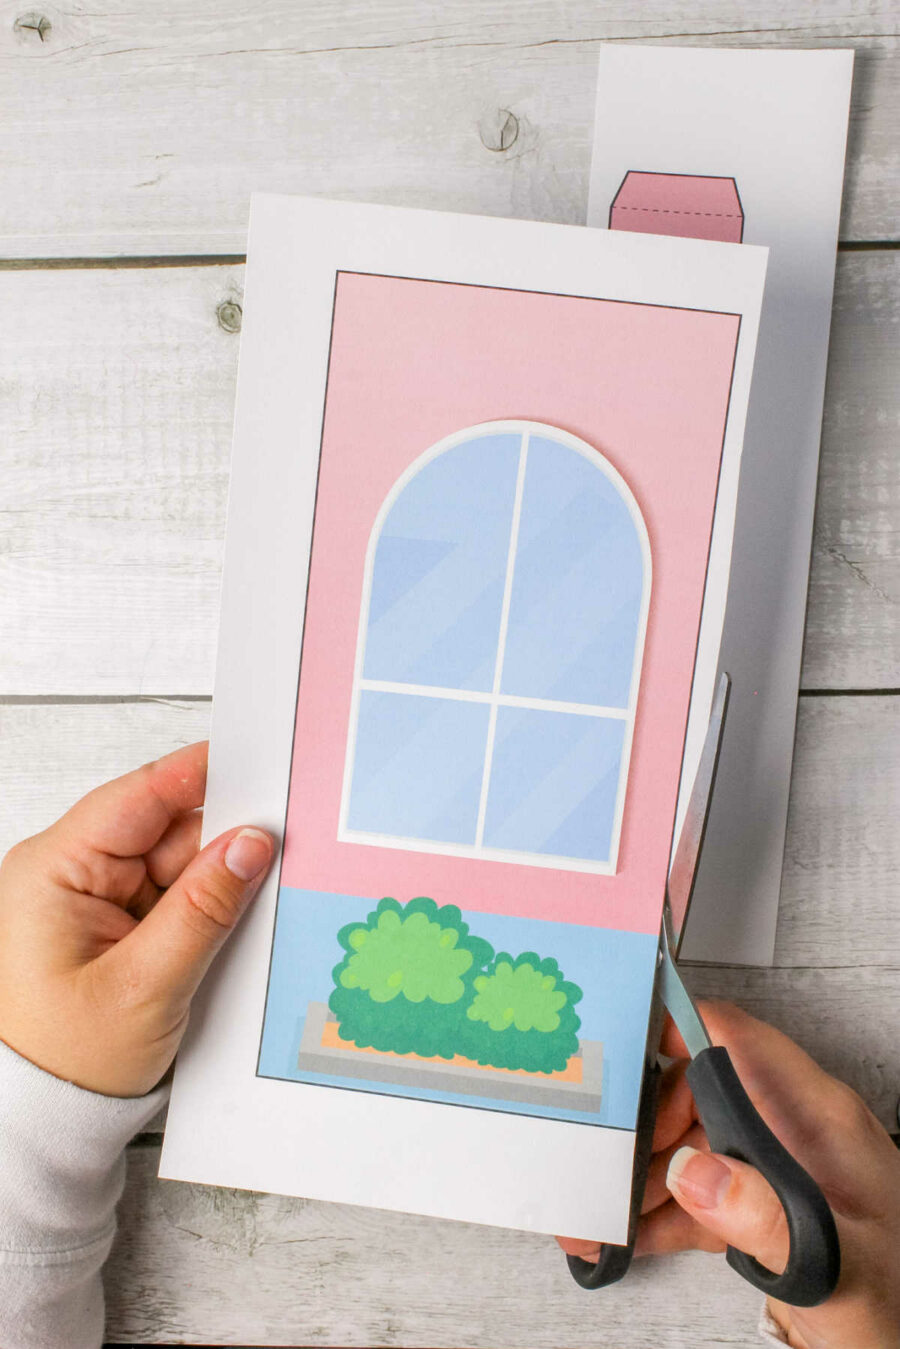
Cut out all the ice cream shop pieces, plus the ice cream cones. Use scissors and cut along the solid lines.
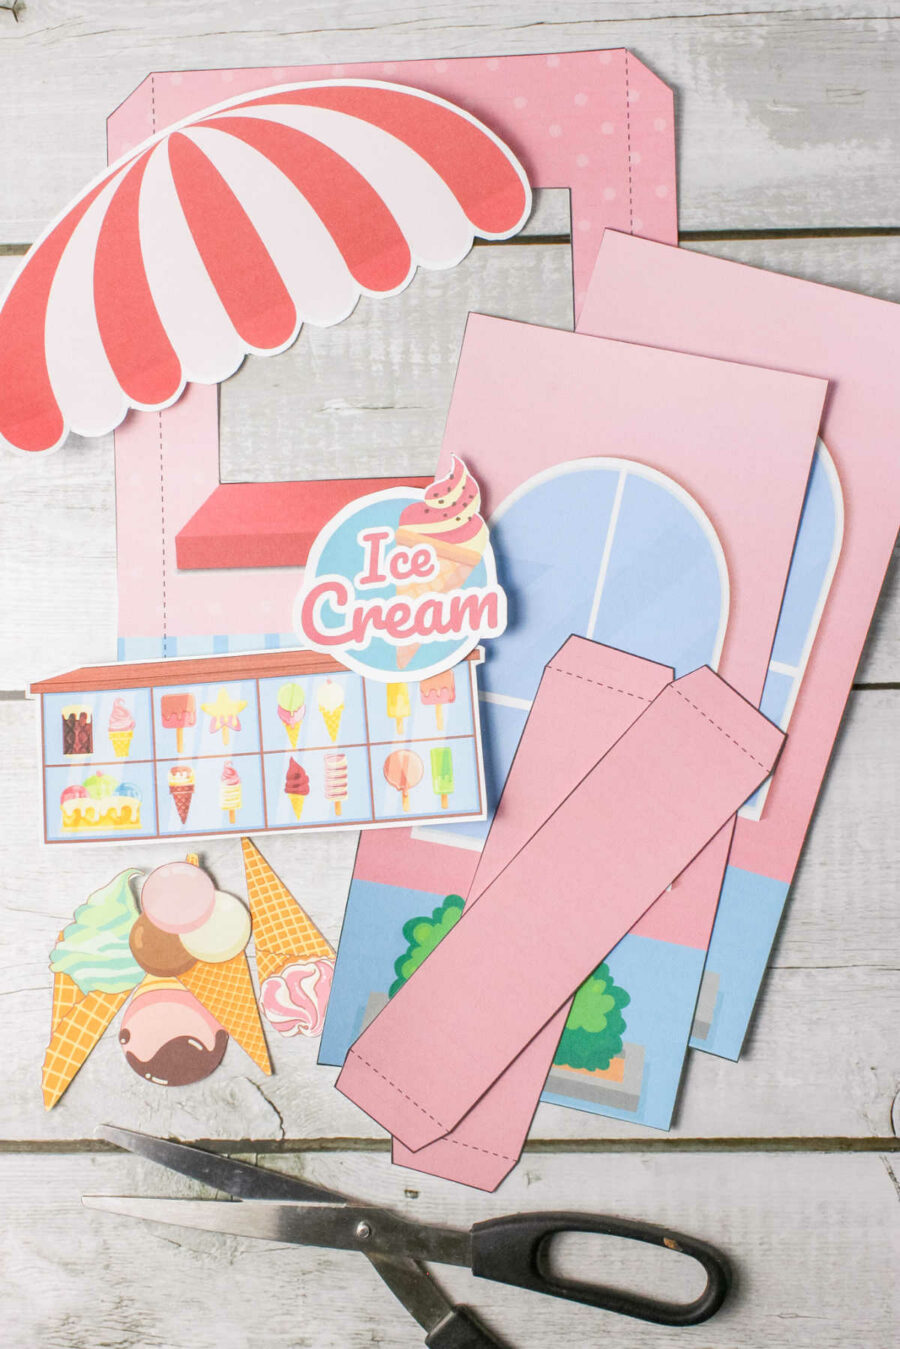
You can also try using Cricut’s Print Then Cut setting to cut it out.
How to Assemble the Ice Cream Shop:
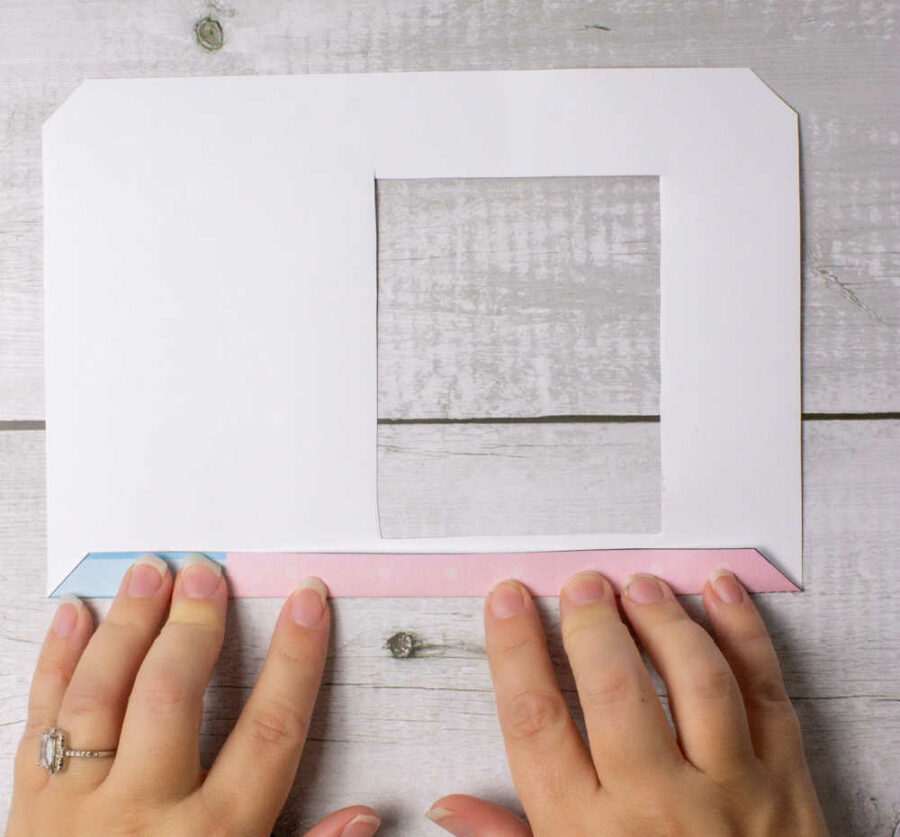
Once all the pieces are cut out, fold down the tabs and along the dotted lines and start gluing. Fold down the long tabs on the side of the ice cream shop.
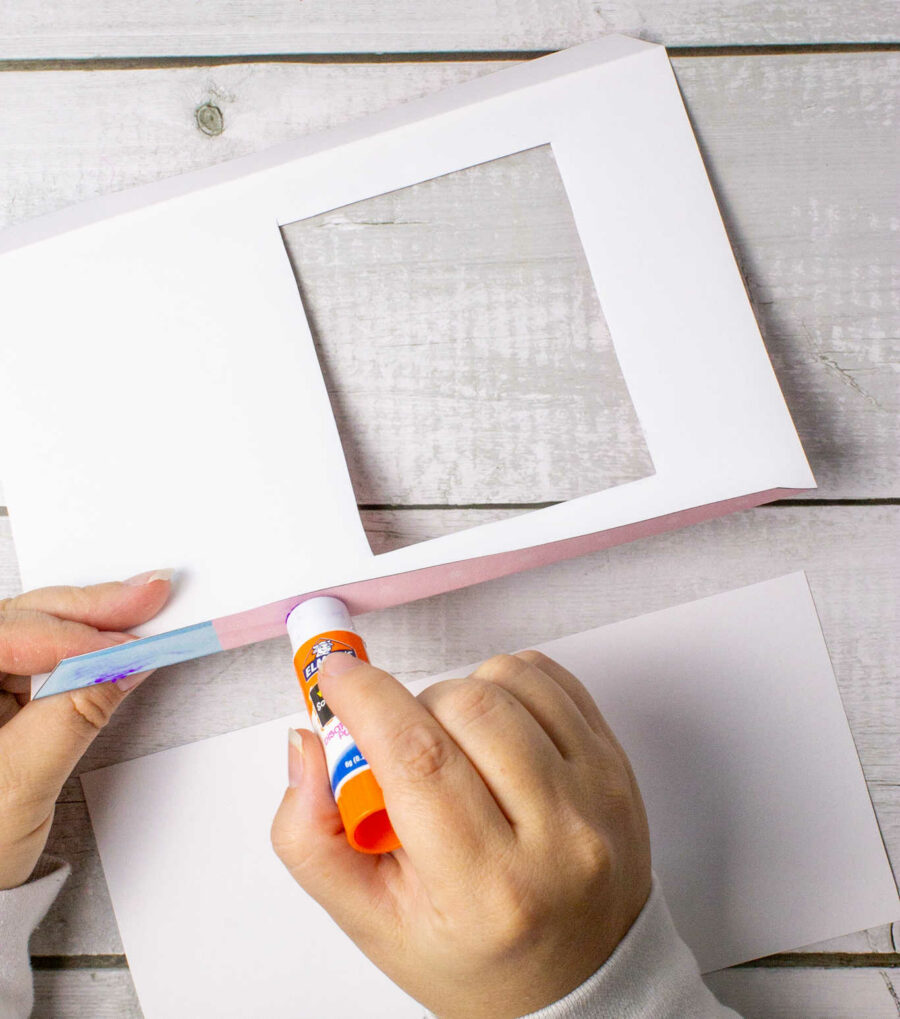
Put glue, a glue stick, or Glue Dots on the printed side of the tabs.
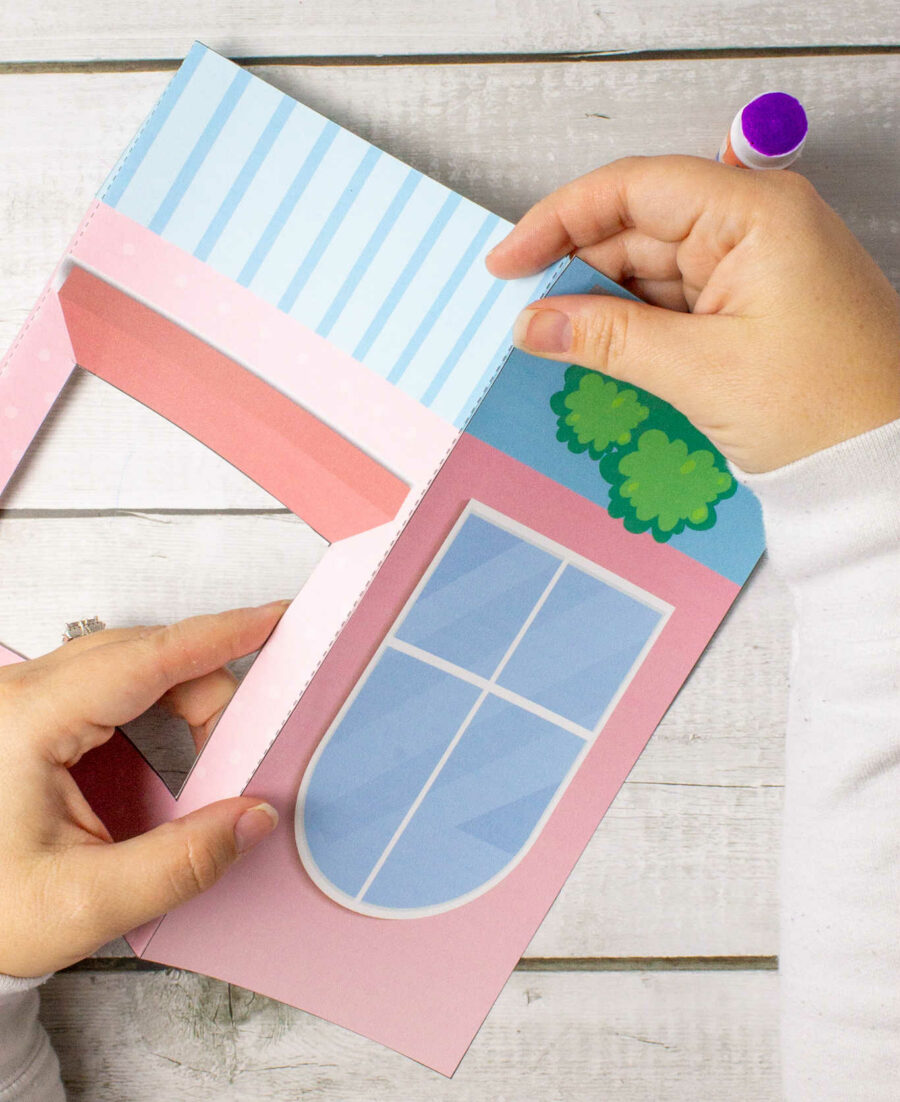
Attach the sides of the shop to the tabs. Do this on both sides.
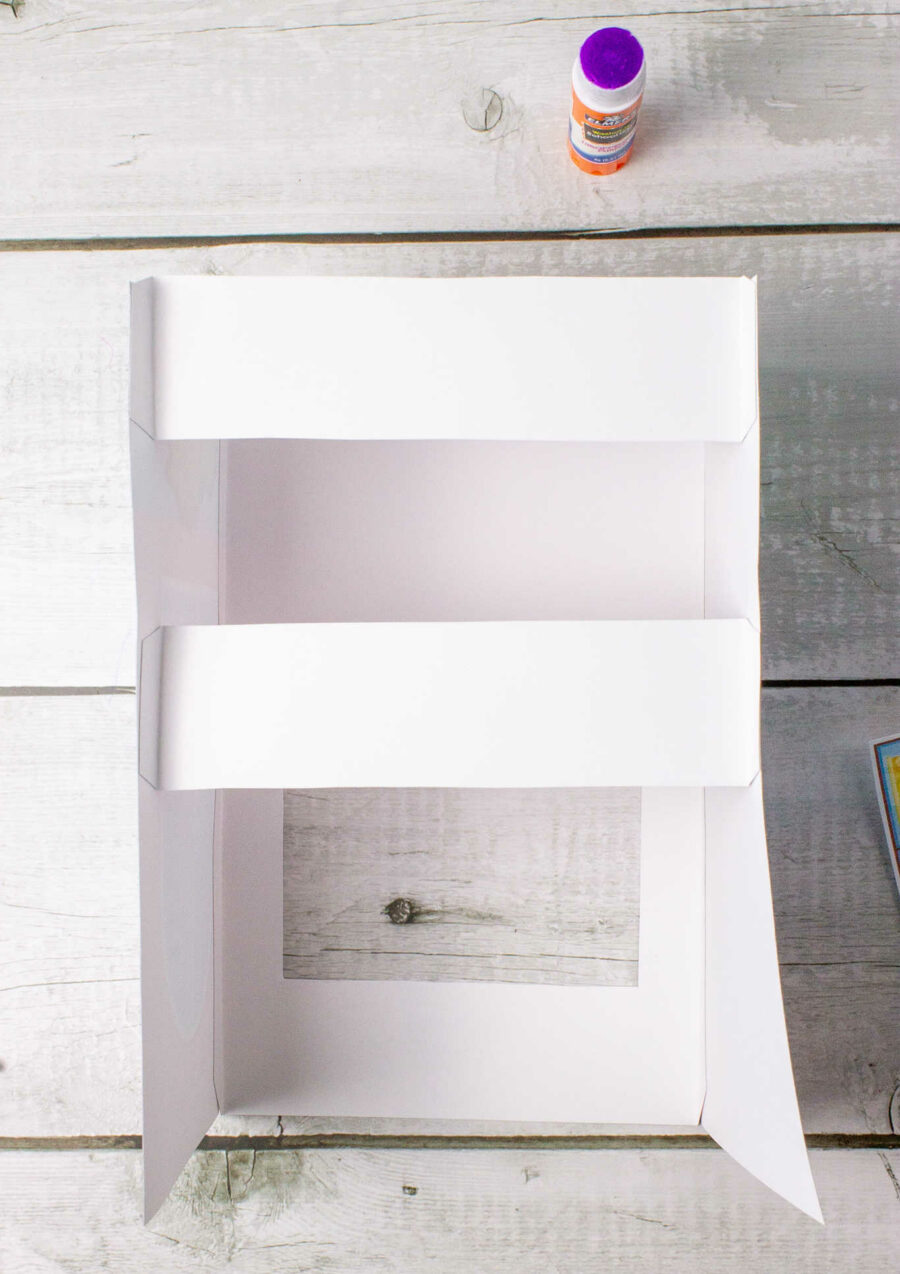
Repeat the same process of folding and gluing the two pink back supports of the shop. Fold back the two tabs on each end of the supports. Add glue and glue to the inside of the shop. Make sure the pink side is facing outward towards the front of the shop.
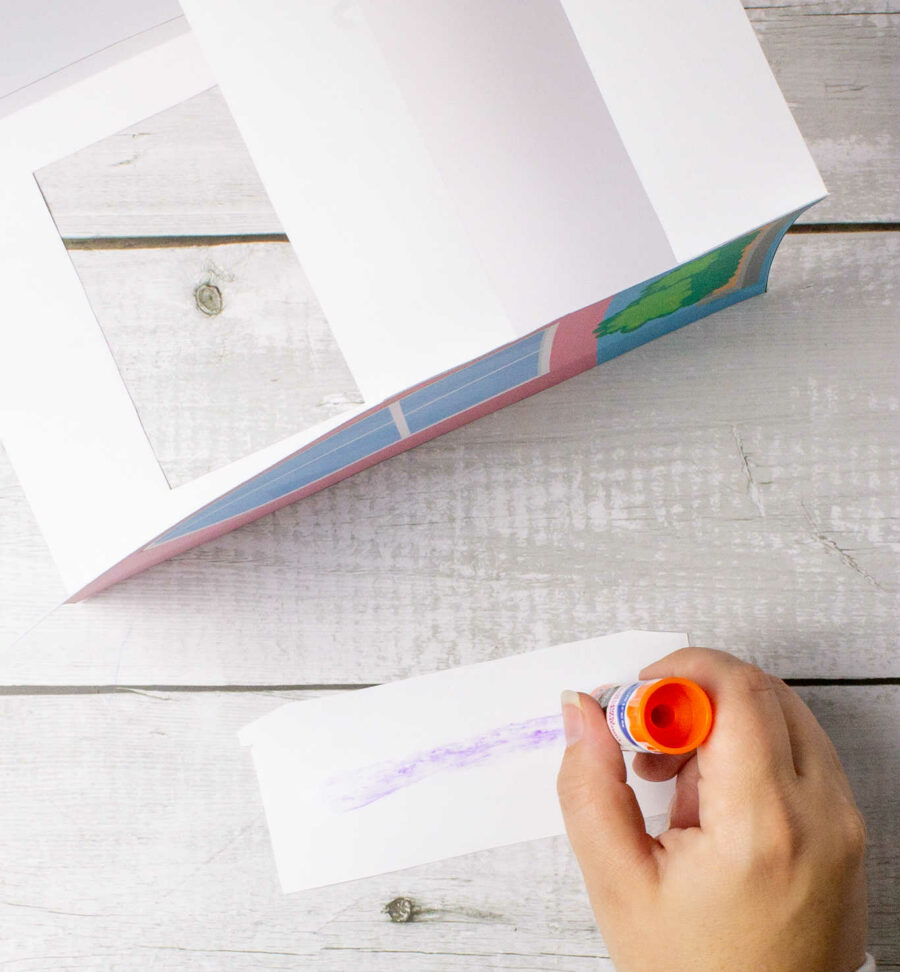
Add glue to the back of the ice cream shop menu.
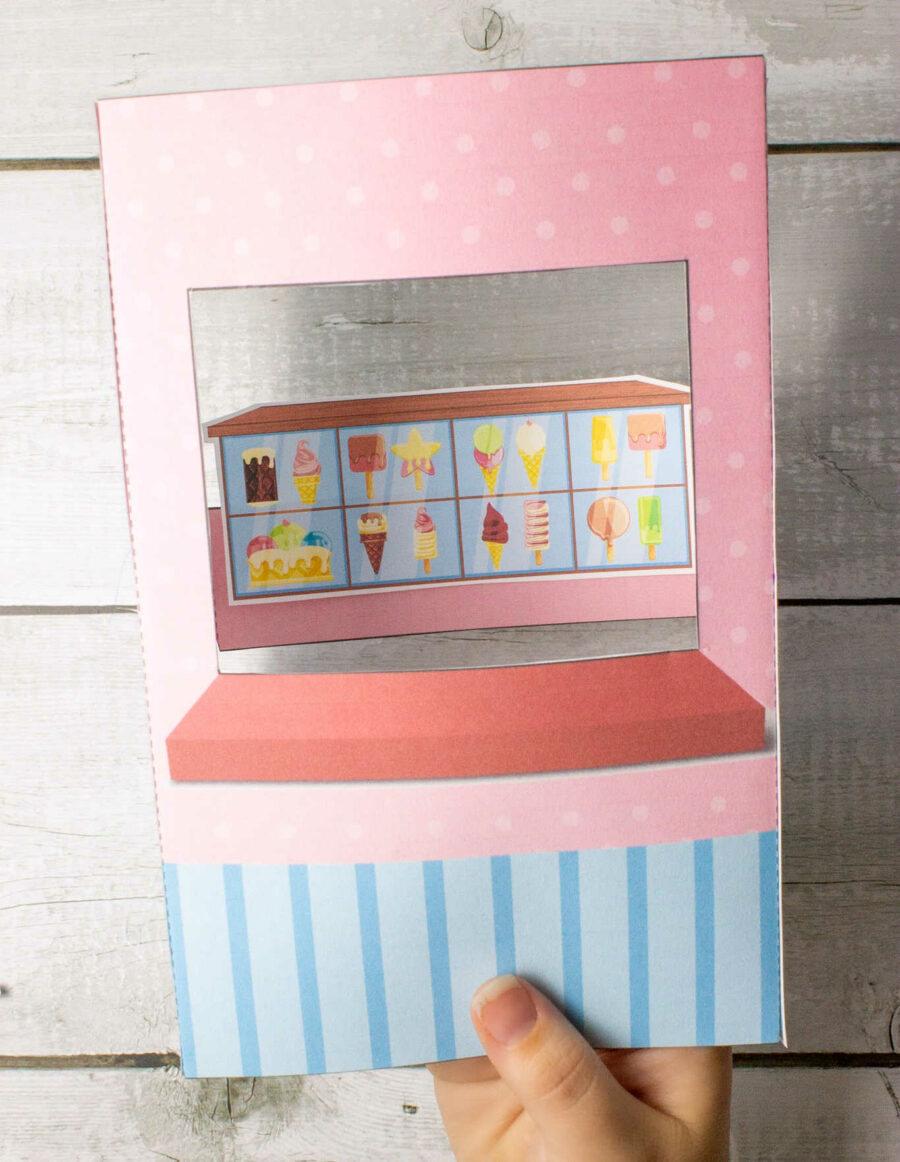
Attach the menu to the top support so that it is facing outward.
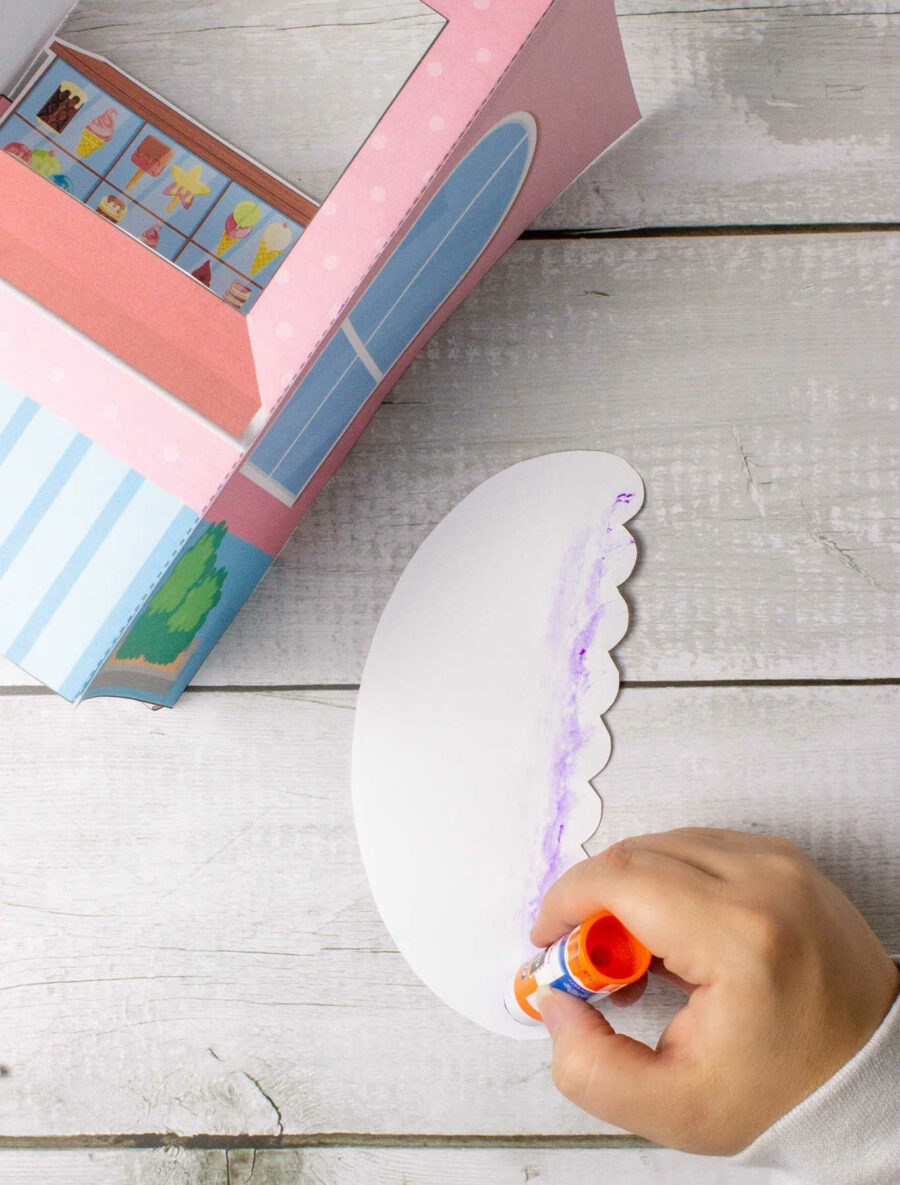
Next, add the awning to the front of the shop. Put glue or glue dots on the back and bottom of the awning.
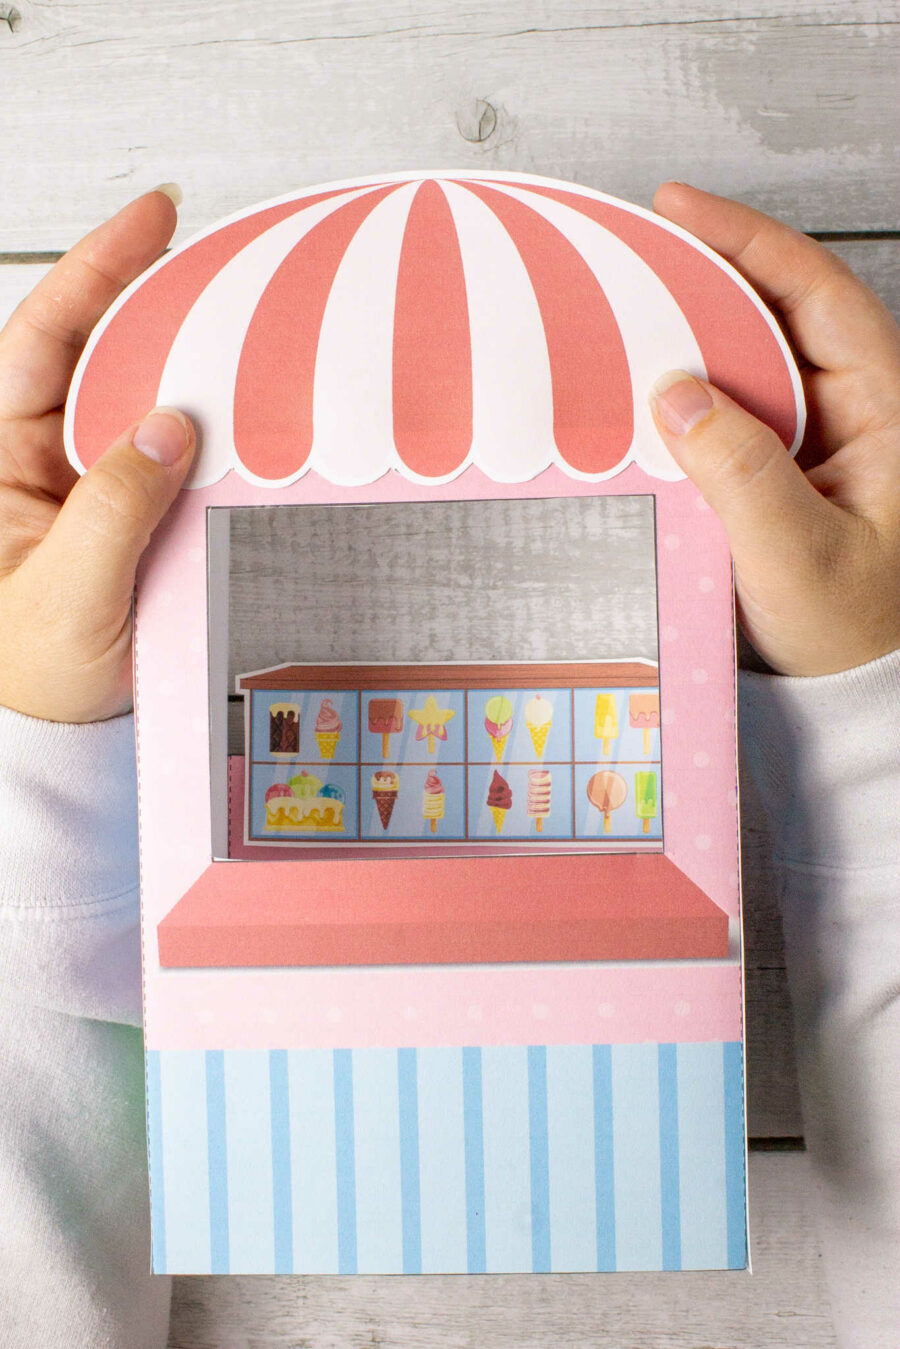
Attach the awning to the top front of the ice cream shop. You’re almost done!
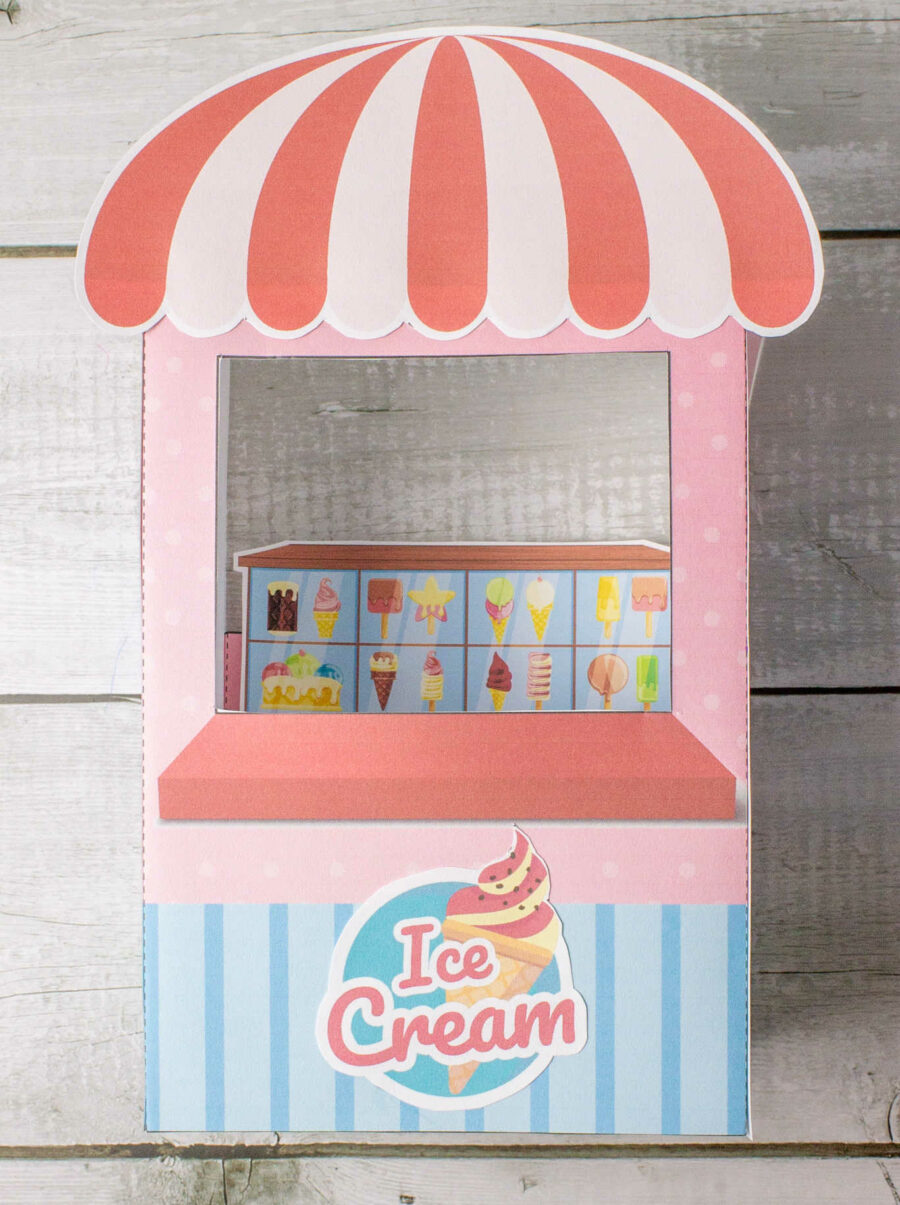
Finally, add the finishing touches to the shop. Glue on the ice cream sign. Place the mini cones onto the stand, arranging them however you like. You can use tape to attach them to the elf’s hands.
Presenting the Elf Ice Cream Shop to Your Children
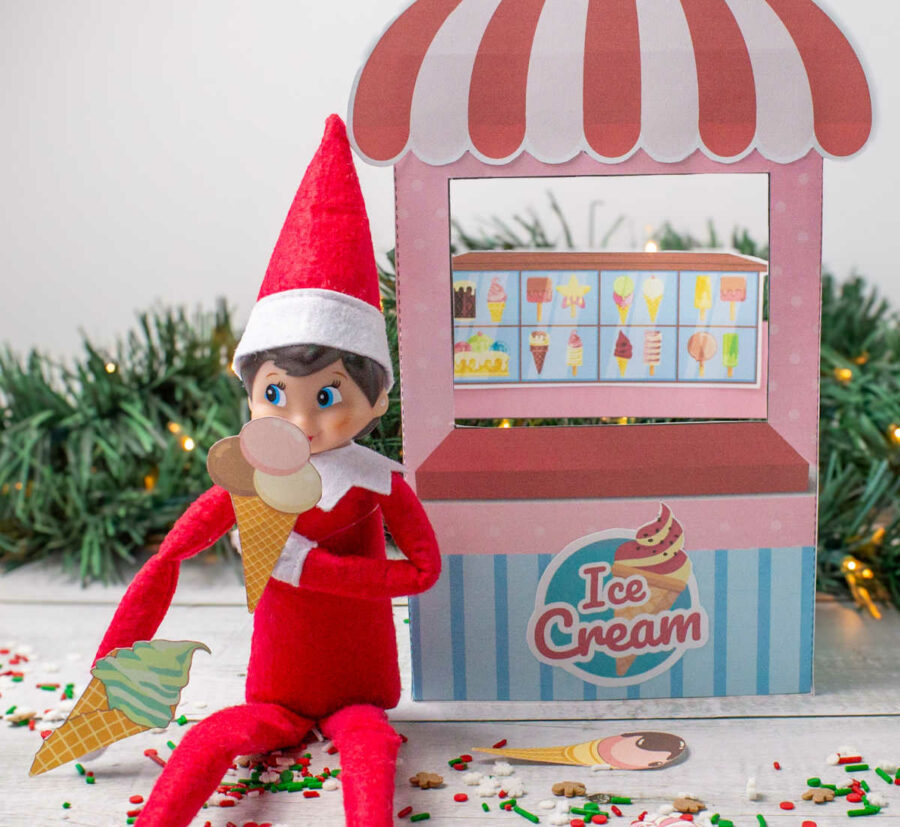
Parents can use the Printable Ice Cream Shop to create new scenes for a few nights:
The Grand Opening: The first time the shop is introduced, set up the stand as if it’s the grand opening with a ‘Now Open’ sign. Maybe set up house rules for when the elf can and cannot eat the ice cream.
Sharing with Friends: Position other toys or ornaments around the stand, suggesting they’re eager customers.
Late Night Snack: Set the scene with the mischievous elf breaking the rules and enjoying a midnight ice cream treat. Perhaps a drop of melted ice cream on its cheek for added effect?
Ice Cream Party: Create a party scene, with other toys seated around and the elf serving ice cream cones.
No matter how you use the ice cream shop, it will surely make sweet memories this Christmas.

