Make a snowman wreath to hang on your door for Christmas and winter. The snowman is created using wreath forms and cotton fabric cut in strips. The white or silver fabric, or a combination of both, is cut into strips and tied around 2 different-sized wire wreath forms. The two wreaths are tied together to make the snowman’s body. Craft foam and decorations make the snowman’s top hat and an orange carrot nose. An old scarf or a scarf made out of fleece is tied around the snowman’s neck for a festive touch.
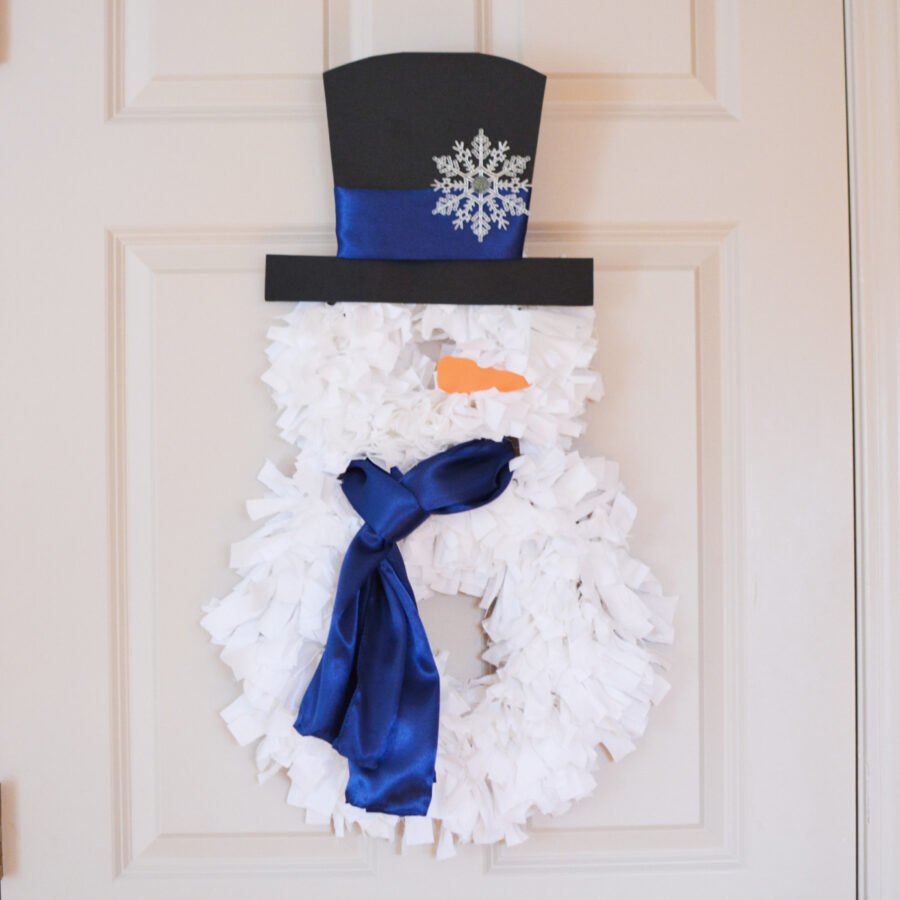
Rag wreaths are fun and easy to make for any holiday. This Candy Cane Rag Wreath is festive for Christmas. But once the holidays are over, you can replace it with this super cute snowman rag wreath.
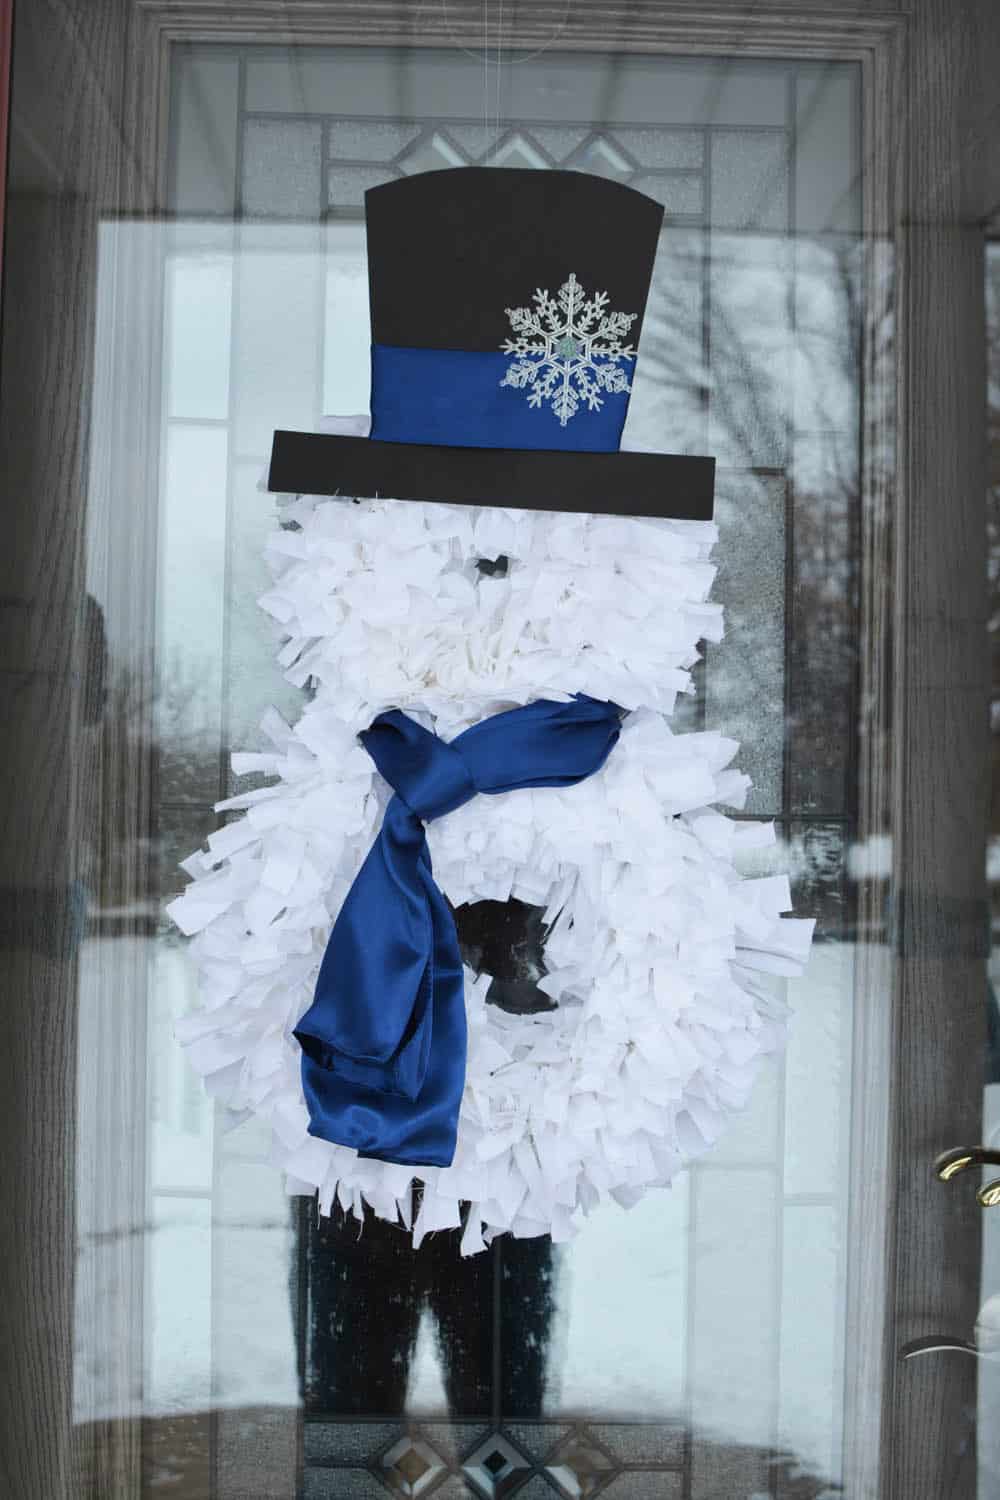
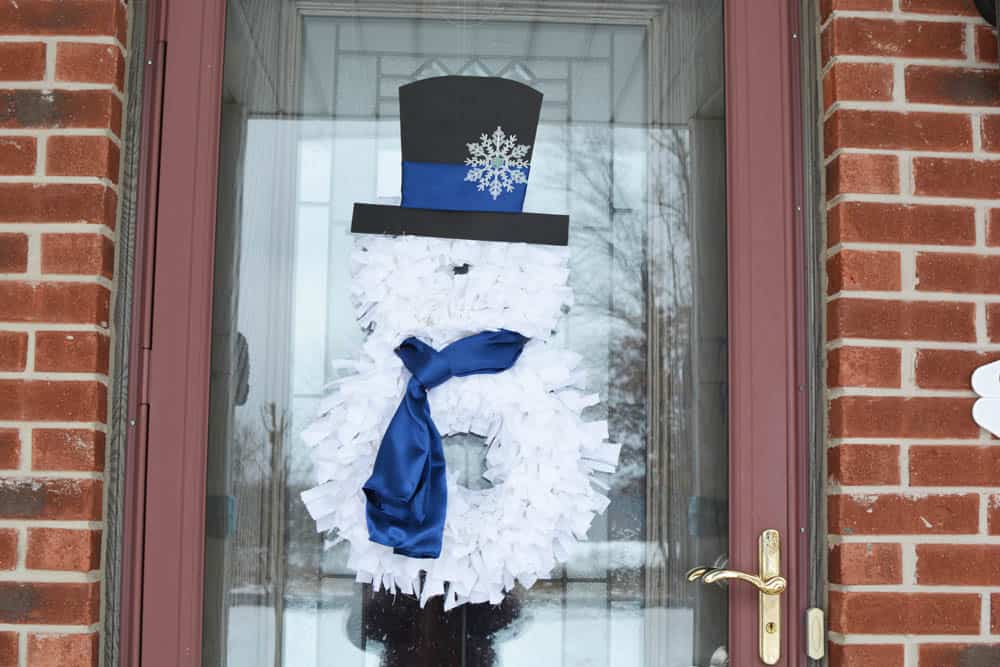
You can make the wreath with or without a carrot nose. We love it both ways.

Make a complete wintery and festive front porch by combining the Snowman Wreath with Snowman Front Porch Pillar Decorations and DIY Hanger Snowflake with Lights.
DIY Snowman Rag Wreath
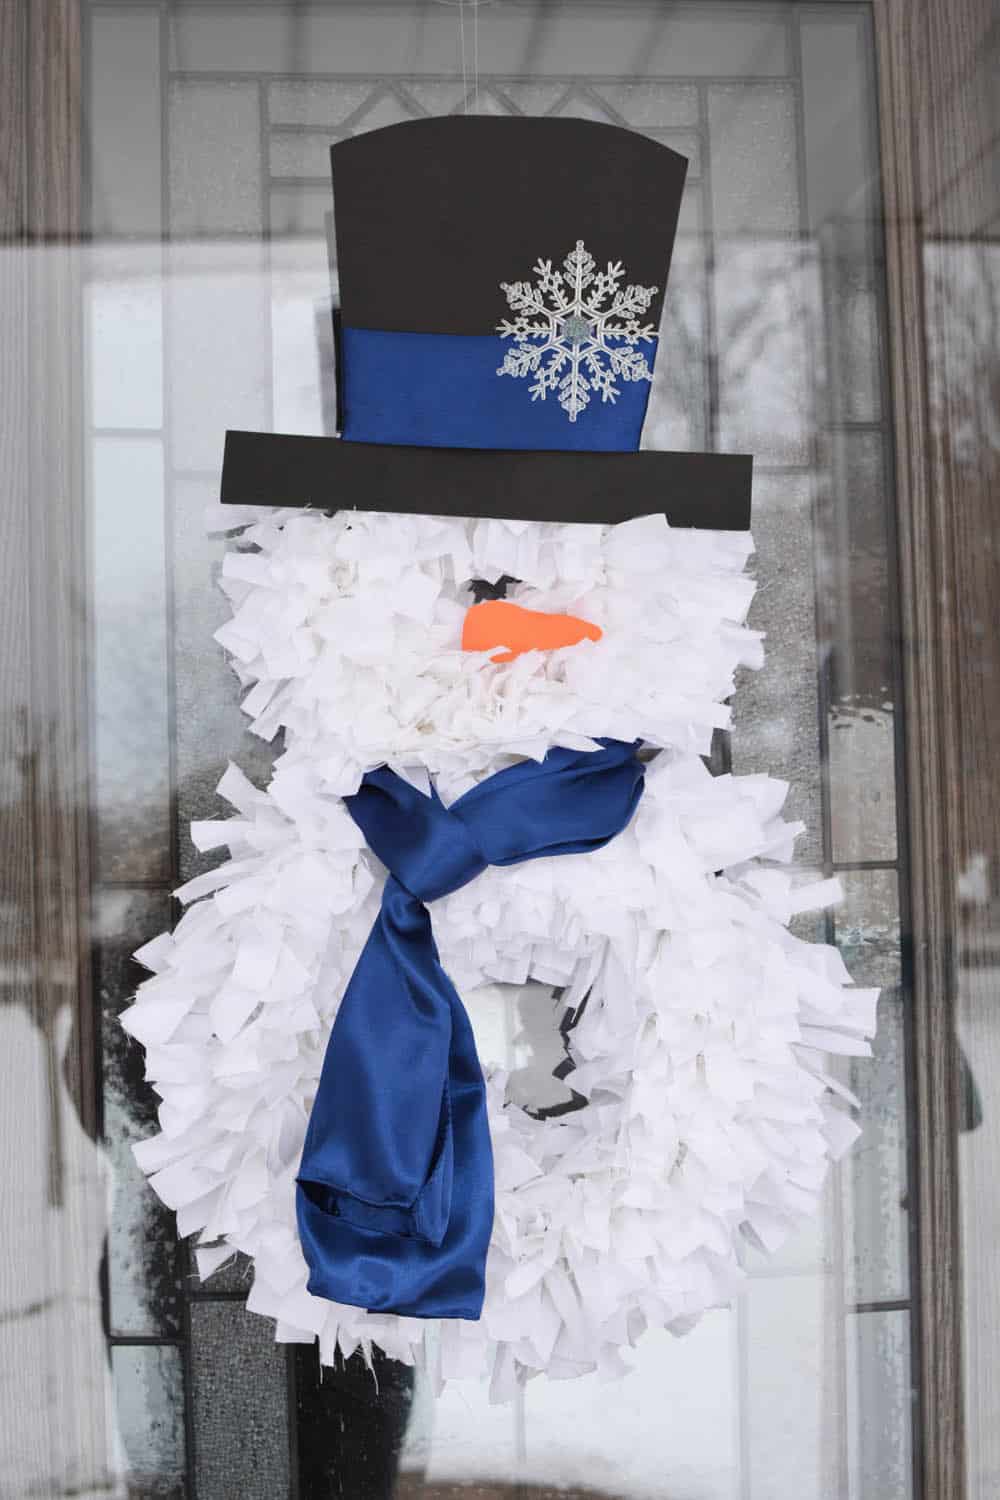
DIY Snowman Wreath
Pin For Later-
Reader’s Favorite!
Mason Jar Snowman Sign
-
Reader’s Favorite!
Melted Snowman Hot Chocolate Gift Jars
Snowman Rag Wreath Materials:
- 8″ round wire wreath form
- 12″ round wire wreath form
- White cotton fabric
- Black foam sheet
- Orange foam sheet
- Blue satin, fabric, or fleece for scarf and hat
- Plastic snowflake
- Scissors
- Ruler
- Zip ties
- Diagonal cutters (optional)
- Ruler or tape measure
- Hot glue and hot glue gun
Snowman Rag Wreath Directions:
Prepare Your Materials:

Attach two wreath forms together with two zip ties. Trim the ends of the zip ties with diagonal cutters.
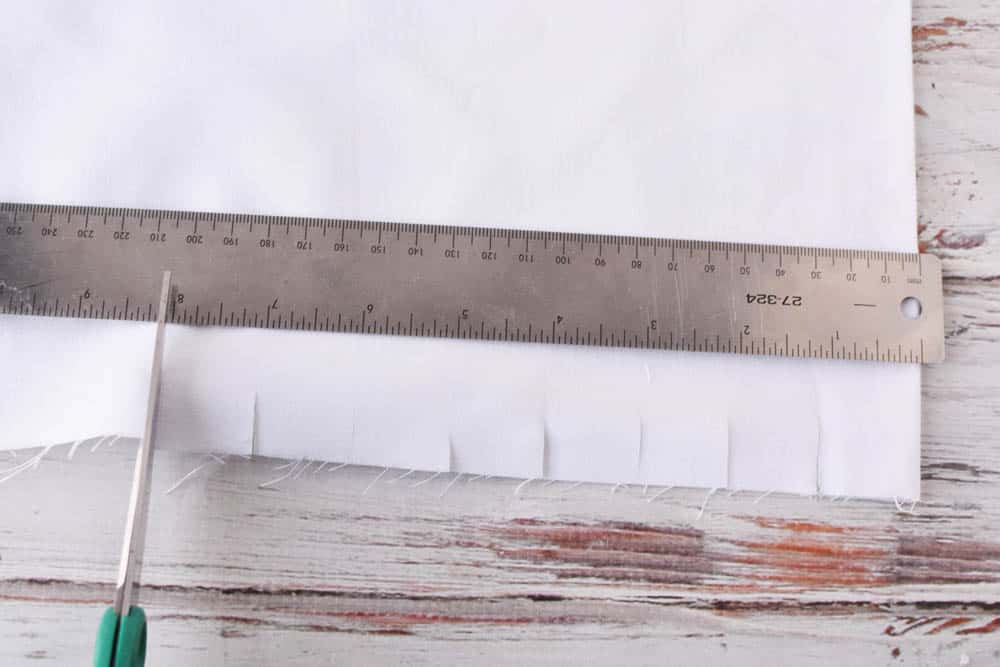
Cut the white fabric into strips 7″ wide by 1″ thick. You can use scissors and a ruler or you can use a rotary cutter and board like we did when making this DIY Halloween Rag Wreath.

Tie the strips on both of the wreath forms until completely covered. You can start wherever you like. We like to start on the inside and work outside.
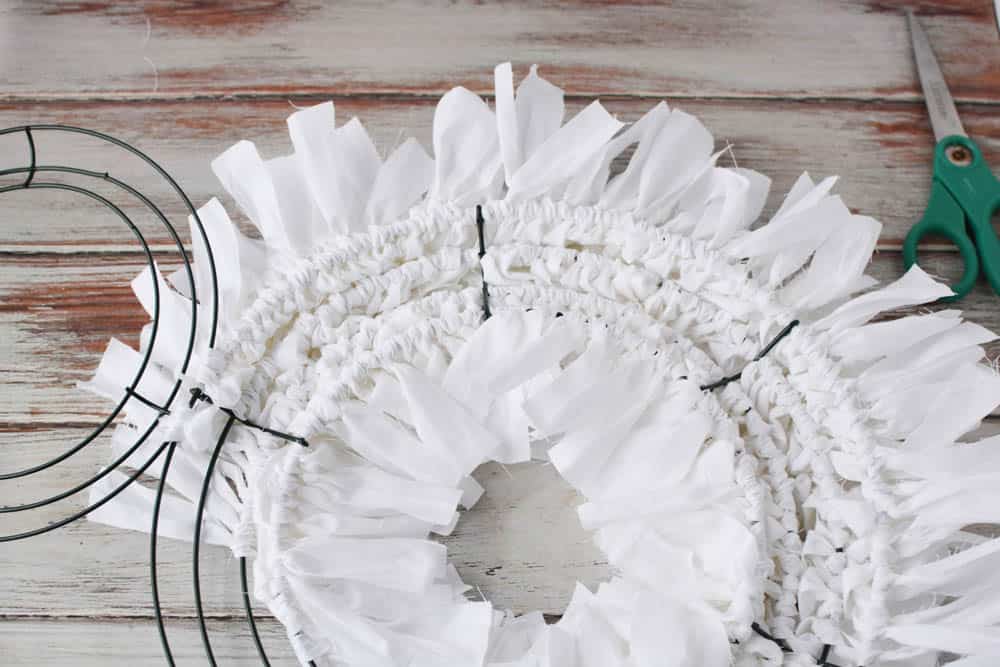
Keep tieing and pushing the strips together so they create a nice, full wreath. This part takes a while to do. It’s a great project for waiting in the car.
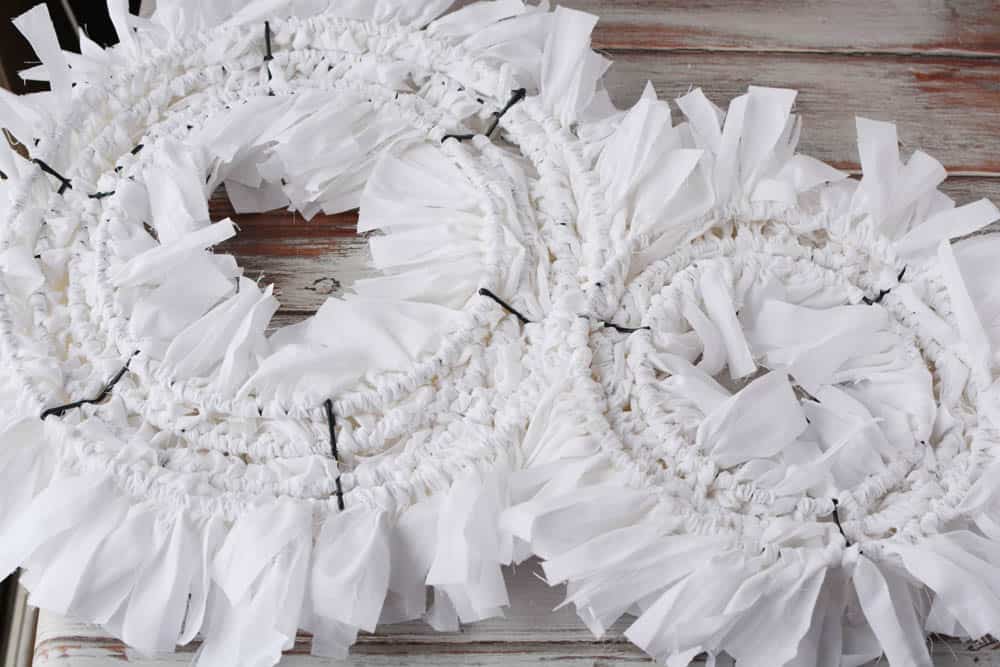
Completely cover both the small and large wreath forms. You could use a mix of what and silver fabrics.

Once you have all the fabric on the wreath forms, take the wreath outside and shake all of the frayed ends off of it.
Make the Snowman’s Hat:
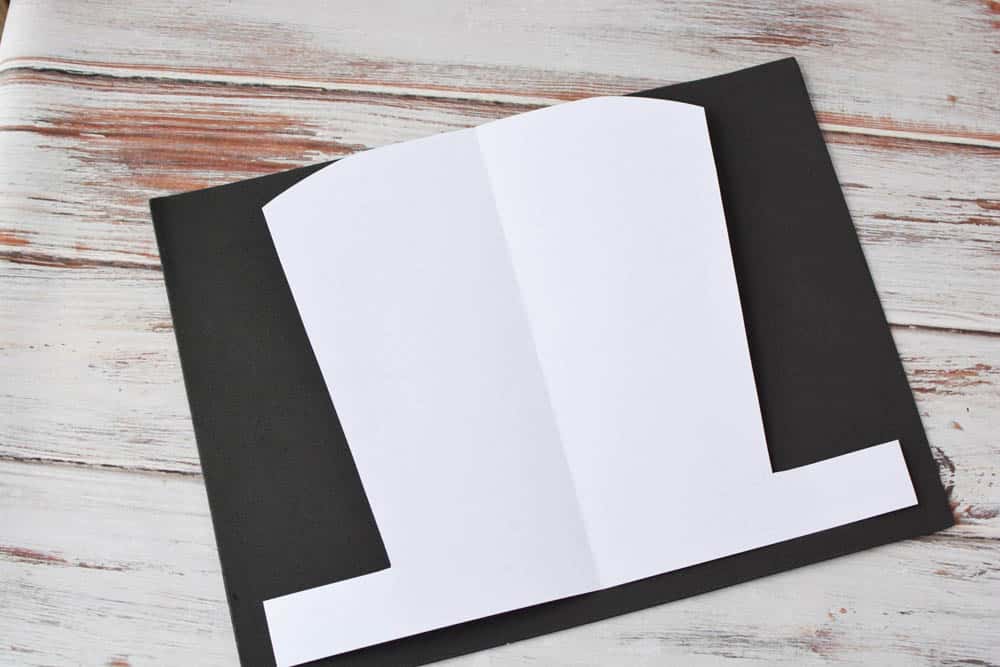
Print the hat pattern and cut it out. The hat pattern will most likely get cut off when it’s printed, but it should still work fine. Most printers don’t print to the edge of the page. Another option is to make half of the pattern and trace it onto the foam, half at a time.
Place the hat pattern onto a piece of black foam, lining the top of the hat up with the top of the foam. Trace and cut out the hat.

To place the band around the hat, use a piece of fabric or ribbon about 2.5″ wide and 10″ long.
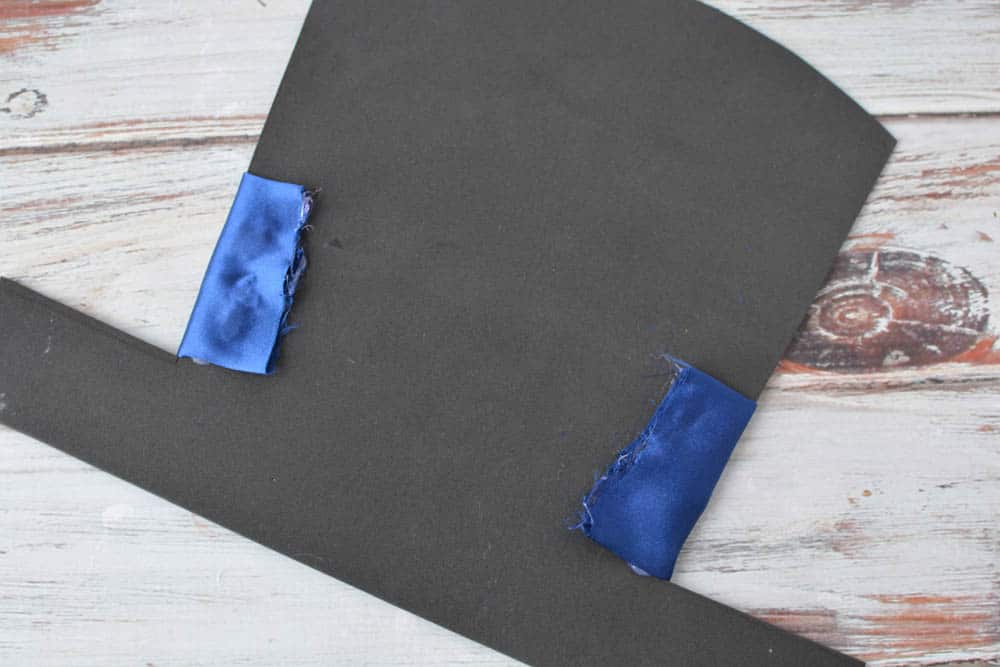
Wrap around the front of the black foam and affix with hot glue on the back.
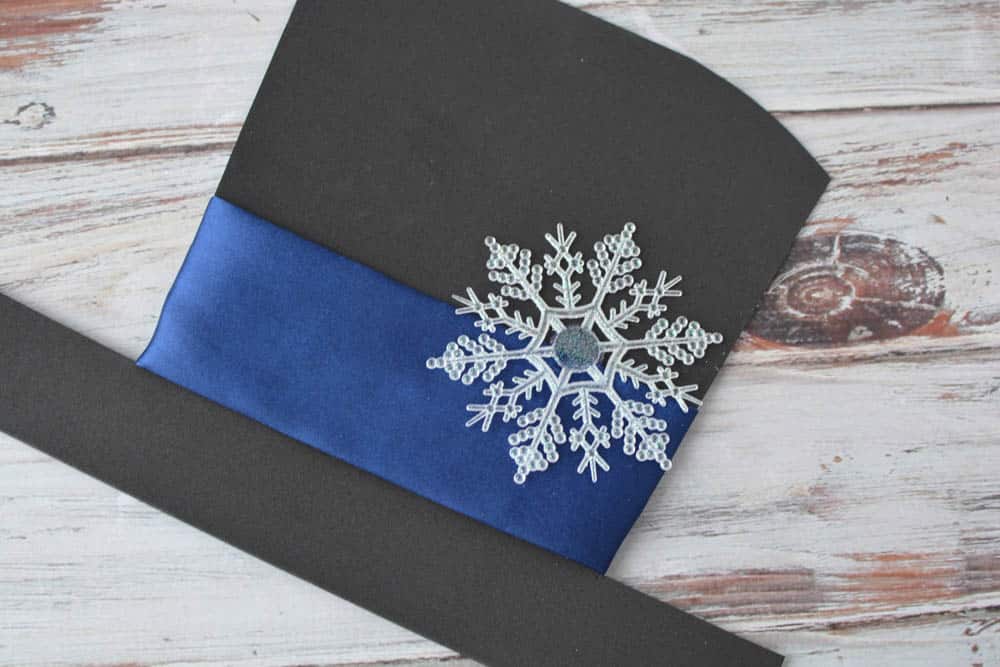
Affix a plastic snowflake onto the hat with hot glue. You can use another decoration or just skip this if you want.
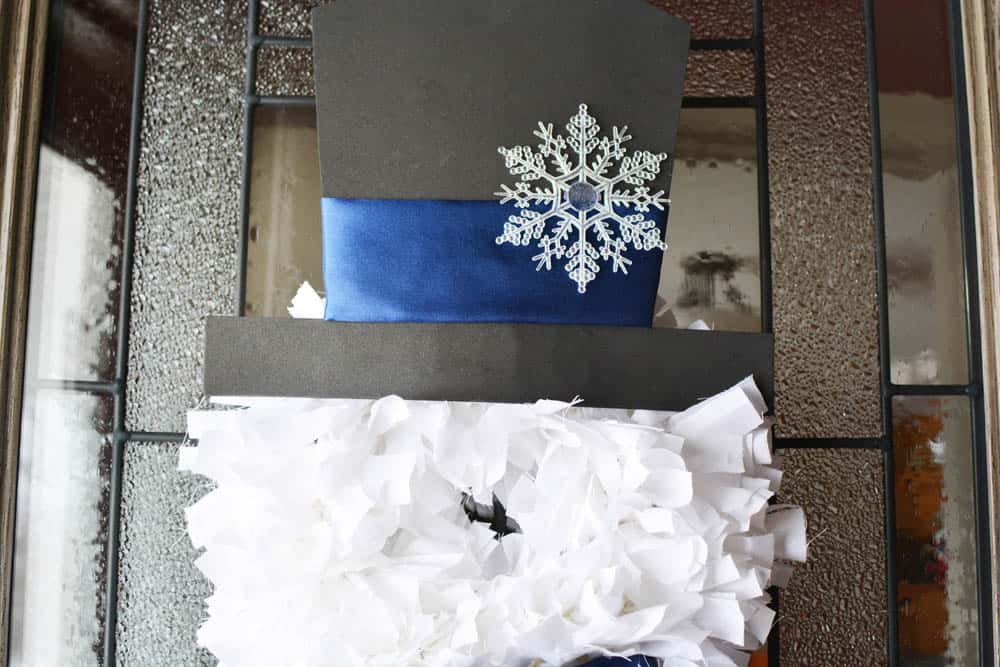
It’s easier to decide where to attach the hat when the wreath is hanging up so you can get an idea of where the hat will lay. Hang the wreath on your wall or door and place the hat on the top. Once you figure out where you want the hat on the snowman, hot glue it onto the snowman’s head where you want it. Tuck in any loose white ends from the fabric in or trim as desired.
Make the Snowman’s Scarf:

Cut a long piece of fabric for the scarf. Fold the scarf in half, wrap it around the neck of the snowman and thread the loose end through the loops. Adjust as necessary.
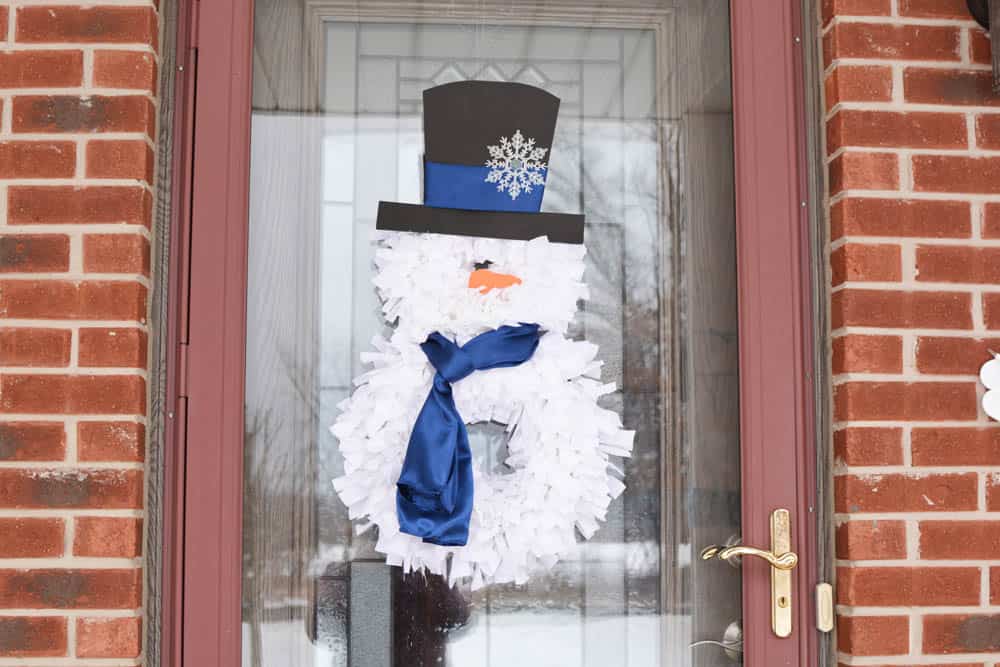
We couldn’t decide if we liked the snowman with or without a nose – so we did both. You can decide which you prefer. If using a nose, cut the pattern and trace it onto an orange foam sheet. Cut out the nose and glue it to the wreath with hot glue.
DIY Snowman Rag Wreath
Equipment
- Scissors
- Ruler
- Diagonal cutters (optional)
- Tape measure
- Hot glue and a hot glue gun
Materials
- 8 " round wire wreath form
- 12 " round wire wreath form
- 3 yards white cotton fabric
- 9 "x12" black foam sheet
- Orange foam sheet if making a nose
- Blue satin fabric, or fleece for scarf (about 12" wide x 26" long)
- Blue satin fabric, fleece, or ribbon for hat detail (10" x 12" folded to 10" x 2.5")
- 1, plastic snowflake 4" in diameter
- 2 zip ties
Instructions
- Attach two wreath forms together with two zip ties. Trim the ends of the zip ties with diagonal cutters.
- Cut the white fabric into strips 7″ wide by 1″ thick.
- Tie the strips on both of the wreath forms until completely covered.
- Keep tieing and pushing the strips together so they create a nice, full wreath.
- Once you have all the fabric on the wreath forms, take the wreath outside and shake all of the frayed ends off of it.
- Print the hat pattern and cut it out.
- Place the hat pattern onto a piece of black foam, lining the top of the hat up with the top of the foam. Trace and cut out the hat.
- To place the band around the hat, use a piece of fabric or ribbon about 2.5″ wide and 10″ long.
- Wrap around the front of the black foam and affix with hot glue on the back.
- Affix a plastic snowflake onto the hat with hot glue. You can use another decoration or just skip this if you want.
- Hang the wreath on your wall or door and place the hat on the top. Once you figure out where you want the hat on the snowman, hot glue it onto the snowman’s head where you want it. Tuck in any loose white ends from the fabric or trim as desired.
- Cut a long piece of fabric for the scarf. Fold the scarf in half, wrap it around the neck of the snowman and thread the loose end through the loops. Adjust as necessary.
- If using a nose, cut the pattern and trace it onto an orange foam sheet. Cut out the nose and glue it to the wreath with hot glue.

