
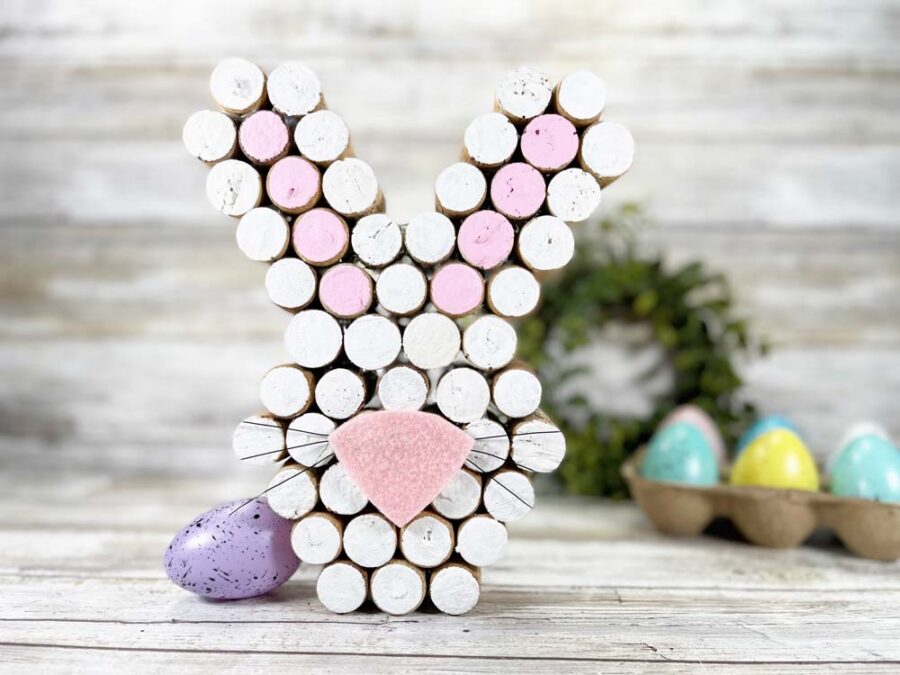
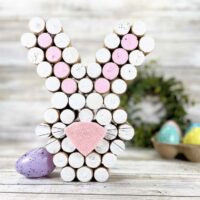
Wine cork Easter bunny craft is a fun and creative way to celebrate Easter and use up old wine corks. With just a few simple materials like wine corks, felt, and craft paint, you can create a cute and playful bunny face that makes a great decoration. This Easter craft project is perfect for using old wine corks or buying new ones. In this tutorial, we’ll show you step-by-step how to make an adorable wine cork Easter bunny with pink ears and a pink nose. So grab your crafting supplies and hop into the fun!
Wine Cork Easter Bunny Craft
-

Reader’s Favorite!
Printable Easter Bunny Basket
-
Reader’s Favorite!
Easter Bunny Plate with Cricut


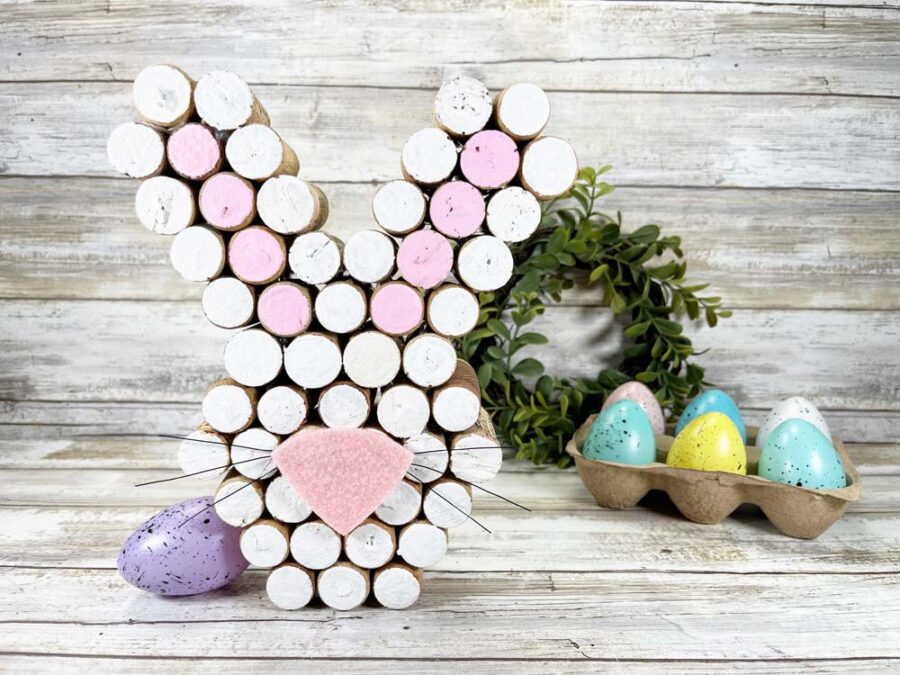
Wine Cork Easter Bunny
Pin For LaterCraft Supplies and Tools
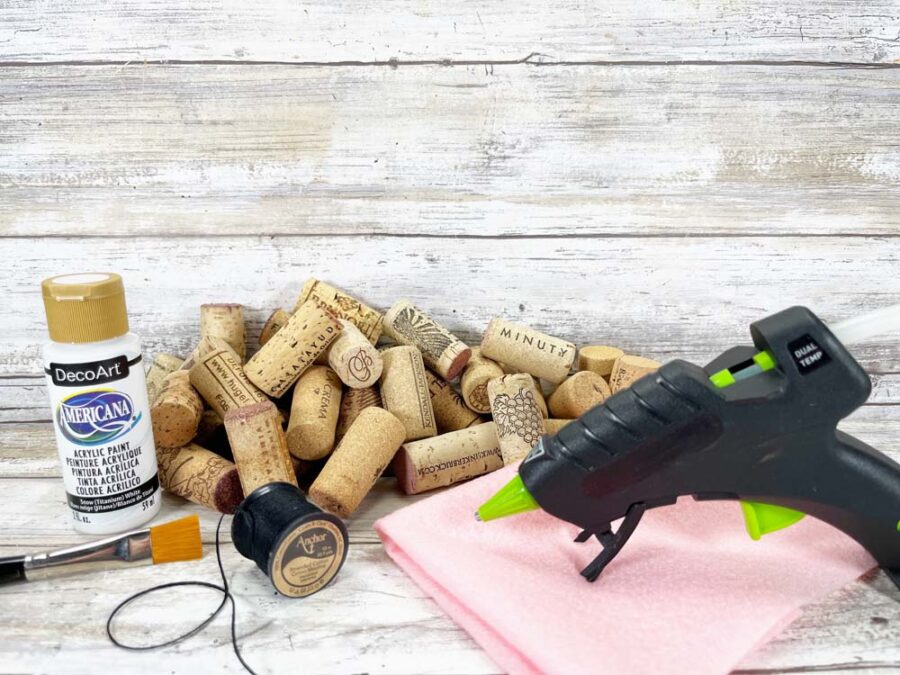
- 54 Recycled Wine Corks
- Acrylic Craft Paint – White, Light Pink
- Baby Pink Craft Felt
- 22 Gauge Wire, Black
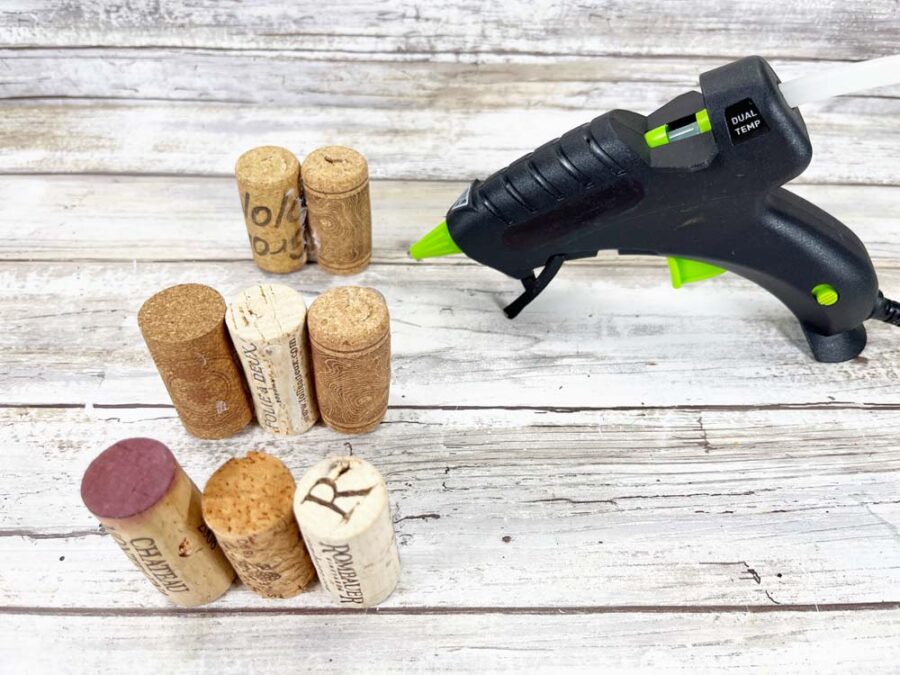
- Glue Gun and Glue Sticks
- Scissors
- Paintbrush
- Wire Cutters
- Bunny Nose Pattern
Easter Bunny Instructions
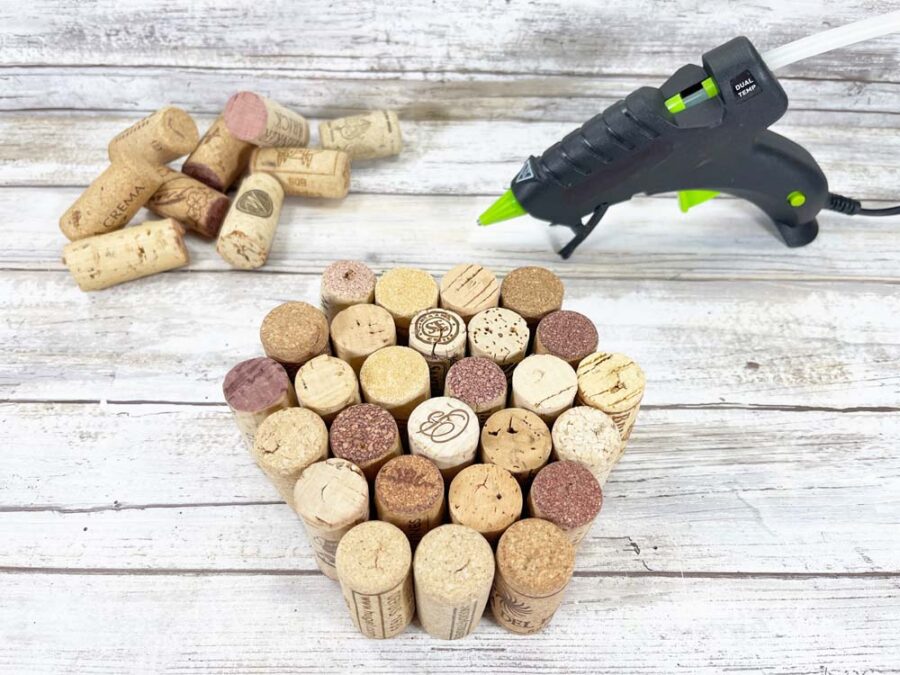
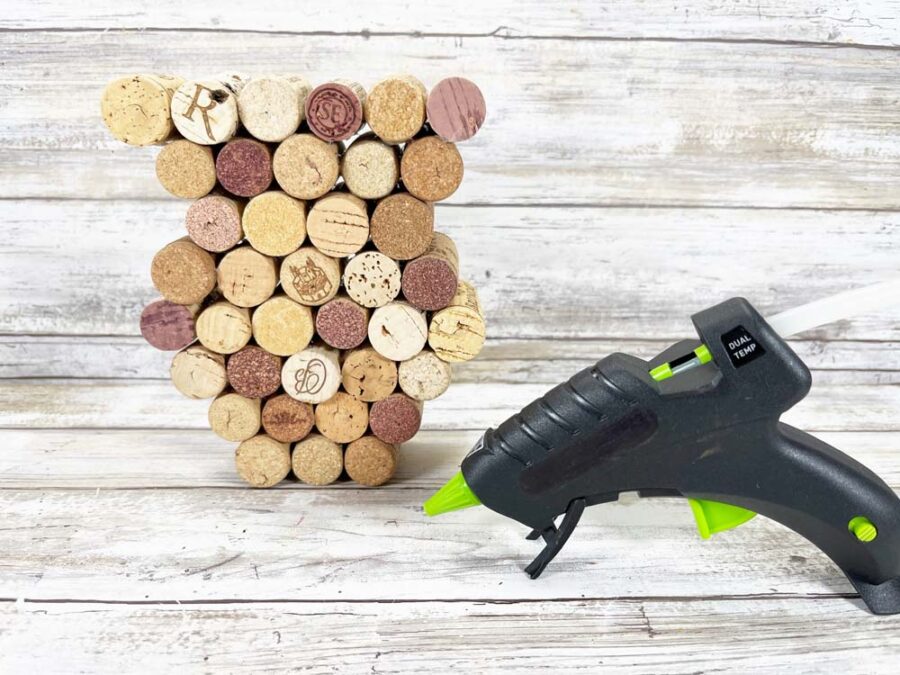
Lay out 27 corks on your work surface in 6 rows as follows: 3 corks, 4 corks, 5 corks, 6 corks, then 5 corks and 4 corks.
Glue the corks together in rows using a glue gun. Then stack and glue the rows together: 3 corks, 4 corks, 5 corks, 6 corks, then 5 corks, and 4 corks.

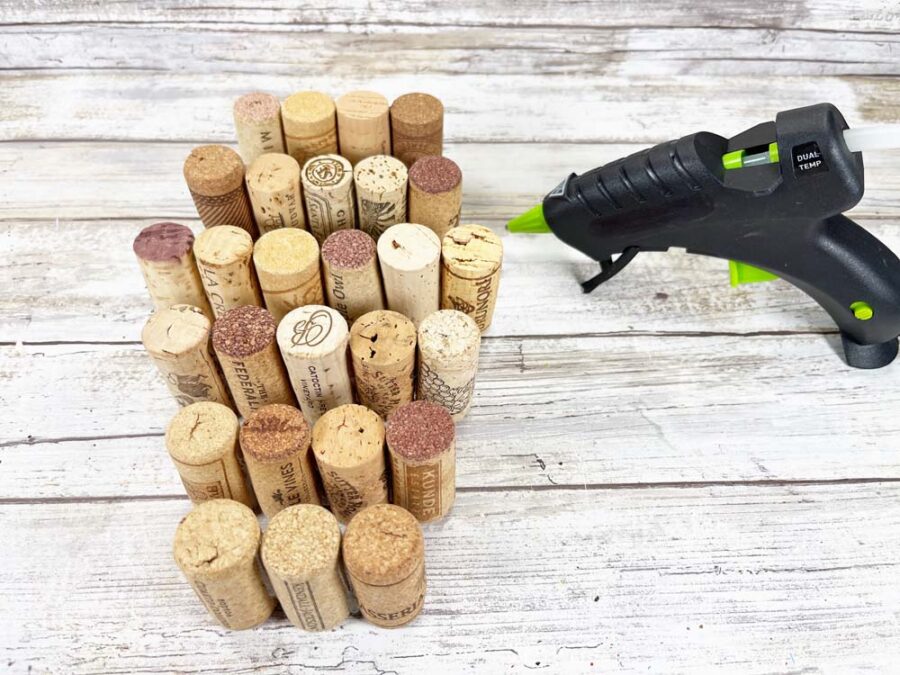
Next, you will create the top of the bunny head. Lay out two additional rows of corks on your work surface—the first with 5 corks and the second with 6 corks.
Glue the corks in rows using a glue gun. Then stack and glue the row of 5 on top of the row of 4, and the row of 6 on top of the row of 5.
Now, make the bunny ears. For each ear, lay out eight corks on your work surface in 3 rows: 3 corks, 3 corks, and 2 corks. Attach the corks in rows using a glue gun.
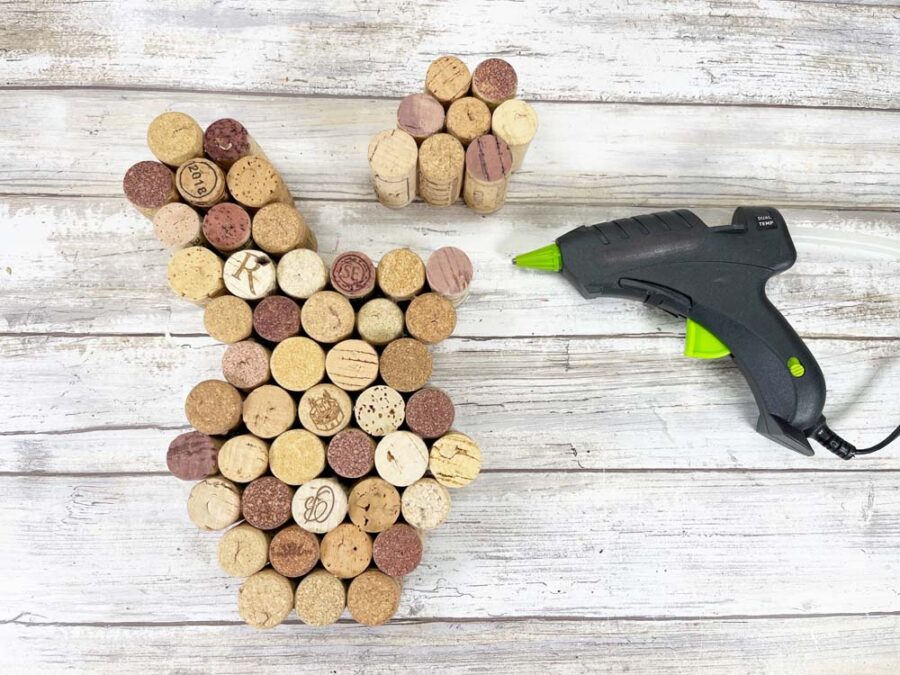
Then stack and glue the rows together, offset and angled to the left, using the photo above as your guide. Glue one ear to the left side of the bunny’s head with a glue gun. Repeat the above steps, angling the three rows of corks to the right, then glue them to the right side of the bunny’s head.
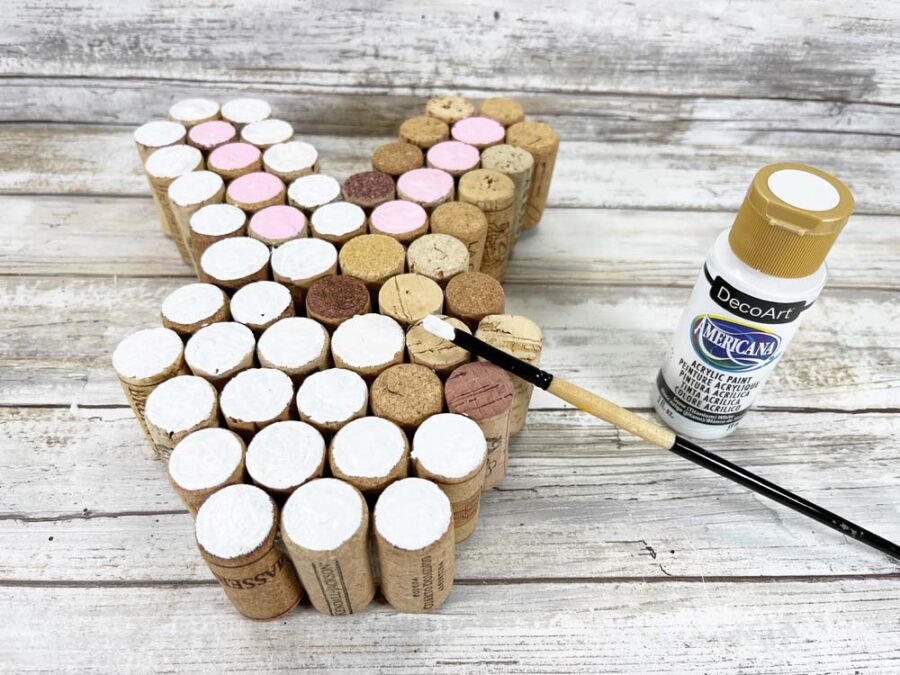
Using the photos as your guide, paint eight of the ends of the corks in the middle of the ears with light pink acrylic craft paint. Paint the remaining ends of the corks with white acrylic craft paint. Let all paint dry, and apply a second coat, if necessary.
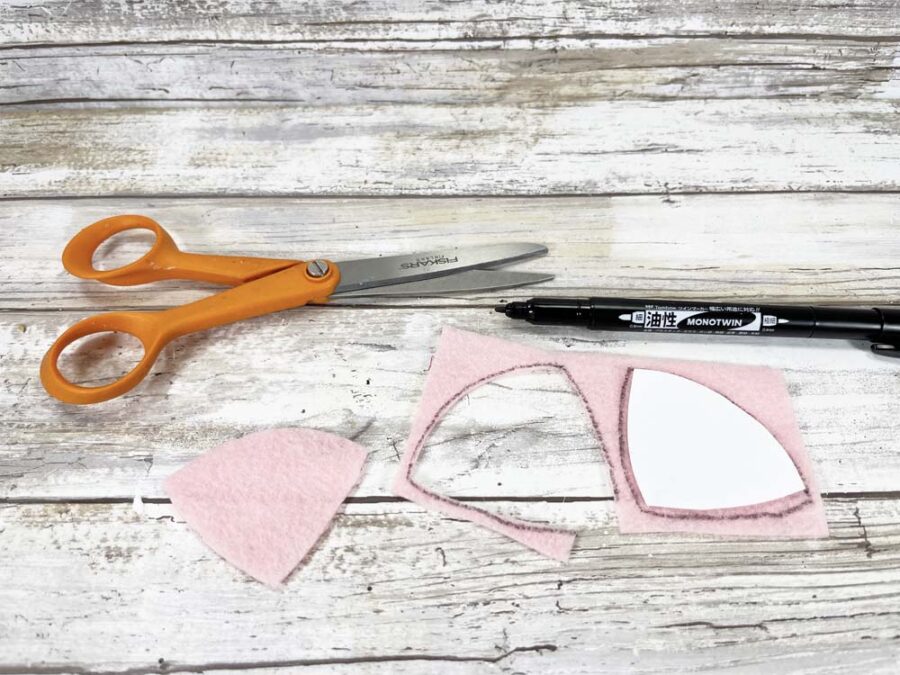
While the paint dries, use the free pattern to trace and cut out one nose on the pink felt.
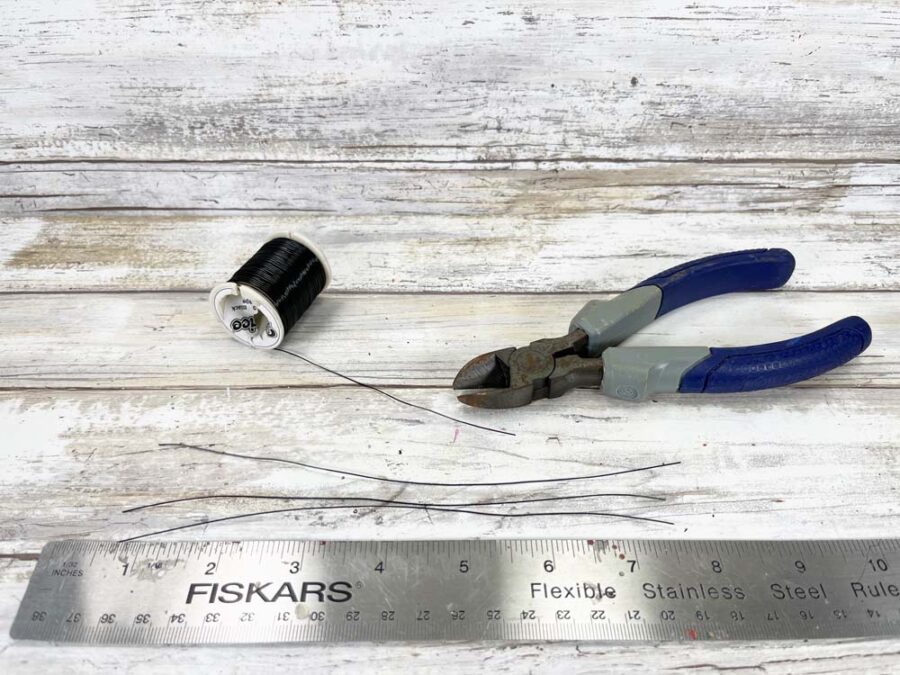
The black wires is the bunny’s whiskers. Measure three 6” long pieces of black wire and cut them with wire cutters.

Flip the nose over and attach the wires in a crisscross pattern with a glue gun and glue sticks.
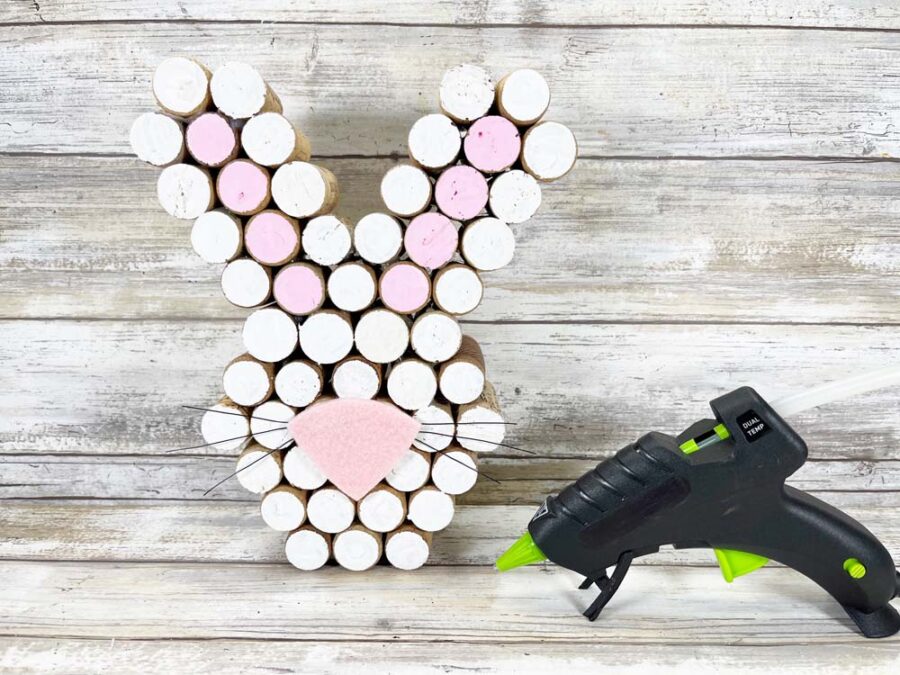
Finally, attach the pink felt nose and whiskers with a glue gun. You can eyeball the placement or use the photo for placement.
Wine Cork Easter Bunny Craft
Equipment
- Glue Gun and Glue Sticks
- Scissors
- Paintbrush
- Wire Cutters
- Bunny Nose Pattern
Materials
- 54 Recycled Wine Corks
- Acrylic Craft Paint White and Light Pink
- Craft Felt Baby Pink
- 22 Gauge Wire Black
Instructions
- Lay out 27 corks on your work surface in 6 rows as follows: 3 corks, 4 corks, 5 corks, 6 corks, then 5 corks and 4 corks.
- Glue the corks together in rows using a glue gun. Then stack and glue the rows together: 3 corks, 4 corks, 5 corks, 6 corks, then 5 corks, and 4 corks.
- Lay out two additional rows of corks on your work surface—the first with 5 corks and the second with 6 corks.
- Glue the corks in rows using a glue gun. Then stack and glue the row of 5 on top of the row of 4, and the row of 6 on top of the row of 5.
- Lay out eight corks on your work surface in 3 rows: 3 corks, 3 corks, and 2 corks. Attach the corks in rows using a glue gun.
- Then stack and glue the rows together, offset and angled to the left. Glue one ear to the left side of the bunny’s head with a glue gun.
- Repeat the above steps, angling the three rows of corks to the right, then glue them to the right side of the bunny’s head.
- Paint eight of the ends of the corks in the middle of the ears with light pink acrylic craft paint. Paint the remaining ends of the corks with white acrylic craft paint. Let all paint dry, and apply a second coat, if necessary.
- Use the pattern to trace and cut out one nose on the pink felt.
- Measure three 6” long pieces of black wire and cut them with wire cutters.
- Flip the nose over and attach the wires in a crisscross pattern with a glue gun and glue sticks.
- Finally, attach the pink felt nose and whiskers with a glue gun.