The Cricut Hat Press is a compact, user-friendly device designed to help you create personalized hats. The press uses heat transfer technology to apply intricate designs, logos, or text onto hats made of cotton, polyester, and cotton/poly blends. It is a small hand-held heat press designed to apply heat to the brim of a hat. Using the Cricut Heat app, the machine knows the precise temperature and time to ensure great results.
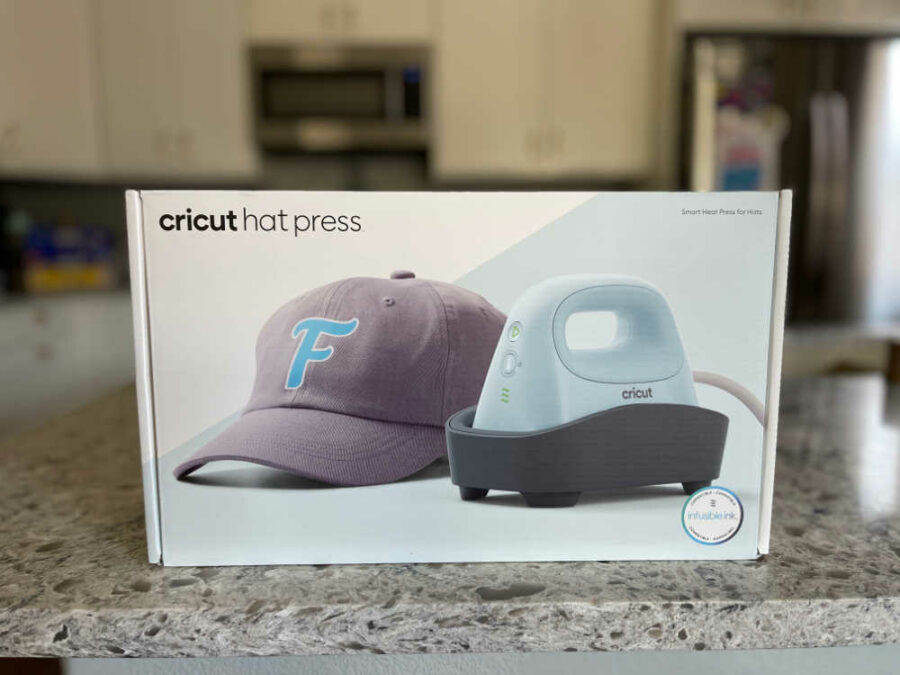
The Cricut Hat press comes with the press, a stand, and a hat form you use to press designs to the hats.
How to Use the Cricut Hat Press
To use the hat press, you need the following:
- Cricut Hat Press, stand and hat form
- Compatible hats
- Cricut Iron-On or Heat transfer vinyl (HTV)
- Weeding tools
- Cricut machine and cutting mats
- Cricut DesignSpace
Create, cut, and weed your hat design
You first need to create a design to put on your hat. Use a design in Cricut Design Space, or grab one of our SVGs.
Once created, send the design to your Cricut machine to cut. Remember to mirror your design before cutting it onto the HTV Iron-on. This step ensures that the design appears correctly when transferred onto the hat. Follow the directions on the software to cut.
Once the design is cut, use weeding tools to weed it. It is now ready to be applied to your hat.
How to Use the Cricut Hat Press
Pin For Later-
Reader’s Favorite!
How to Use Cricut UV Activated Color Changing Iron On
-
Reader’s Favorite!
How to Make Custom Can Koozies with Summer Fun SVGs
Download the Cricut Heat App
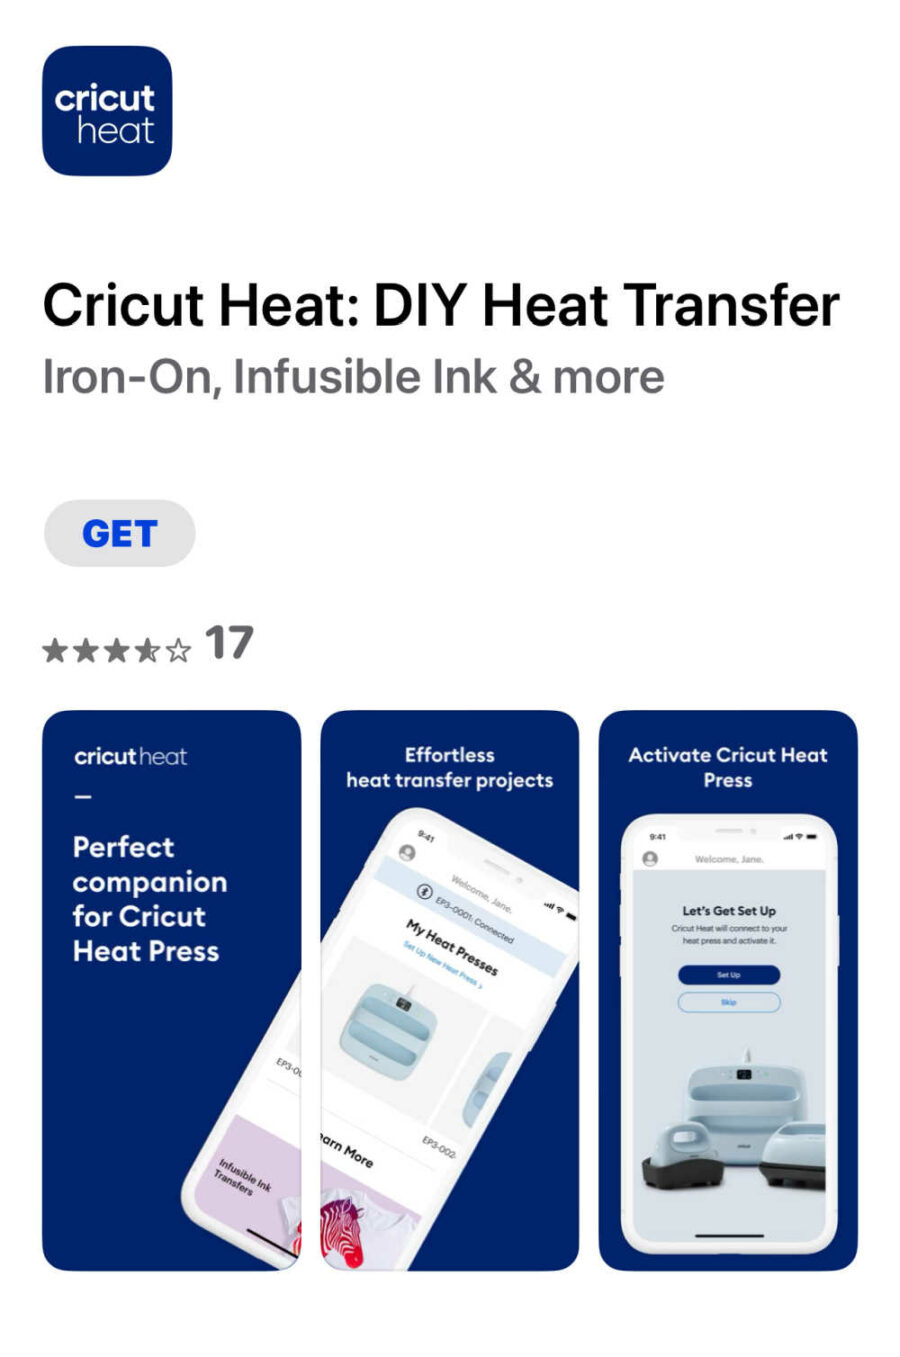
Register the press if this is your first time using the Cricut Hat Press by downloading the Cricut Heat App. Open the app and follow the instructions to set up the hat press.
Use the Cricut Heat App to Control the Hat Press

Once the press is registered, use the Cricut Heat app to find the temperature and time needed each time you use the press. The app works just like the Cricut Heat Guide. You input the type of vinyl you use and the material of the hat.
The app connects to your hat press via Bluetooth. It tells the press what temperature to use and sets a timer to tell you how long to press. It also tells you when to peel the transfer sheet off the design (cool or warm).
Prepare the Hat
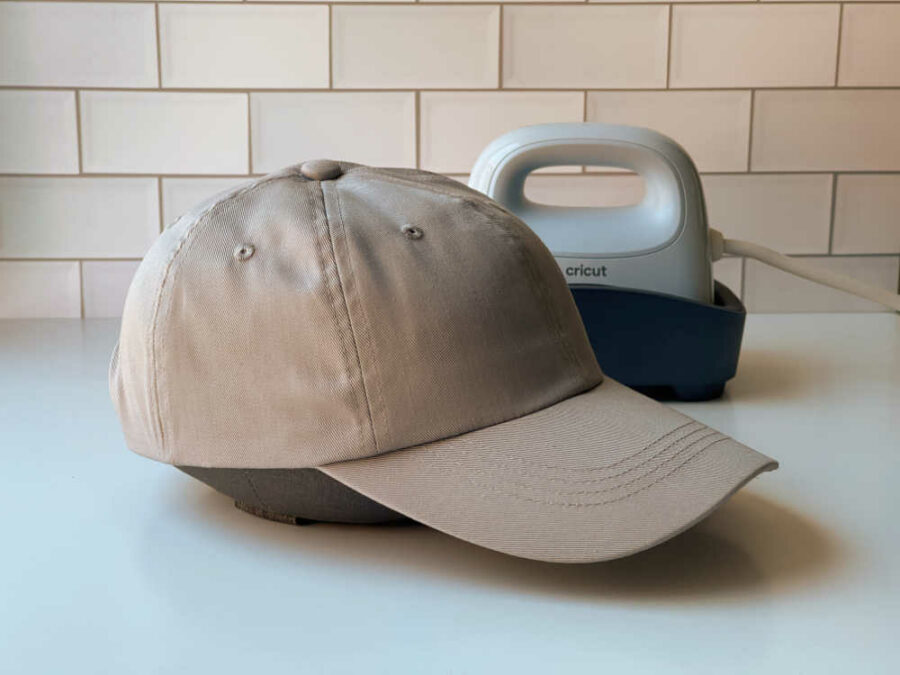
If your hat has a sweatband on the inside of the hat, flip it down. Then put the hat on the hat form that comes with the press.
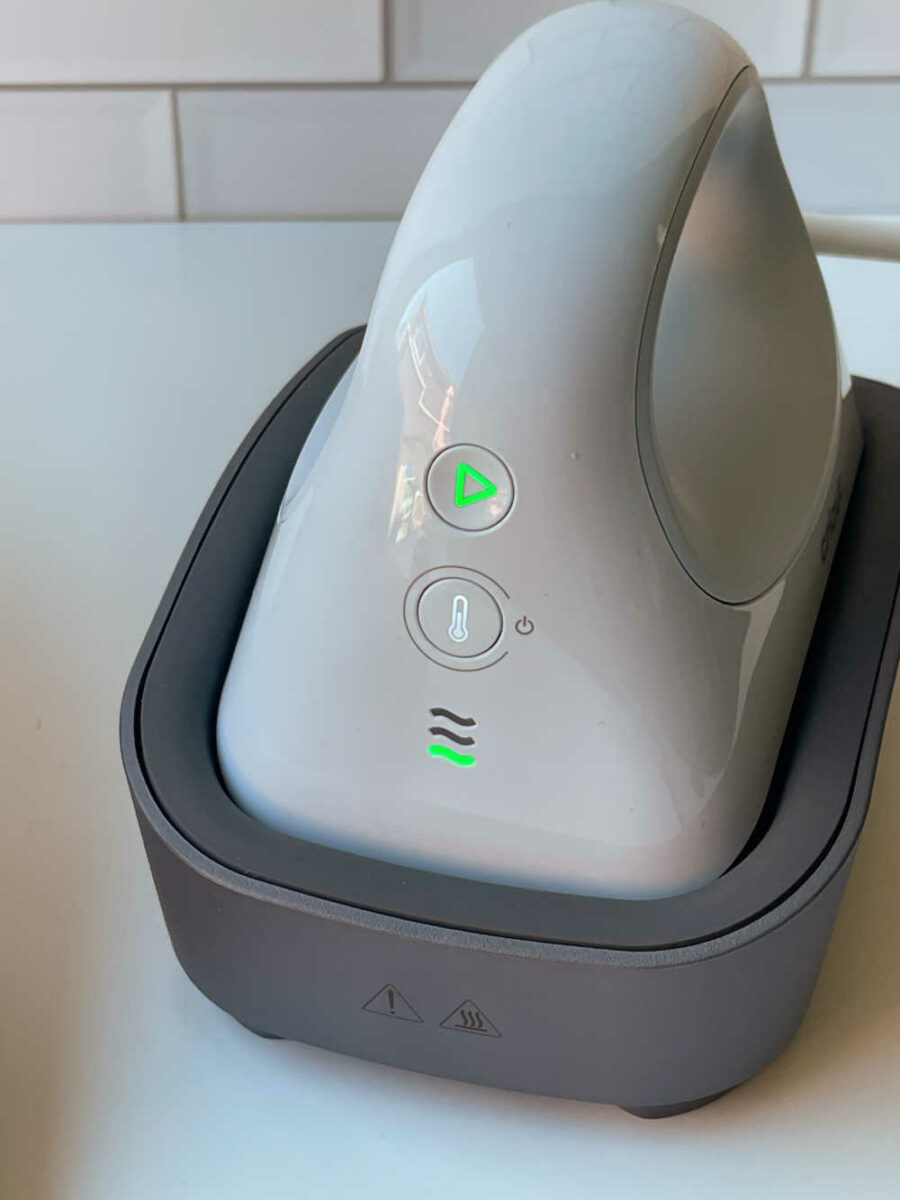
Turn the hat press is on. The heat press is ready when all the lights are green. Preheat the hat according to the directions on the app. This is usually about 5 seconds. Press the green triangle to start the timer. Press until the hat press beeps.
Attach the Design to the Hat
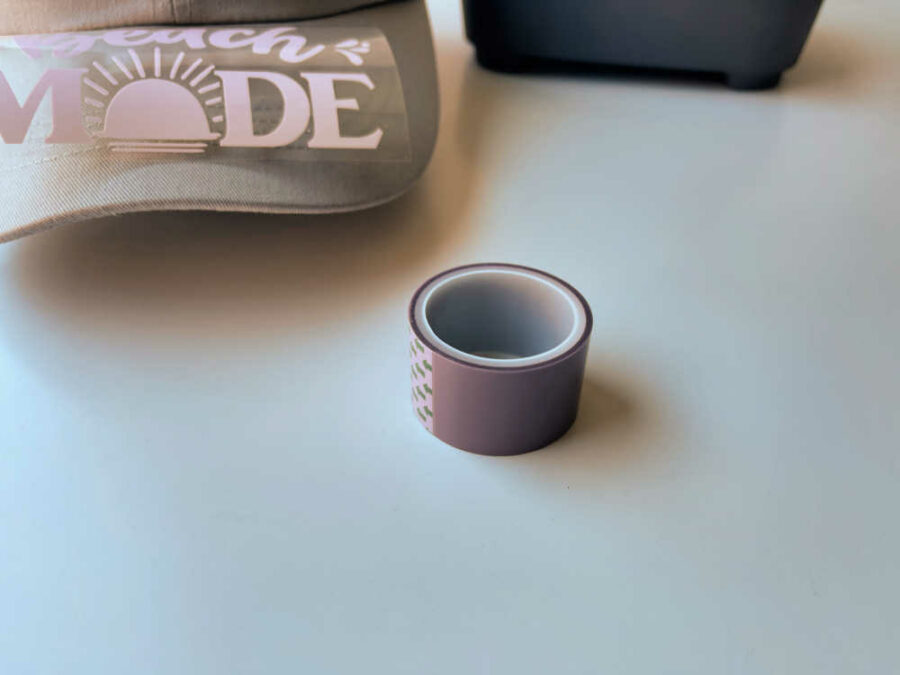
Use Cricut Heat tape to adhere the design to the pre-heated hat.
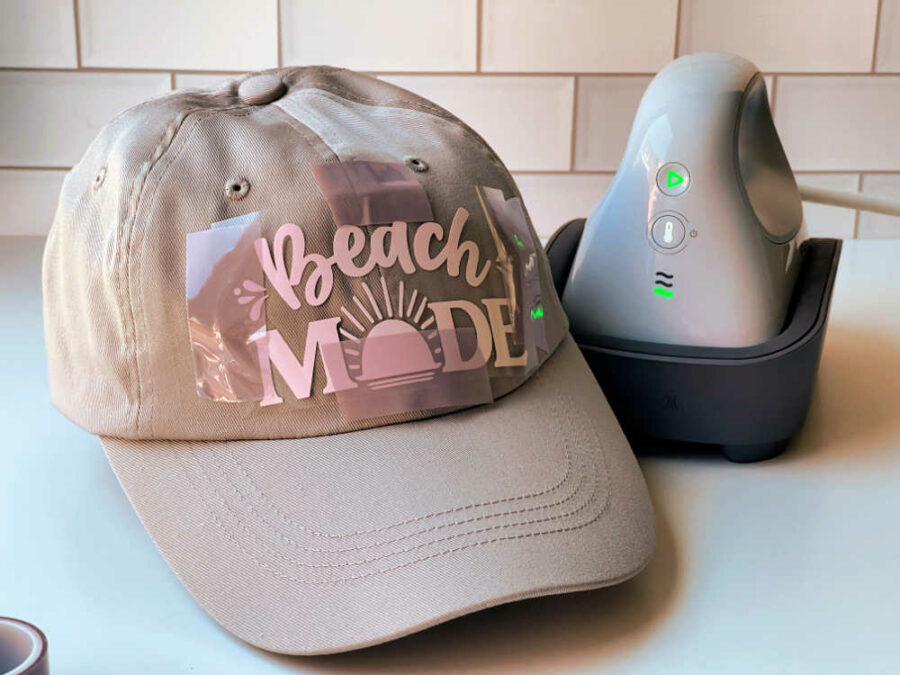
The design must be flat against the hat without bubbles or creases. Make sure that the design is not too close to the hat’s brim. It can be difficult to tape and press it on if it is too close. It can also be difficult to get enough heat and pressure to stick to the hat well.
Press the Design onto the Hat with the Heat Press
Press the triangle button again once the design is secured with the tape. Press the hat press over the design. The app will tell you what firmness of pressure to use. Continue to press until the hat press beeps.
Make sure you get enough heat and pressure on all parts of the design, especially near the brim. When the press beeps, put it back on its stand. Peel the transfer sheet off as the app directs (cool or warm peel).

And that’s it! Your hat is ready to go. The Cricut Heat App gives tips on how to care best for your hat so it enjoys a long life.


