
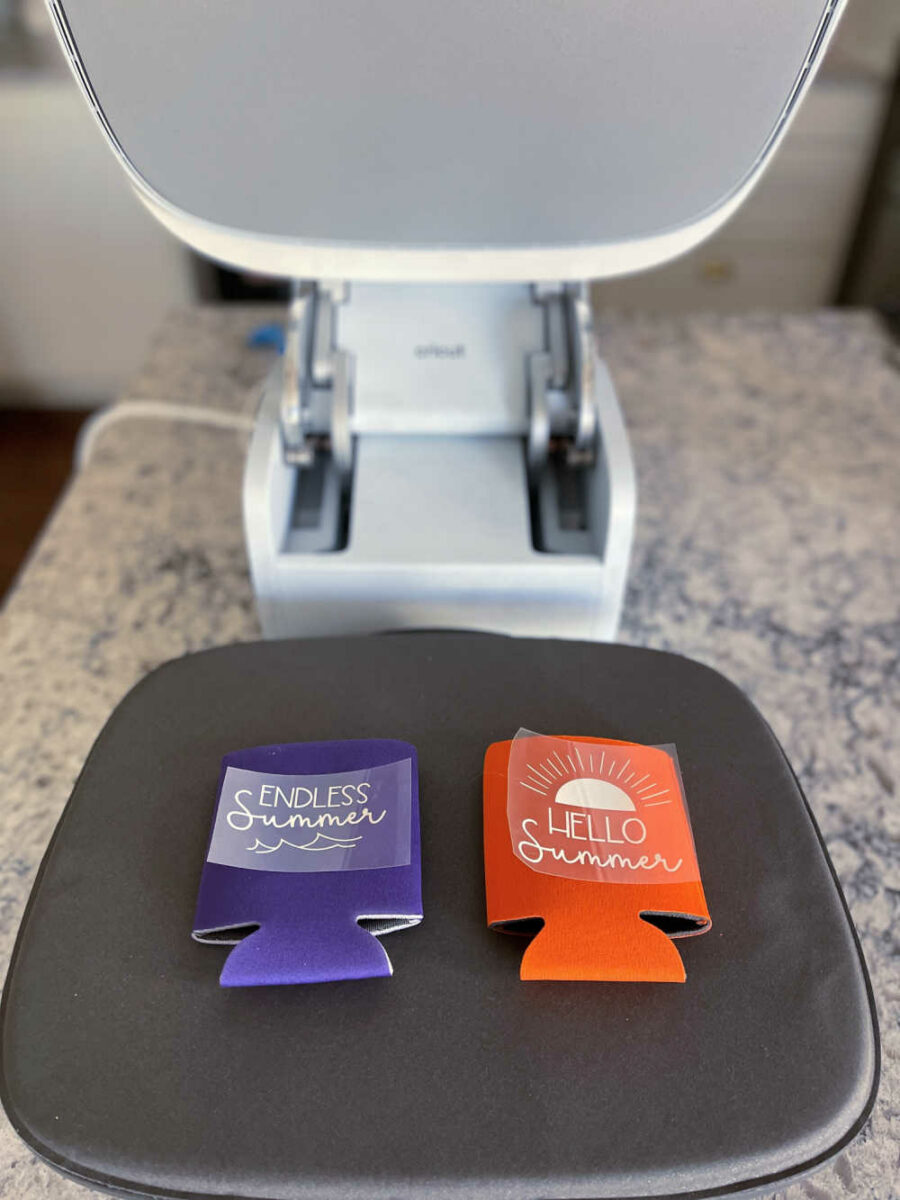
As summer approaches, it’s time to start thinking about ways to stay cool and stylish in the warm weather. One fun and easy DIY project perfect for summer is making can koozies. With a fun summer SVG, you can create personalized koozies that are both functional and fashionable. Whether sipping on a cold drink by the pool or enjoying a barbecue with friends, summer can koozies are a must-have accessory. So grab a cold drink, and let’s get crafting!

How to Make Custom Can Koozies with Summer Fun SVGs
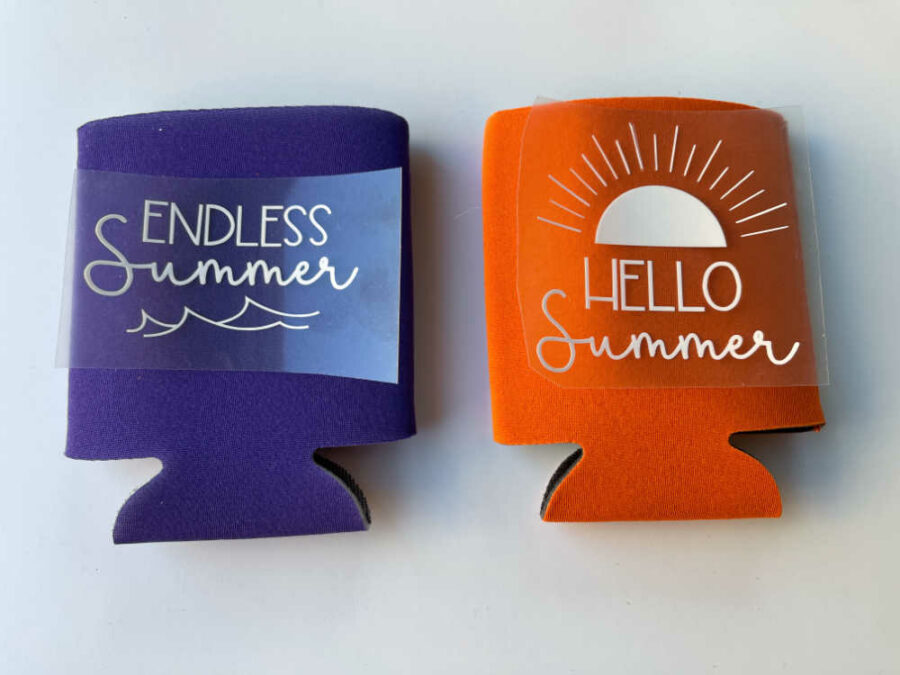
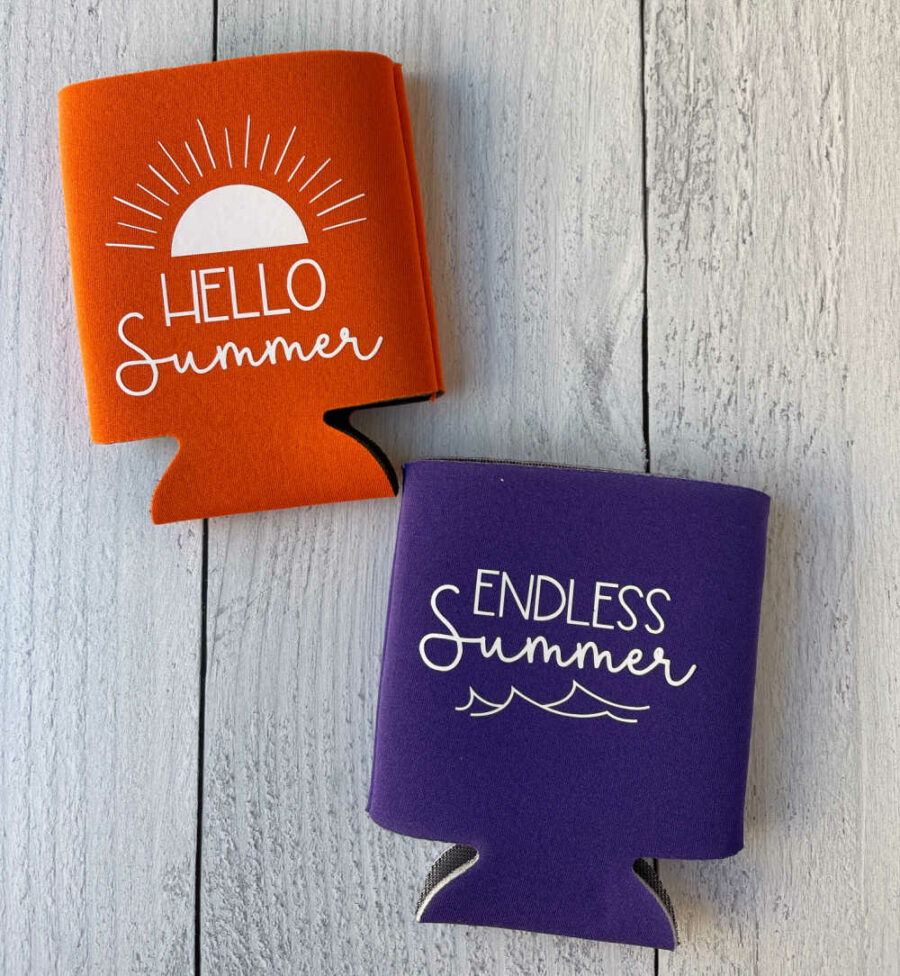
These custom can koozies are made with a summer SVG and Cricut Everyday Iron-On or Heat Transfer Vinyl. Find out more about the different type of vinyls in The Ultimate Guide to Cricut Vinyl.
The “Hello Summer” SVG is part of our Summer Fun SVG Bundle. You can grab it for free below or buy the entire Summer Fun SVG Bundle.
Hellow Summer SVG Can Koozies
Pin For LaterSummer Custom Can Koozies Supplies
- Cricut Cutting Machine
- Cricut Iron-on (HTV) – You can use Cricut Smart Iron-on with the Explore 3, Maker 3, or Joy
- Cutting Mat if not using Smart Iron-on
- Blank can koozies
- Summer SVG file
- Weeding tools
- Cricut Heat Press
- Cricut Easy Press Mat
Summer Can Koozies Instructions

Upload the SVG file into Design Space.
Upload the SVG to Design Space. If you need help, check out How to Upload an SVG or Image to Cricut Design Space.
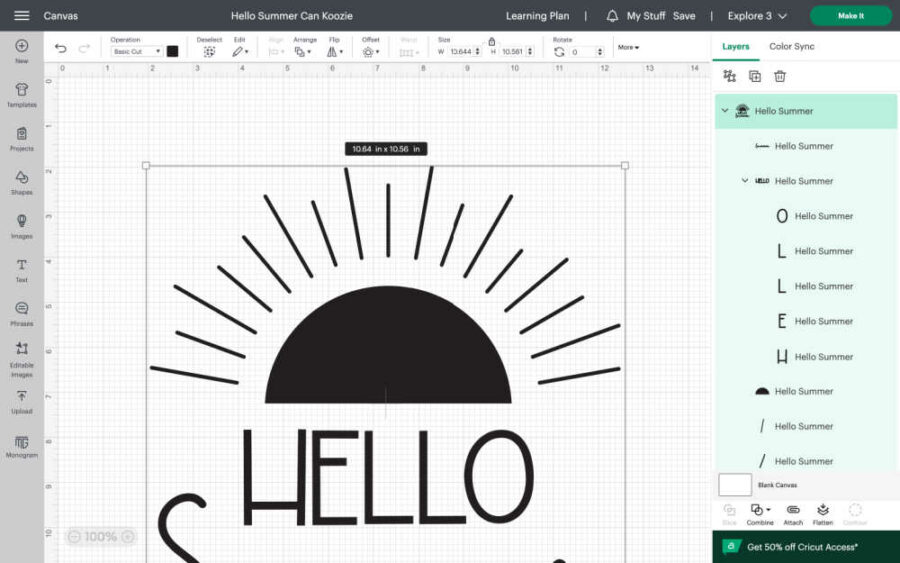
Once it is uploaded, click “Add to canvas” on the bottom right. Your image is now on the Design Space canvas, ready to be edited and cut.
Resize and attach the SVG to fit the koozie.
You need to adjust the file size when it is added to the canvas in Design Space.
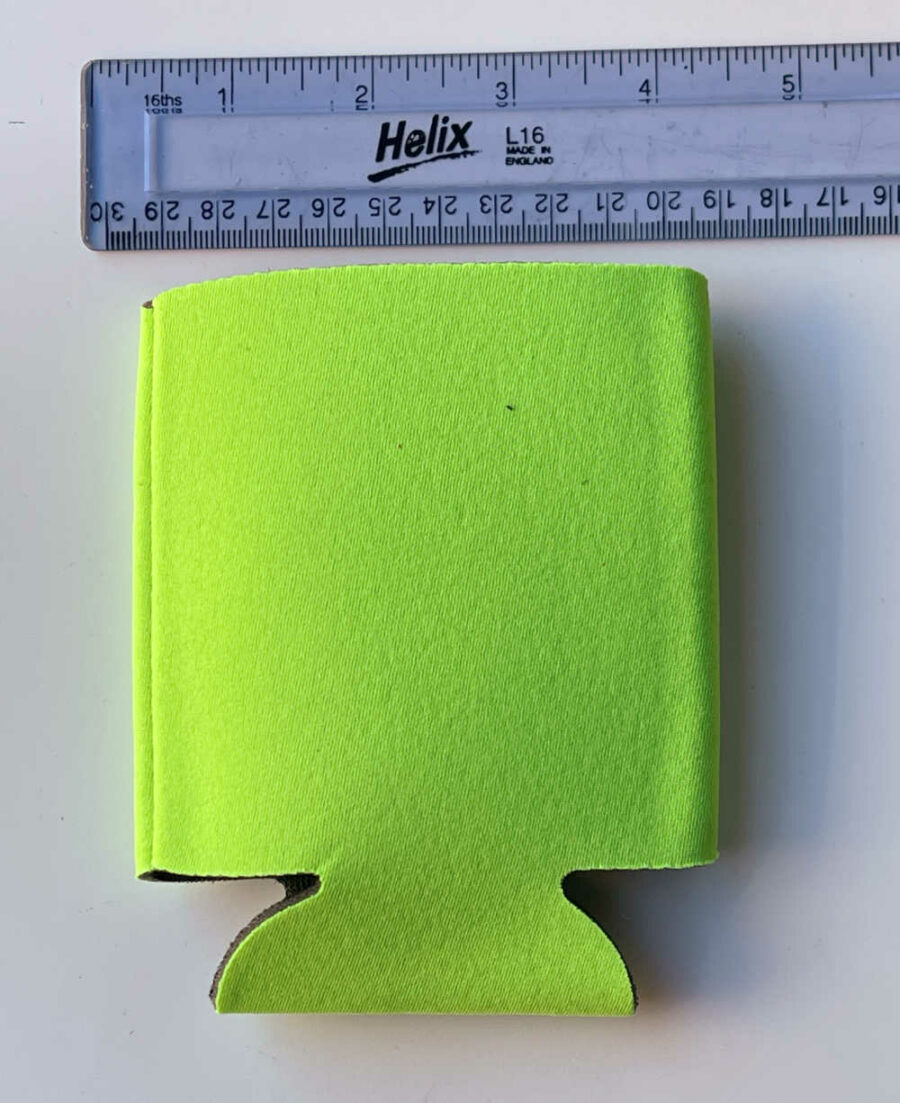
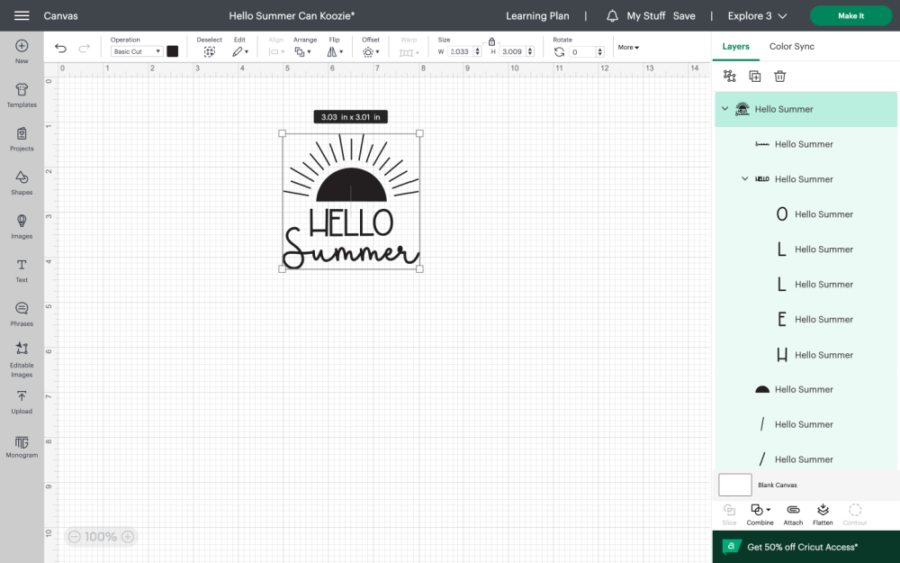
The can koozies we used are about 4″ wide. We sized the SVG down to 3″ for this project.
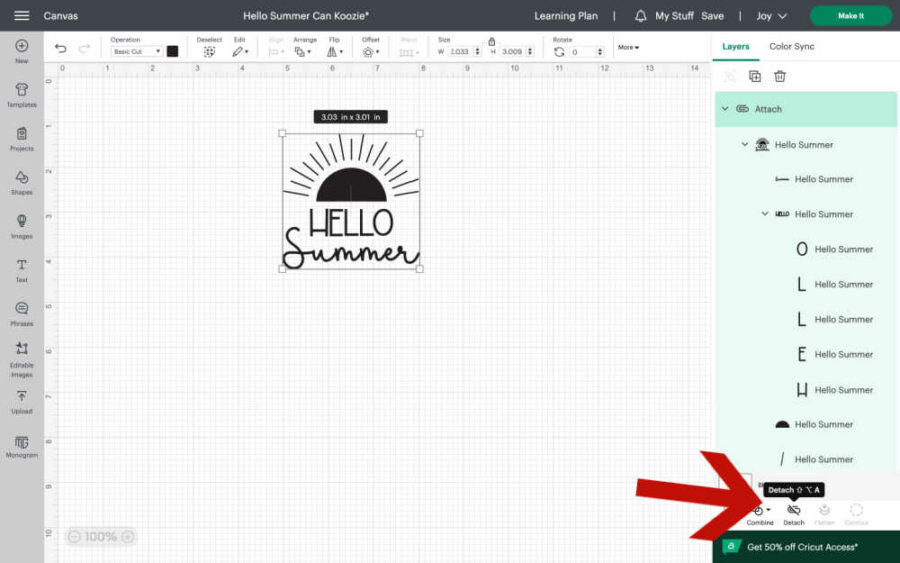
Next, highlight the SVG design and click “Attach” on the bottom right of Design Space. Now you are ready to cut.
Send the image to your Cricut machine to cut.
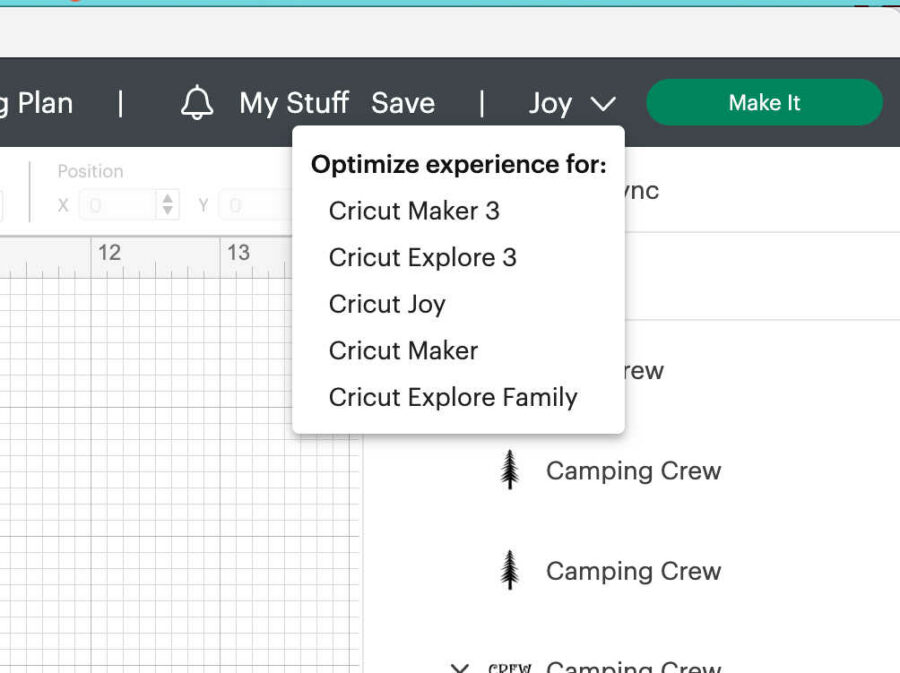
Once you are happy with the size of the design, it is ready to cut. Choose your machine in the drop-down box on the top right.
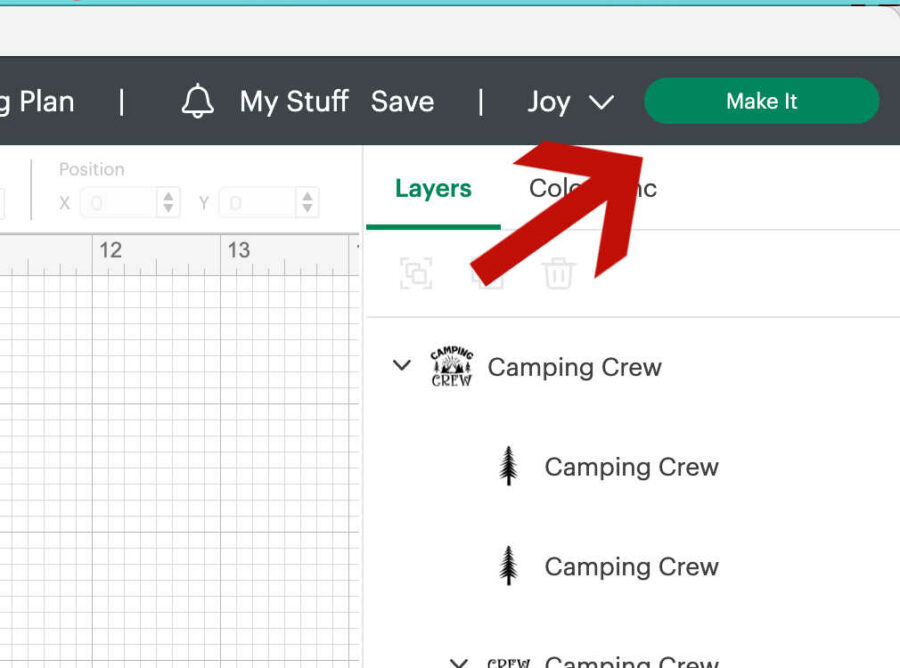
Then click “Make it” on the top right of the screen.
Choose how to load your materials into the Cricut machine.
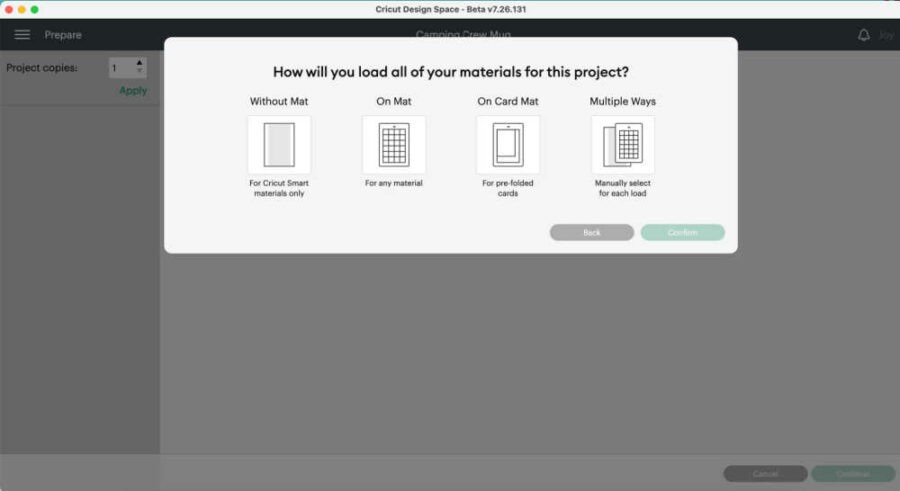
On the next screen, you will choose if you will use a mat for cutting. Cricut Smart Iron-on can be cut without a mat on a Cricut Explore 3, Maker 3, or the Joy. If you are not using Smart Iron-on, then click the mat option. You can also cut Smart Iron-on on a mat if you prefer.
We used Cricut Iron-on cut on a Mat cut on a Joy. Pick your option, and click “Confirm” in the bottom right corner.
Review the image before cutting.
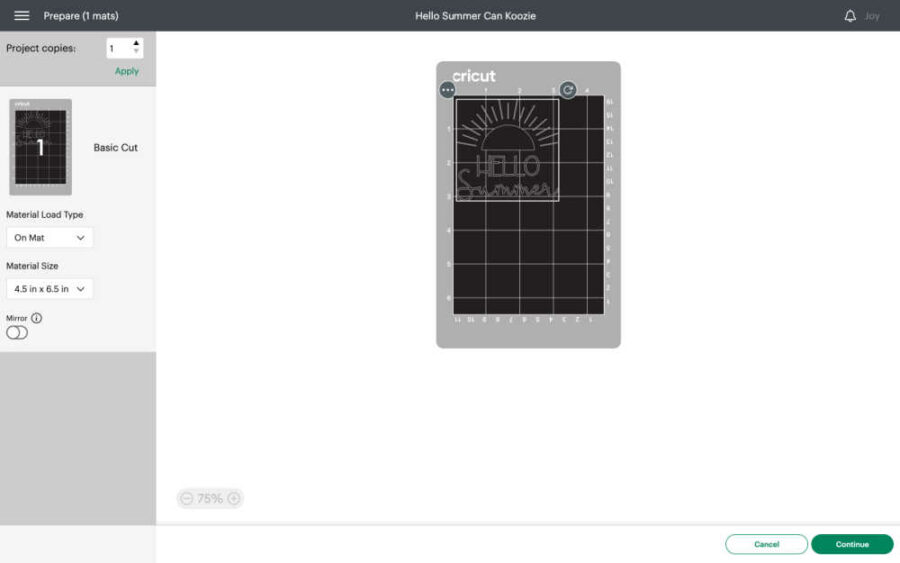
On the next screen, you will see how the Cricut will cut your image on the HTV. It will tell you how long the Smart Iron-on will need to be if you use it. If you use a mat, it will show you where the image will be on the mat. You can move the image around as needed.
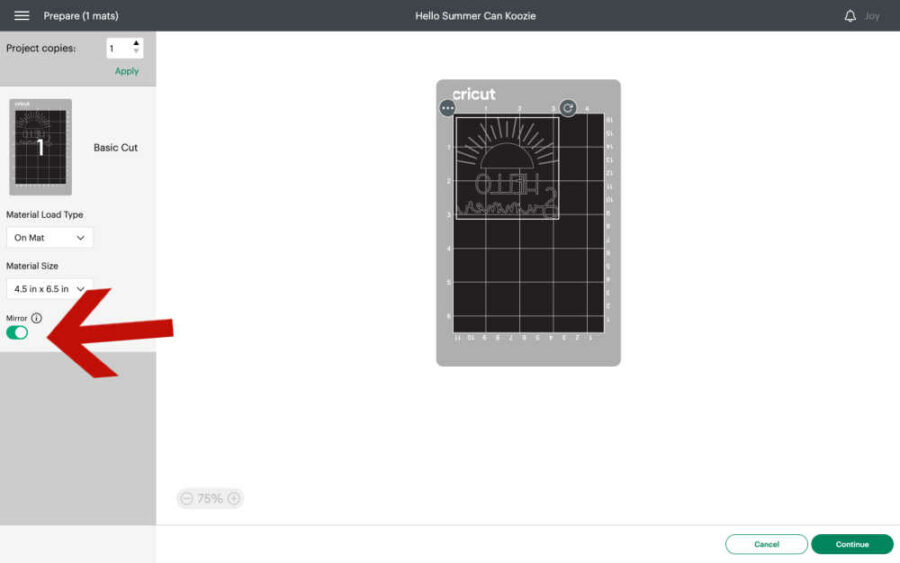
When cutting Iron-on or HTV, it is important to remember to mirror the image. If you don’t mirror the image, your design will turn out backwards when you iron it on. I can’t tell you how many times I’ve forgotten to mirror the image, so don’t worry if you forget. Just cut it again with the mirror on.
Once you are happy with how many to cut and where they are on the HTV, turn on your machine. Put the HTV on the mat glossy side down if you use a mat. Then, click “Continue” on the bottom right of the screen.
Cut the HTV with your Cricut Machine
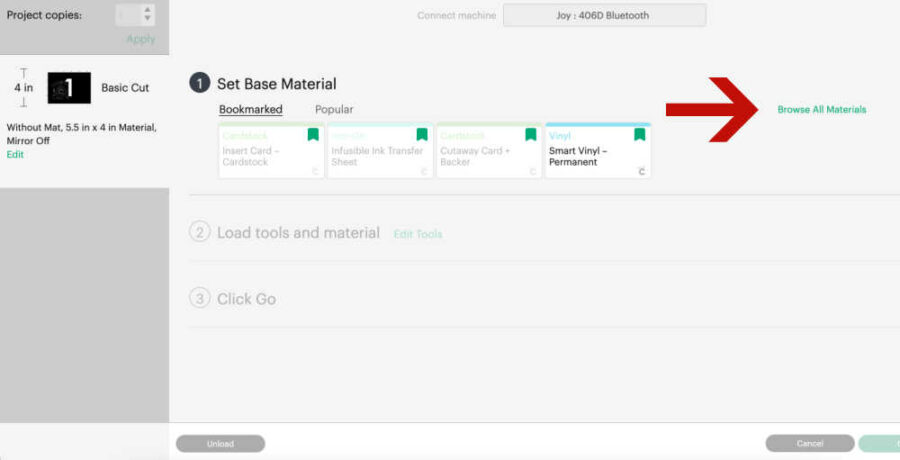
Once you click continue, Design Space will connect via BlueTooth to your machine. Once it has connected, you will choose the Iron-on material you are using. Click “Browse Materials” to find the HTV you are using, such as glitter, foil, Every Day, Smart, etc.

Load the Smart Iron-on or the mat into the machine. Remember to load Smart Iron-on glossy side down into the machine. The machine is set to cut at the default pressure required for your chosen material. It will also tell you which blade you need to cut the HTV. You will likely only need the fine-point blade.
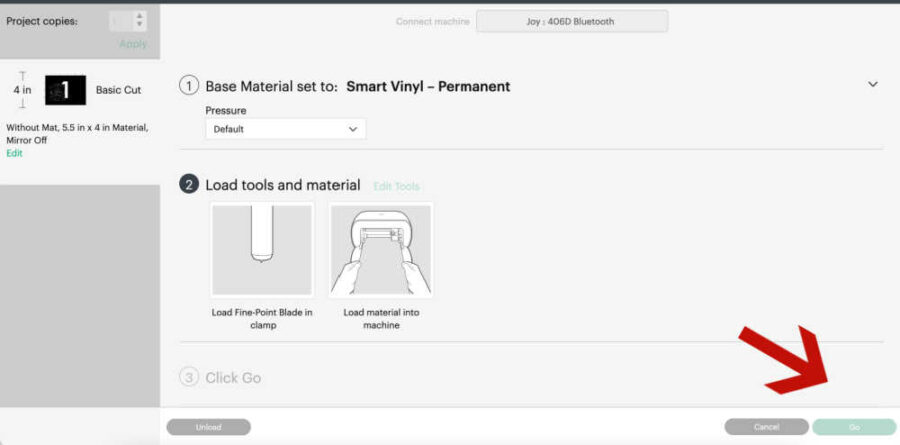
Once the Smart Iron-on or mat is properly loaded into the machine, the “Go” button on the bottom right of the screen will highlight. Push that, and the machine will begin its cut.
When the cut is finished, unload the mat or Smart Iron-on and click “Done” in Design Space.
Weed out the excess vinyl.
Once the design is unloaded, remove the HTV from the mat by pulling the mat away from the HTV. Using weeding tools and remove, or weed, out the excess HTV that is not needed for the design.
Apply heat and pressure.
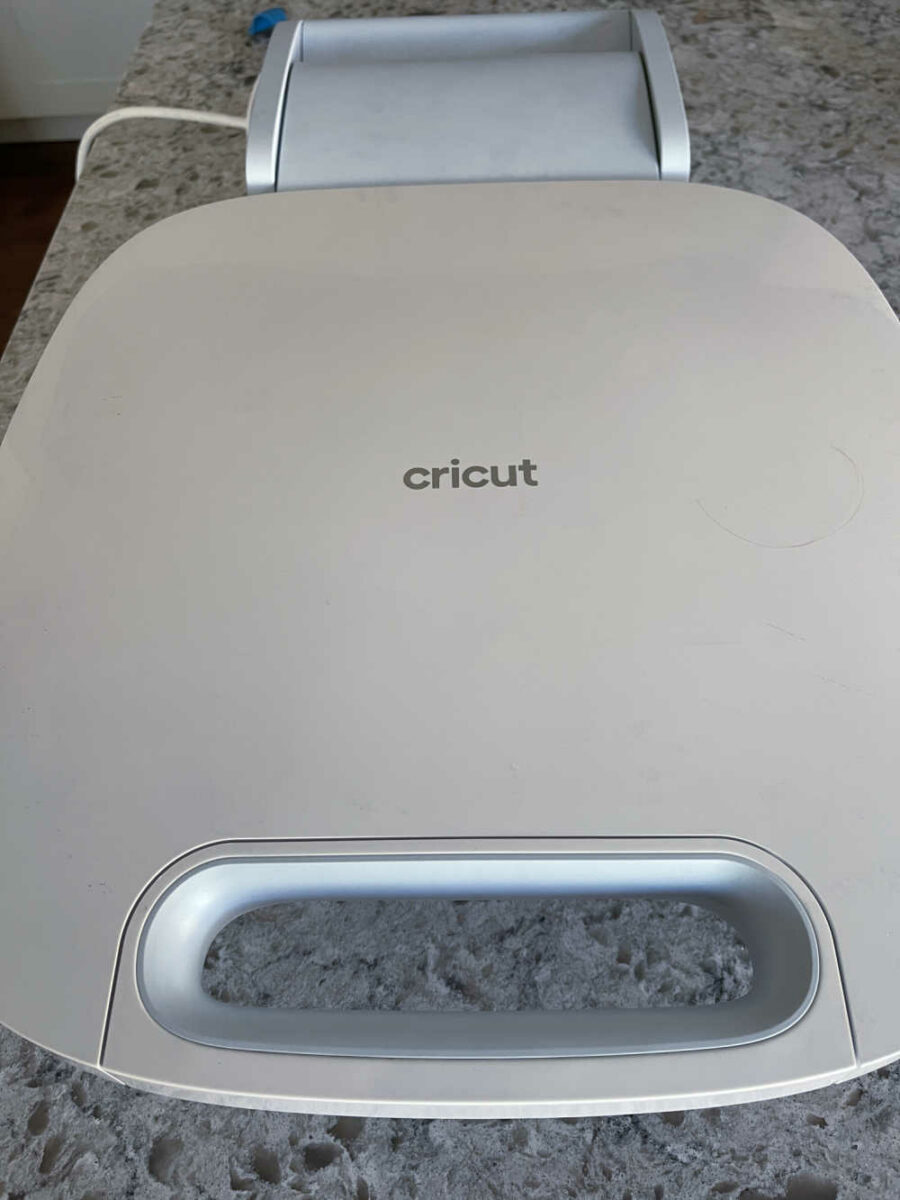
We love to use a Cricut Heat Press to iron the design to the fabric. For this project, we used Cricut AutoPress. I really love the AutoPress! It applies a steady pressure so the Iron-On adheres great.
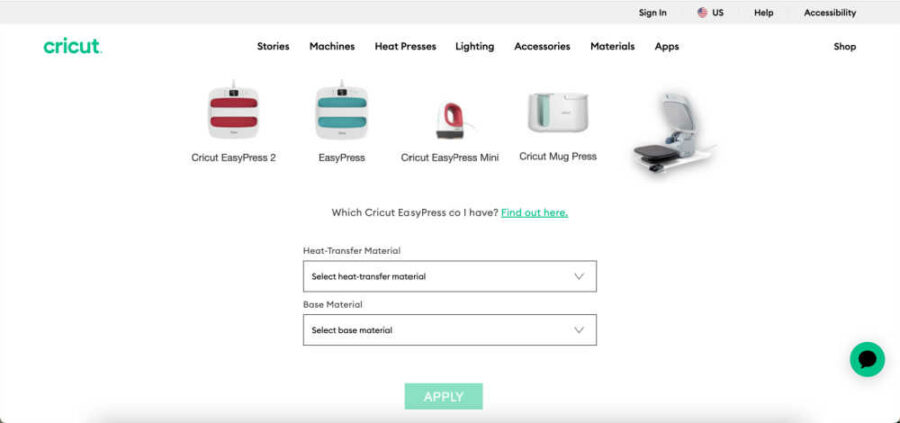
It is important to follow the manufacturer’s instructions for the specific type of HTV you are using, as the temperature and pressure settings may vary. Cricut has an online heat guide for Easy Press, Easy Press 2, Mini Press, and Auto Press. The Easy Press 3 use BlueTooth to connect to the Cricut Heat App to send the time and heat to the press.
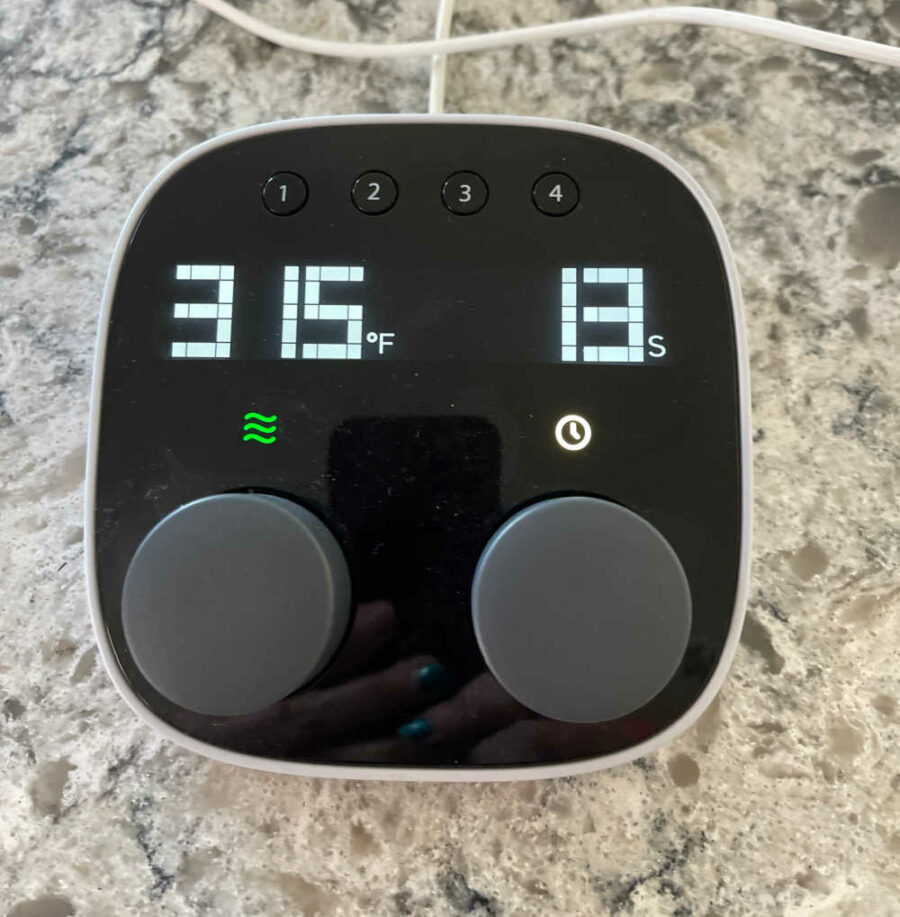
Preheat the press to the desired temperature. According to the Cricut Heat Guide, we needed 315 degrees for 30 seconds for polyester material and Easy Iron-On. Pre-warm the material if directed by the guide.
Place the design on the fabric face down, liner side up. Close the press. The AutoPress will automatically open when the time is over.
Remove the liner. Remove the liner according to the Heat Guide directions—our settings were to remove it when cool.
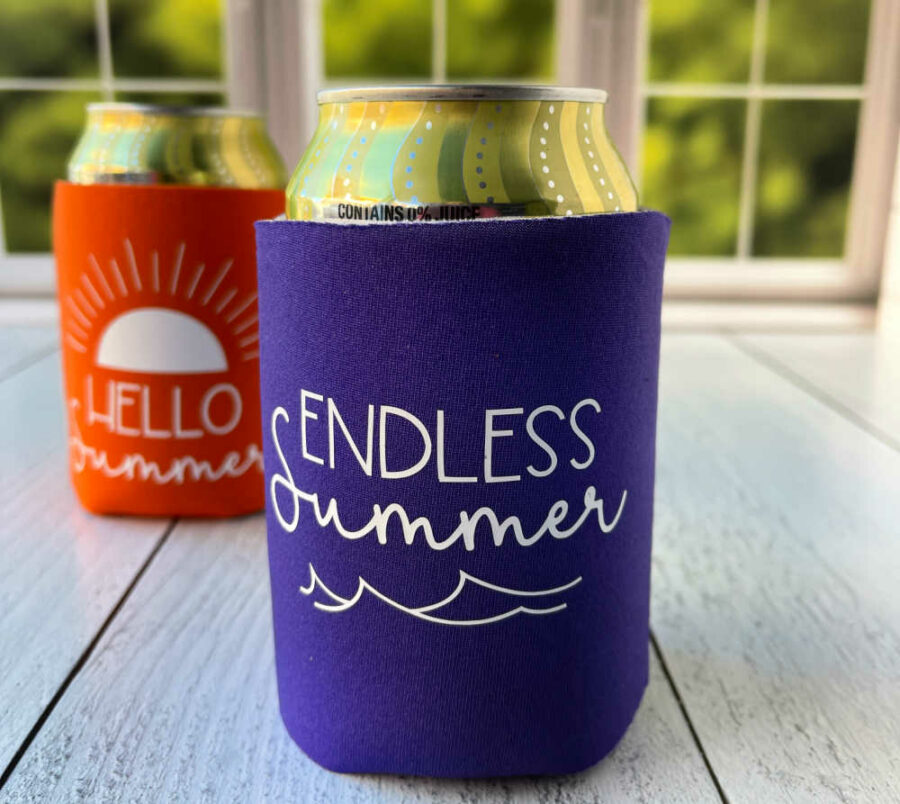
Of course, you can use these can koozies to keep drinks cool all summer. But you can also use them as a grip for a phone or other fragile items like glasses.

Custom Camping Can Koozies
Equipment
- Cricut Cutting Machine
- Cutting Mat if not using Smart Iron-on
- Weeding tools
- Cricut Heat Press
- Cricut Easy Press Mat
Ingredients
- Cricut Iron-on HTV
- Blank can koozies
- Camping SVG
Instructions
- Upload the SVG to Design Space.
- Adjust the file size when it is added to the canvas in Design Space.
- Highlight the SVG design and click “Attach” on the bottom right of Design Space.
- Then click “Make it” on the top right of the screen.
- Choose if you will use a mat for cutting and click “Confirm” in the bottom right corner.
- Mirror the image.
- Put the HTV on the mat glossy side down if you use a mat. Then, click “Continue” on the bottom right of the screen.
- Click “Browse Materials” to find the HTV you are using, such as glitter, foil, Every Day, Smart, etc.
- Load the Smart Iron-on or the mat into the machine. Follow the prompts for the machine.
- Unload the design when finished cutting.
- Use weeding tools to weed out the excess vinyl,
- Use the Cricut Heat Guide to determine the heat and time needed to press the iron-on to the can koozie. Follow the directions.
- Peel the liner when cool.