
Conversation hearts decor aren’t just one of Valentine’s Day’s iconic candies into adorable home decor. Paint wood hearts in bright colors similar to candy. Use your Cricut or other cutting machine to easily create fun, sweet and cute sayings for the hearts. Glue the hearts to a ribbon and hang them as a fun Valentine’s Day decoration.
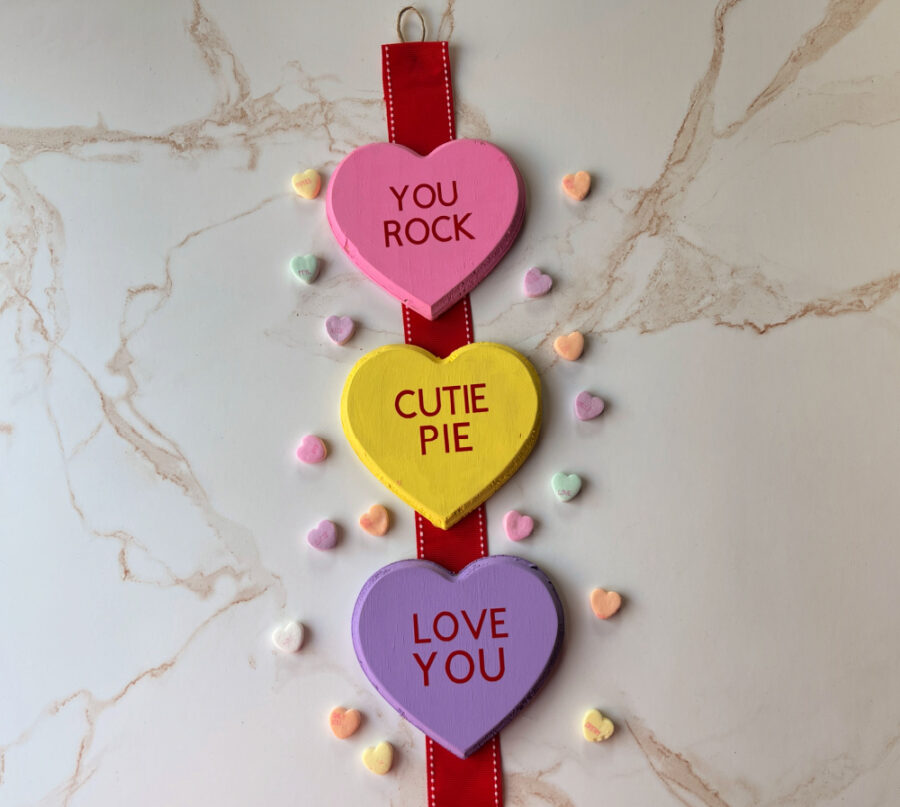
I love the iconic and fun Valentine’s Day Conversation Hearts candy. Watching how the sayings on the little colorful hearts change over the years is fun. I spied these wooden hearts at the dollar store and knew they had to be made into a fun conversation heart decor craft for our home. This is a super easy Valentine’s Day Craft you can make in no time.
Conversation Hearts Decor Supplies
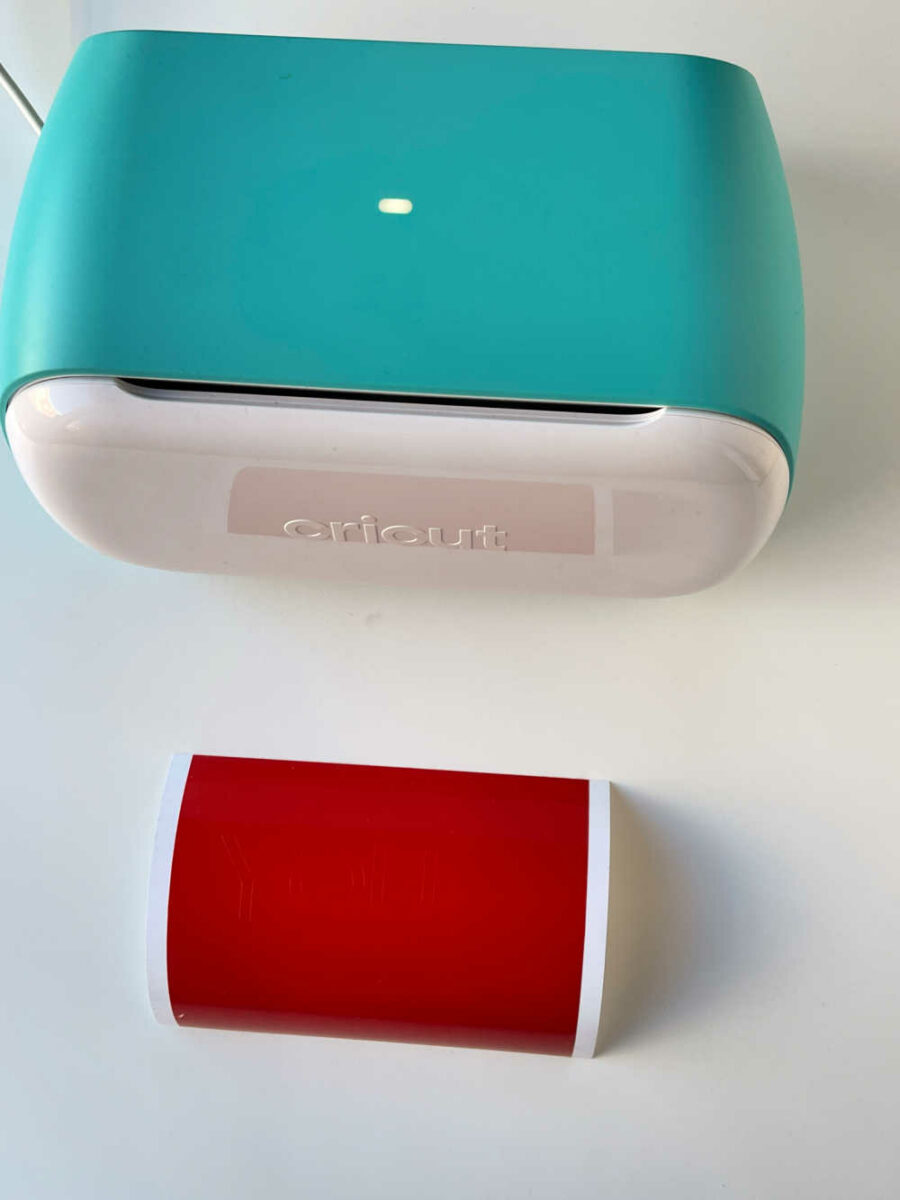
- Cricut Cutting Machine – We used a Cricut Joy
- Vinyl – You can use SmartVinyl with Explore 3, Maker 3, or Joy. We used Smart Vinyl for the Joy.
- Transfer Tape
- Cutting Mat if not using Smart Vinyl
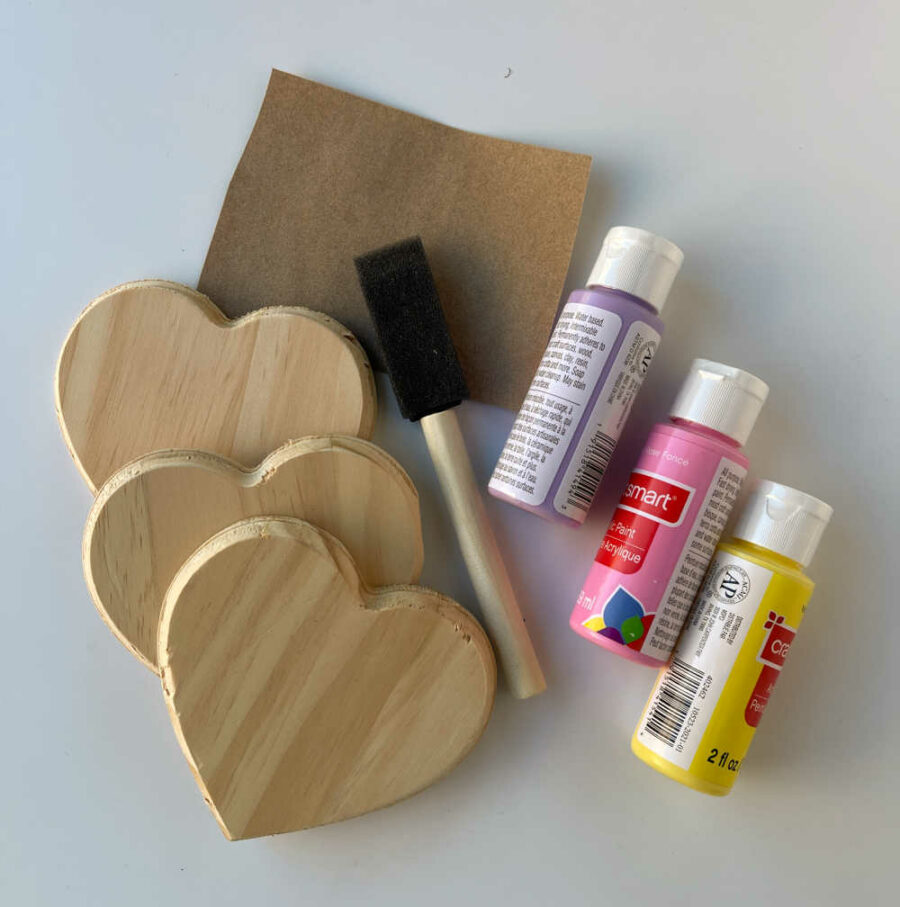
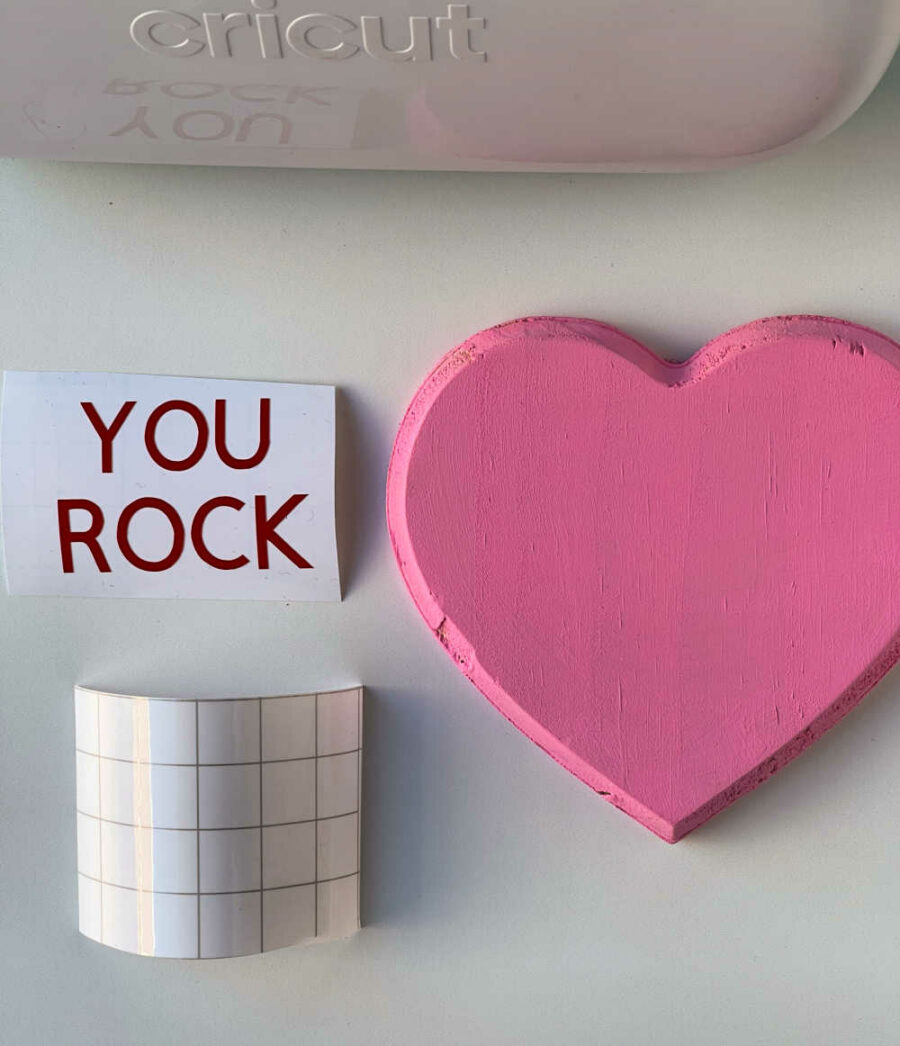
- Wood hearts – we bought ours at the Dollar Tree
- Craft paint – we used pink, yellow, and lavender.
- Sponge paint brushes
- Weeding tools
- Red Ribbon
- Jute or twine for hanging (optional)
No time to make this now? Share or save for later!
Perusing the internet late at night or in the driveline? Pin this to Pinterest or share it to Facebook so you can easily and quickly find it later!

-

Reader’s Favorite!
Ombre Yarn Heart Wood Pallet Craft
-
Reader’s Favorite!
“Made with Love” Printable Tags for Homemade Gifts
Conversation Hearts Decor Instructions
Sand and paint the wood hearts.
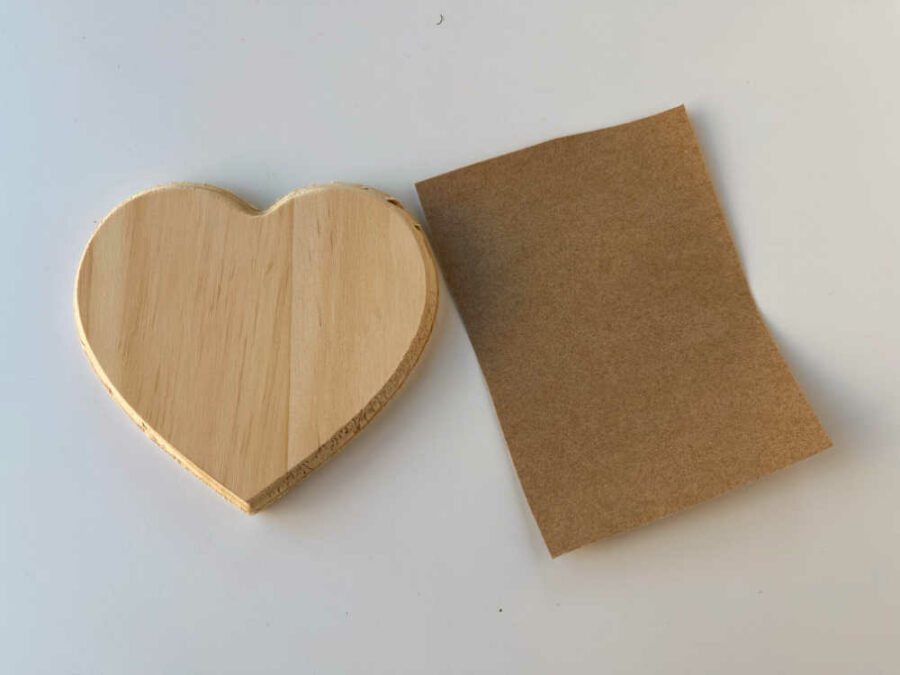
I bought the wood hearts at Dollar Tree, so they were rough around the edges. We sanded the edges as smoothly as possible, but some chunks were still taken out. Sanding may not be necessary, depending on what your wood hearts look like.
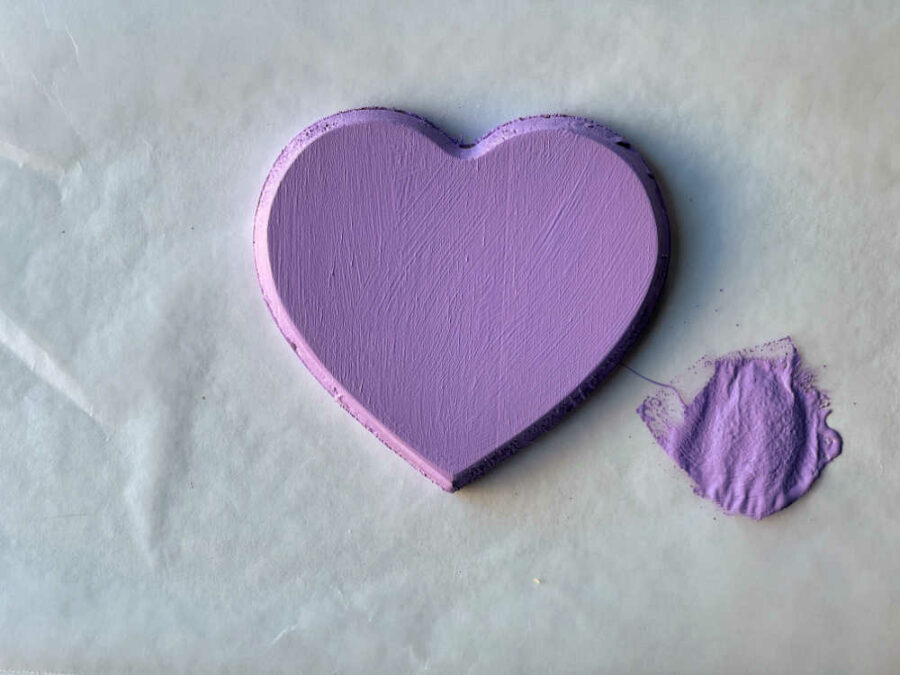
Next, paint the wood hearts with craft paint and sponge paintbrushes. We used pink, yellow, and lavender. Conversation heart candy also comes in white, green, and orange. There is no wrong here. The candy has changed colors over the years, so pick your favorites.
Once all the hearts are painted, set them aside to dry.
Open Design Space and add conversation heart sayings.
While the hearts dry, create the sayings for them using your Cricut machine.
Open Design Space on your computer or mobile device. We use Design Space on a Mac laptop. The app may be a little different from these instructions.
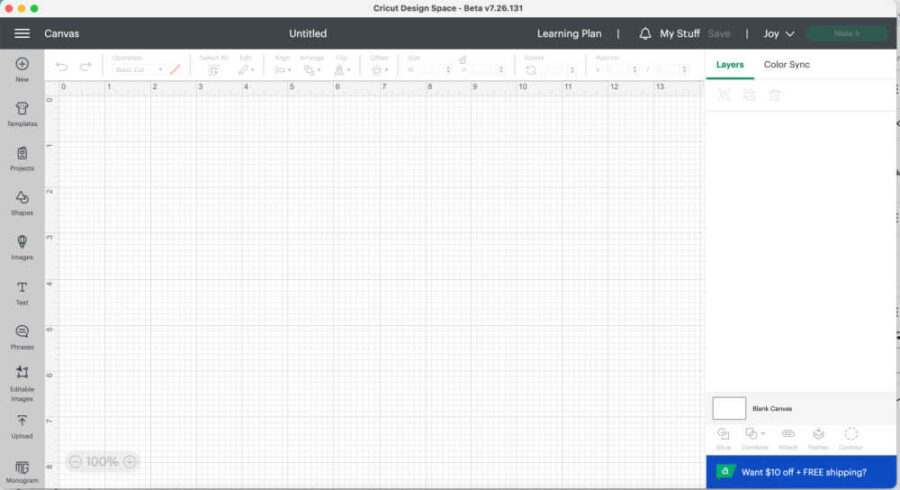
On your laptop, open Design Space and click “New Project” on the top left of the screen. This will bring you a blank canvas, as you see above.
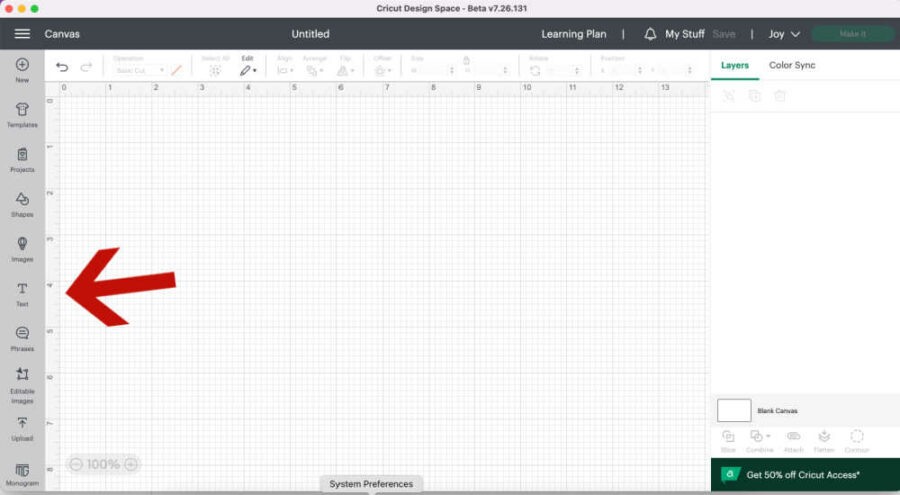
Click “Text” in the middle of the gray dashboard on the left side of the screen.
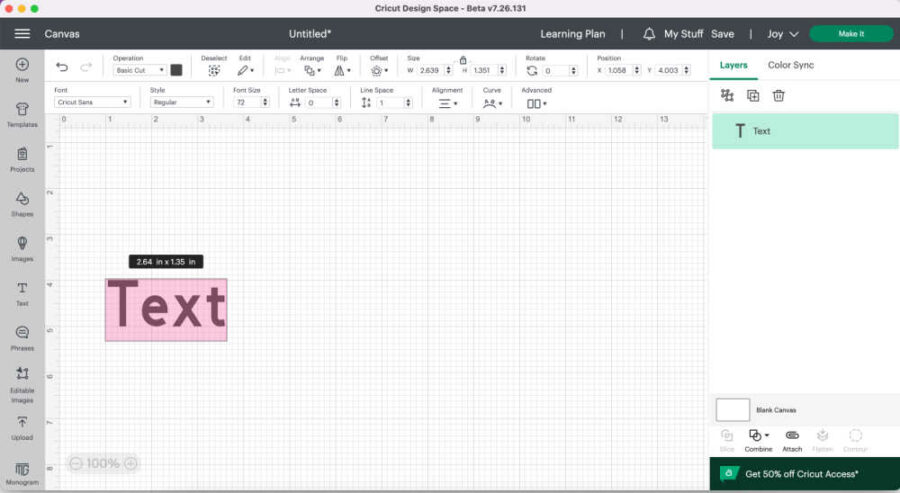
This will add a text box to the canvas. Click on the text box and type in any saying or phrase you’d like. Some ideas are:
- UR Cute
- Be Mine
- Hug Me
- Hot Stuff
- You’re Sweet
- Love Ya
- True Love
- I’m Yours
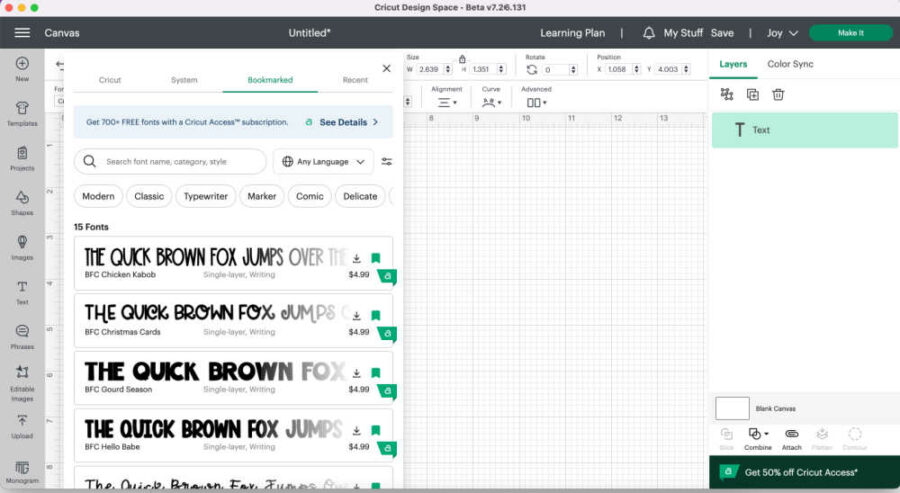
You can change the font to anyone you like. You may have to pay to use a particular font unless you are a Cricut Access member (which I recommend!). I used the Cricut Sans font, and it is free.
Resize the sayings to fit the hearts.
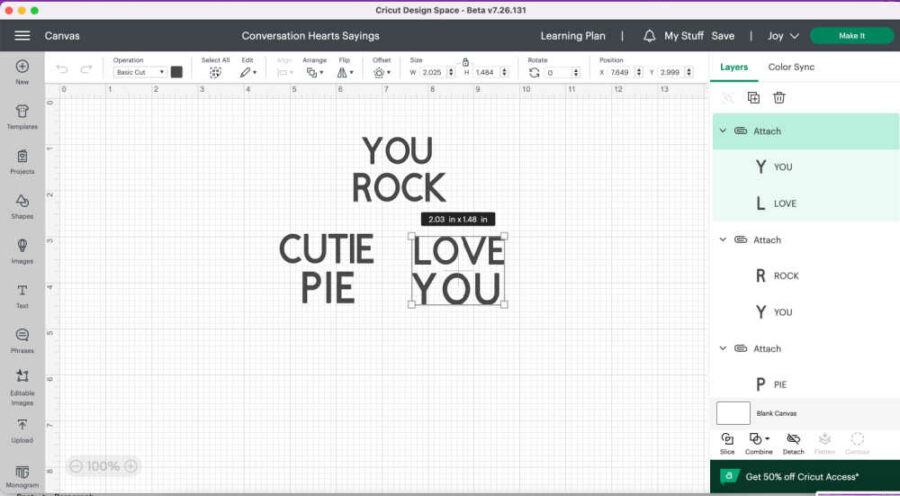
Make sure to size your sayings so they will fit your heart. Our hearts were 3″ x 4″, and I made the sayings roughly 2″ by 1.5.”
Once you are happy with the sayings, make sure to save them. Just click “Save” at the top of Design Space.
Send the image to your Cricut machine to cut.
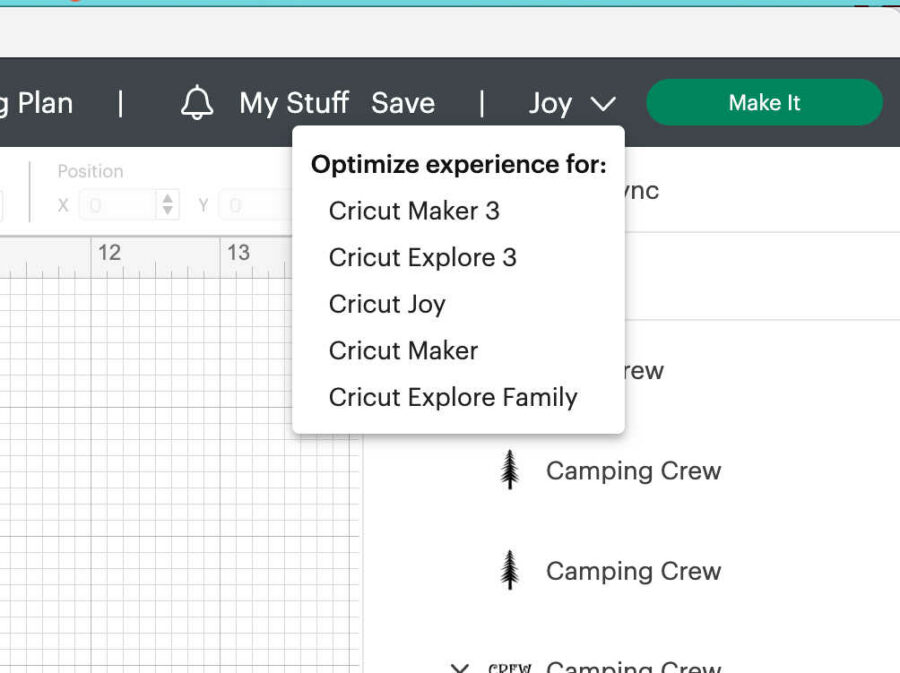
Now that it’s saved choose your machine in the drop-down box on the top right. Choose your machine.
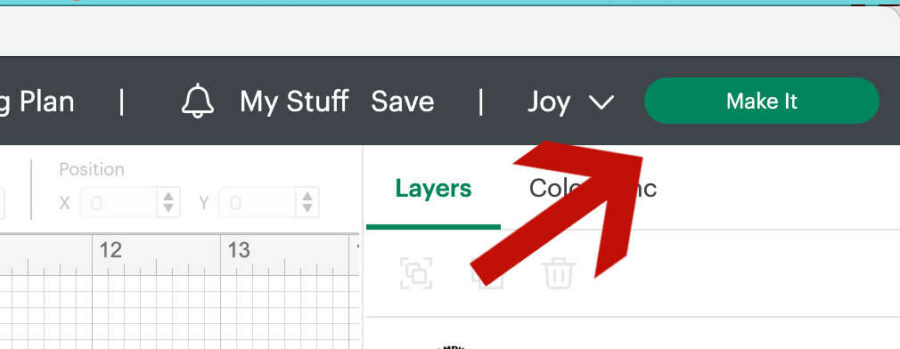
Then click “Make it” on the top right of the screen.
Choose how to load your materials into the Cricut machine.
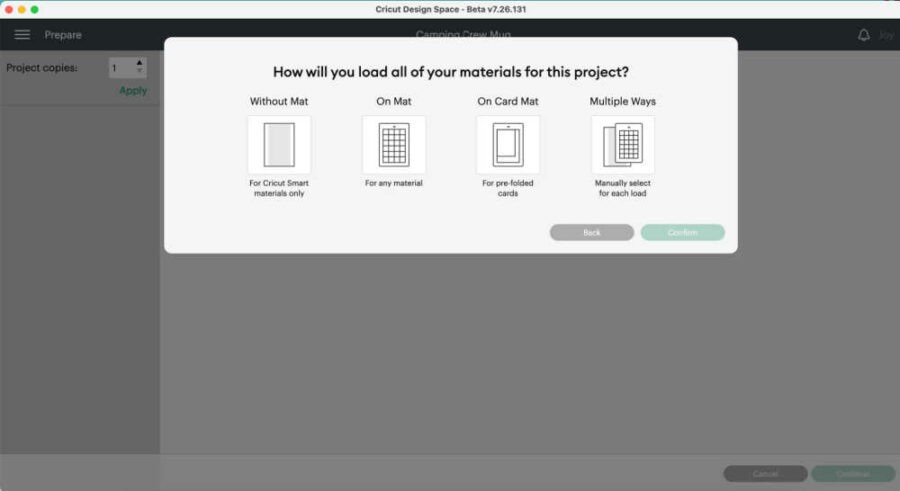
On the next screen, you will choose how to load the vinyl into your Cricut Machine, depending on what type of vinyl you are using. I used Cricut SmartVinyl for the Joy, which can be cut without a mat.
If you are not using SmartVinyl, then click the mat option. You can also cut SmartVinyl on a mat if you prefer.
Pick the option you want, and click “Confirm” in the bottom right corner.
Review the image before cutting.
On the next screen, you will see how the Cricut will cut your image on the vinyl. It will tell you how long the SmartVinyl will need to be. If you use a mat, it will show you where the image will be on the mat. You can move the image around as needed.
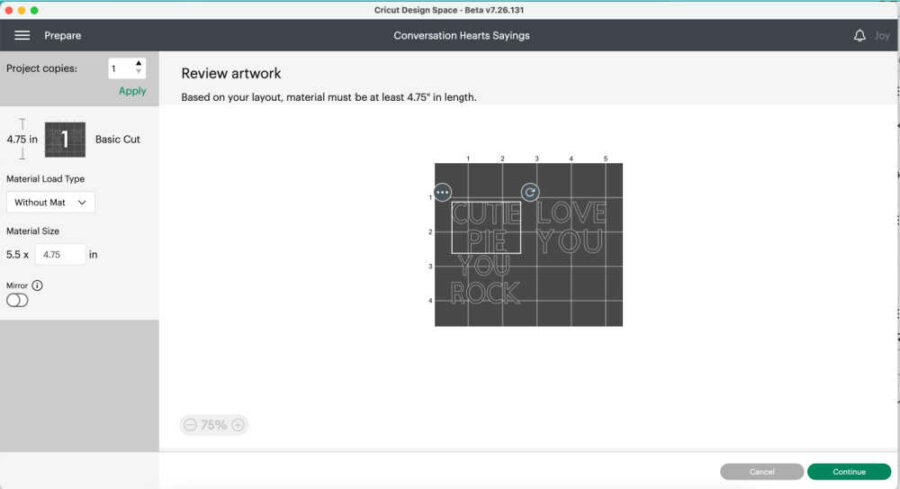
Once you are happy with how many to cut and where they are on the vinyl, turn on your machine and get it ready to cut. If you are using a mat, put the vinyl on the mat, color side facing up.
If using SmartVinyl, cut SmartVinyl to the length needed for the project. Then, click “Continue” on the bottom right of the screen.
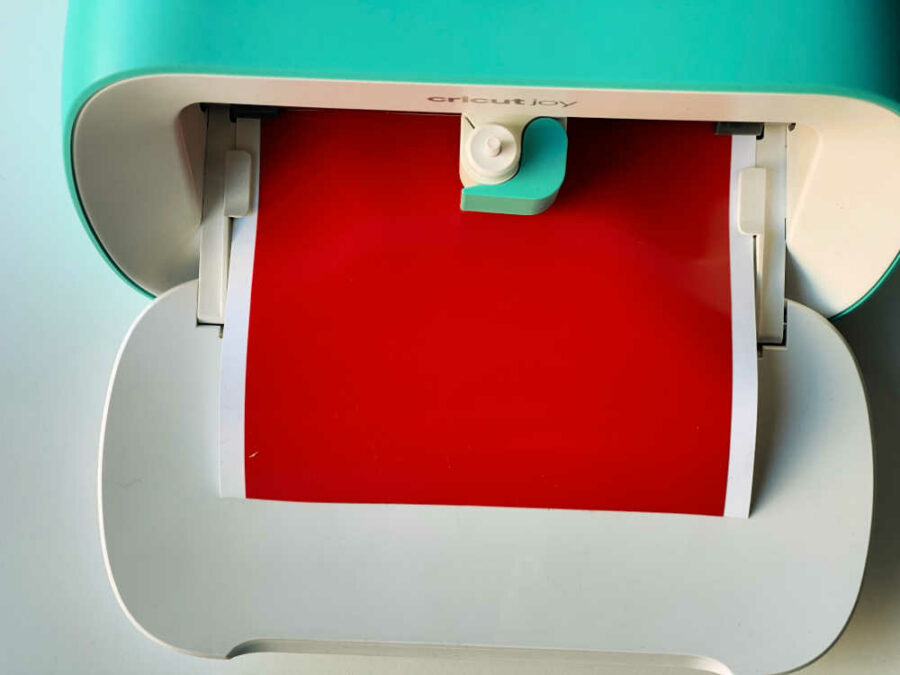
Pick your material and load it into the Cricut.
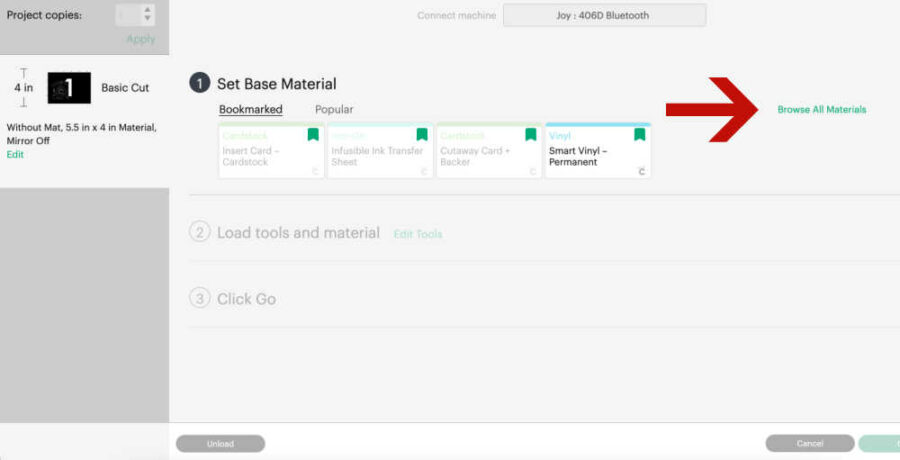
Once you click continue, Design Space will connect via BlueTooth to your machine. Once it has connected, you will choose the material you want to cut. You can click “Browse Materials” to find the vinyl you are using.

Load the SmartVinyl or the mat into the machine. It is set to default pressure. It will also tell you which blade you need to cut the vinyl. Because you are using vinyl, you will only need the fine-point blade.
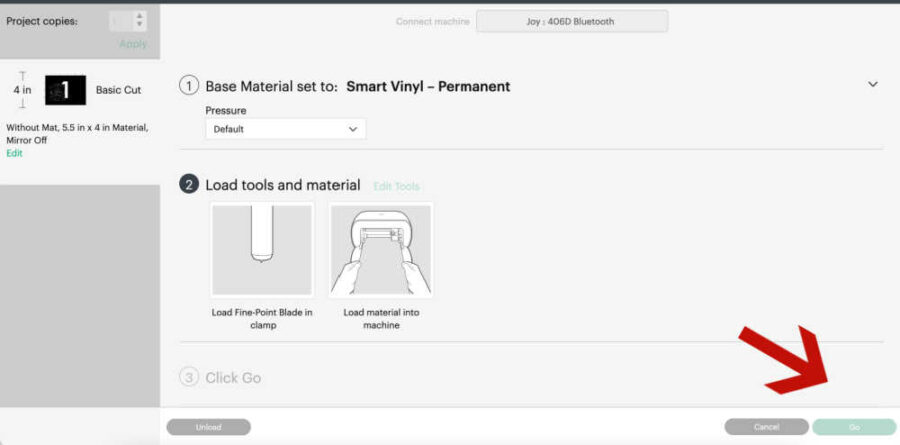
Once the SmartVinyl or mat is properly loaded into the machine, the “Go” button on the bottom right of the screen will highlight. Push that, and the machine will begin its cut.
Once the cut is finished, unload the mat or SmartVinyl and click “Done” in Design Space.
Weed the design.
Once the design is unloaded, remove the vinyl from the mat. Use scissors to trim the vinyl around the saying. This will make it easier to weed.
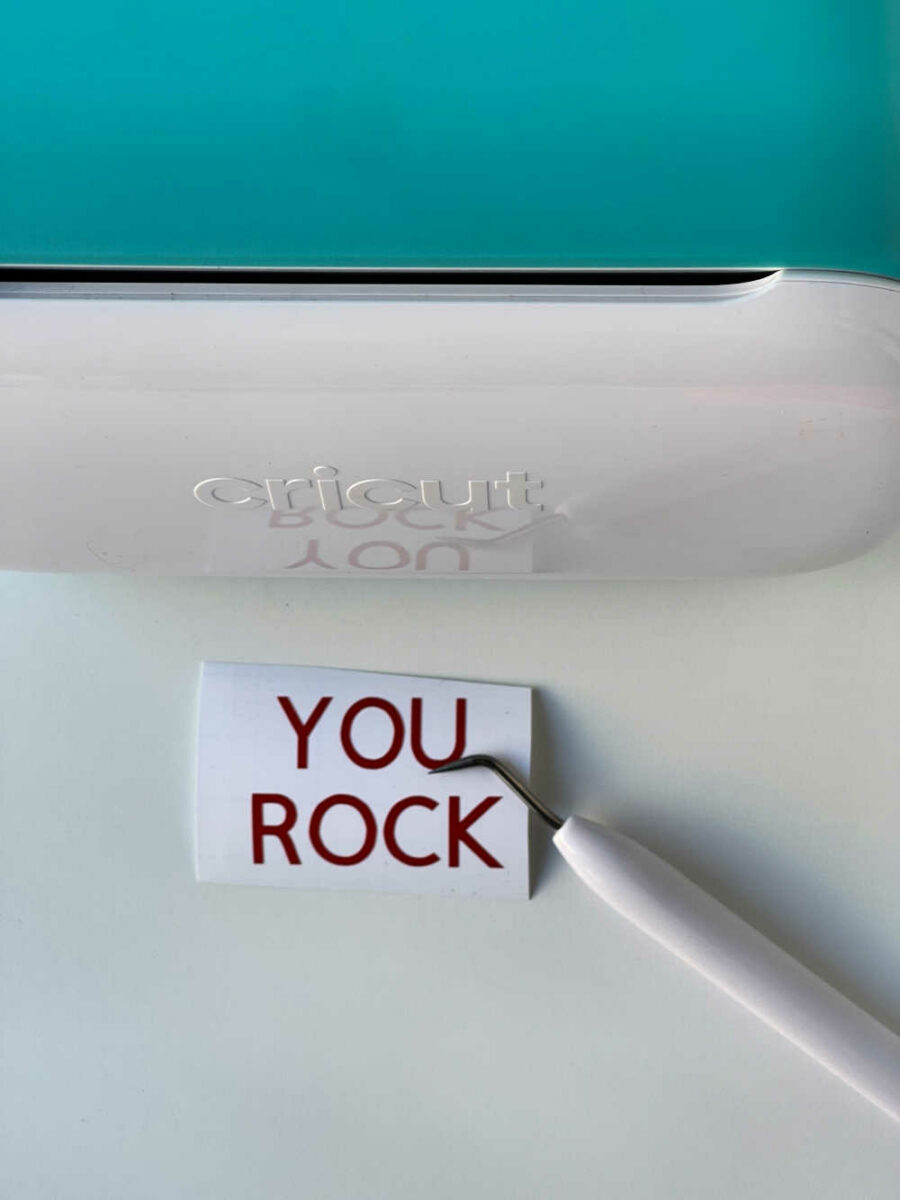
Remove the vinyl of the unnecessary parts of the saying. Start in a corner, gently lift and pull off unwanted vinyl from the backing. This is called “weeding.” Only the letters will remain. Use your fingers or a weeding tool to remove the inside of the letters O and R.
Use transfer tape to adhere the sayings to the hearts.
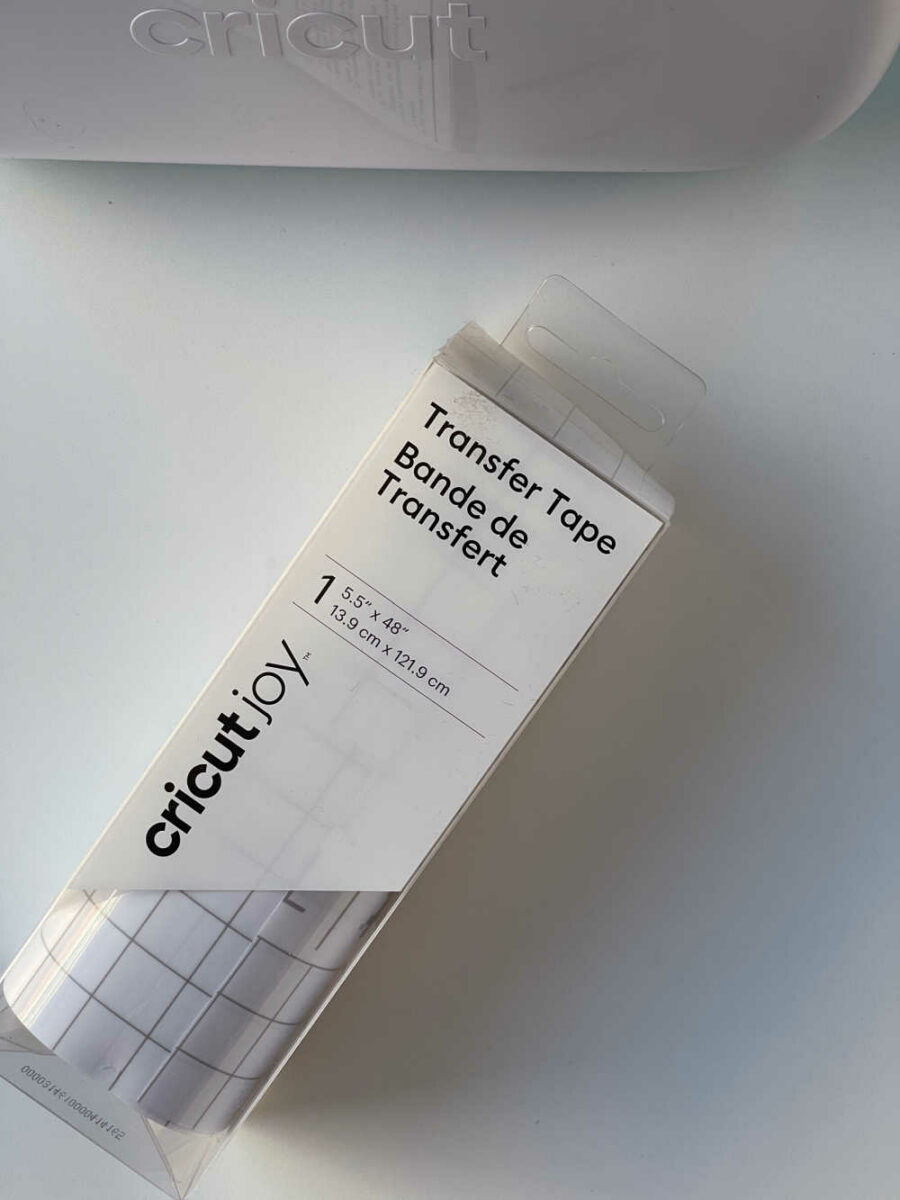
After the design is fully weeded, use transfer tape to remove the image from the white backing and place it onto the wood heart. Cricut makes small rolls of Transfer Tape for the Cricut Joy. You can also trim a piece from a large roll.
Cut a piece of transfer tape about the same size as the image. You can trim it to be as small as you like.
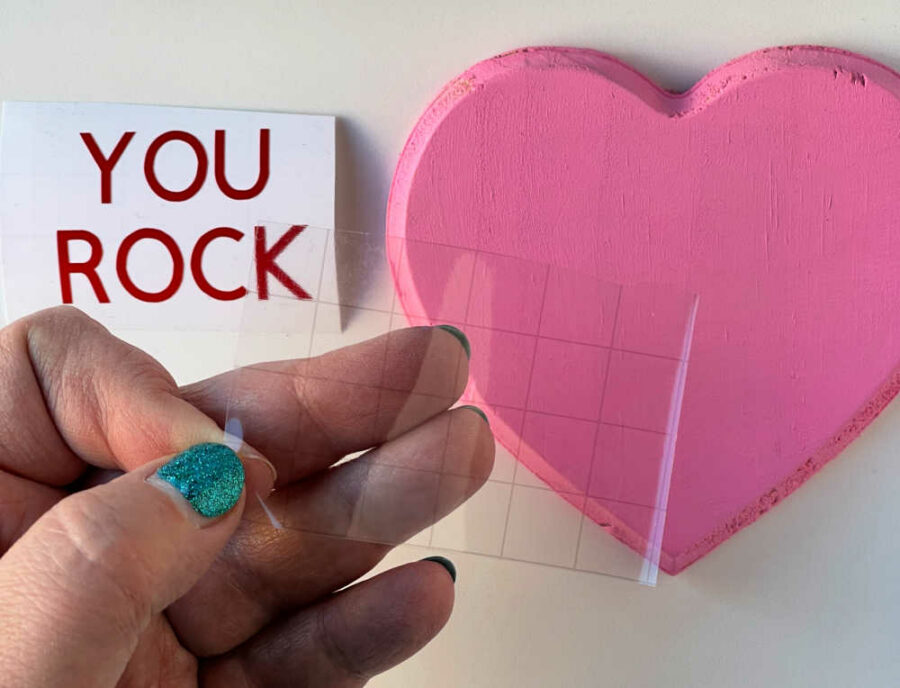
Remove the clear part of the transfer tape from the white backing.

Place the clear tape over the top of the entire saying. Rub the transfer tape onto the vinyl image. You want to attach the vinyl to the clear transfer tape. I like using the Cricut Scraper tool for this. Rub both the front and back sides.
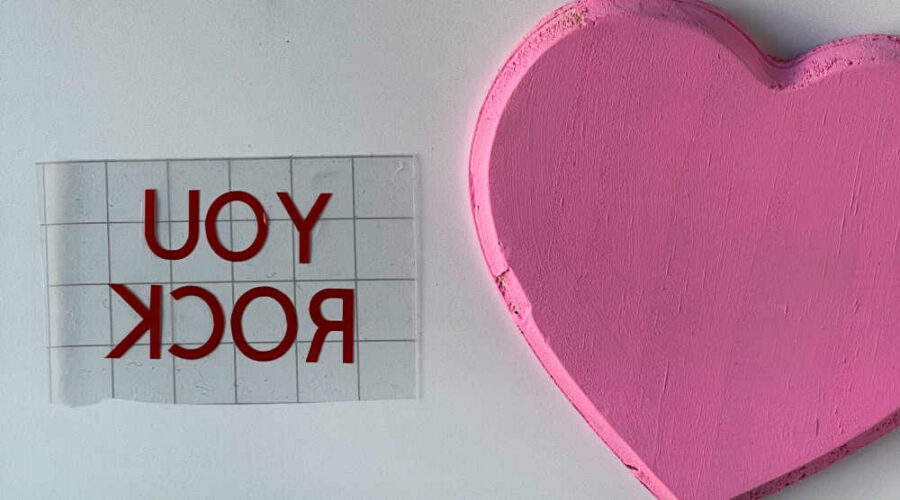
Carefully peel the white backing off the vinyl, making sure that the vinyl has attached to the transfer tape. The vinyl can be stubborn and want to stay put. Just be patient and keep rubbing and gently easing it onto the tape.

Once the vinyl is on the clear tape, adhere to the painted heart. Rub the transfer tape again to adhere the design to the heart.

Repeat this process with all of your hearts and sayings.
Hot glue the hearts to a piece of ribbon for hanging.
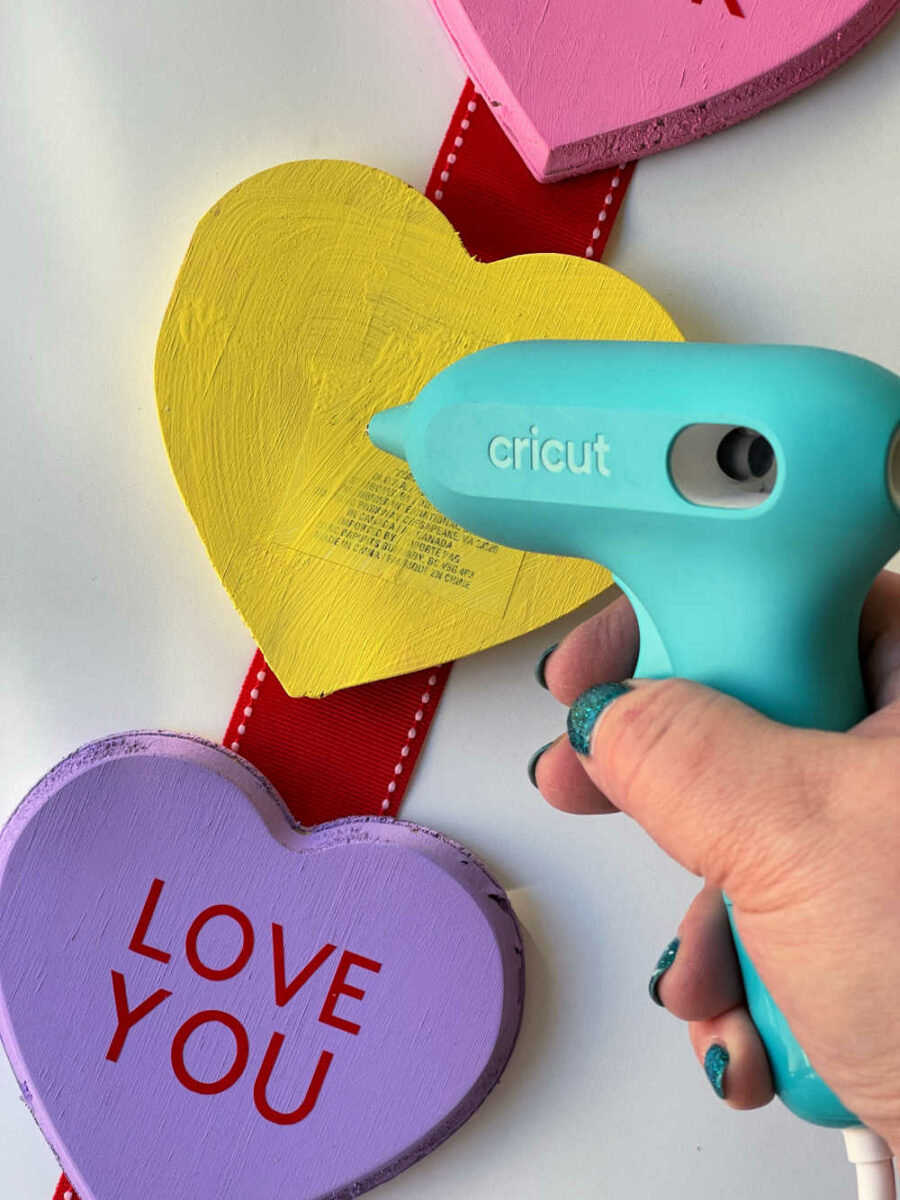
Cut a piece of red ribbon any length you’d like. Mine was a 1.5″ ribbon that I cut about 13″ long. Use a glue gun to glue the hearts to the ribbon. You can space them out, however you like best. I kept mine about 1″ apart. Let the glue set.
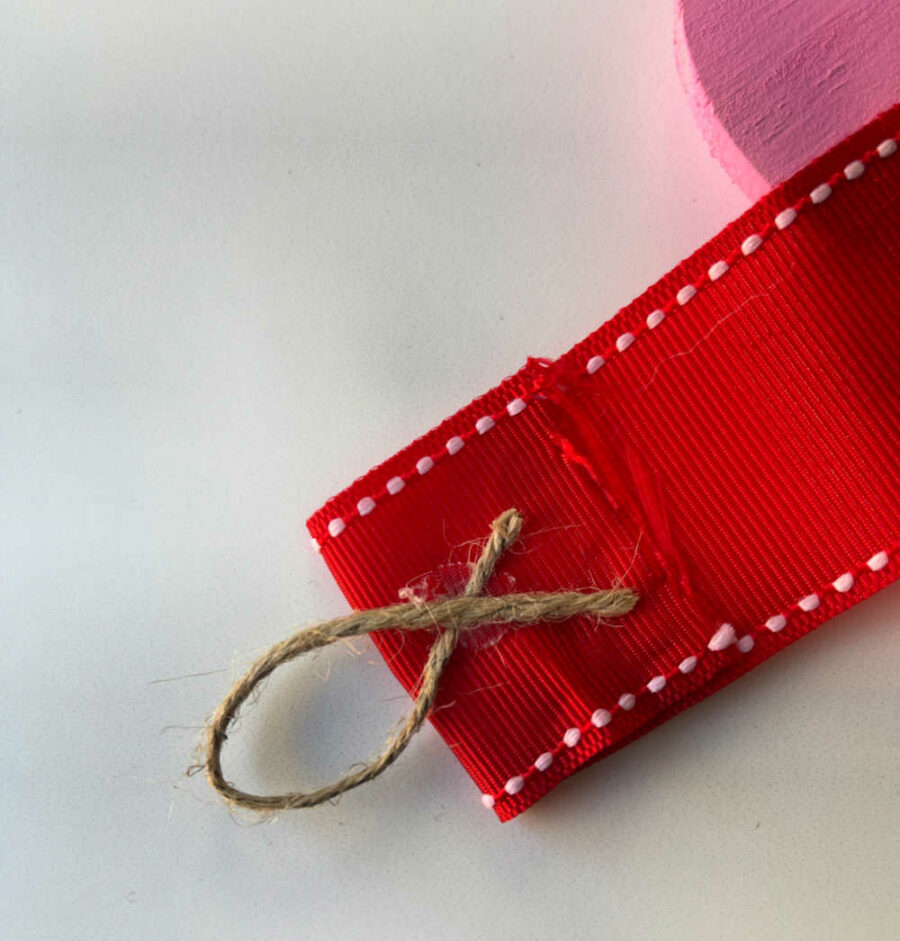
Fold the ends of the ribbon and glue them to the back of the ribbon. Create a loop at the top and to nice hem at the bottom of the ribbon. Glue a piece of twine to the top loop for hanging.
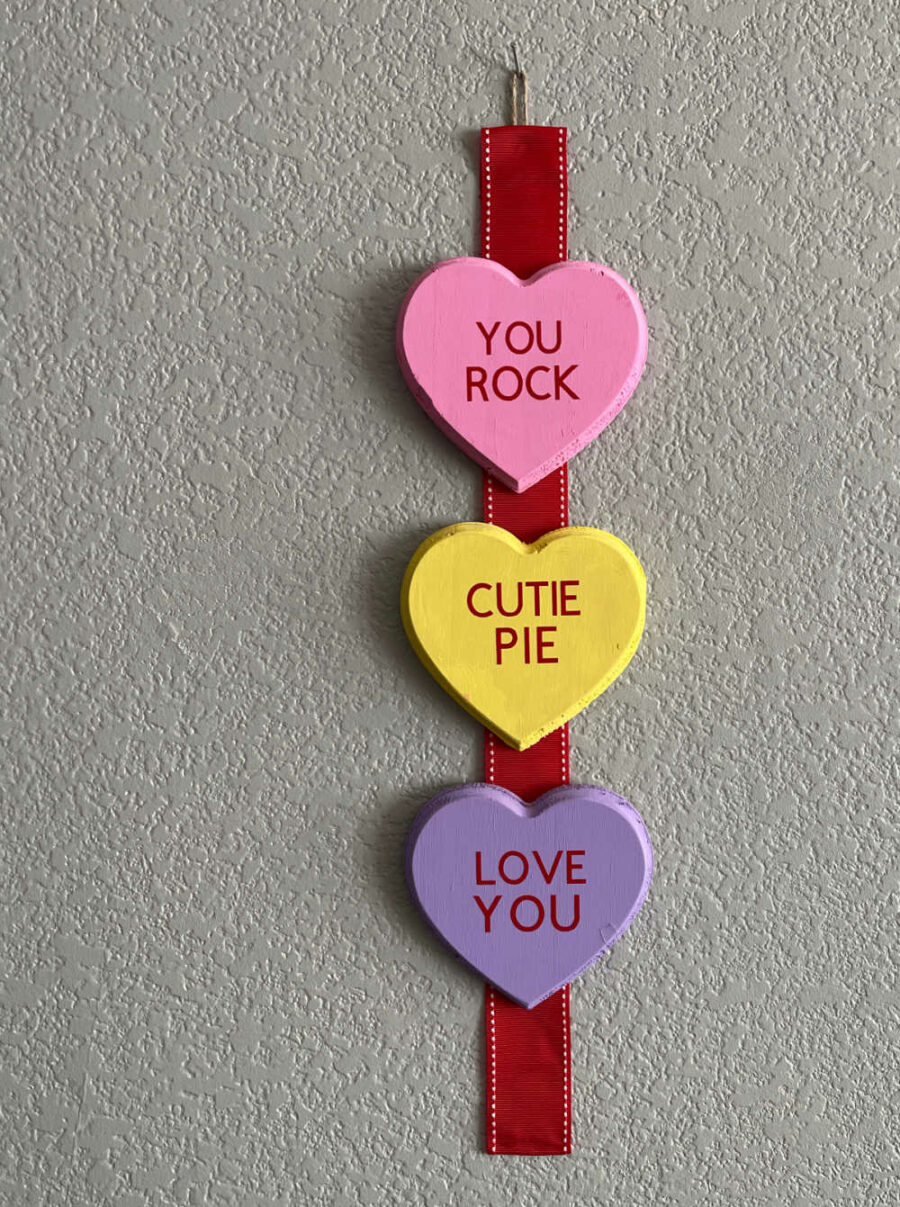
Hang your Valentine’s Day Conversation Hearts and enjoy!

Valentine’s Conversation Hearts Decor with Cricut
Equipment
- Cricut Cutting Machine
- Cutting Mat (if not using Cricut Smart Vinyl)
- Sponge paint brushes
- Weeding tools
Materials
- Vinyl
- Transfer Tape
- Wood hearts
- Craft paint
- Red Ribbon
- Jute or twine for hanging optional
Instructions
- Sand hearts if needed.
- Paint hearts with craft paint. Set aside to dry.
- Open Cricut Design Space and create a new canvas.
- Add text to the canvas and type sayings for the hearts. Resize the text to fit the wooden hearts.
- Cut the vinyl following the directions and prompts in Design Space.
- Once cut, use weeding tools to weed the designs.
- Cut the sayings apart. Cover the sayings with transfer tape. Transfer the sayings from the vinyl backing to the transfer tape.
- Use the tape to adhere the vinyl to the hearts.
- Cut a piece of ribbon long enough to fit all 3 hearts.
- Hot glue the hearts to the ribbon.
- Fold over the edges of the ribbon and hot glue it to the back of the ribbon.
- Glue a piece of twine to the back for the ribbon to hang.