
Make a wood slice Christmas ornament using a Cricut machine, craft wood slices, and mod podge.
Add a rustic charm to your Christmas tree with a wood slice Christmas ornament. In this tutorial, we’ll show you how to create a quick and easy wood slice Christmas ornament using a Cricut machine, with the word “JOY” adorning it.
Craft a personalized ornament with just a few simple materials and your Cricut that will spread joy and cheer throughout your home during the holiday season. So, let’s get started and create a festive ornament that will bring a smile to your face whenever you see it hanging on your tree!

Easy JOY Wood Slice Christmas Ornament with Cricut
Pin For Later-

Reader’s Favorite!
DIY Wine Cork Snowman Christmas Tree Ornaments
-
Reader’s Favorite!
DIY Nativity Christmas Ornament Crafts for Kids {And Adults!}


Joy Wood Slice Christmas Ornament with Cricut
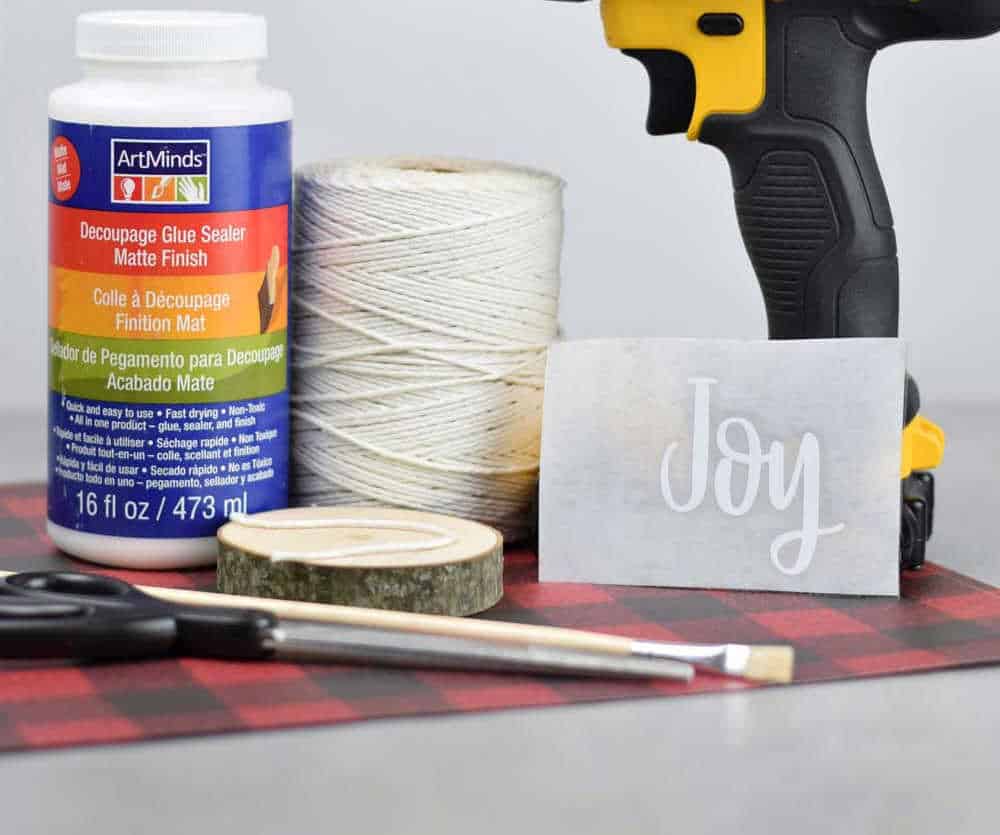
Joy Wood Slice Ornament Materials:
- Pre-drilled wood slice – you can buy wood slices with holes already in them
- Buffalo check scrapbook paper sheet or any print you like
- Matte Mod Podge
- Paintbrush
- String or ribbon
- Scissors
- Cricut Joy or Cricut Explore
- Vinyl (color of choice)
- SVG file
Joy Wood Slice Christmas Ornament Instructions:
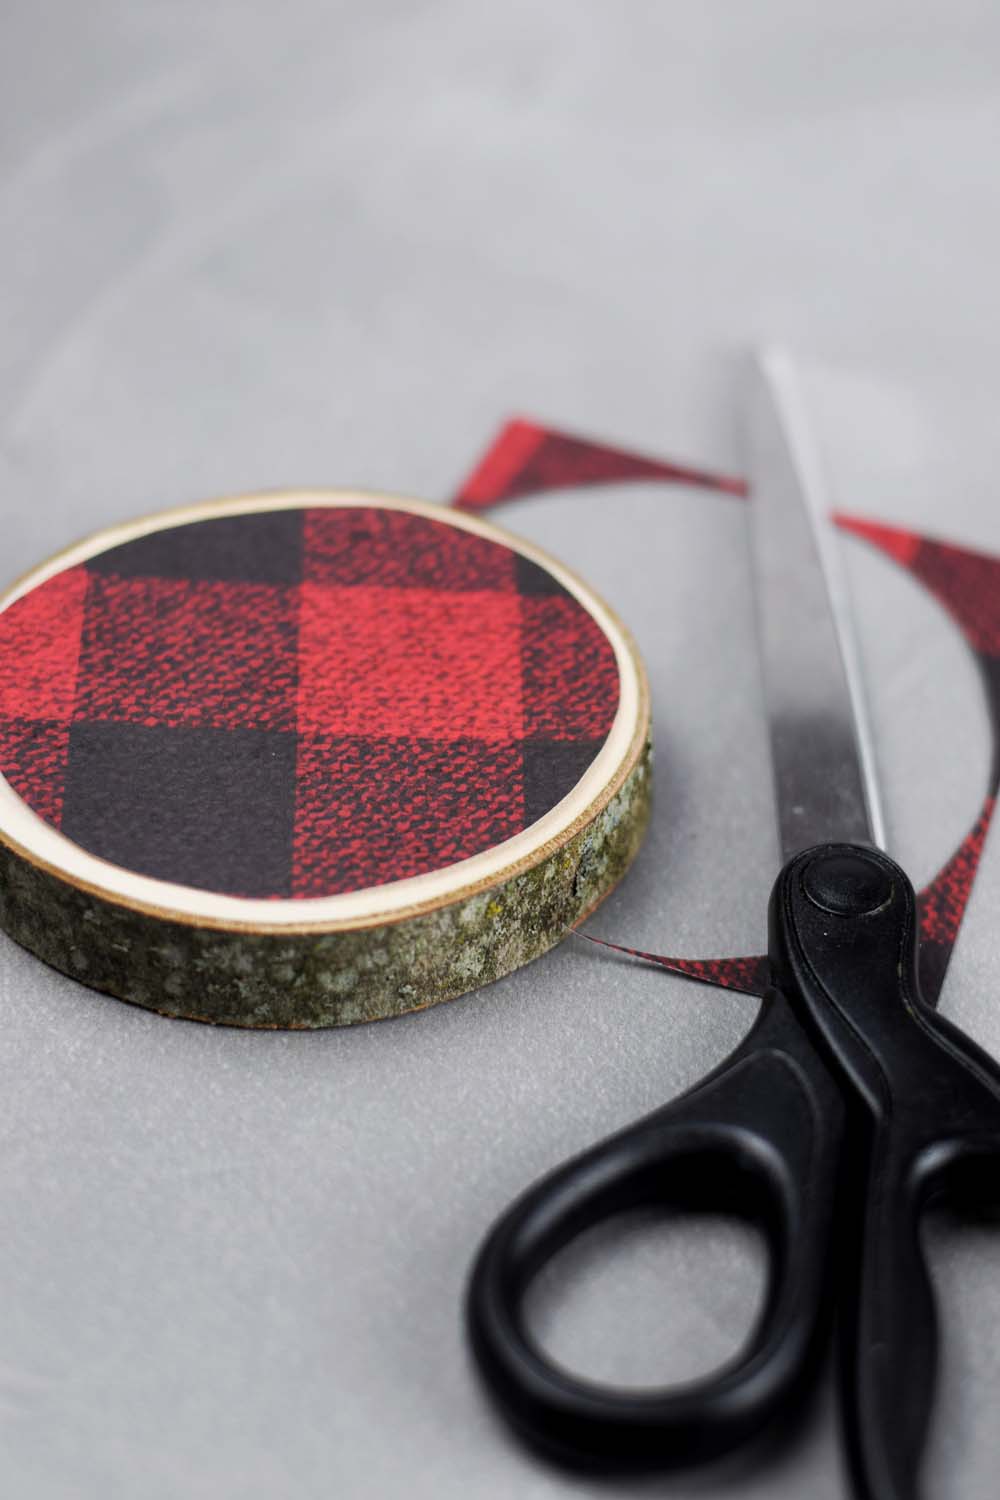
Start by cutting a circle out of the scrapbook sheet slightly smaller than the shape of your wood slice. You want a slight border of wood to be showing. Each wood slice will be a different size, so do each one individually.
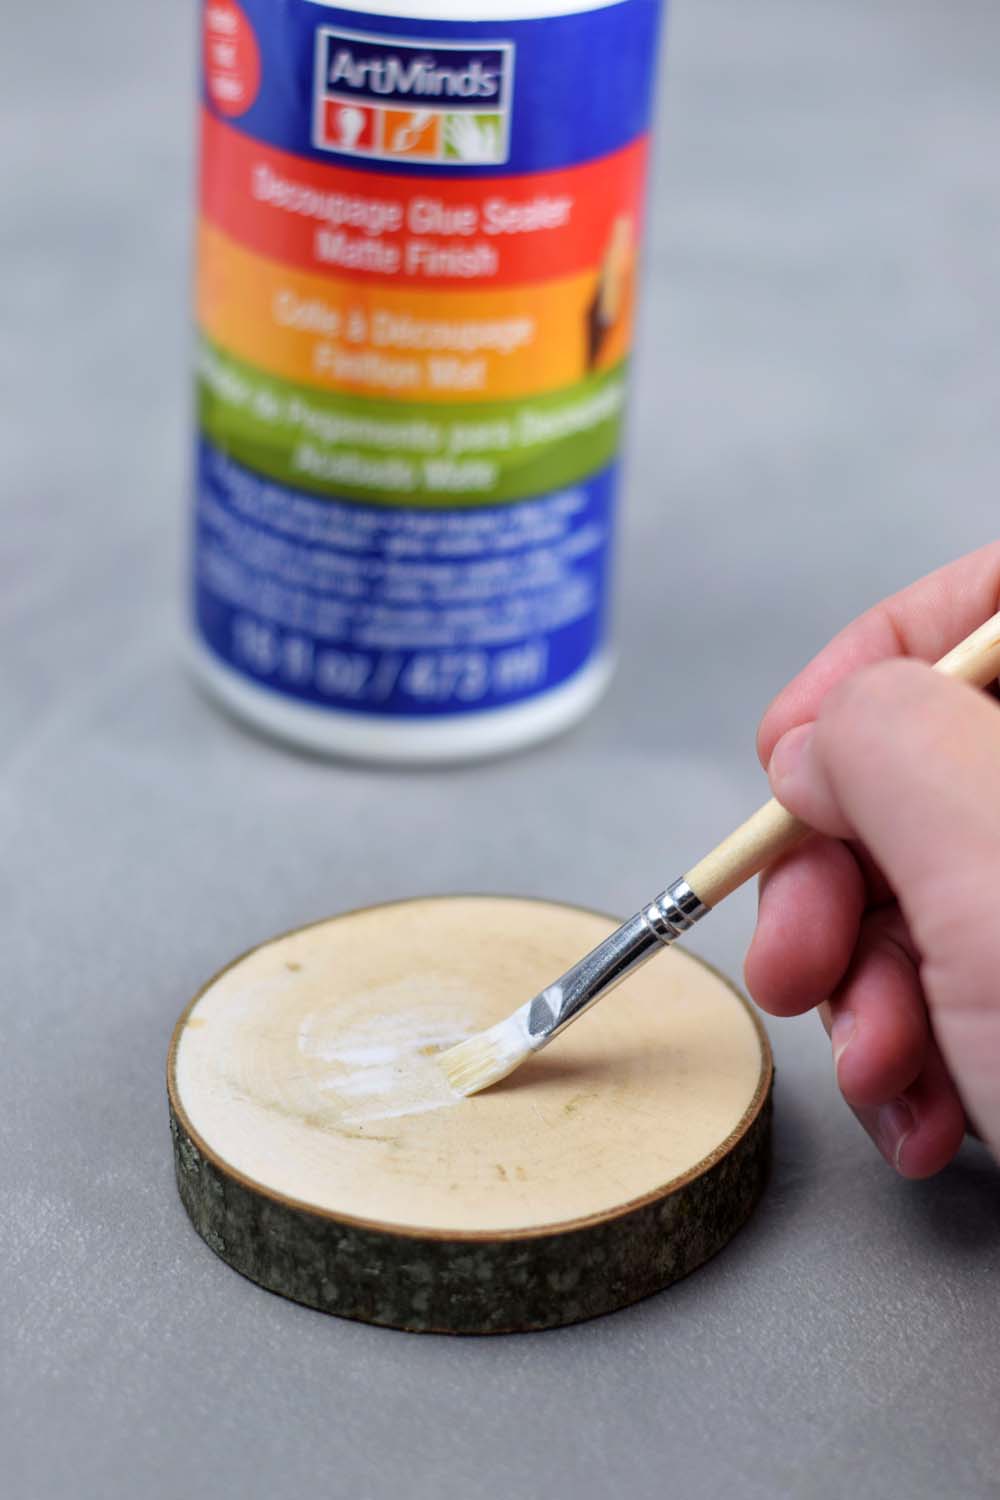
Use the Mod Podge sealant to attach the scrapbook to the wood slice. Paint a thin layer of the Mod Podge onto the wood slice. Place the paper circle on the wood slice.
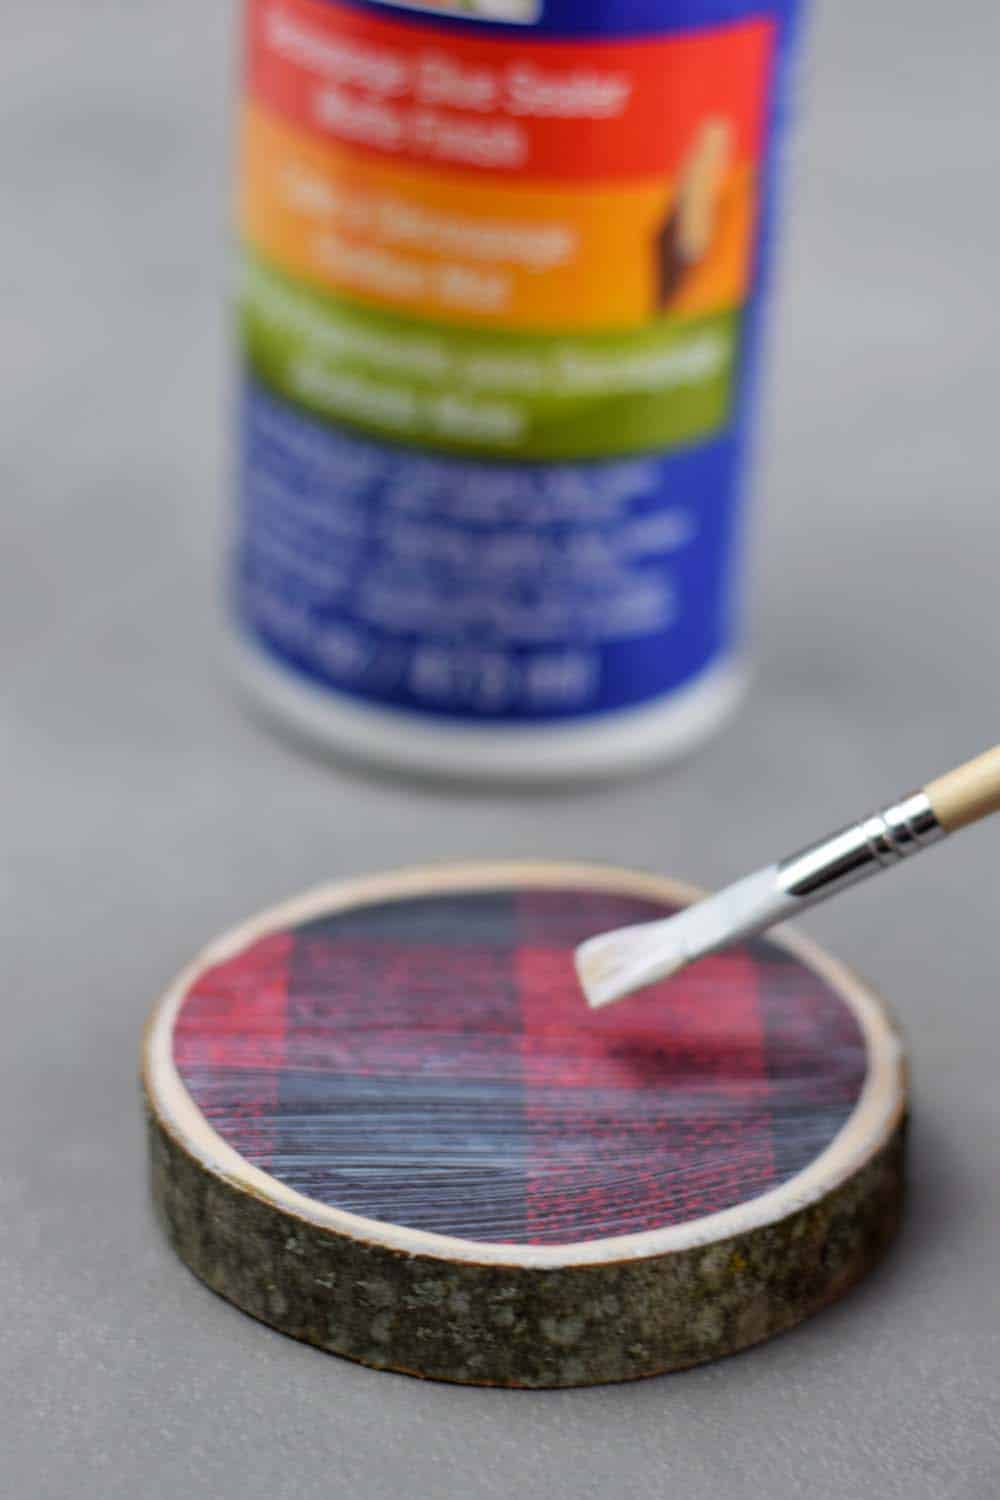
Add another thin coat of Mod Podge to the top of the paper. Use a paper clip or other sharp pointy object to push out the hole for hanging.
While your ornament is drying, upload the SVG into Design Space. See How to Upload an SVG or Image to Cricut Design Space for instructions. Sign up for our newsletter and get the JOY SVG for free!
The design is small enough to cut using a Cricut Express or Cricut Joy machine. You will find that each wood slice will vary in size. Make sure check the design size each time you cut for an ornament. Resize the design and then cut and weed the vinyl.
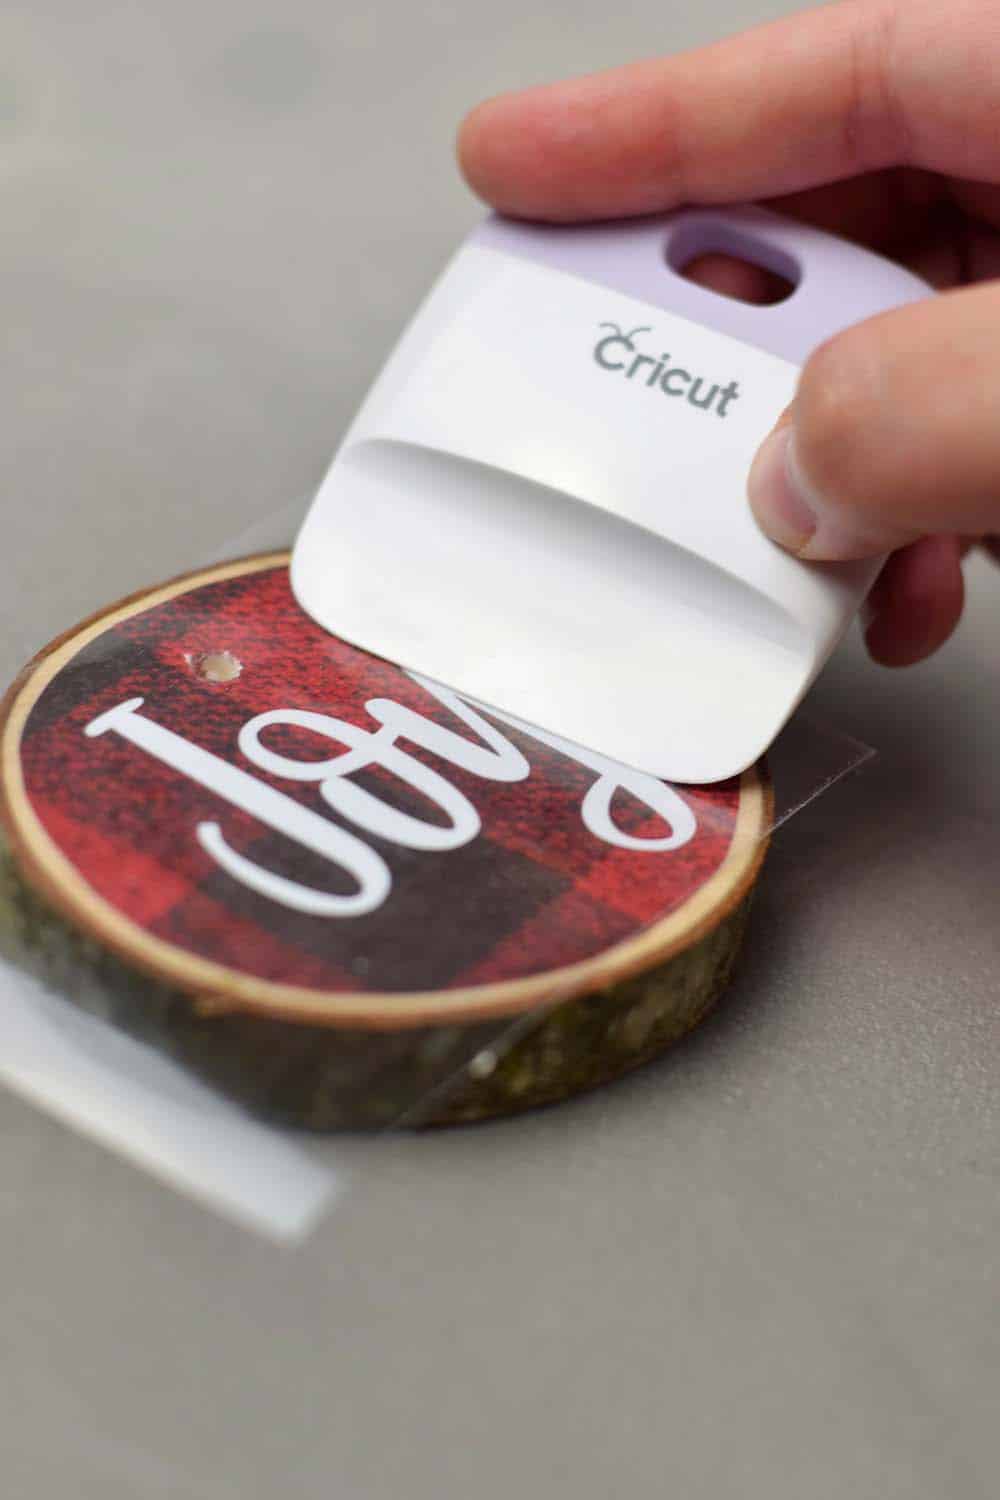
Apply your vinyl decal to the center of your wood slice once the Mod Podge is dry.

Cut a string/ribbon approximately 8 inches long. Thread your string/ribbon through the hole you made with your drill and tie a knot at the end.

Your ornament is now ready to hang on your tree.