
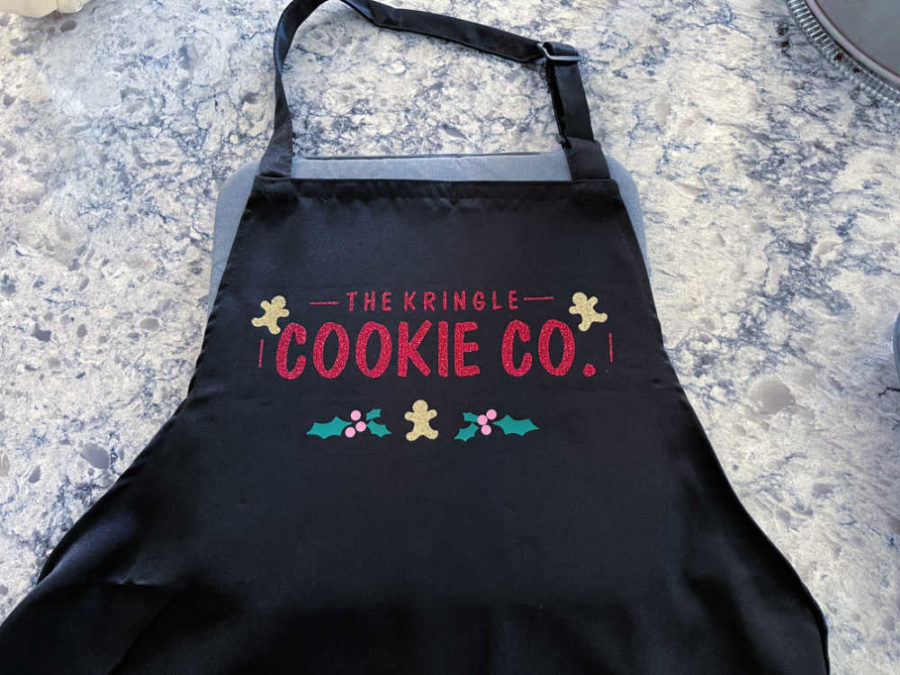
Turn a plain black apron into a Christmas apron worthy of Mrs. Kringle using a Cricut cutting machine, iron-on vinyl, and a Cricut EasyPress 2.
When decorating your house for Christmas, don’t forget the kitchen! Turn your kitchen into the “Kringle Cookie Co.” with a matching set of The Kringle Cookie Co. sign and this “Kringle Cookie Co.” apron. Add a couple of jars of Melted Snowman Hot Cocoa and a Santa mug for a cozy corner in your home.

Kringle Cookie Co. Christmas Apron
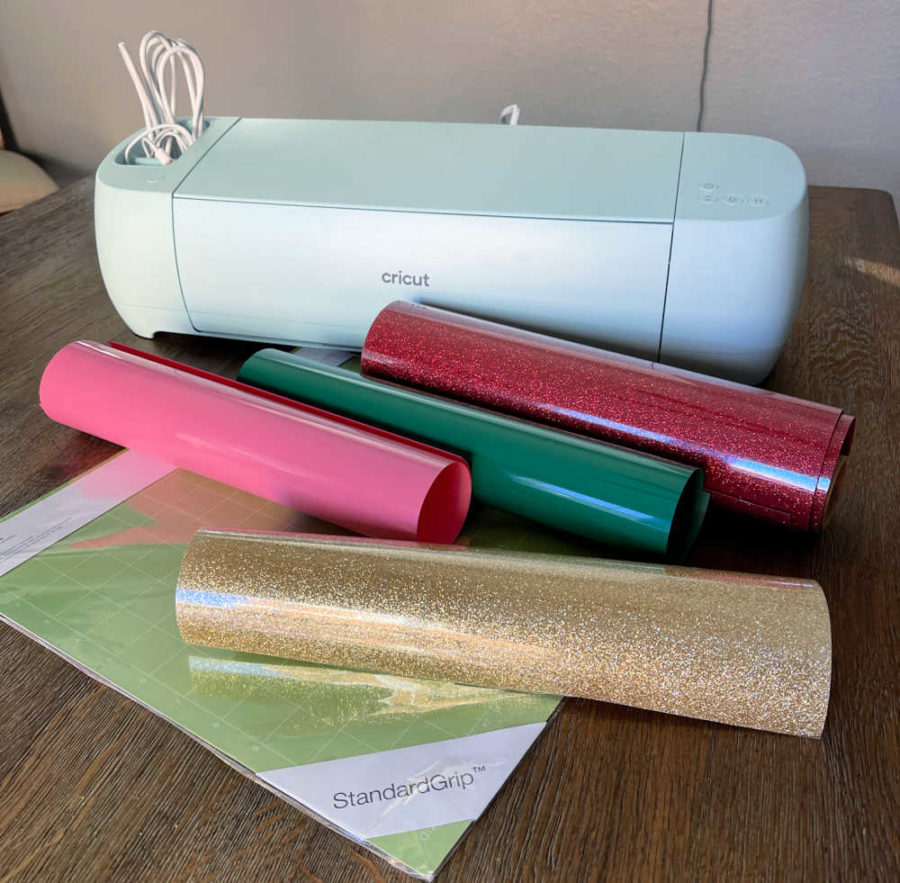
Kringle Cookie Co. Christmas Apron Materials:
- Apron – can be any apron you like. We used black polyester aprons.
- Cricut Iron On Vinyl (HTV) – you can feel free to use any iron-on vinyl (HTV) colors you like. We used:
- Gold Glitter Iron On for the gingerbread men
- Red Glitter Iron On for the words
- Pink and Green Everyday Iron-On for the holly
Kringle Cookie Co. Christmas Apron Tools:
- Cricut Cutting Machine – we used the Cricut Explore 3, but this project can be done on a Cricut Joy
- Cricut Standard Grip Cutting Mat
- Easy Press 2
- Cricut Easy Press Mat
Kringle Cookie Co. Christmas Apron Directions:
Begin by opening Cricut Design Space and the Kringle Cookie Co. Apron Project. The file is free to our newsletter subscribers!
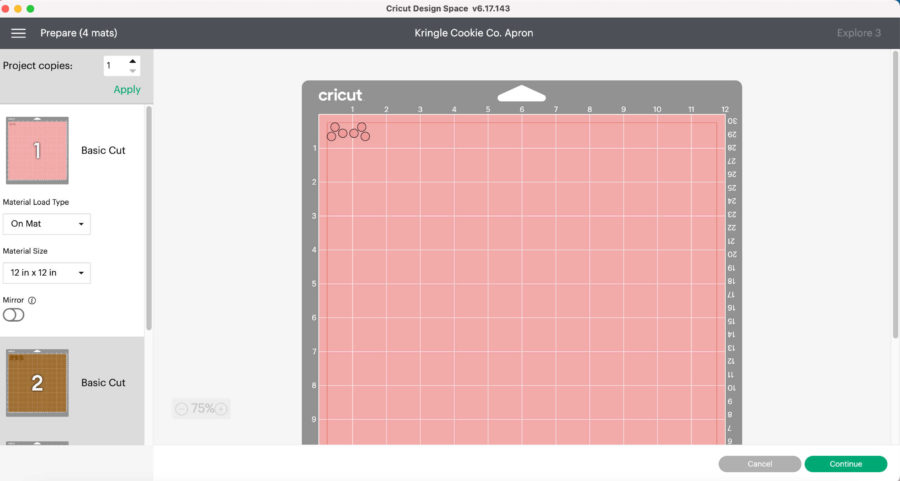
You can adjust the design to use any colors of HTV you choose. We made 2 aprons – one on a Cricut Explore 3 and another on Cricut Joy. So you can use either machine. Make sure to follow the directions in Design Space. The design needs to be mirrored before cutting.
Cut the Iron-On Vinyl (HTV)
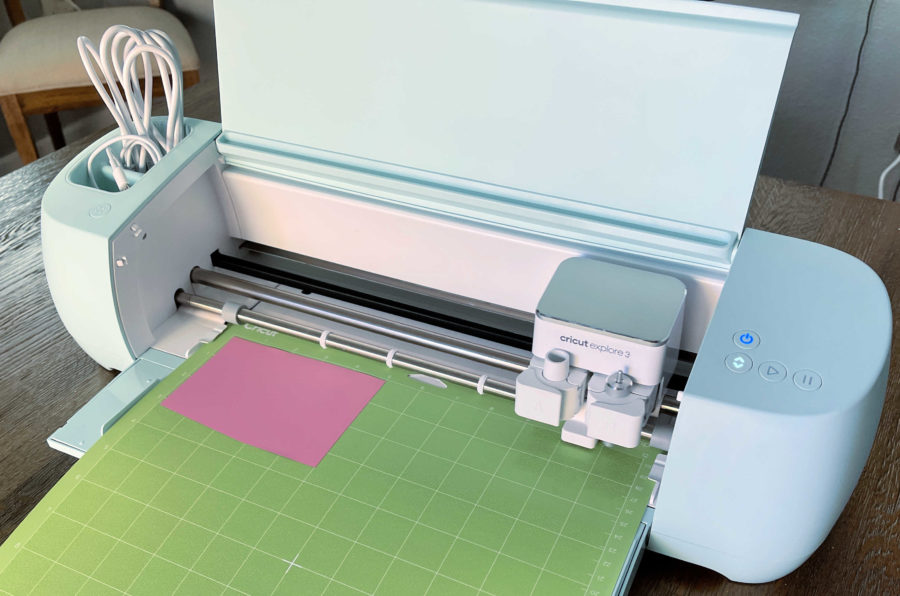
The project cuts in 4 mats: holly berries (pink), holly leaves (green), gingerbread men (gold glitter), and the words (red glitter). Design Space will tell you which color iron-on to put on your mat and cut. Design Space will also ask you what material you are cutting. The pink and green are Everyday Iron-On, and the gold and red are Glitter Iron-On.
Once all the pieces are cut out, you need to weed them. Once weeded, it’s time to iron it onto the apron.
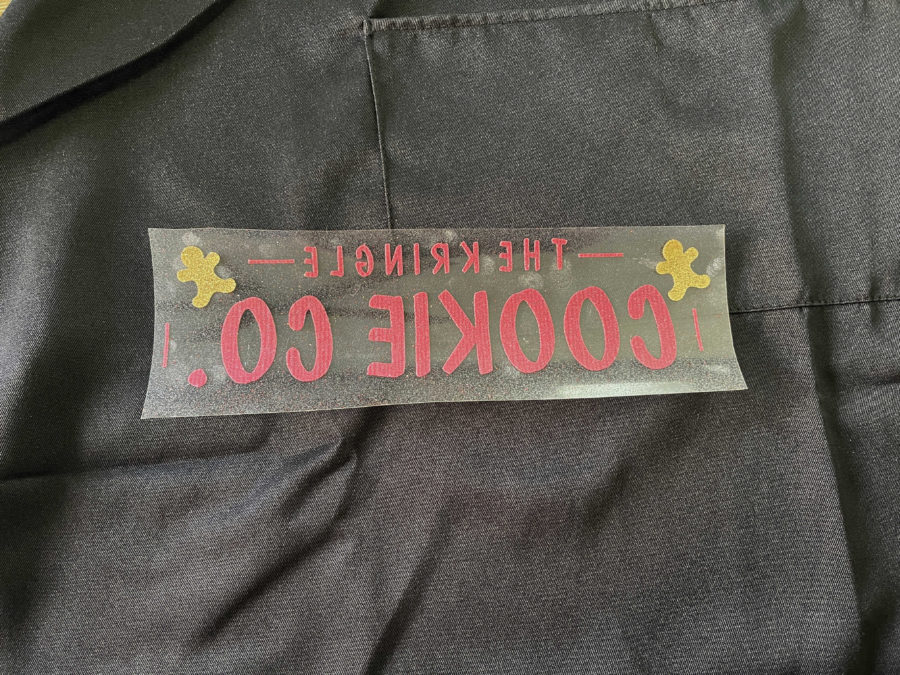
Use the Cricut EasyPress to iron on the design
You will be working with glitter iron-on and glitter iron-on in 4 pieces. You can work this a few different ways.
One way is to layer the design onto the same plastic. Carefully remove the gingerbread men from the plastic and add them to the corner of the phrase iron on. We found that the glitter HTV was pretty easy to move. Just make sure they stick to the plastic and stay in place during the heat process.
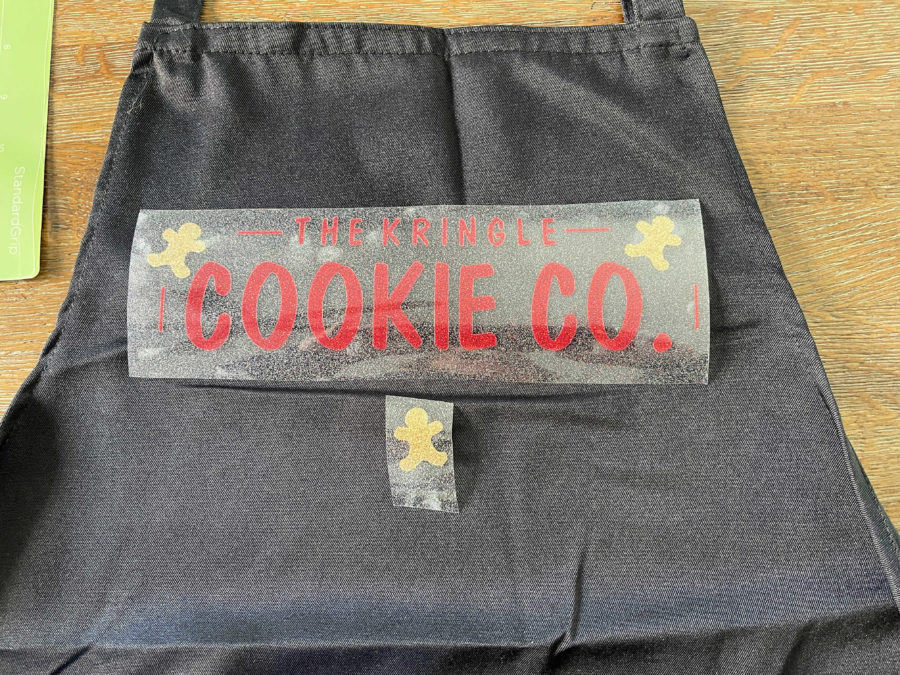
We accidentally did not leave enough room on the bottom of the plastic for the 3rd gingerbread man. That’s OK! You can trim each piece and lay them next to each other on the apron.
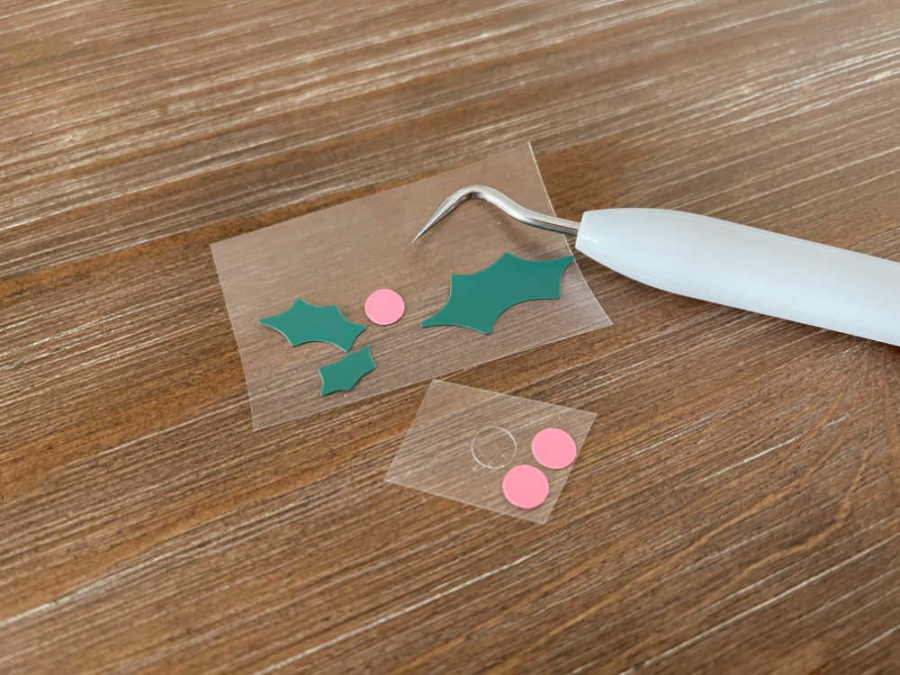
You can do the same for the holly and the berries. You can also add the holly berries to the holly leaves, so they are on the same shiny clear front. Or you can cut the leaves apart and position them around the berries. We did it both ways.
Be careful when using the picking tool! It is sharp, and you don’t want holes in your HTV.
Place the design pieces onto your apron as desired. A little trick to get good spacing on a shirt or top is to place the design 3 fingers below the neckline.
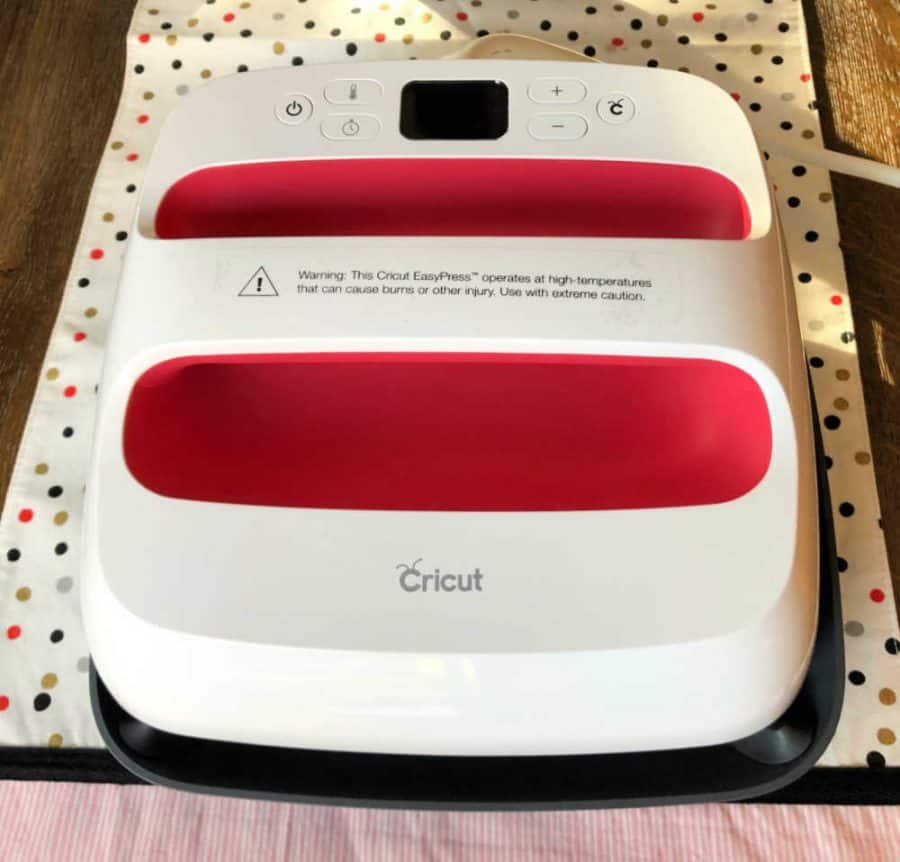
Check the Cricut Heat Press Settings on the Cricut website for the correct settings, which will vary depending on the material of your apron. Glitter and Everyday iron-on will have different heat settings. We used the glitter heat setting.
The top of the glitter comes off as soon as it is cool to touch. The everyday iron must cool completely before removing the clear plastic on top.

And that’s it! Your apron is ready for your Christmas cooking baking marathon.