Use a Cricut Explore 3 machine to make a dollar store cookie sheet craft “The Kringle Cookie Co” Christmas kitchen decoration.
To make this sign, you paint the cookie sheet with chalkboard paint, also from the dollar store. Then add an easy vinyl cut-out using a Cricut Explore 3. It’s a quick and easy way to add Christmas cheer to your kitchen.
The Christmas baking season is one of the best parts of Christmas. Over the last few years, decorating your kitchen for Christmas has become popular. Let your family know that Mrs. Kringle has started her baking with this cute Cricut Christmas sign made with a cookie sheet from the dollar store.
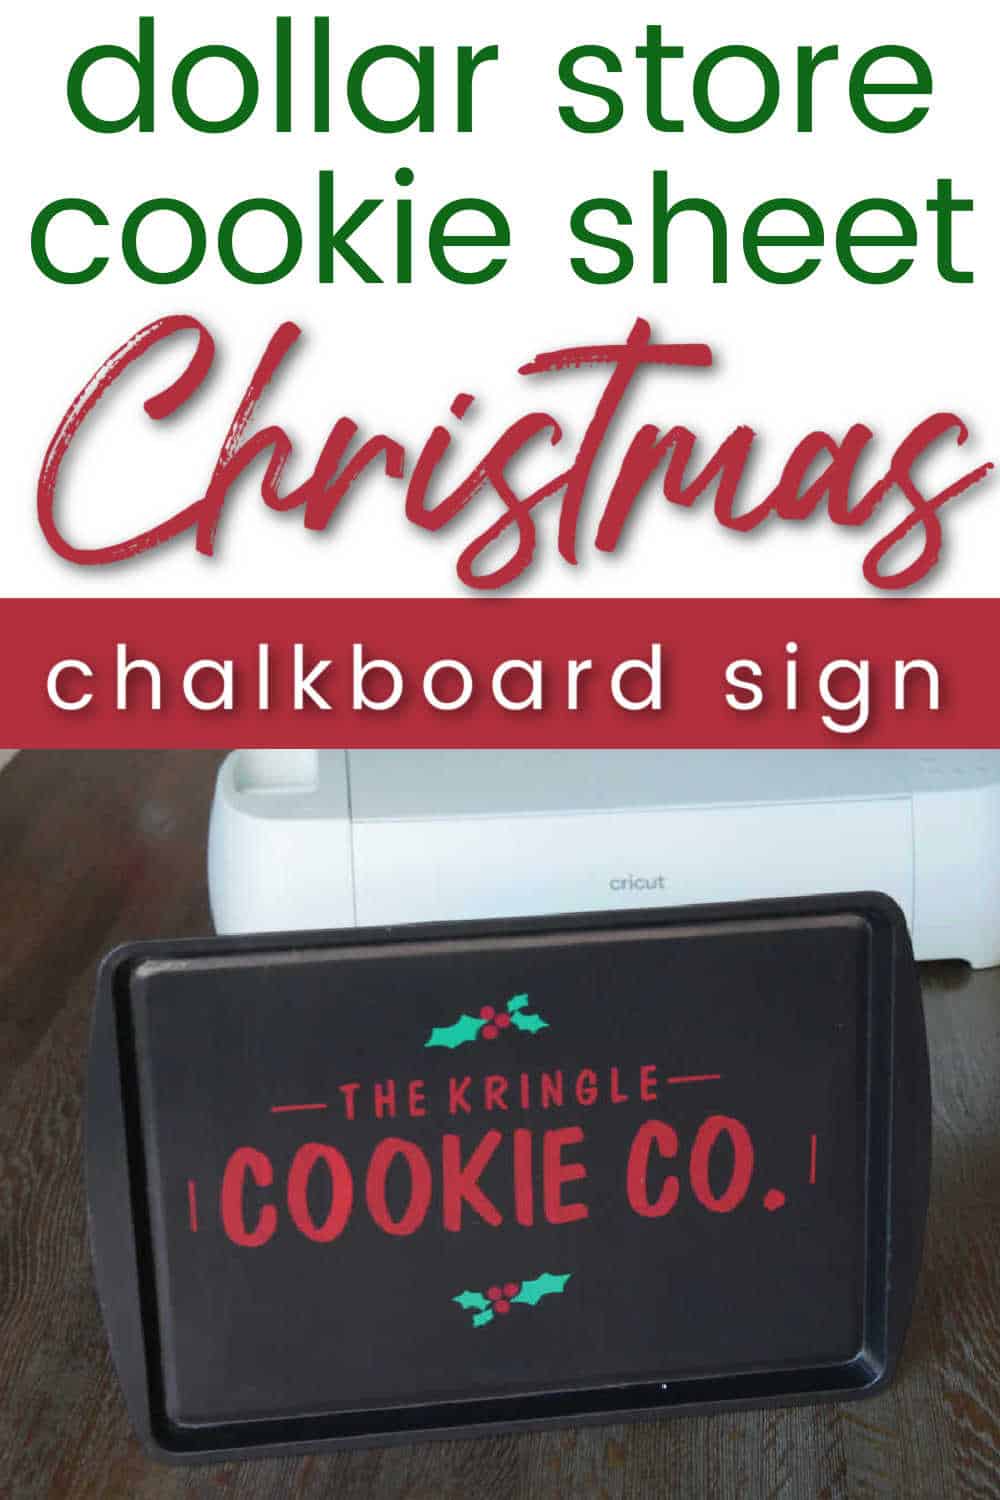
“The Kringle Cookie Co. “Dollar Store Cookie Sheet for Christmas made with Cricut
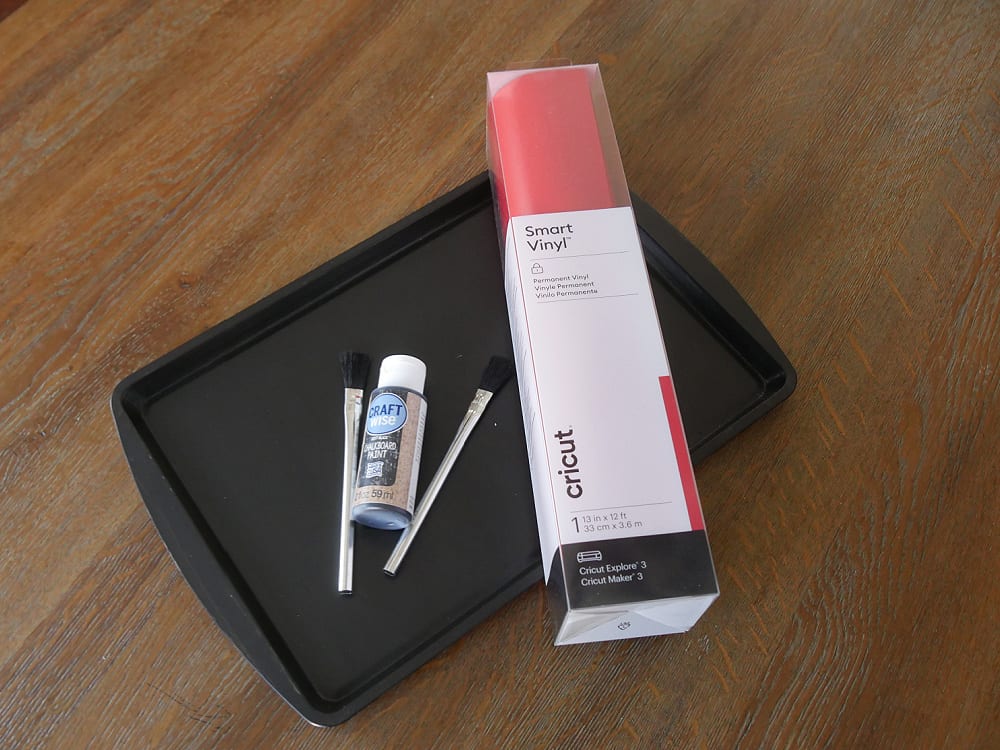
Dollar Store Christmas Sheet Materials and Tools:
- Dollar Store Cookie Sheet
- Dollar Store chalkboard paint or black acrylic paint
- Cricut Smart Vinyl in red and green
- Cricut transfer tape
- Cricut Explore 3
- Weeding tools
Dollar Store Cookie Sheet Christmas Sign Directions
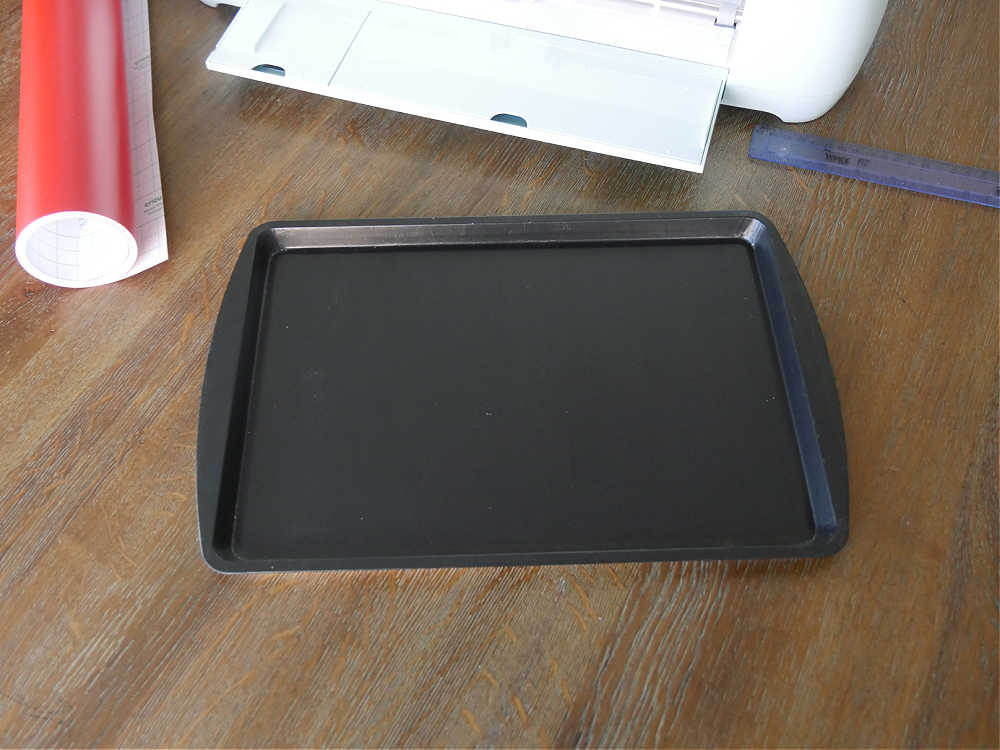
Start by using black using acrylic chalkboard paint to paint the cookie sheet. The paint covers well and has no problem sticking to the cookie sheet. Allow the cookie sheet to dry completely.
Cut the Smart Vinyl using the Cricut Explore 3
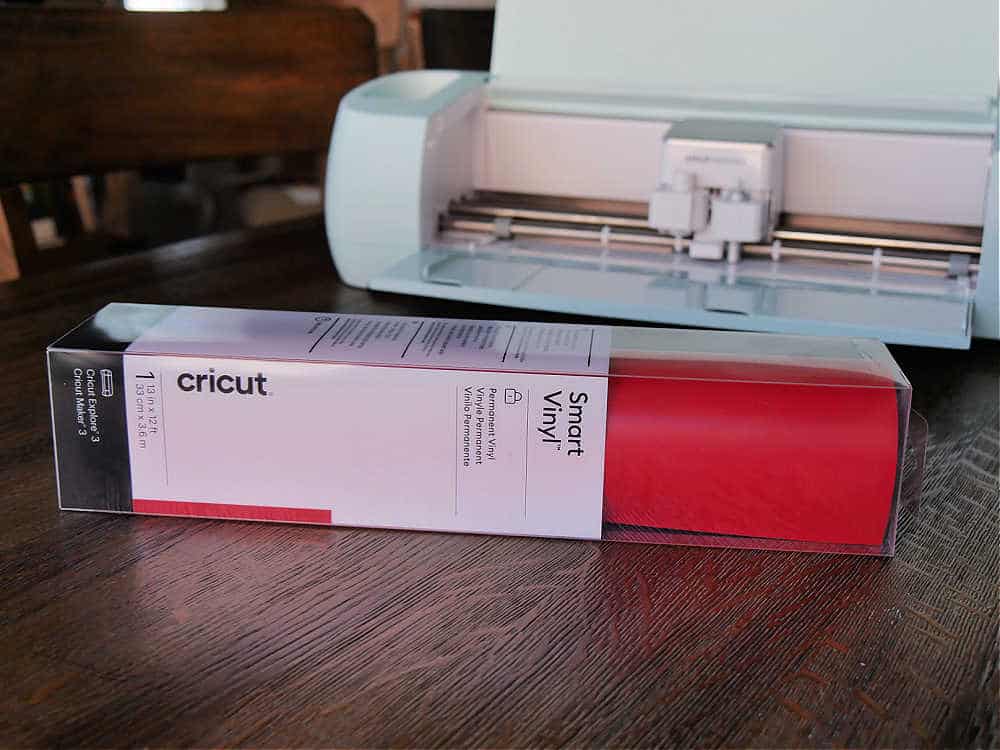
While the cookie sheet dries, cut out the vinyl. This was our first time using the Cricut Explore 3 which uses Smart Materials, like this Smart Vinyl. You don’t need a cutting mat when using Smart Materials on the Explore 3. You can simply load the viny into the machine and it cuts.
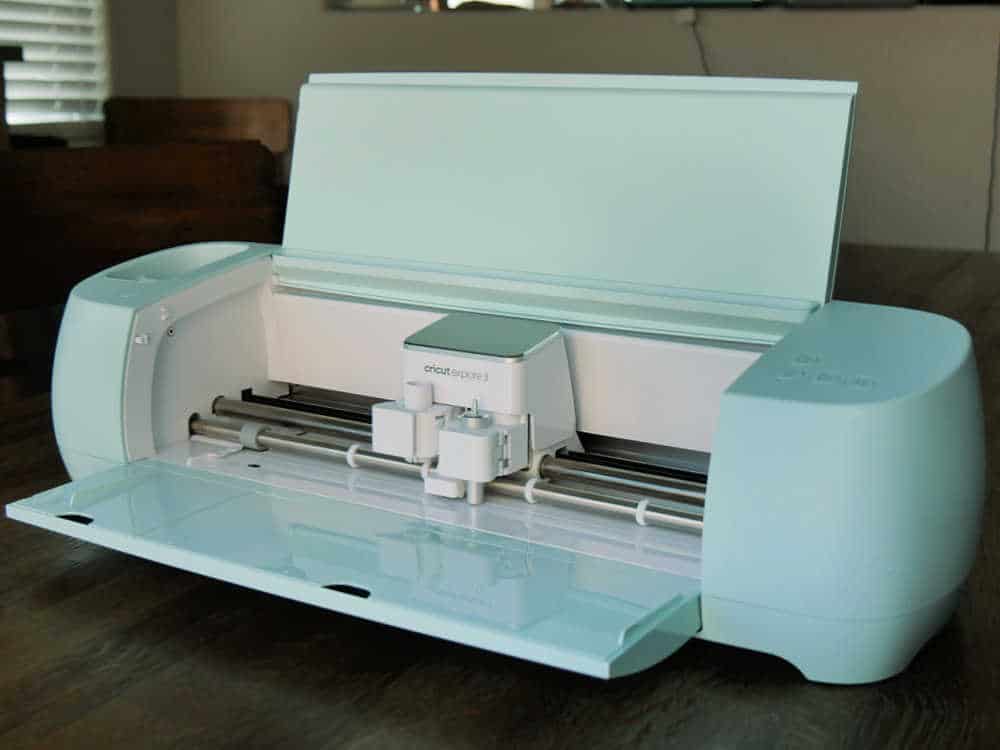
The Cricut Explore 3 is Cricut’s newest member of the Explore machine family. It cuts more materials than any other Explore machine. And it cuts faster, too. It works just like the other Explore machines and is super easy to set up and get crafting.
Weed the Vinyl
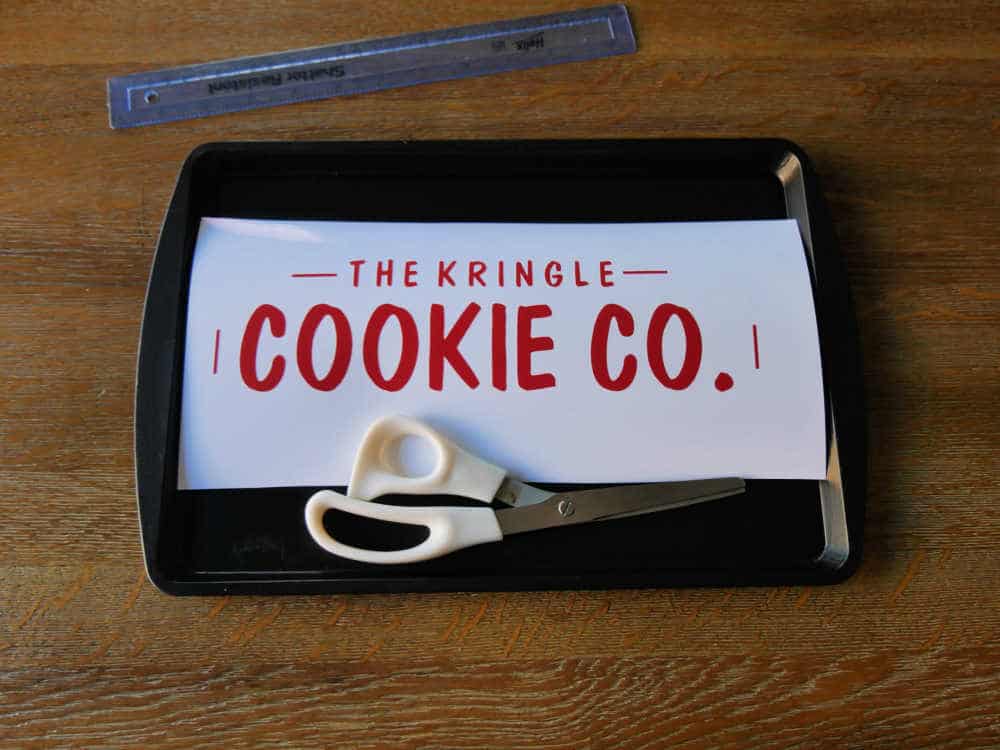
The Kringle Cookie Co. is available free in Design Space when you sign up for our newsletter.
This is a 3 step cut – the words, the holly leaves, and then the holly berries. We cut the words using red smart vinyl. It was probably the easiest weeding job ever! It just pulled right off the back.
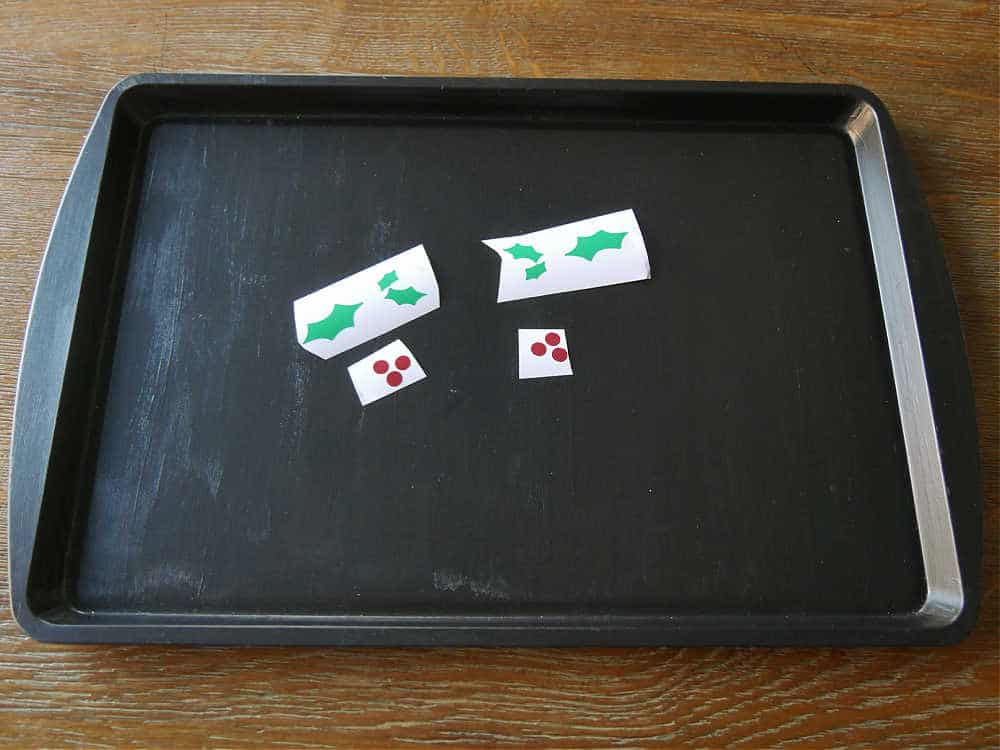
The leaves were cut next, and the berries were the final cut. We used glossy green vinyl for the leaves. The berries are a slightly darker red in a glossy vinyl than the words. Cut them apart so you have two leaves and two sets of berries, as shown.
Use Cricut Transfer Tape to transfer the vinyl to the cookie sheet
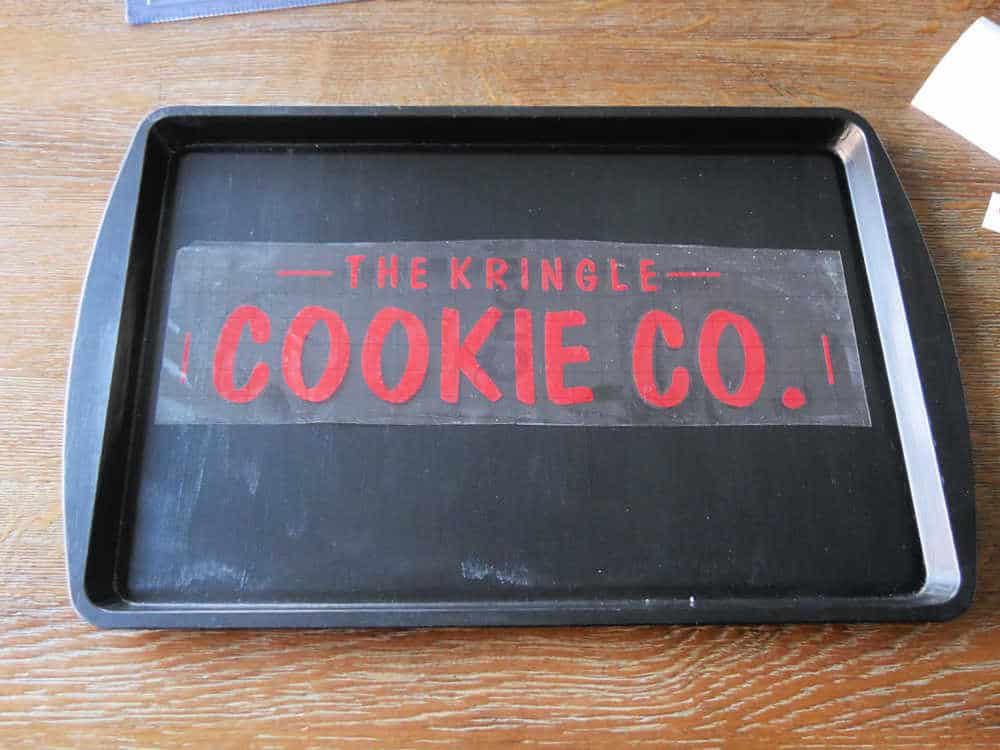
Next use transfer tape to transfer the vinyl onto the cookie sheet. You can use a ruler to make sure it’s centered. We usually just eyeball it.
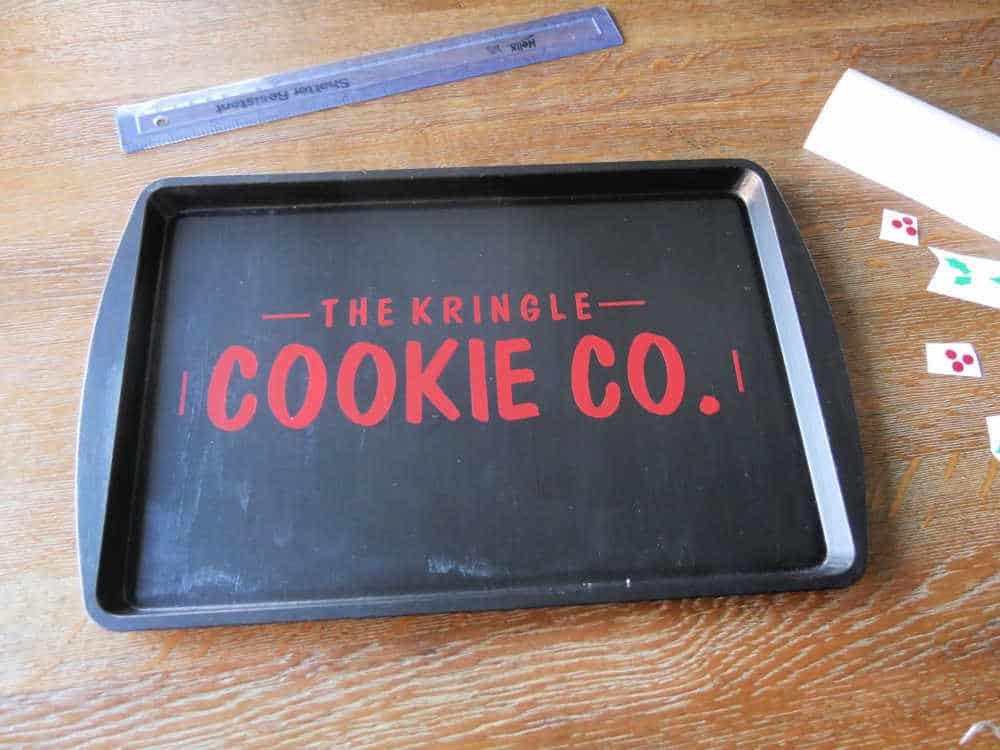
The black background made the red darker and shows through a little on this color, but it still looks great!
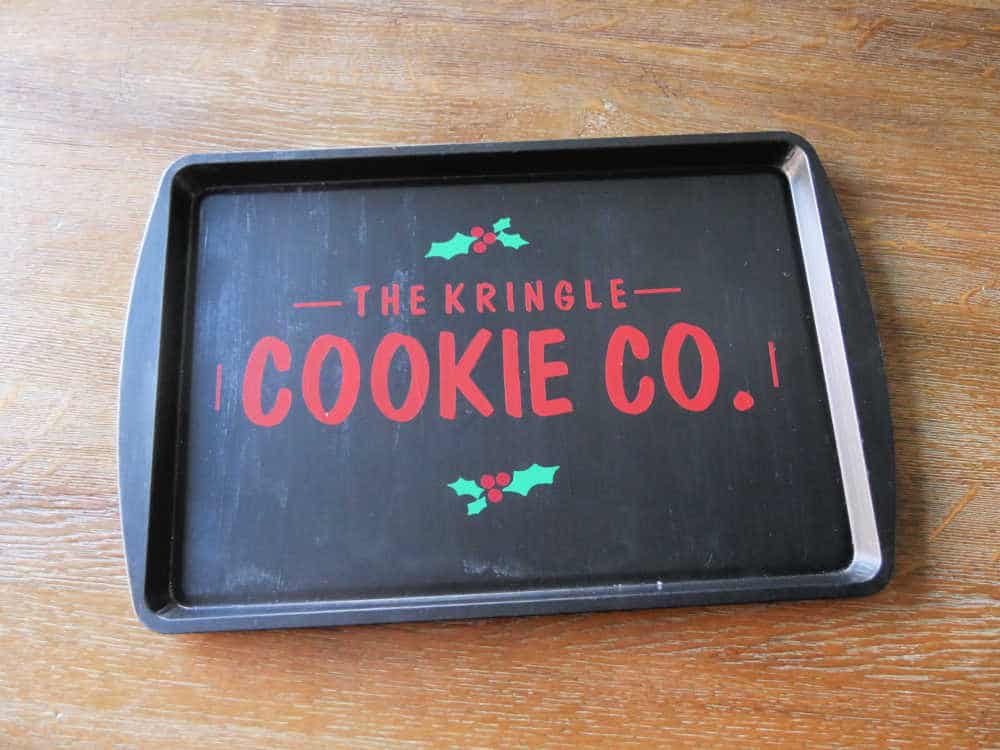
Finally, add the holly wherever you’d like. You can add them to the top, bottom, sides – whatever you prefer.
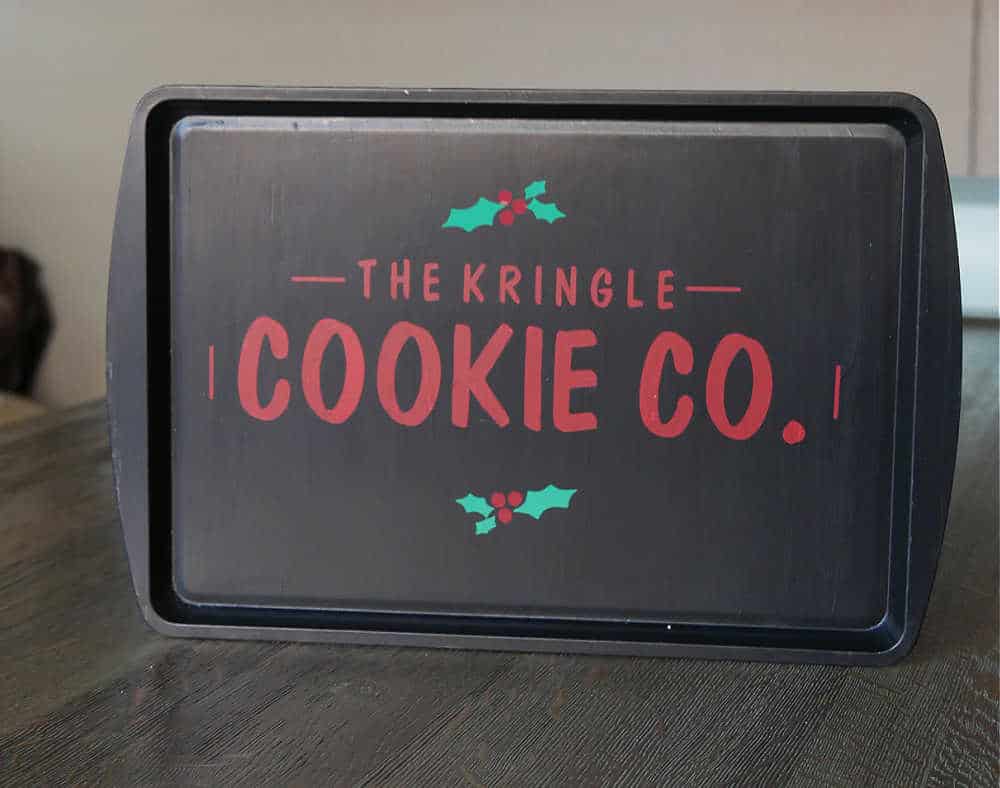
Display in your kitchen during the Christmas baking season. Don’t forget to add a new Cricut Explore 3 to your Christmas list this year.
