Use your Cricut Explore or Maker to make beautiful one-of-a-kind Christmas cards with a 2×2 card mat and InsertCards kits.
You can make Cricut Christmas cards quickly and easily using the Cricut 2×2 mat and Cricut InsertCards kit. Just pick a Christmas InsertCard you love under “Projects” in DesignSpace. Choose an image or saying to add to the inside of the card. Then, follow the prompts to write inside the card and cut out the image on the front. With the 2×2 mat, you can make 4 of the same card or 4 different cards in just a few minutes. Add the colorful insert to your card, and it’s ready to wish someone a very merry Christmas.
How to Make Cricut Christmas Cards on a Cricut Explore
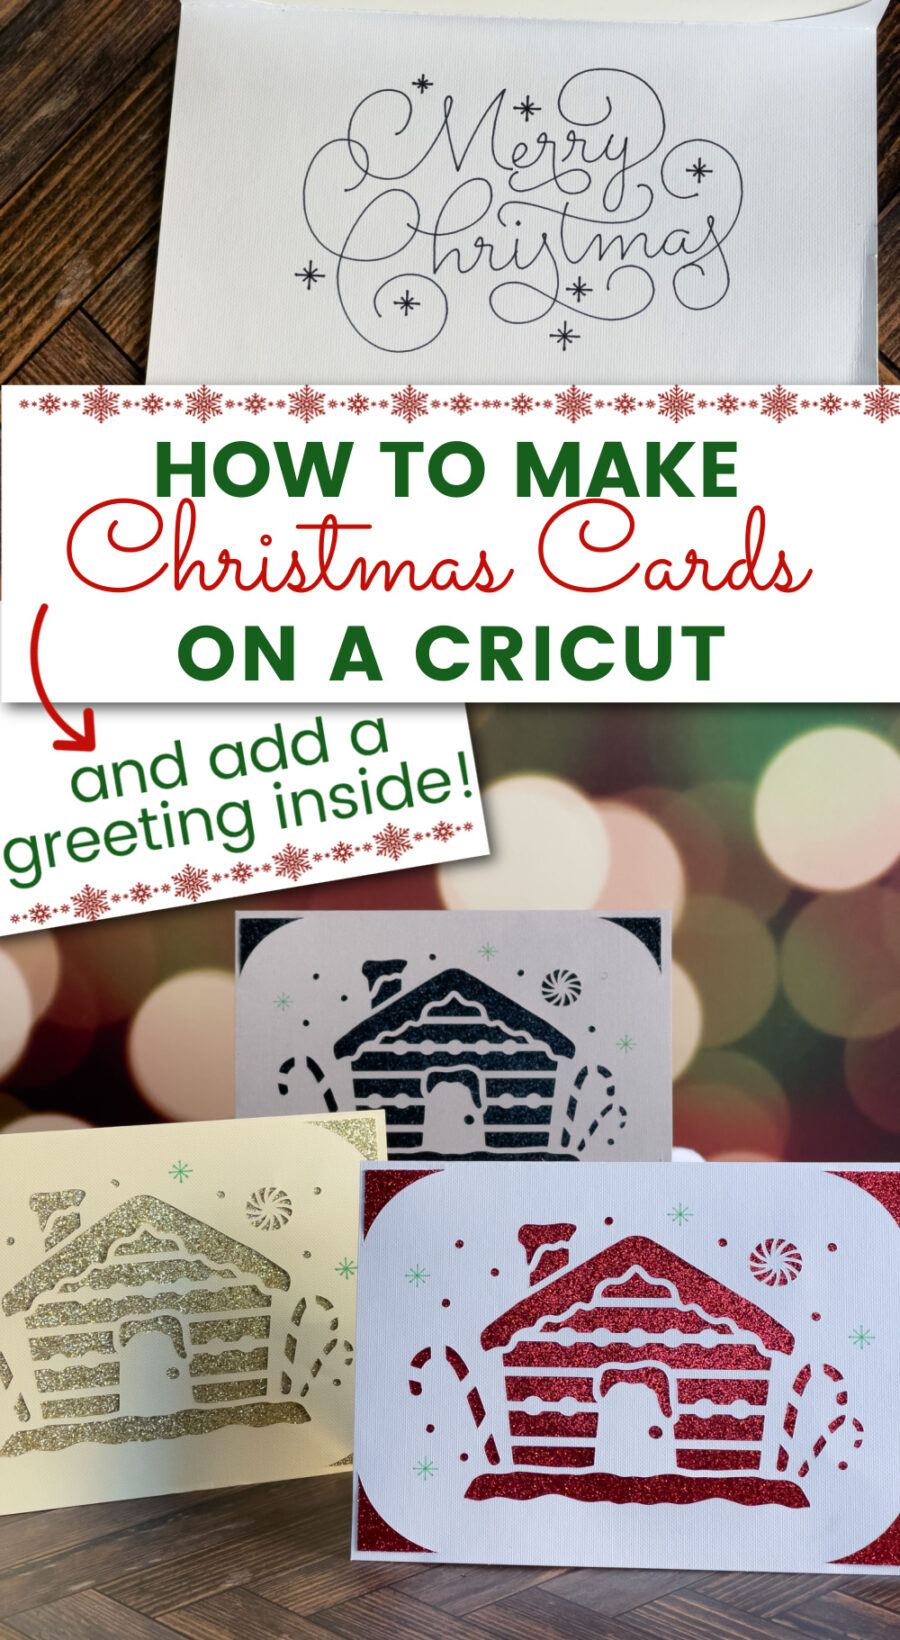
One of the things we love most about the Cricut Joy is how easy it is to make cards using the Joy Card Mat, Insert Cards and Cutaway Cards. They are great for things like birthday party invitations. The downside is that you can only make 1 card at a time. When you are making Christmas cards for a long list of people, one at a time takes forever.
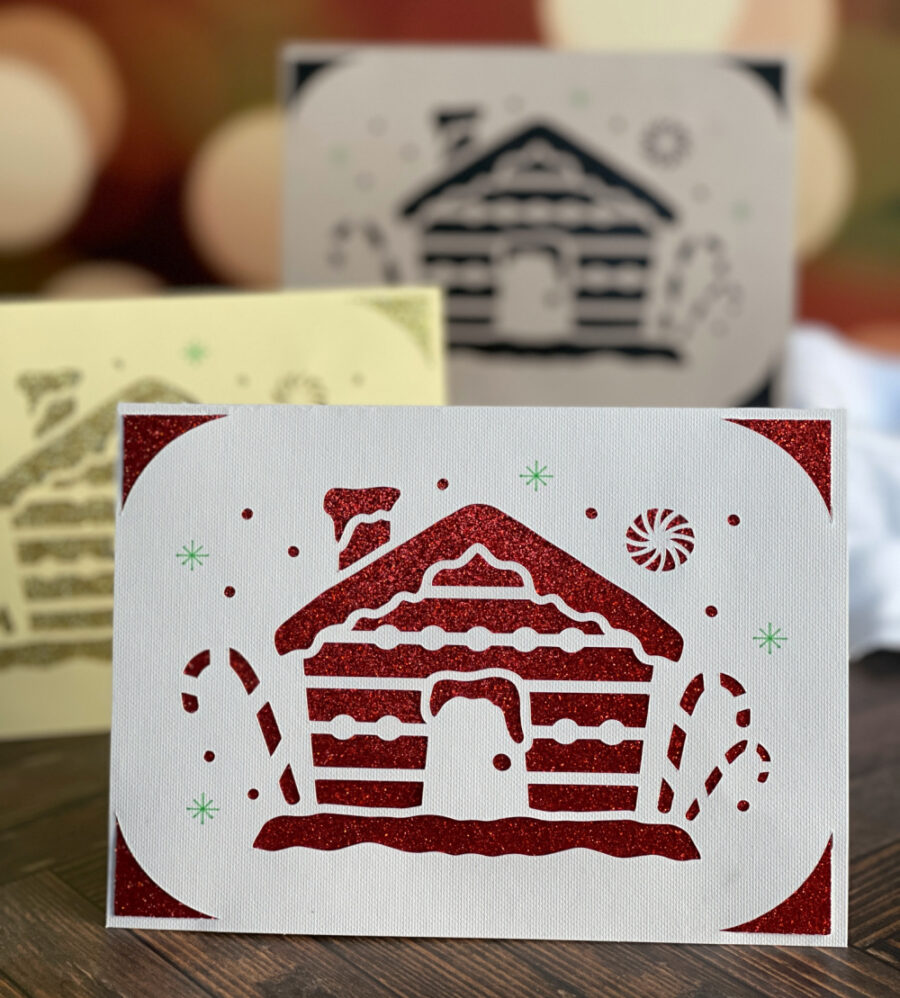
Cricut changed everything when they introduced the 2×2 card mat for the Explore and Maker machines. Now not only can you make cards on these machines, but you can make 4 at a time. It is super easy, and you can even add a greeting inside the card to personalize them.
Cricut Christmas Cards Supplies and Tools:
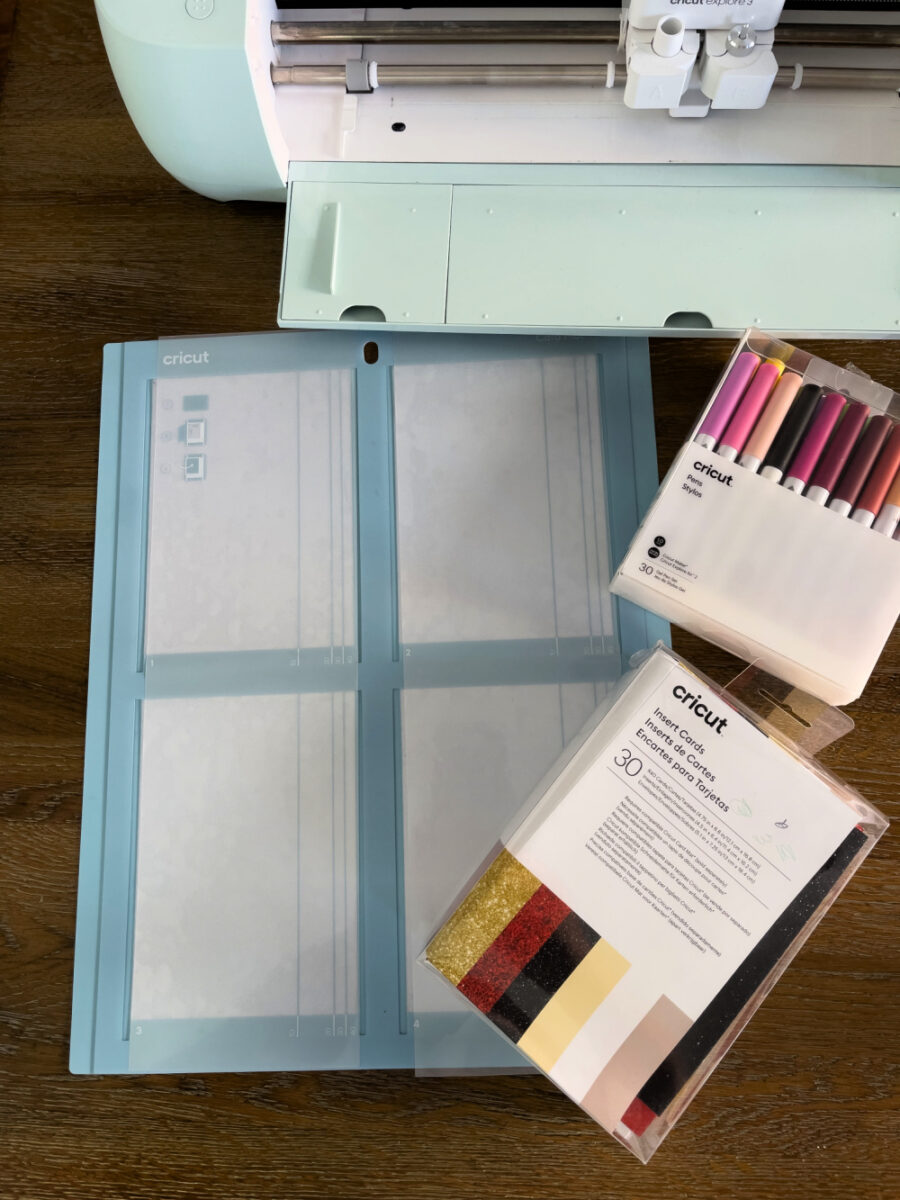
- Cricut cutting machine (Explore or Maker series)
- Cricut Insert Cards (R10, R20, R30, R40, or S40) – 40 can only be made on a Cricut Explore or Cricut Maker
- Cricut Card Mat 2×2
- Weeding tool and scraper tool
- Cricut machine-compatible pen – make sure it is for the Explore (depending on the card selected)
Design an Insert Card in Design Space
Open Design Space and a new, blank canvas. On the left dashboard, click on “Projects.” At the top of the next screen click on the “Categories” drop-down menu and choose “Insert Cards.”
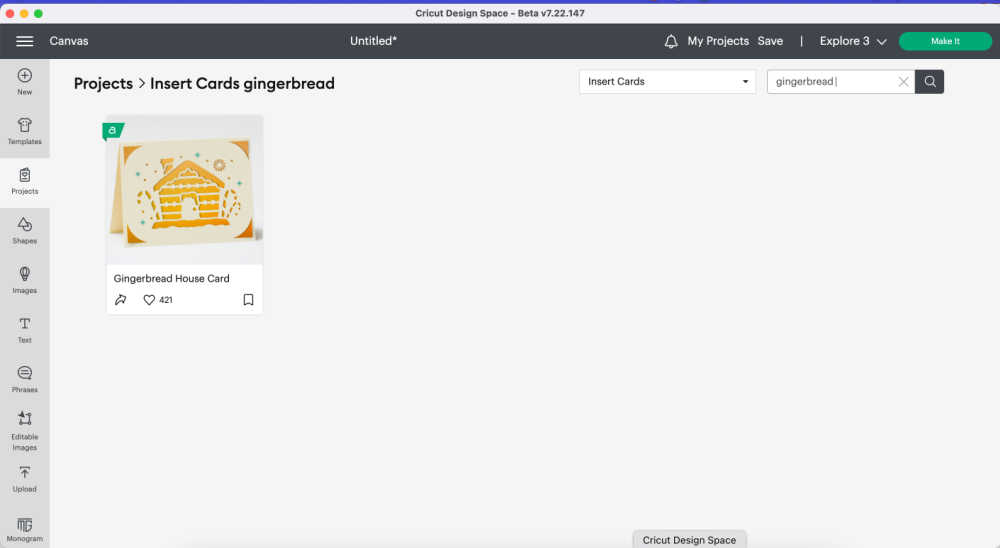
On the right of the Categories, is a drop-down menu is a search bar. Search for “Christmas” or “Holidays” and choose a card. Search for “gingerbread” to find the Gingerbread House Card we used. To find more cards to use, we always recommend a Cricut Access membership. If you pay for the year up front, you get all kinds of savings, deals, and goodies!
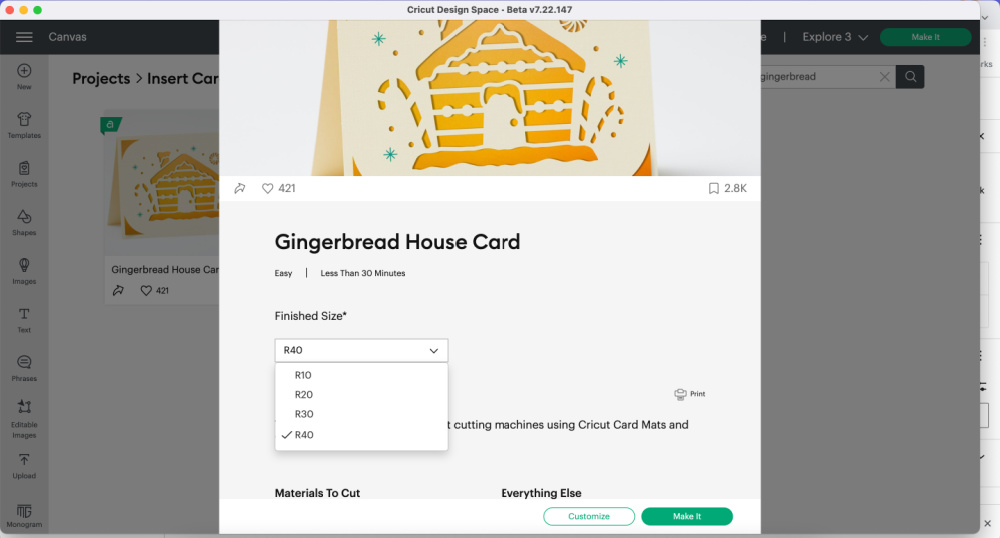
Choose the card you want to make. Then use the dropdown menu to choose the size card that corresponds to the size cards you are using. We are using the R40.
To write inside the card, hit “Customize.” To proceed directly to cutting the card, hit “Make it.” You will need a Cricut fine point pen compatible with your machine for the gingerbread house card.
Customize the Christmas Card with a Greeting Inside
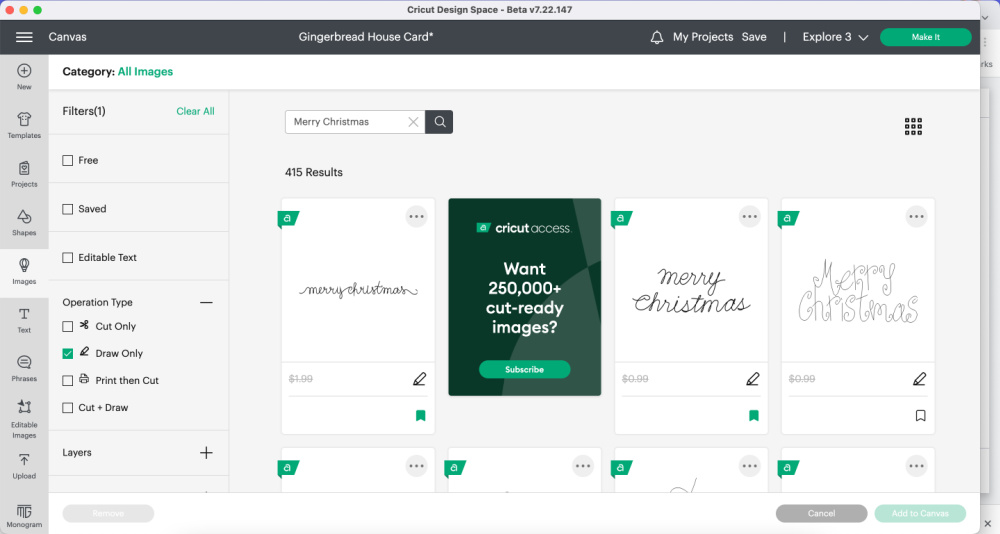
Once the card is added to the canvas, go to the left dashboard and click “Images.” Click the plus sign next to Operation Type and set it to “Draw only.” In the search box at the top, search for “Merry Christmas.” This will bring up hundreds of options to put inside your Cricut Christmas cards.
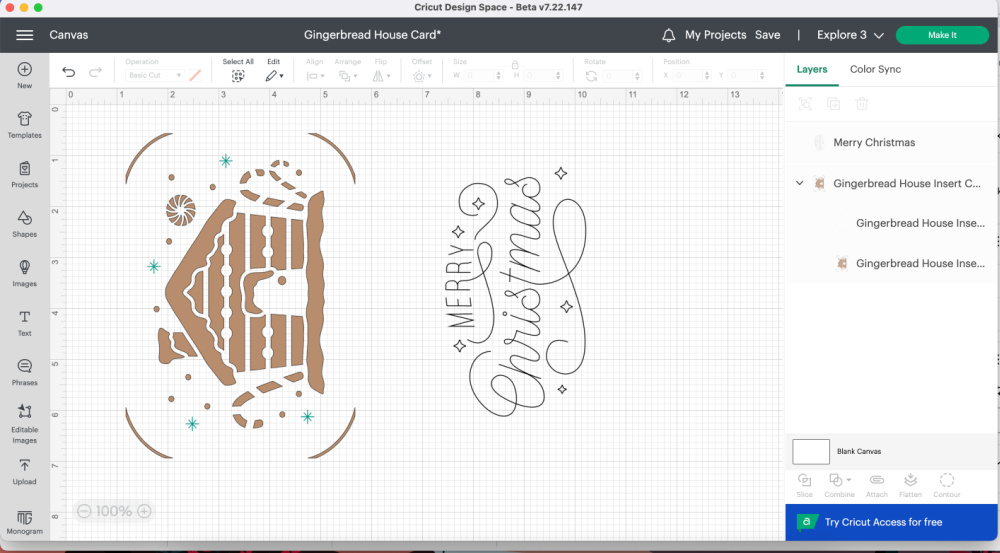
Click on one of the designs and click “Add to Canvas” in the bottom right. The image will add to the canvas so that it’s correct for a vertical (portrait) card. You need to rotate the saying if your card is horizontal (landscape), like the gingerbread house. Just use your mouse to grab a corner of the image and turn it sideways.
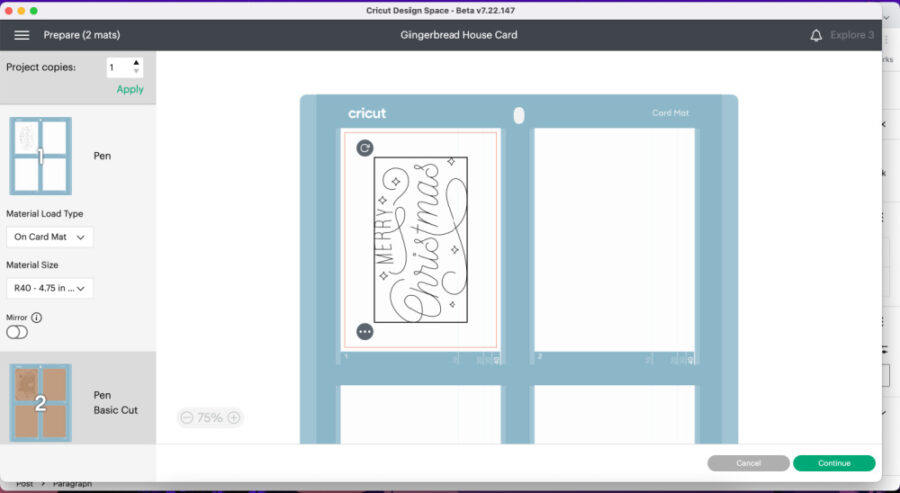
Now you are ready to make your Christmas cards. Click “Make it” in the top right corner of Design Space. Because we have Design Space set to Explore and are working on Insert Cards, Design Space automatically chooses the 2 x 2 Card mat.
The software also sees that we both write on the inside of the card and then cut the outside. It sets the card up on 2 different mats. The Cricut will first write on the inside of the card. Then you will flip the cards over on the mat and load it again so that it cuts the outside. It’s super easy!
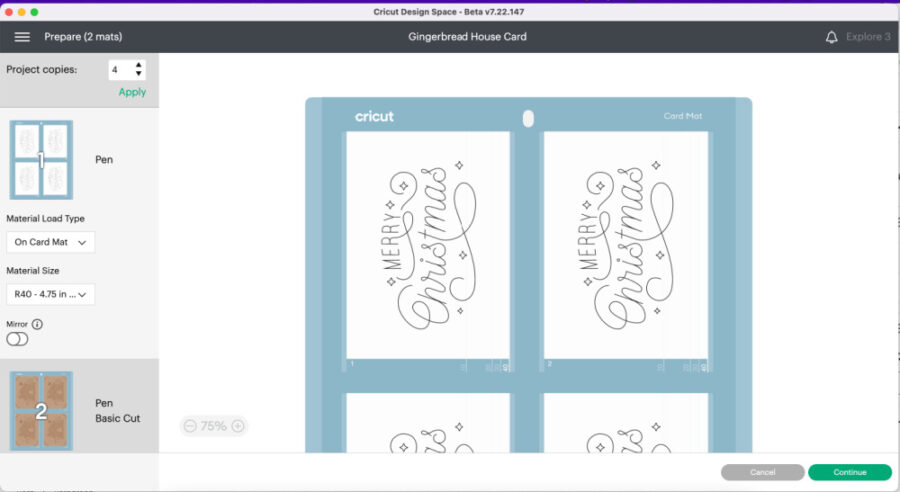
On the left side choose which size card you are using. Then, at the top of the left of the screen you will see “Project copies.” Hit the arrow up until you are 4. Hit “Apply.” All 4 cards should now appear on your mat ready to go.
Prepare the 2 x 2 Card Mat and Cutting Machine
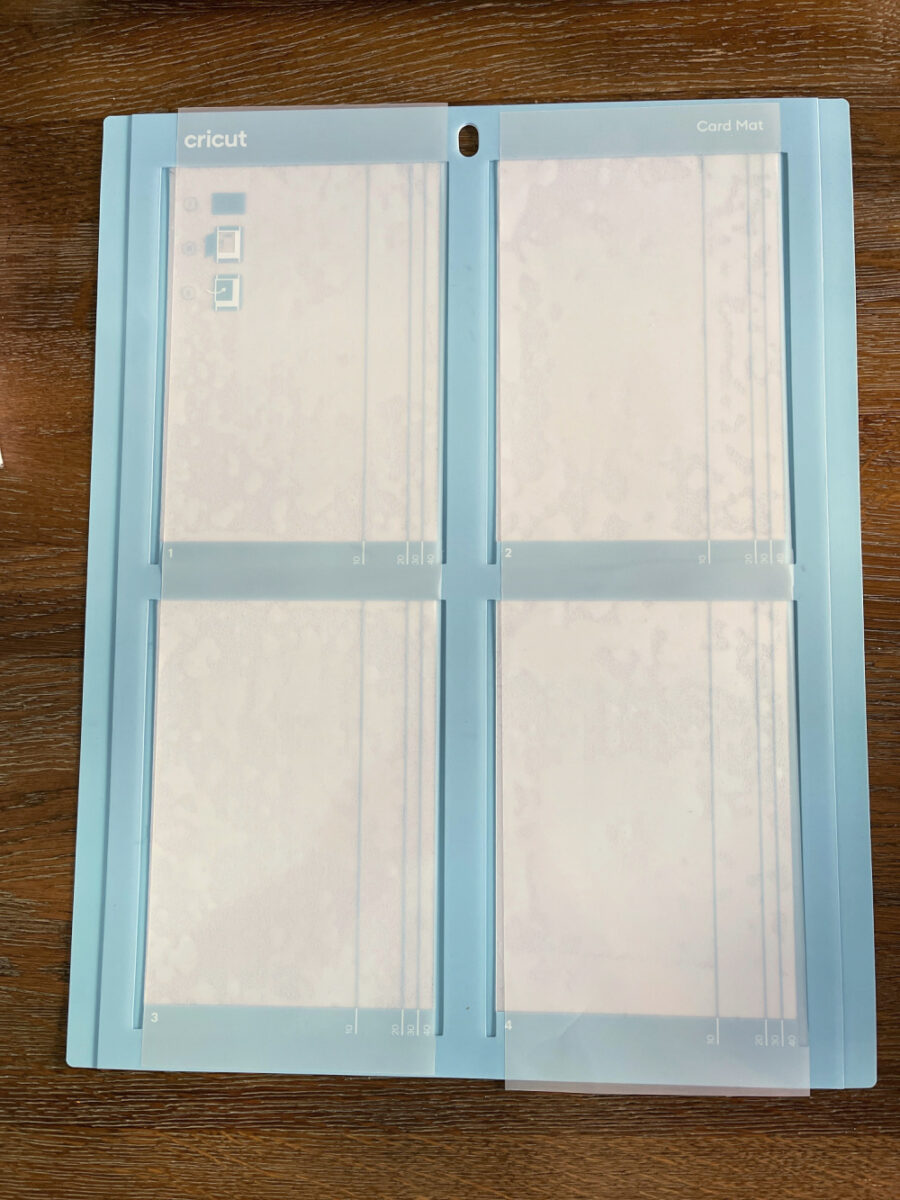
The R40 cards are made to fit on the Cricut 2×2 cutting mat. The 2×2 is the only card mat Cricut makes for the Explore and Maker. The other card mat is for the Joy. The great thing about the 2×2 is that you can make 4 cards at once. You can make 4 different cards, but we are making 4 of the same card for this project.
Now that all 4 cards are ready in Design Space, it’s time to prep your mat and machine. Peel the protective covers off the 2×2 mat and set it aside.
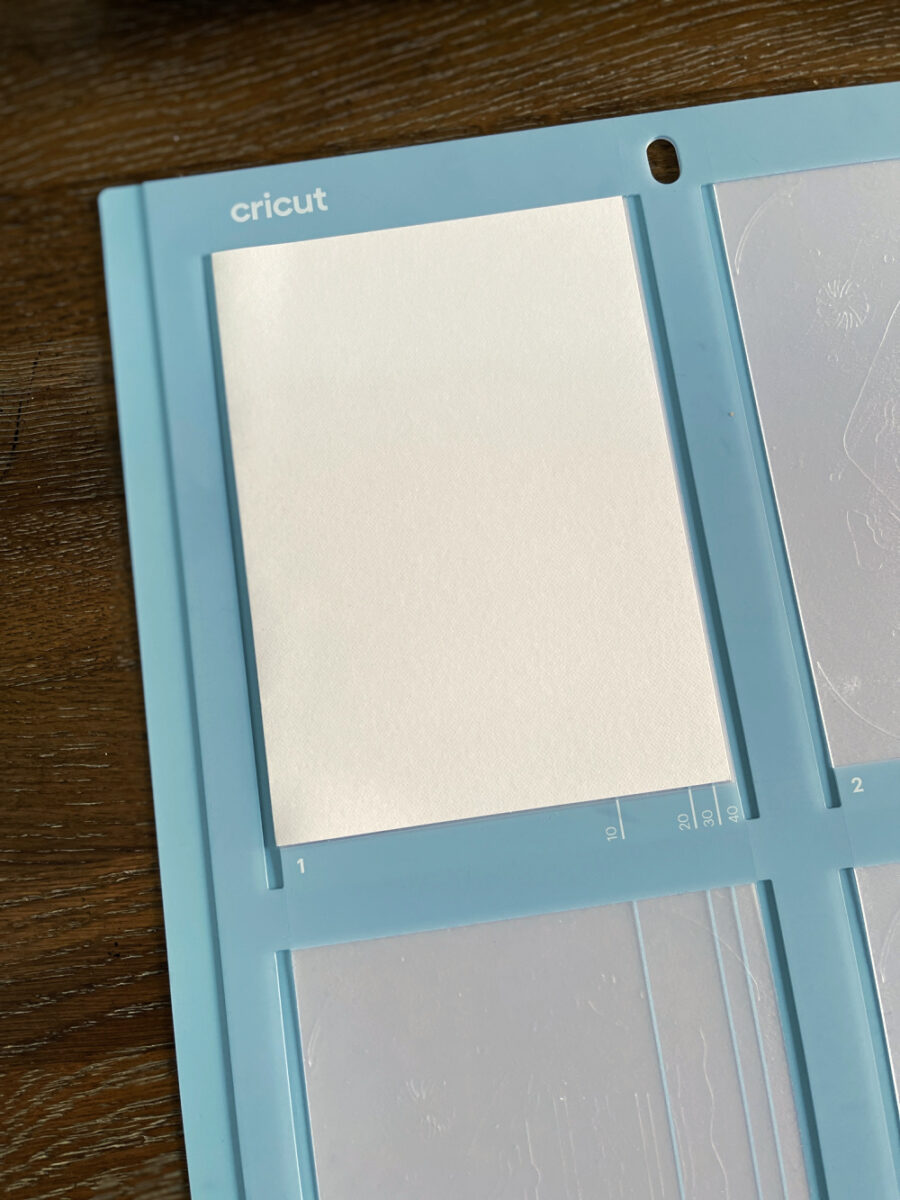
Take a pre-folded InsertCard from the kit you bought. To write inside the card, you will fold the card so that the inside faces up on the mat. Slide the inside-out card into the top left pocket. Keep the card flush against the top of the card slot and the fold tight against the edge. Use a brayer or a credit card to gently rub the cards, so they adhere well to the mat. Repeat this for all 4 cards.
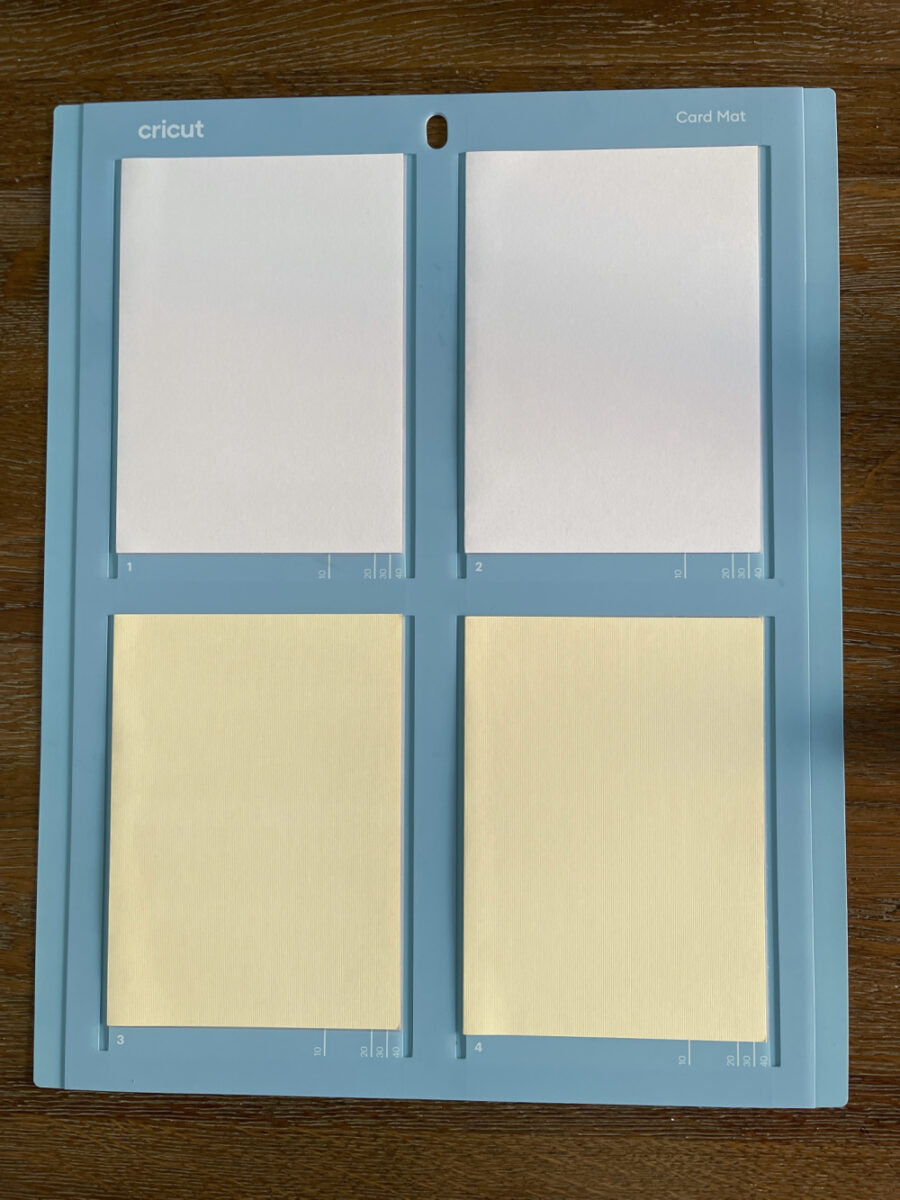
Once all 4 cards are on the mat, turn on your machine, return to Design Space and click “Continue.” Choose “InsertCard Cardstock” as the material. I often set the pressure to “More” for cards so that the cuts are cleaner.
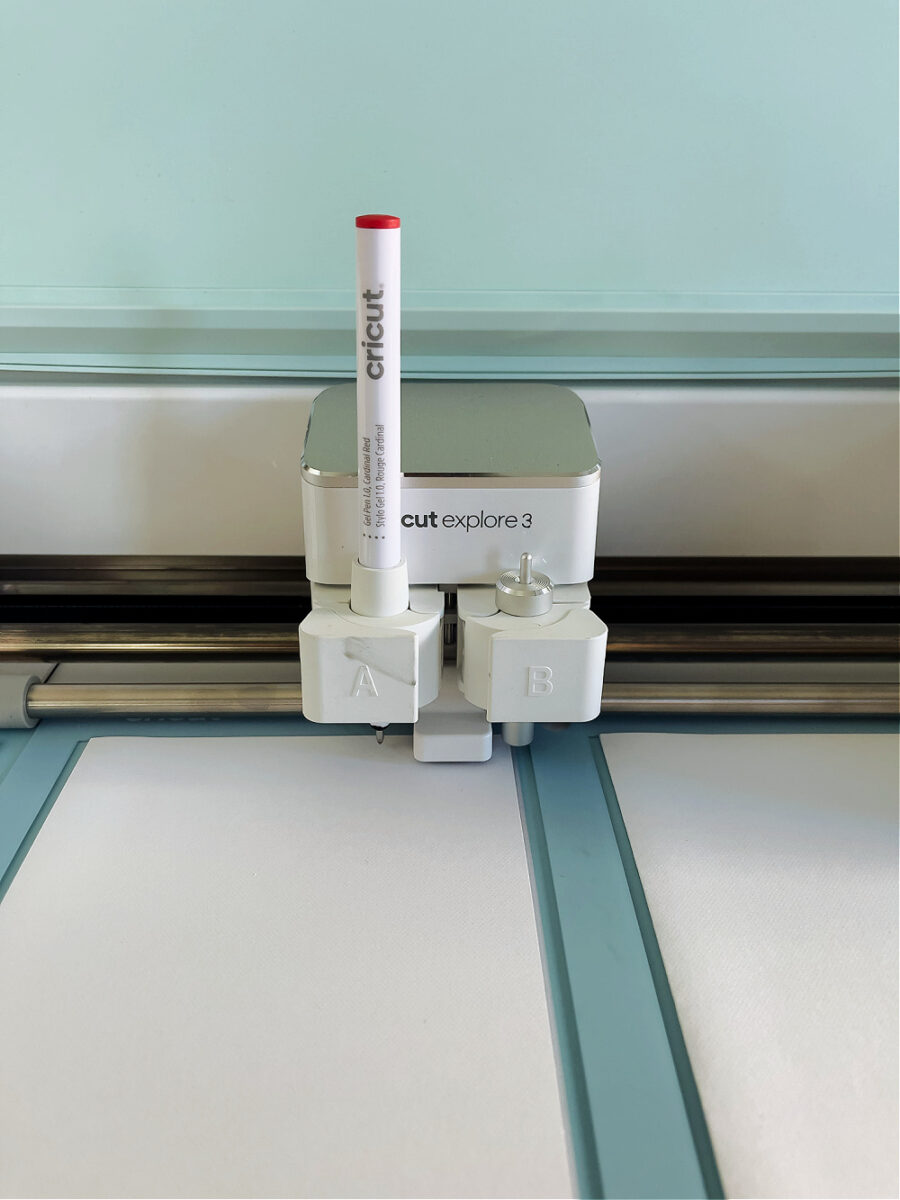
Follow the on-screen prompts to load the pen. Even though the pen is set to black, you can use any color you like.
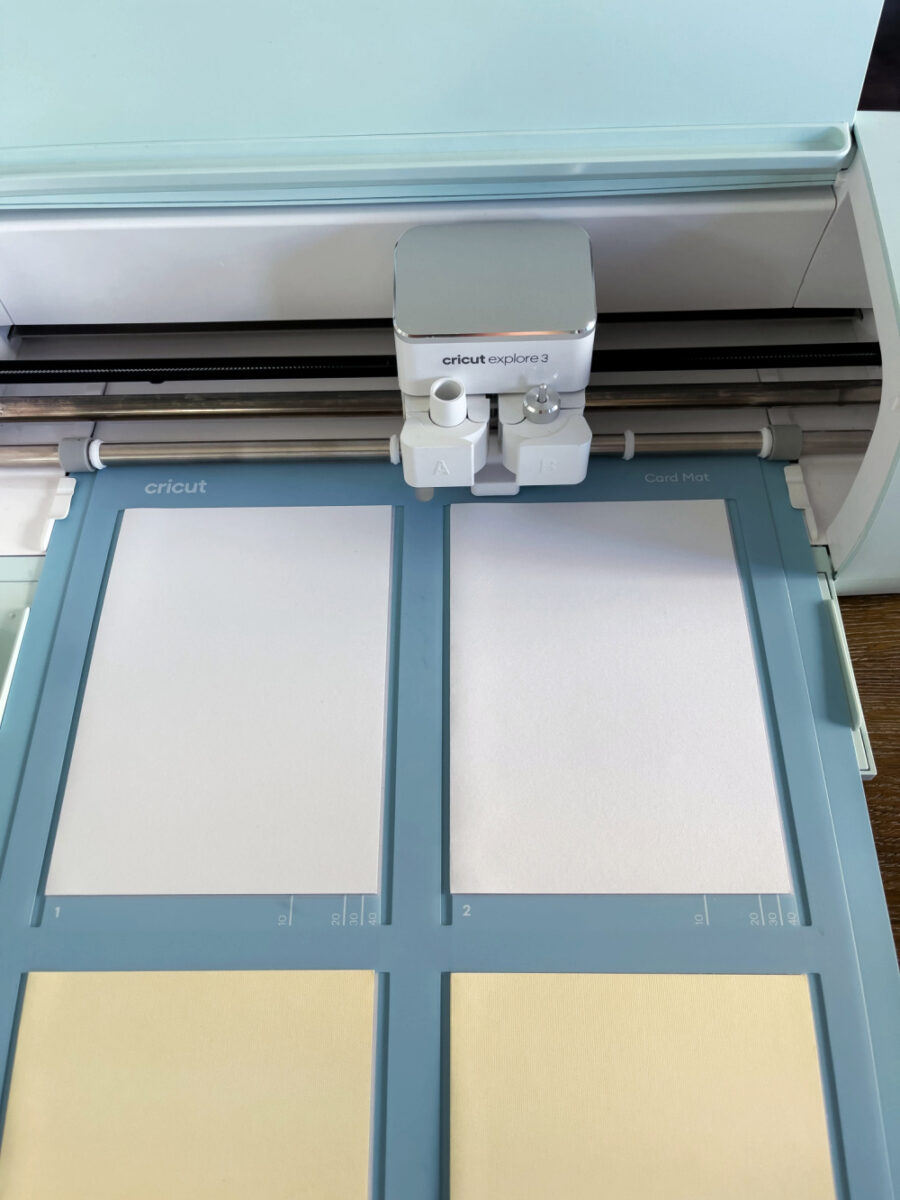
Place the mat underneath the gray rollers, don’t push the load button yet.
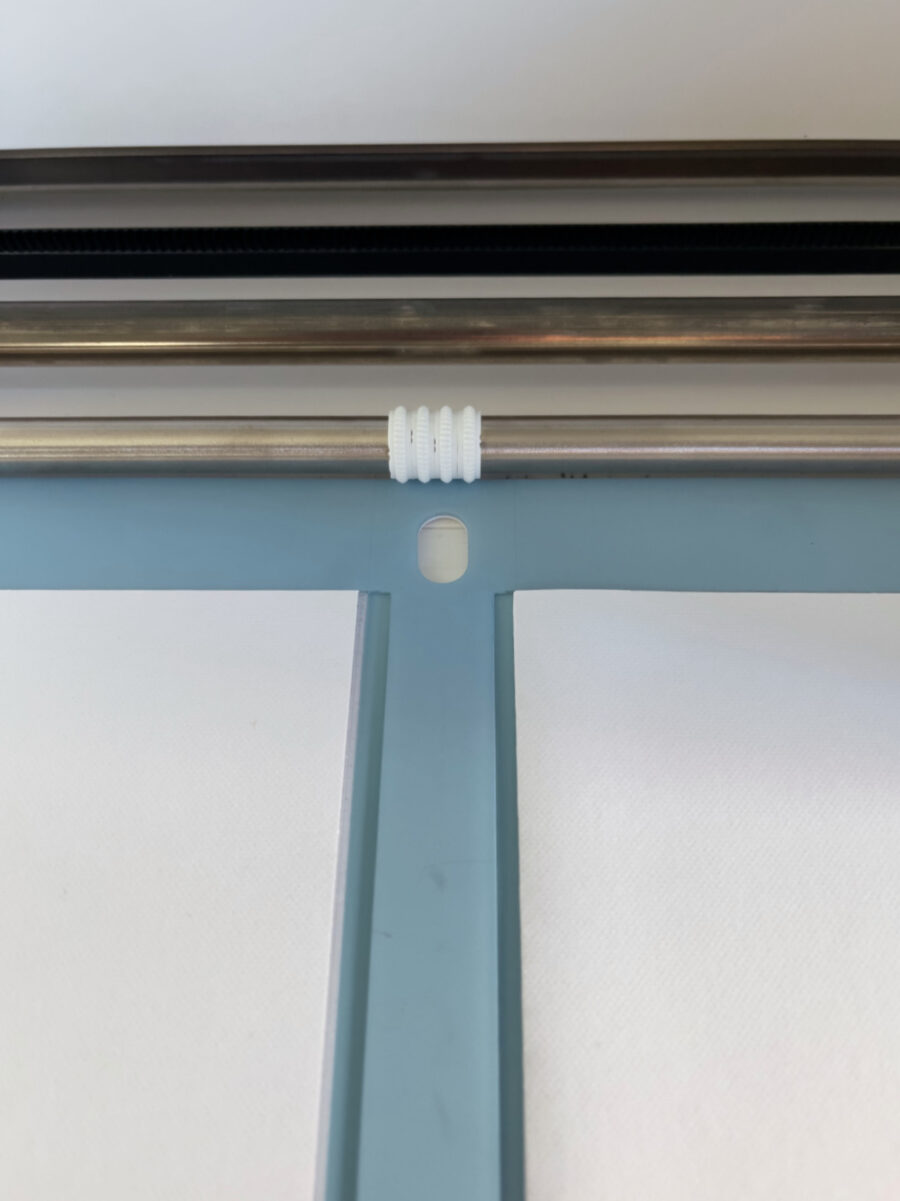
Move all 4 of the white “star wheels” to the middle of the bar so they align with the center of the card mat.
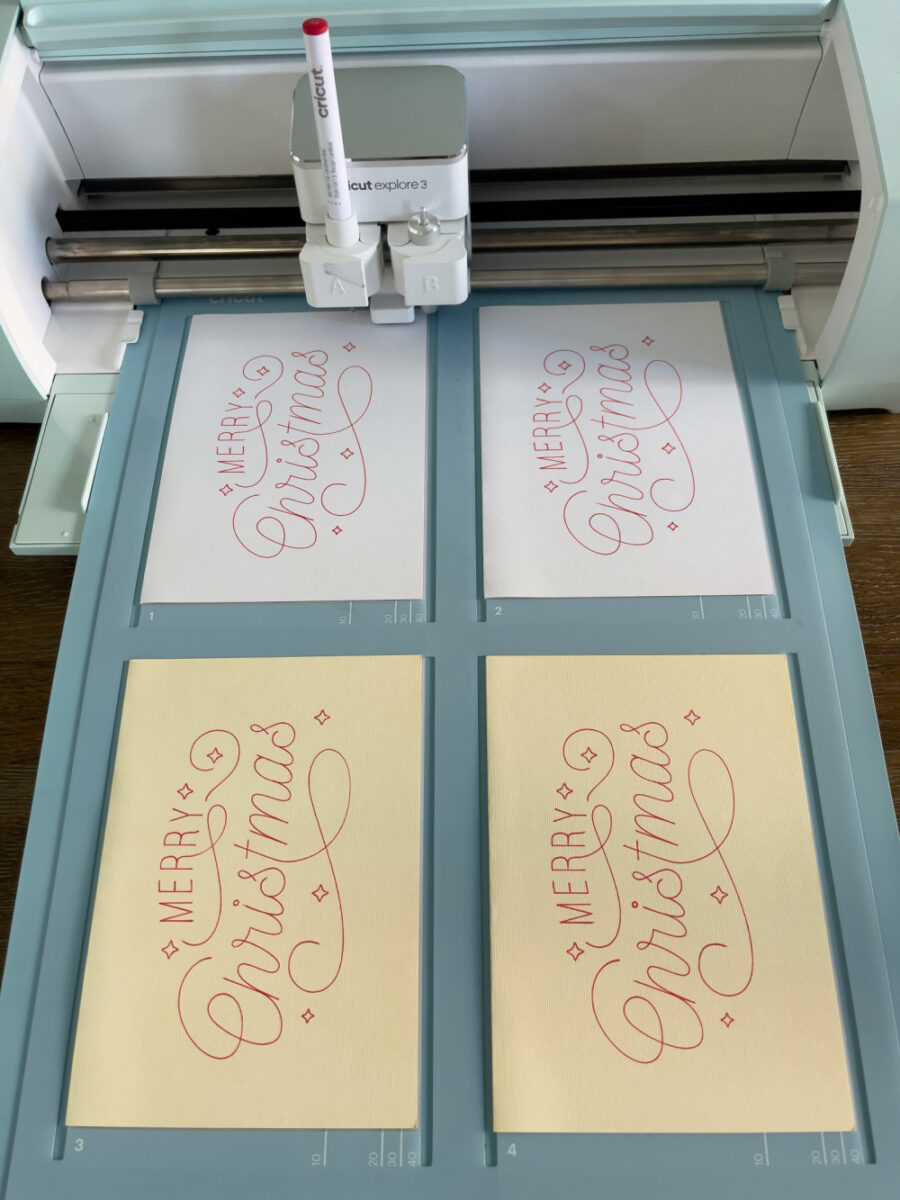
Load the card mat and press the “Go” button when prompted. The machine will write the saying on cards.
When it is done, unload the mat and remove the cards. Refold all 4 cards so that they are folded correctly for opening. Follow the same instructions above and adhere the cards to the card mat with the blank outside facing up.
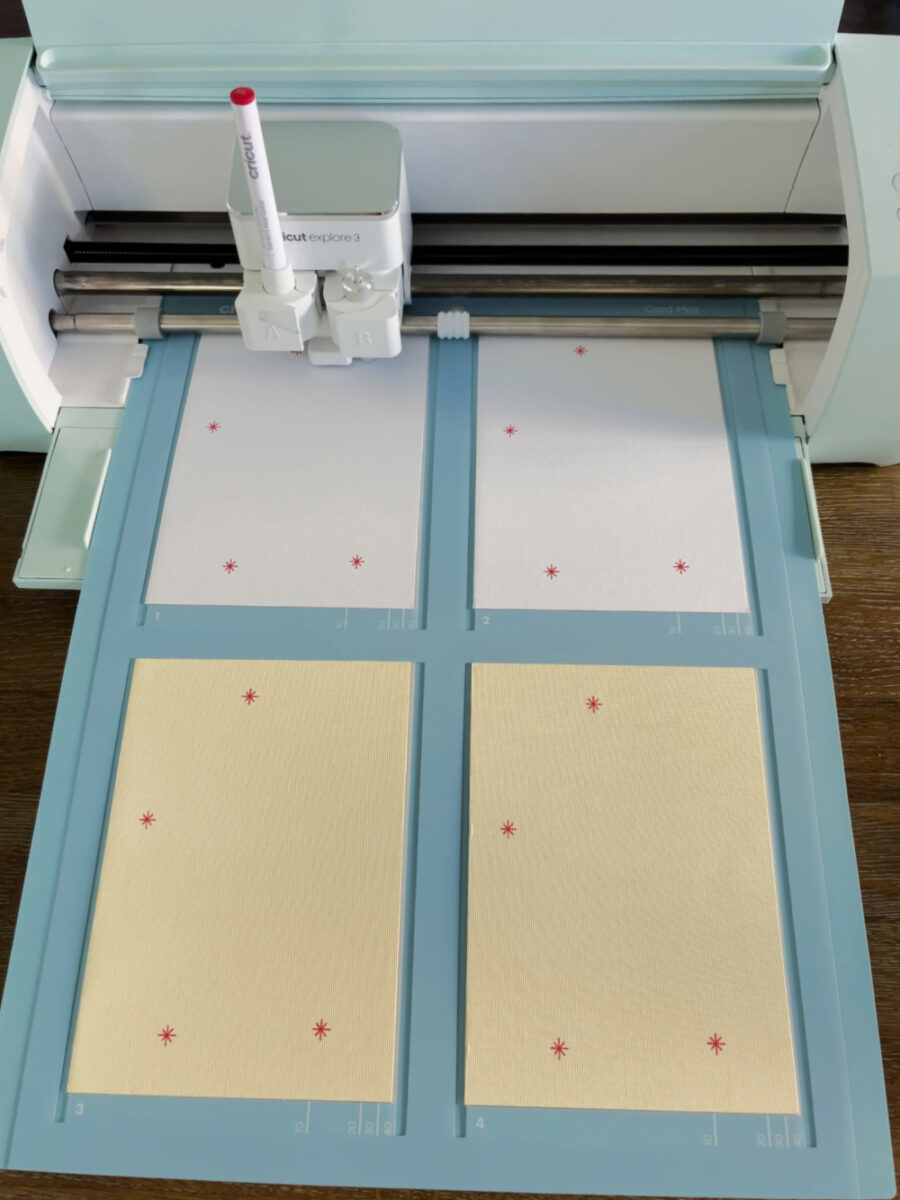
Load the mat into the machine and follow the same materials and prompts as above. Depending on the card you choose, you may need a pen. Again, you can choose any color you like. Press “Go” and the machine will write and cut out the cards. Once it is finished, unload the mat.
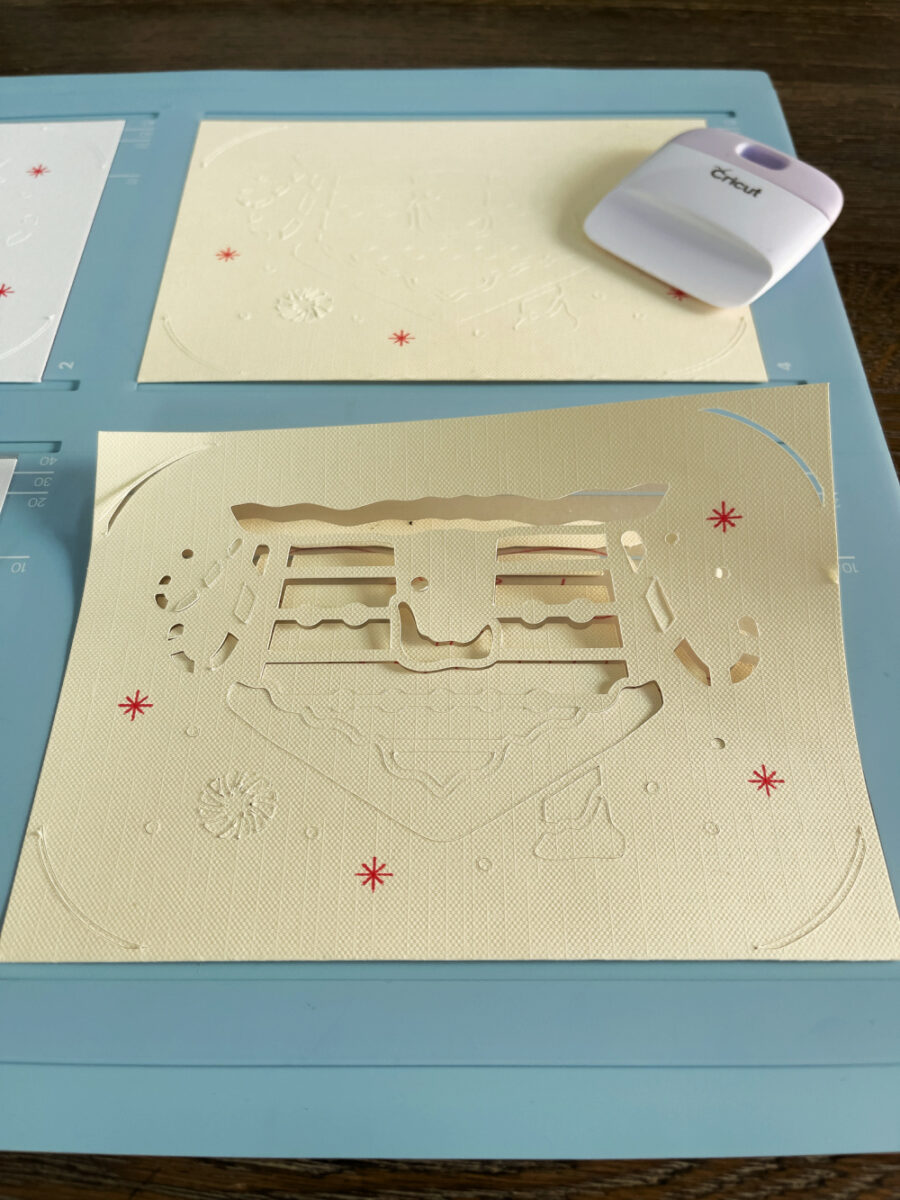
Slowly, gently peel the top of the card away from the mat. You can use a scraper or weeding tool to make it easier to get the cards off. Most of the cut out pieces should remain on the mat. Use a weeding tool to pop out any card pieces that didn’t get stuck on the mat.
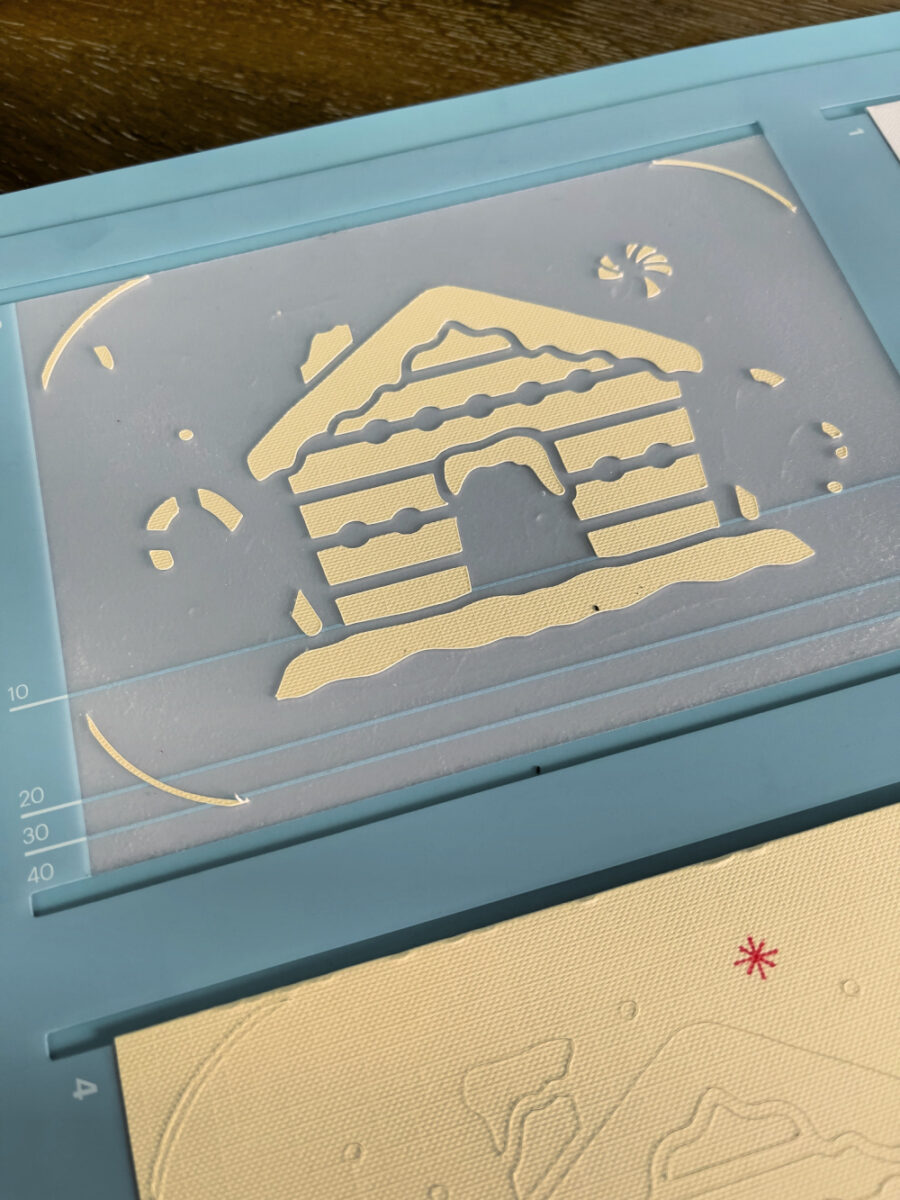
Clean the card mat by using a scraper tool to scrap off the paper bits left on it. Once it is clean, replace the covers shiny side down.
Assemble Christmas Cards
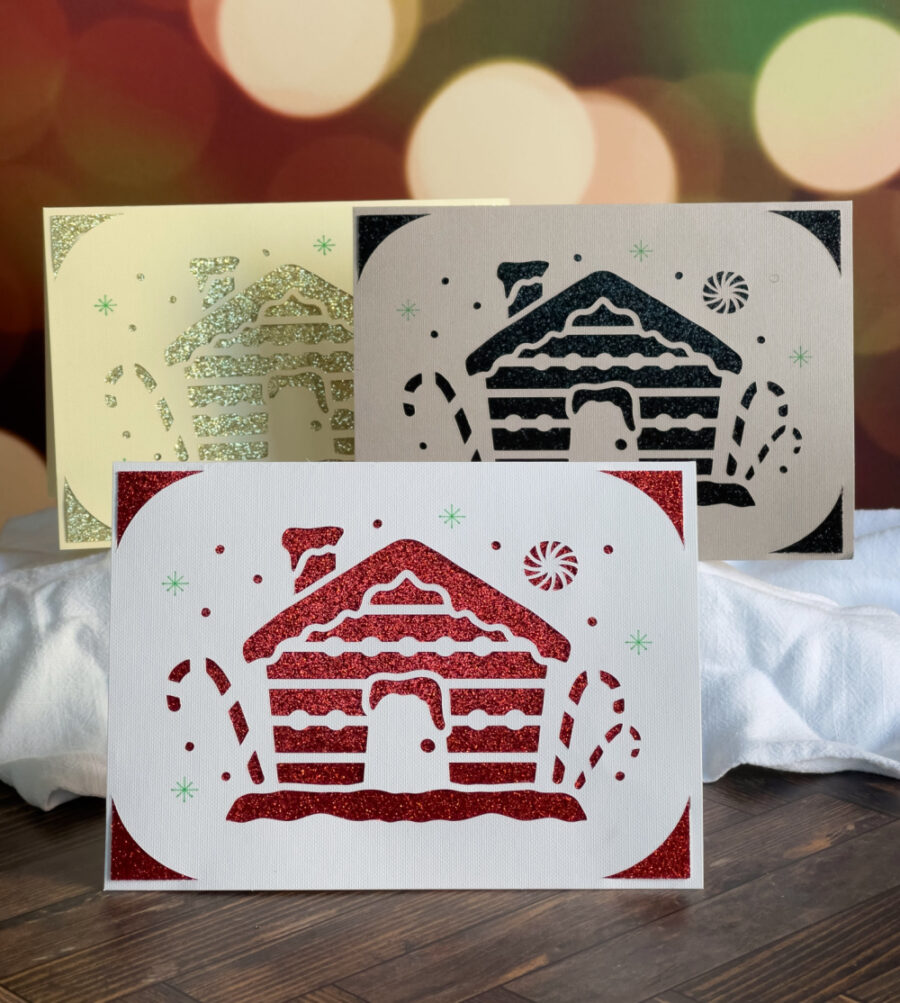
Choose which color insert piece you’d like to use with your card. Gently insert it into the corner cutouts on each card. And that’s it! Your one-of-a-kind Christmas cards are ready to be signed and mailed. You can use this same process to make cards for any occasion.
Christmas Cards for the Cricut Joy
You can use this same process on a Cricut Joy. The main difference is that you can only make 1 card at a time, and the card sizes must fit the Joy Card Mat. The rest of the process is pretty much the same and can be used for any occasion.
