Summer is the perfect time for easy tie dye with kids with a simple tie dye kit. Kids can tie dye anything from shirts to bags to sheets!
This post contains affiliate links.
During my college years I worked as a camp counselor at a YMCA camp in northern Kentucky. One year I was a counselor for tweens and we tie dyed every week with the campers. I got pretty good at tie dying, but hadn’t done it in decades. So one lazy summer day, we decided to tie dye!
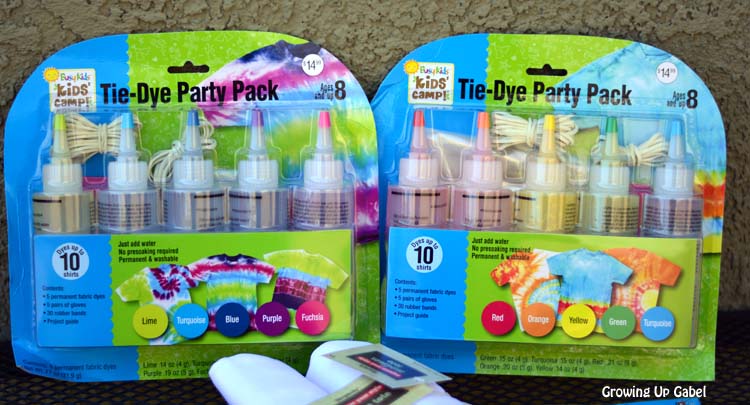
It used to be tricky to tie dye using clothing dyes and a little guess work. But these days, you can purchase actual kits that make tie dye easy.
We picked up two different color assortments. Each pack makes 10 shirts so this would be great for a neighborhood project or a slumber party.
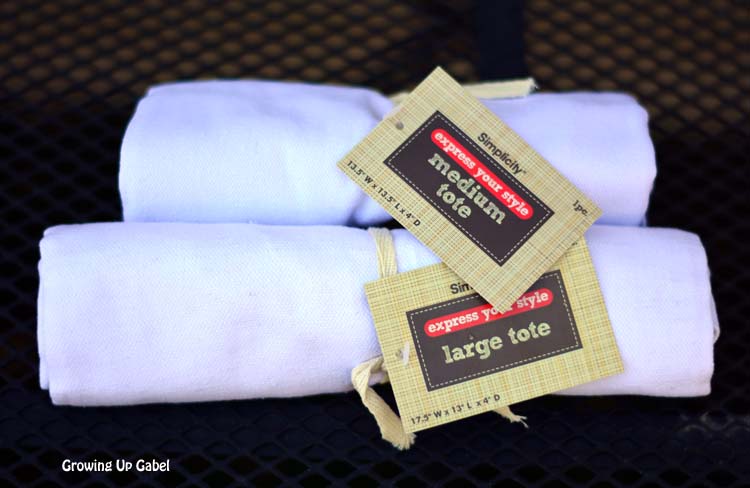
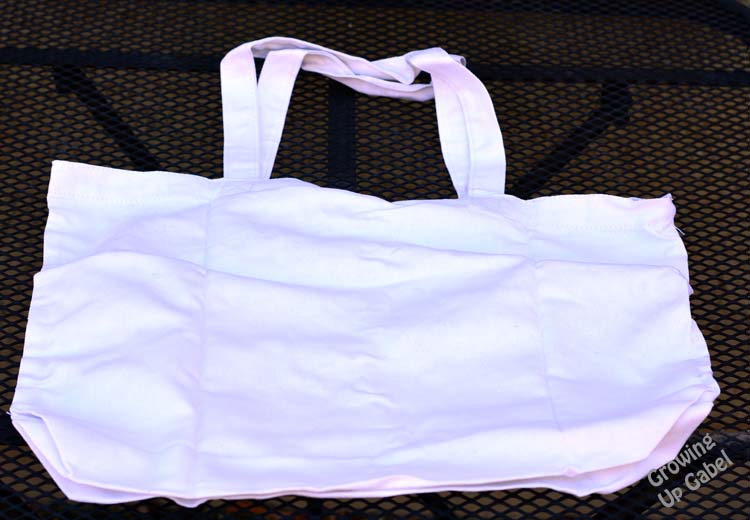
You can pretty much tie dye anything that is plain white. Tee shirts are the most popular, but the possibilities are endless. We found a bunch of different tote bags to tie dye and got two mediums and one large.
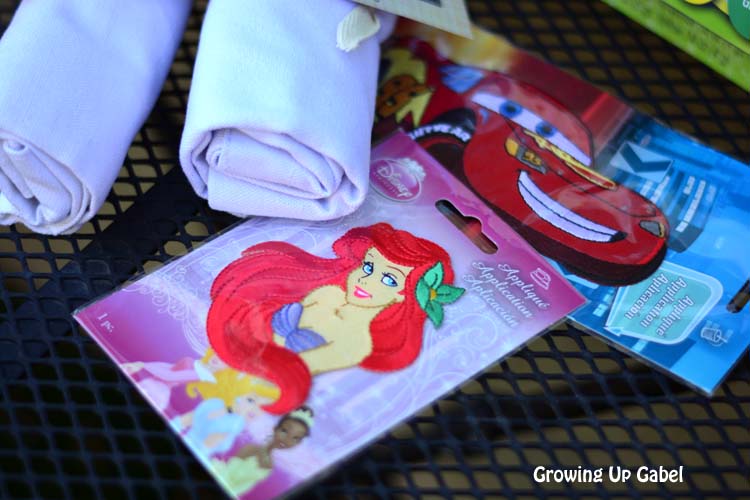
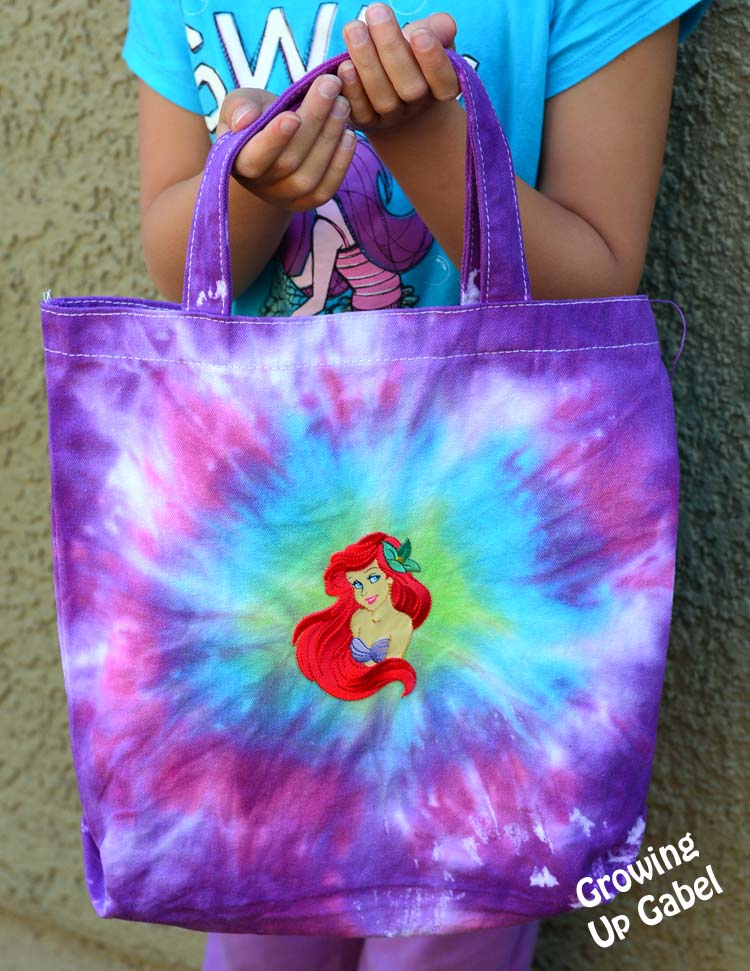
To put our own spin on the project, the kids found iron on patches of their favorite Disney characters to personalize their bags.
The directions in the tie dye party packs are excellent. We did our tie dying in the kitchen, but I would have preferred to do it outside. We just don’t really have anywhere good to work that had water access outside.
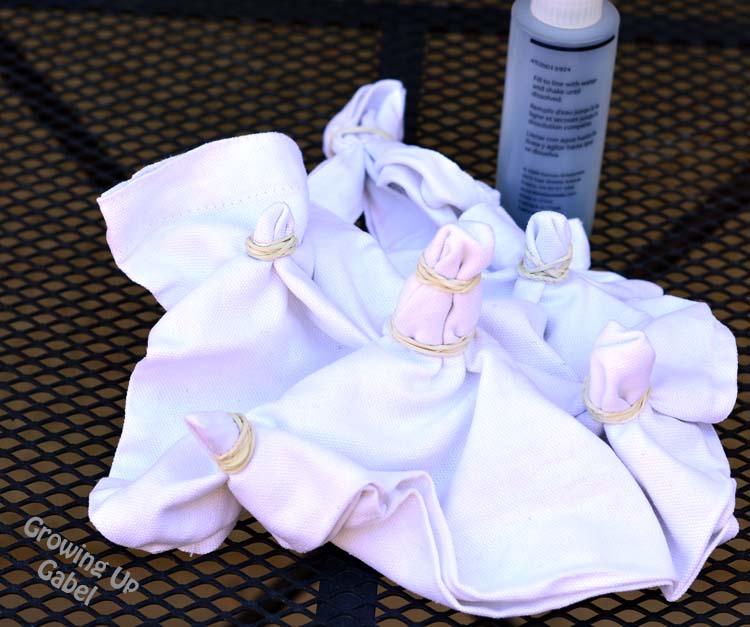
Start by getting the item you are tie dying damp. Then you just start rolling and folding and rubber banding. Different techniques result in different patterns and again, the include instructions were excellent to show you how to fold and roll your bag for your desired result.
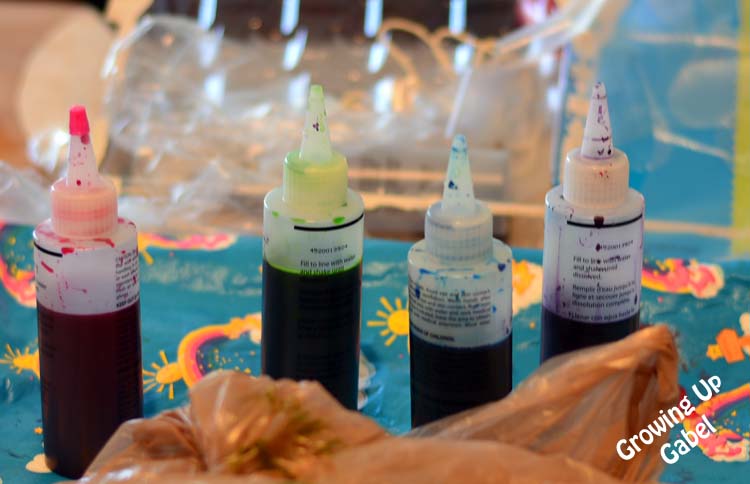
To make the dye, you just add water to the line on the bottle and shake. MAKE SURE TO WEAR THE INCLUDED GLOVES! The dye will come off eventually, but it’s just better to wear the gloves.
I laid our bags out on a covered work area and we set to work dying. You roll your finished work up in plastic wrap and let it sit for at least 4-6 hours, but I let ours sit overnight.
I followed the directions on the instructions and rinsed the bags the next morning and then washed them with a small amount of laundry soap.
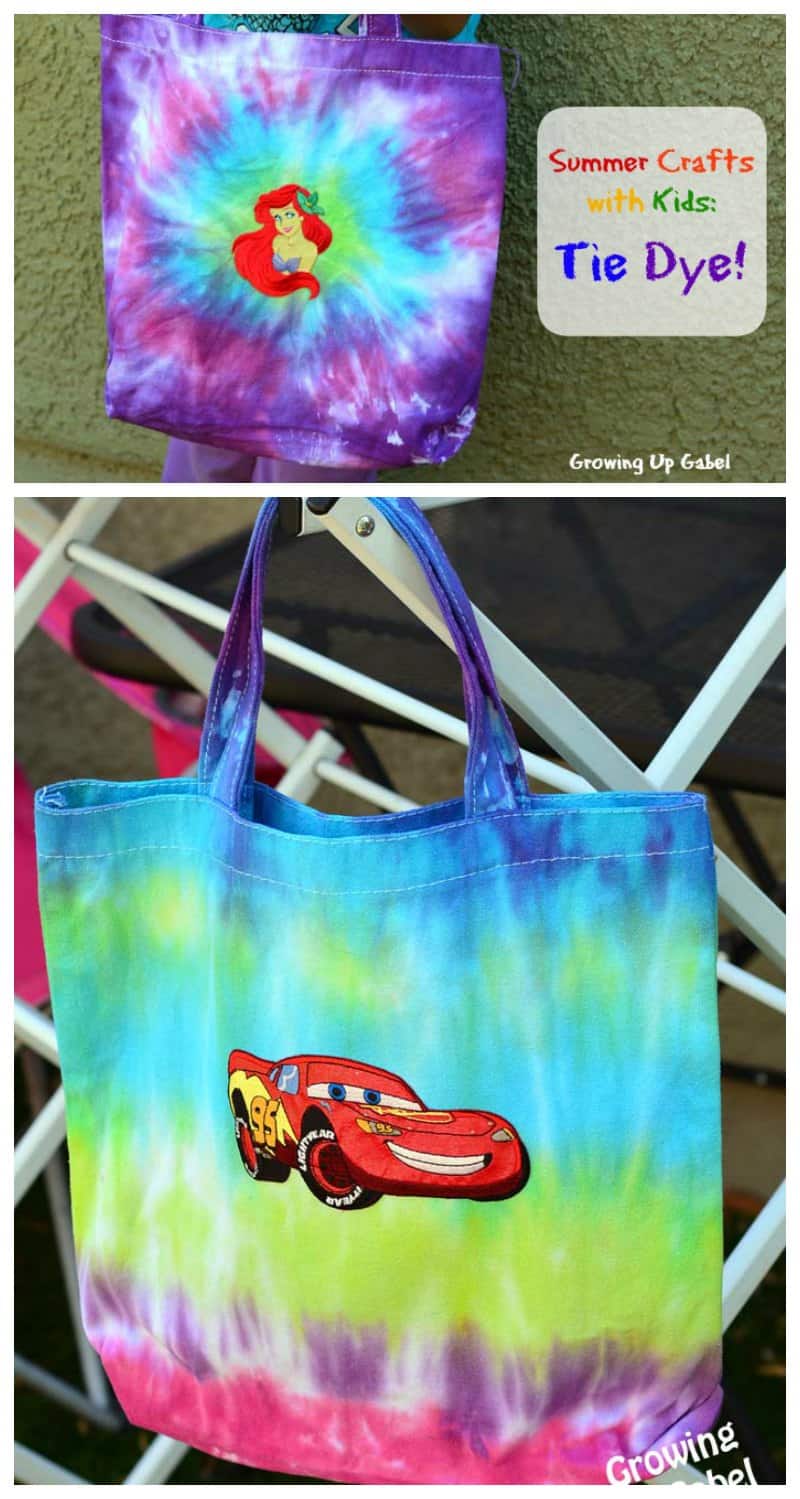
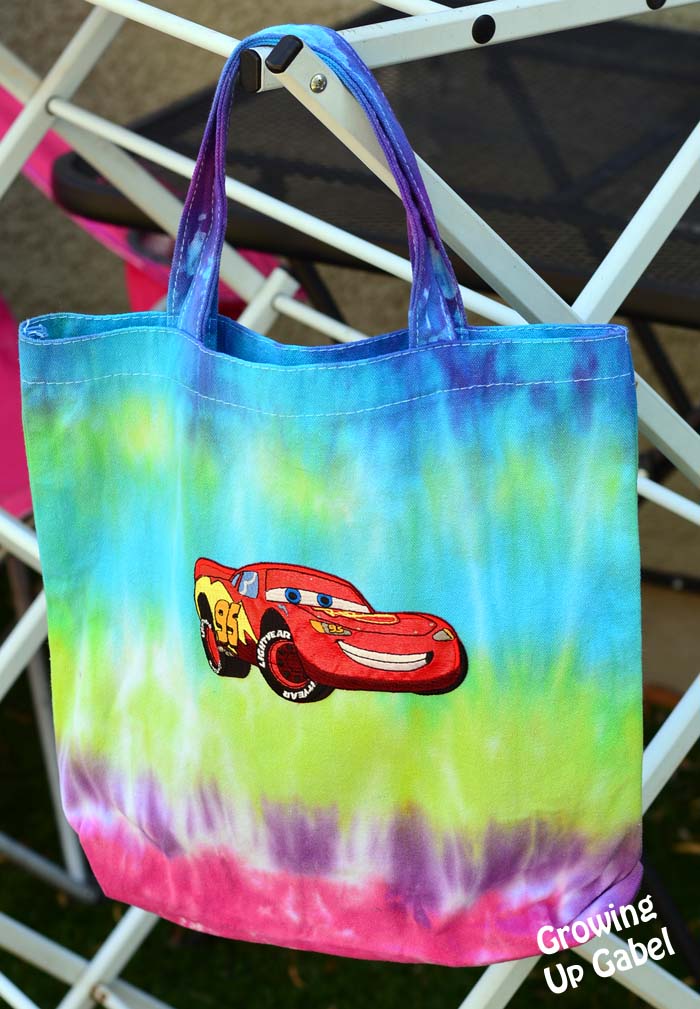
I bought the two packages of different colors or tie dye so we had boy and girl colors, but my son wanted his to be the same color as his sister but with Lightening McQueen. I went light on the pink and tried to go heavy on the blue and green! We pleated this bag before dying for stripes.
For this bag we went with a circle motif and followed the example in the instructions. I love how it turned out! After we washed the bags and let them dry, we ironed on our Disney characters.
The kids are so excited to use their bags as library bags this summer.
Thank you to Jo-Anns for sponsoring this post!
[dtbaker_banner text=”You Will Also Love:” linkhref=”” type=”brush”]
Smores Pudding Pop Recipe
How to Make Homemade Ice Cream in a Bag
S’mores Easy Snack Mix Recipe

