Make your own pumpkin bookmark for fall and Halloween reading. You only need a few basic craft supplies to make this bookmark: construction or origami paper, a marker, glue, and scissors to bring this cozy bookmark to life.
Pumpkin Corner Bookmarks
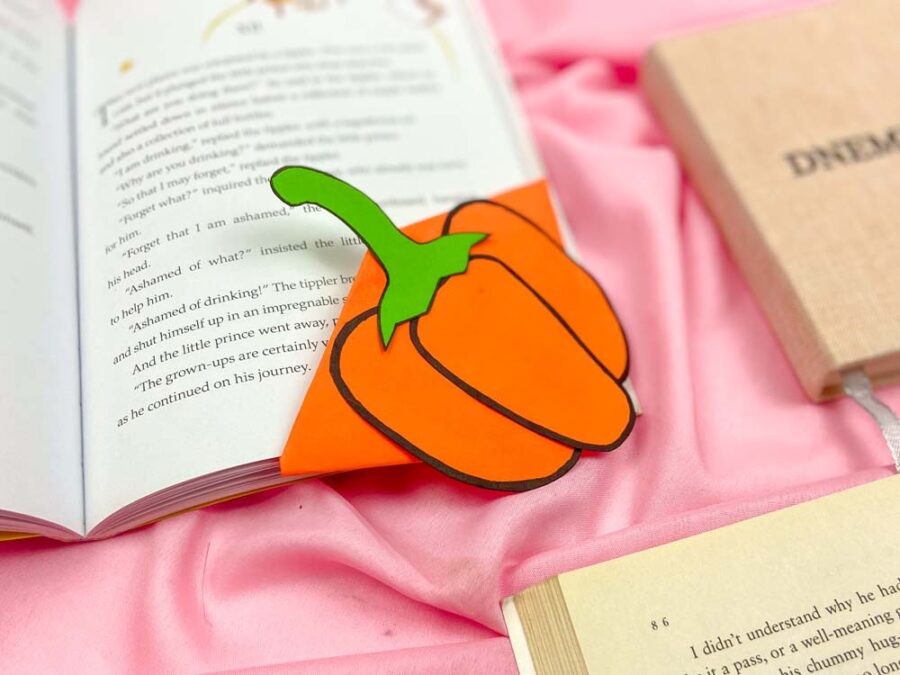
Origami is a great craft for kids. Once they learn basic folds, they can create origami projects independently. The step-by-step instructions used in origami helps kids learn patience and concentration. Origami is a tactile puzzle that brings joy and satisfaction once completed. Origami enhances fine motor skills and hand-eye coordination, making it a valuable developmental exercise.
The great thing about these pumpkin bookmarks is that the bookmark pocket is folded the same way. Once kids learn how to create the pocket that forms the bookmark, they can decorate it any way they want. Check out these other corner bookmarks you can make with the same basic form:
Origami is also pretty inexpensive. You only need simple craft supplies like construction or origami paper, which won’t break the bank. It’s easy to find these basic supplies at any craft store.
The best part about origami is that your kids can proudly display their creations or share them as thoughtful gifts. So gather those papers, let your creativity soar, and enjoy the exciting world of origami with your little artists!
Pumpkin Corner Bookmark Supplies
You can purchase origami paper which is cut into perfect squares. Origami paper comes in both double and single-sided colors. For the bookmarks, buy double-sided colored paper. The size of the origami paper varies in size. For the bookmarks, you want 6″-7″ squares. You can also use any lightweight paper and cut it down to size.
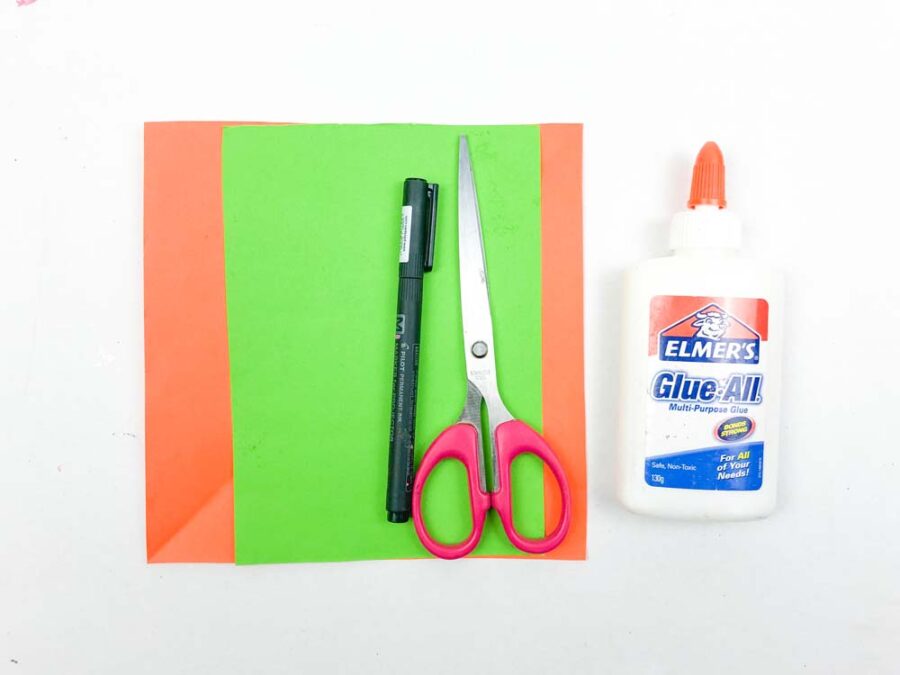
- Construction/origami paper in orange and green
- Glue
- Scissor
- Black marker
Pumpkin Corner Bookmark
Pin For Later-
Reader’s Favorite!
Origami Heart Bouquet and Garland
-
Reader’s Favorite!
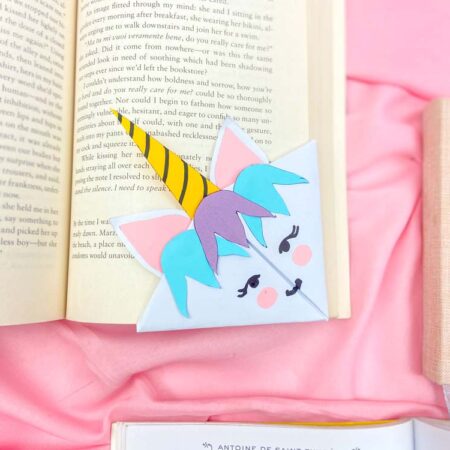
Make Your Own Origami Unicorn Bookmark for Kids
Make an Origami Corner Bookmark
First, you need to make an origami corner bookmark using orange paper.



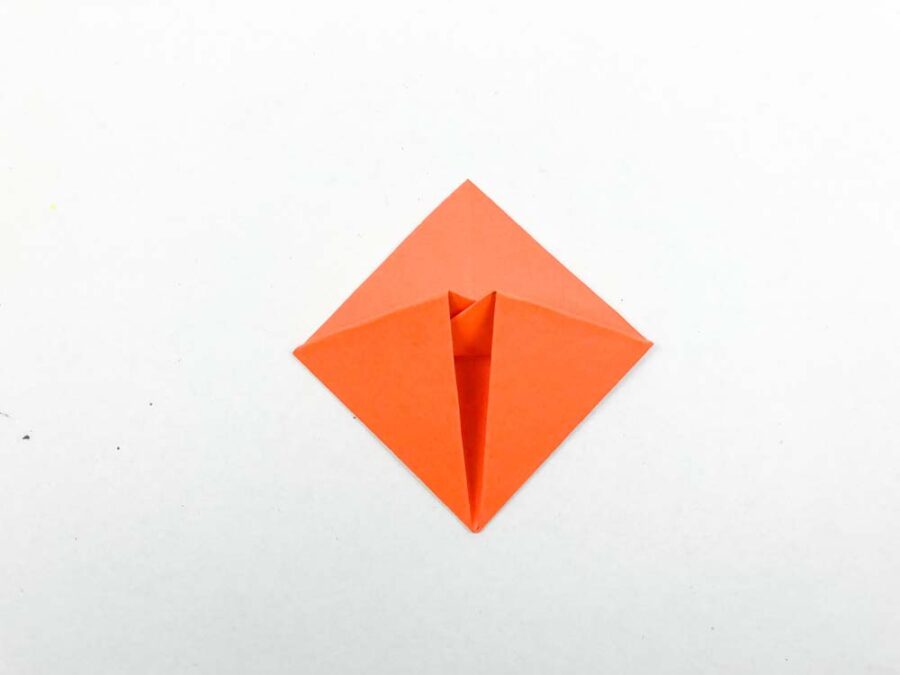
Add the pumpkin to the bookmark.
Now that your bookmark pocket is made, it’s time to make it into a pumpkin.
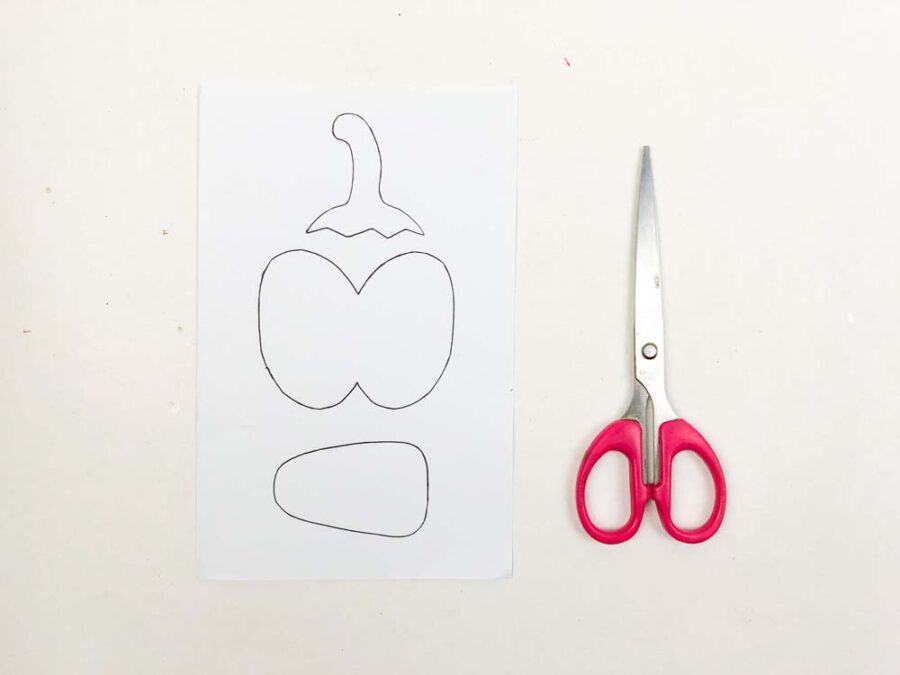
Download and then cut out the pumpkin pieces from the Pumpkin Bookmark Pattern sheet.
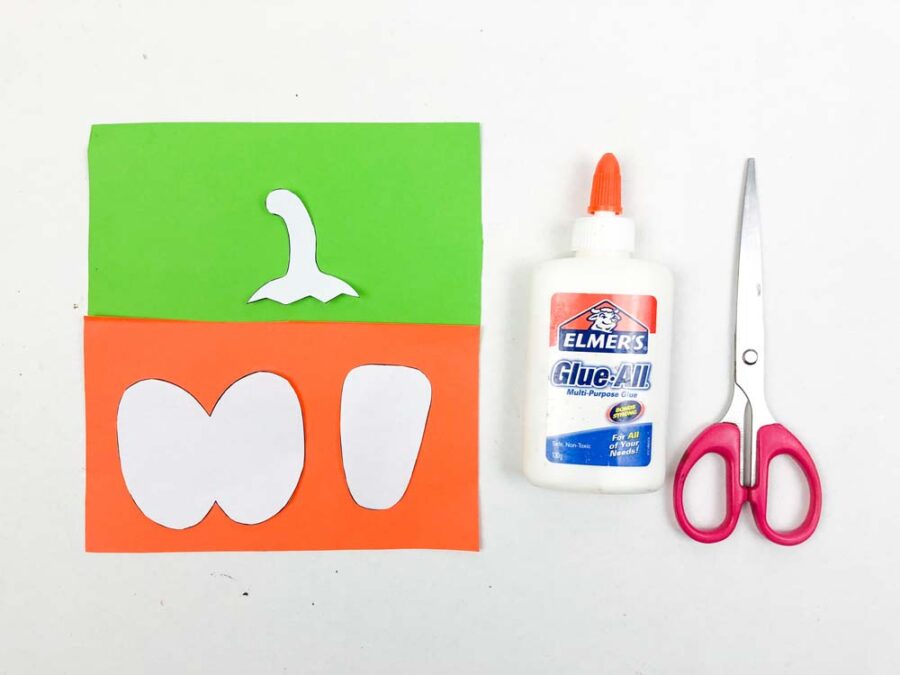
Trace the pumpkin parts onto colored origami or construction paper. You can use any colors you want. We used:
- Orange for the pumpkin
- Green for the stem – you could also use brown
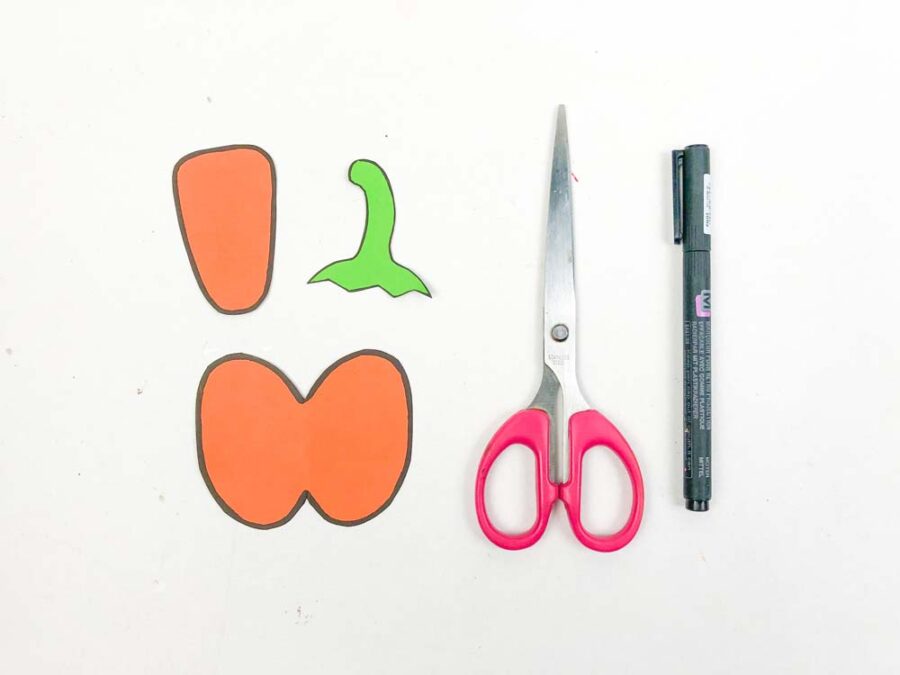
Cut out the parts carefully with scissors. Use a marker to draw a black border around the outside of the pieces.
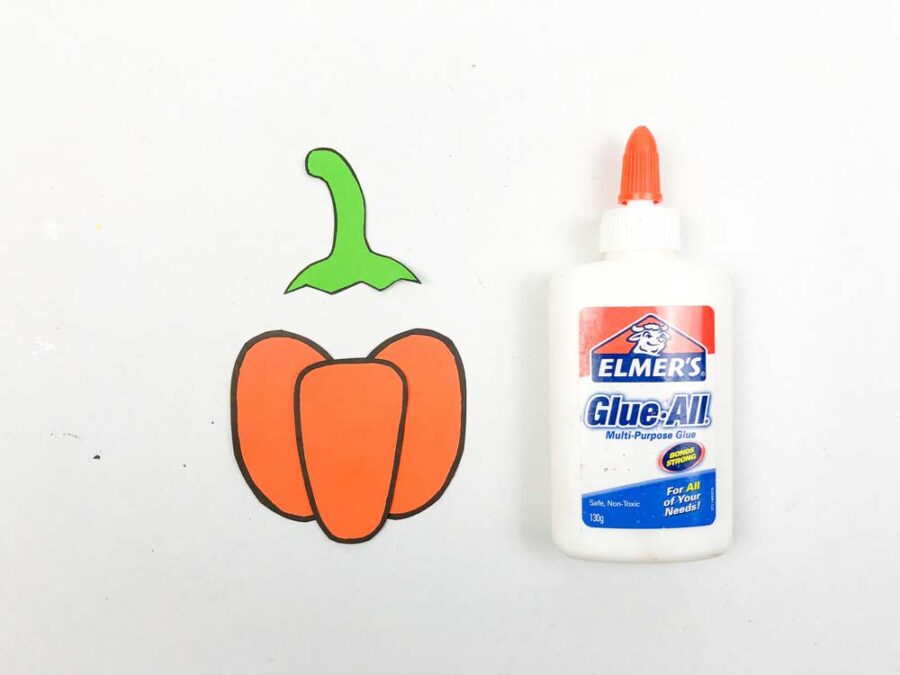
Next, glue the pumpkin pieces together. Slightly offset the pumpkin by gluing the center piece about 1/4 of the way down on the 2 pumpkin sides. Set aside to dry completely.
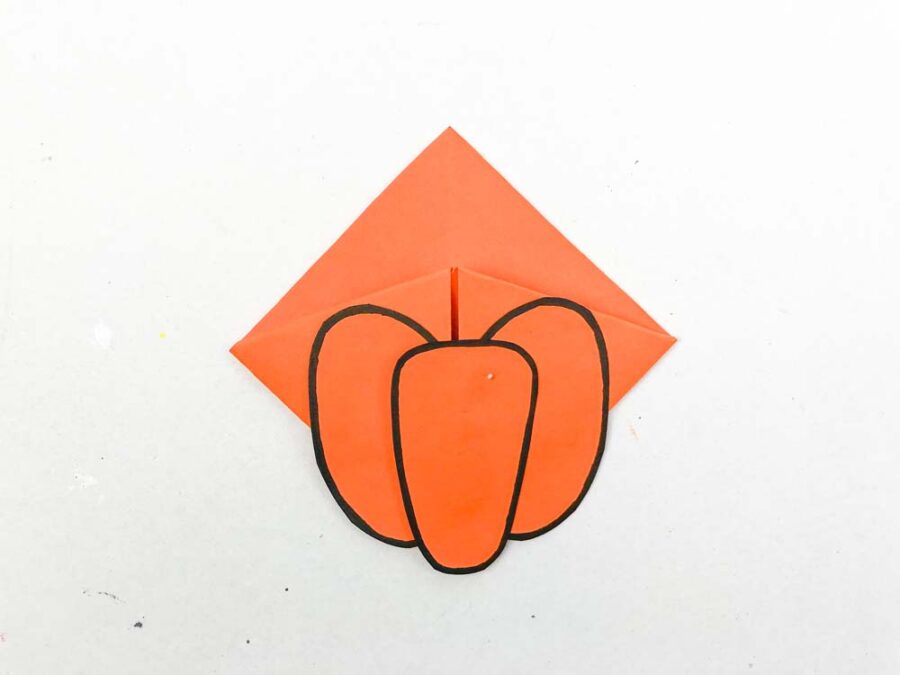
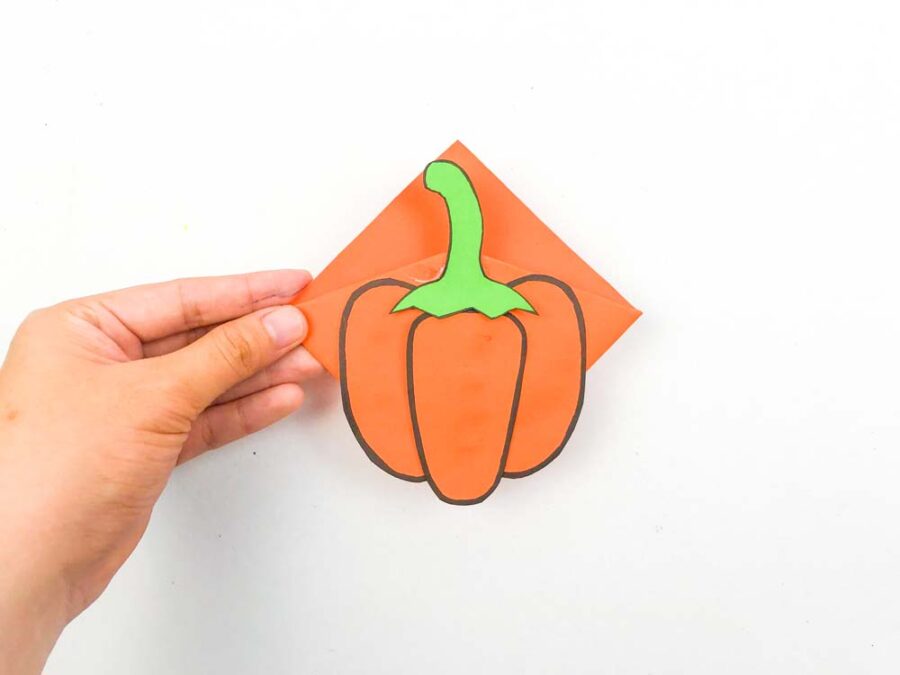
Glue the pumpkin to the front of the origami corner bookmark.
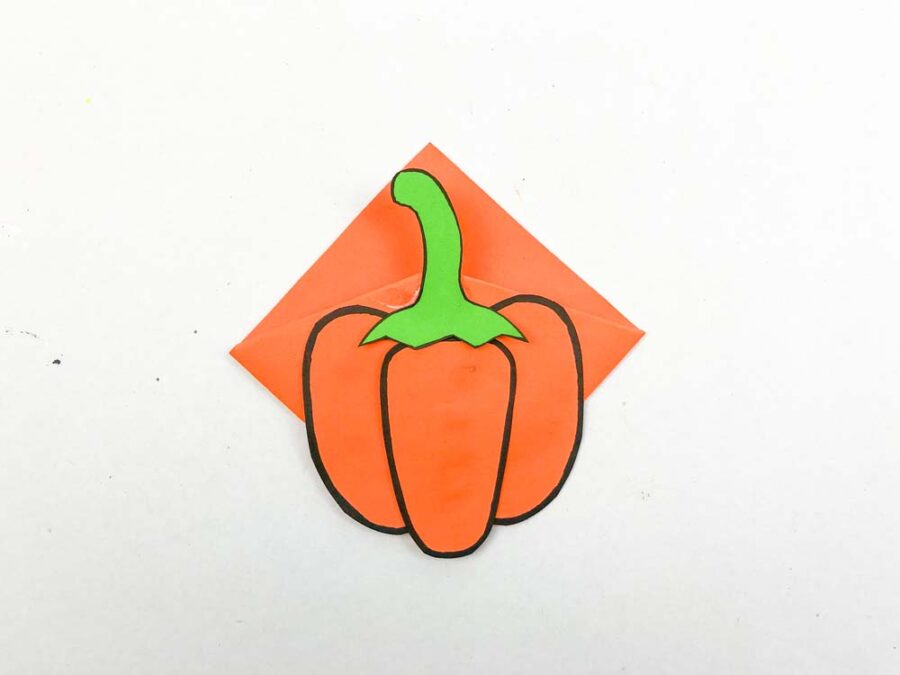
Finally, glue the green stem onto the top of the pumpkin.

Your pumpkin bookmark is ready for your reading adventures.
Pumpkin Corner Bookmark for Kids
Equipment
- Glue
- Scissor
- Black marker
Materials
- Construction/origami paper
Instructions
- First, you need to make an origami corner bookmark using orange paper.
- Now that your bookmark pocket is made, it’s time to make it into a pumpkin.
- Download and then cut out the pumpkin pieces from the Pumpkin Bookmark Pattern sheet.
- Trace the pumpkin parts onto colored origami or construction paper. You can use any colors you
- want.Cut out the parts carefully with scissors. Use a marker to draw a black border around the outside of the pieces.
- Next, glue the pumpkin pieces together.
- Glue the pumpkin to the front of the origami corner bookmark.
- Finally, glue the green stem onto the top of the pumpkin.

