
Winter blues starting to bring you down? Add a bright pop of color with an inflatable origami heart bouquet and garland! This 30 minute craft is a great way to chase away gray those days and prepare for the loveliest of all holidays: Valentine’s Day.
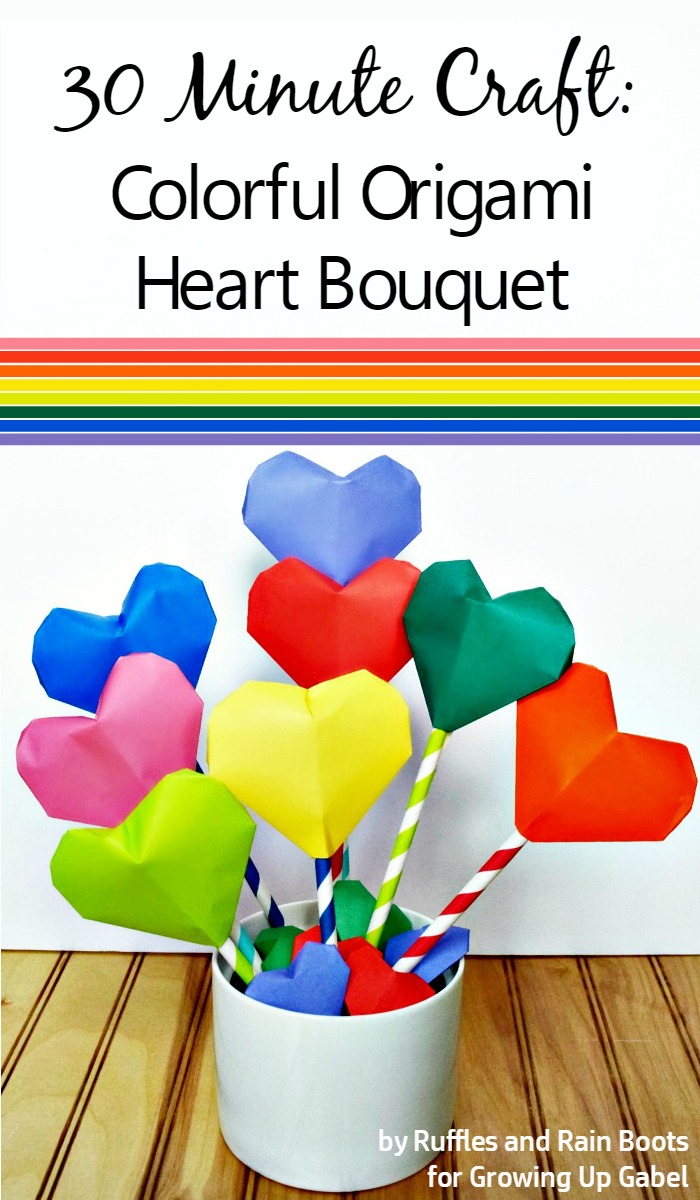
My solution to combat the gray days of winter? An origami heart bouquet and garland! Unlike some origami hearts, these are 3-dimensional – you ‘inflate’ them to give them depth.
Introductions
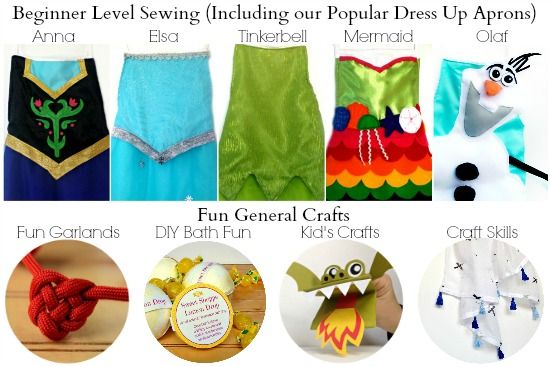
 Before we get to our craft, I should introduce myself. My name is Sarah and I find myself drawn to create. Over at Ruffles and Rain Boots, I share tutorials for handmade gifts, decor, crafts for children, dress up clothes, and even games. I also share quite a bit about our fun-filled days crafting with kids, too – it seems my little one loves to create as much as her mom. Some projects you might have seen floating around on Pinterest (click the photos below to take you to the project):
Origami Heart Bouquet and Garland
Back to our quick origami heart bouquet and garland… While the little one was adding some bright into her day with a little coloring, I pulled out some origami paper and quickly made these inflatable origami hearts. I stuck them on some paper straws and put them in a pot filled with black beans. Spray painting the beans white or red would look amazing, but it was raining buckets here in Seattle, so I just covered them with smaller origami hearts.
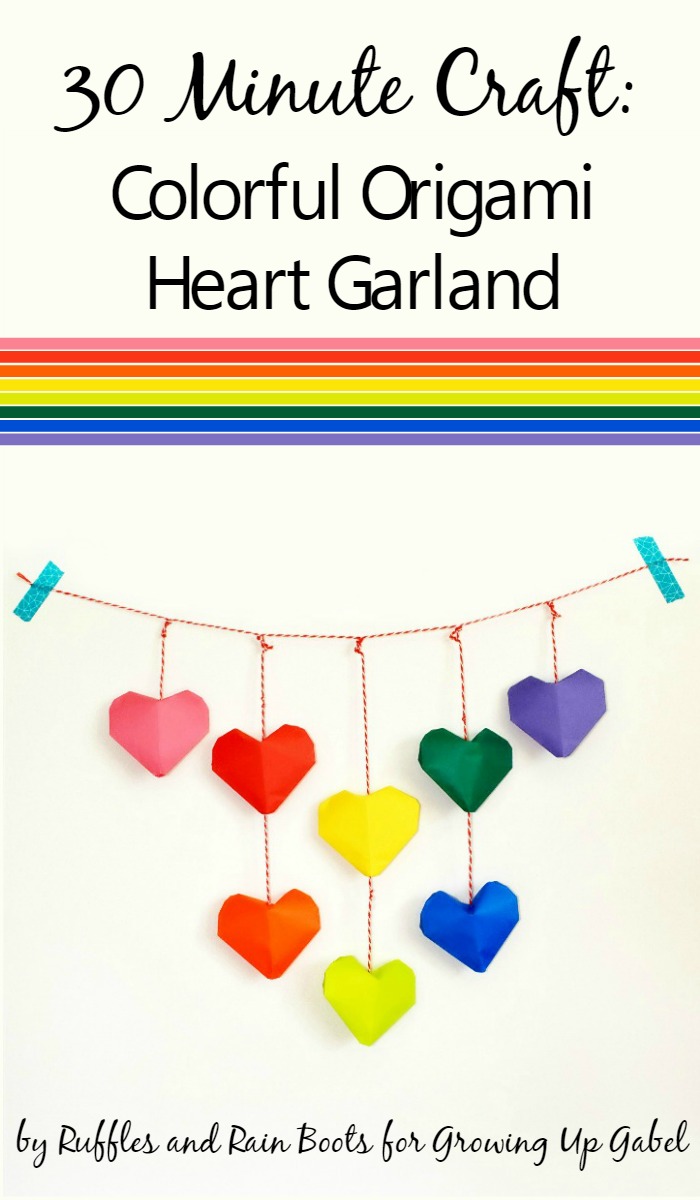
I also made a garland to hang near my daughter’s art table by threading baker’s twine through the bottom opening and up through the heart. If you have a large needle (yarn or darning works well), this goes very quickly. Start from the bottom and tie a knot to keep the hearts evenly spaced and secure. That’s it!
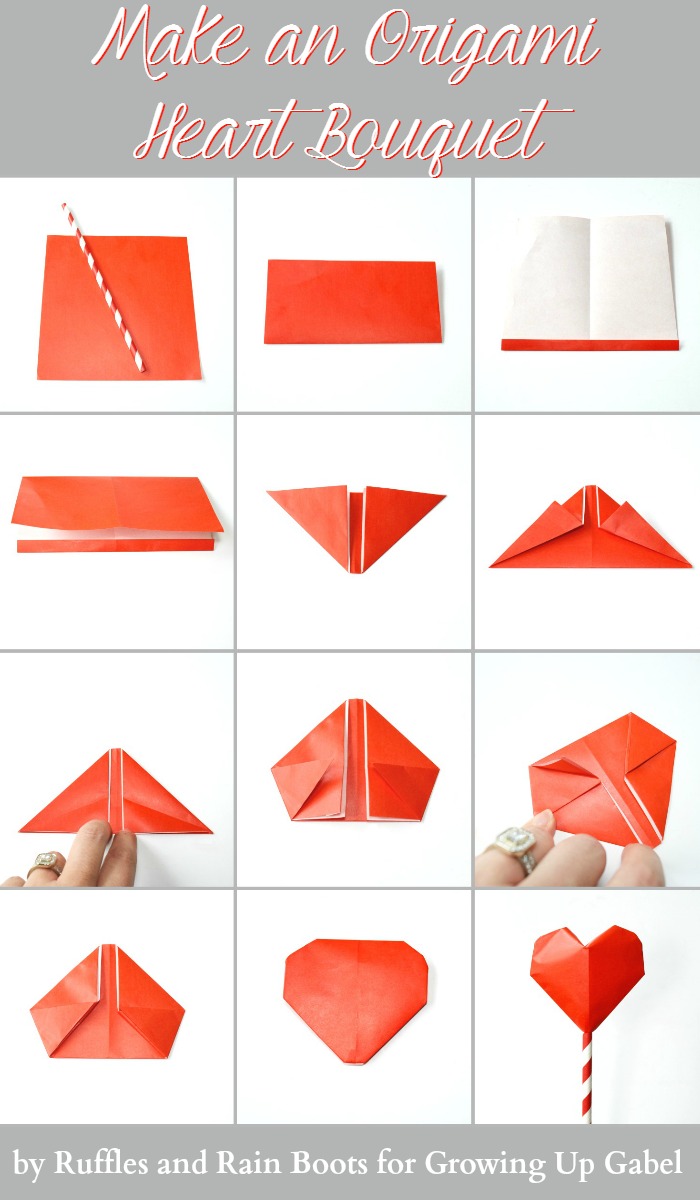
Although it might look complicated, one can fold a heart in 45 seconds, start to finish. This definitely qualifies as a quick craft, and if you have older kids, this could even make for a wonderful rain or snow day activity.
Project Tips and Notes
Five or six inch square origami paper seems to work best for the origami heart bouquet and garland, but I also tried it with small (3 inch and 2 inch) paper. The smaller ones are surprisingly sturdy! I turned the smaller hearts into a color matching game and the 3 year old played with them all day without damaging a single one. Here’s the “how to,” and I’ve included a video link below, as well.
Because it uses paper, you can customize an origami heart bouquet (or garland) to fit any theme. Patterns, pastels, metallics, or brights – any size paper will work. This origami heart bouquet would look great as a centerpiece for a Valentine’s Day party or a rainbow party. The origami heart garland would work well in a colorful play room or as part of the decor for a little girl’s birthday party – little girls just love hearts, don’t they?

For the link to the video on how to fold the origami hearts, check out my Pin here. While you’re there, let’s connect on Pinterest. I love infusing my Pinterest feed with amazing finds from new friends!
Let’s Connect!
Speaking of connecting, I love to make new friends on Instagram, Facebook, Google+, and Twitter and hope to be chatting with you soon. As most of my readers know (and love), I include a special “Exclusive Content” section for all email subscribers. Many thanks to Camille and all of you for allowing me to share some of your day!