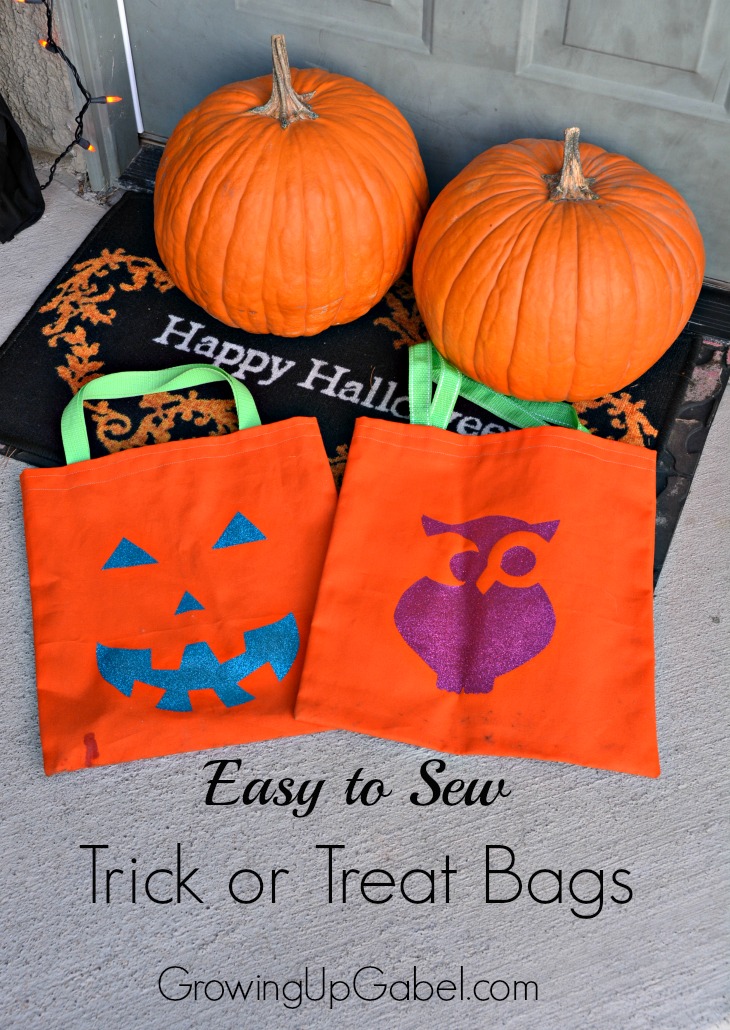
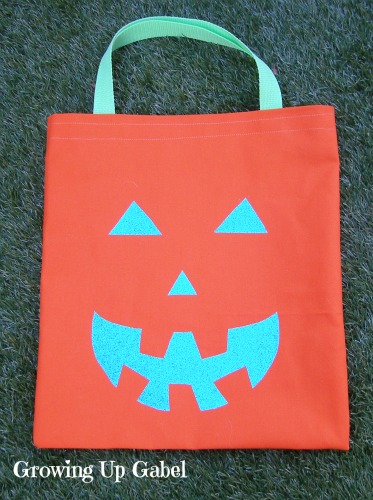
I had so much fun making these easy to sew trick or treat bags! When I was a kid the local businesses handed out plastic trick or treat bags every year, but they never lasted long with the weight of the candy. I wanted to make my kids nice trick or treat bags that they could use year after year and hopefully pass down to their own kids.
So, (ha ha) I got a new sewing machine for my birthday last month thanks to my mom and dad. After fighting with my Singer for way too long, I finally got a Brother as recommended by April at Wildflowers & Whimsy. I love this machine! Sewing is actually fun now that I’m not fighting with my machine every five minutes. The trick or treat bags were my first project on my new machine and I didn’t have to fight with it once!
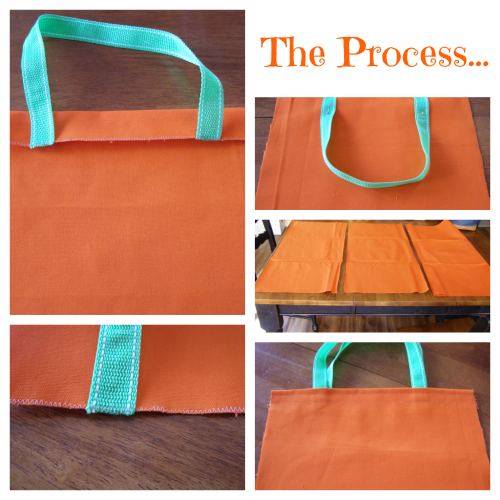
These trick or treat bags are based on a tutorial over at Purl Bee. I’m not going to reinvent the wheel here because you really don’t want me to tell you how to sew. You can just click over there for the how to. But let me say that these bags are super duper easy. Seriously — all you have are straight stitches. The hardest part for me was getting my cuts straight so I could line up the edges!
Instead of cutting two pieces of fabric that were 16 x 14, I cute one piece of fabric that was 32 x 14 and just folded it over. I didn’t see any reason to make an extra cut that I would just have to sew it up anyway. Also, the tutorial calls for 1/2 yard of fabric, but each bag only needs a 1/4 yard. I found a piece of orange duck canvas in the remnant bin at Jo-Anns. It was .91 yards, cost me $4.50 and I made 4 bags out of it! I chose duck canvas because it’s nice and sturdy, but I also picked up some cotton Halloween print remnants to try but haven’t gotten around to making those yet.
For the handles I used 1 yard of nylon webbing. The tutorial calls for 1 1/4 yards but I forgot and the 1 yard works just fine. Just be careful when cutting the nylon webbing. There’s a reason the lady at Jo-Ann’s puts tape on it and THEN cuts it. I also burned the edges with a little lighter so as not to have fuzz escaping later on.
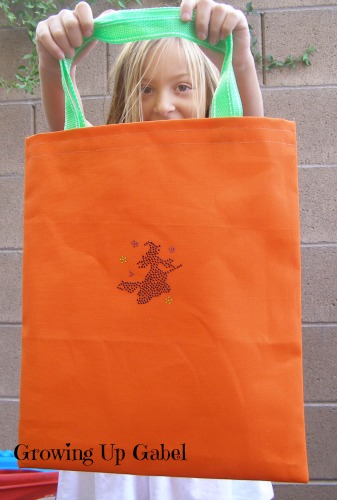
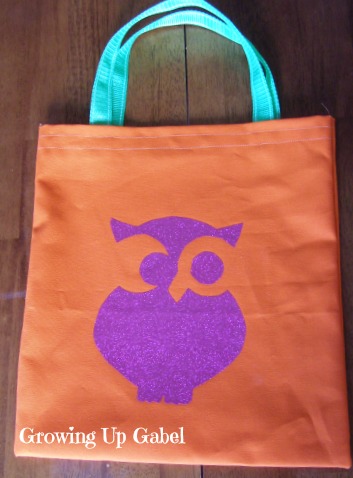
We couldn’t have just plain jane orange bags. I used some iron on glitter sheets I had left over from FashionArtProjects.com. I scoured Pinterest and found these awesome free, printable pumpkin stencils at HGTV.com. I’m sure if I had an awesome Silhouette Cameo, I could’ve just used that but instead I had to cut out the stencils, trace them on to our glitter iron sheets, cut those out and then iron on. Not that I’m complaining. The little gemstone witch was an iron on I found at the store but I like my homemade ones better. I’m debating adding some glow-in-the-dark puffy paint, too.

