
Express your thankfulness with a fall-inspired gratitude wreath made with colorful cardstock and glue. Write down what you are thankful for on blank leaves and add to the wreath.
Bring the fall colors and leaves inside with this pretty gratitude wreath. You will download the Gratitude Wreath Kit, which includes a wreath base, two sheets of colorful fall leaves and acorns to cut out, and a sheet of solid-colored leaves for writing on. Cut the wreath pieces out by hand or using a Cricut cutting machine’s “Print then Cut” function. Adhere the leaves to the wreath base. Finally, write down what you are thankful for on the blank leaves and add those to the wreath.
Remembering to be grateful for the people and things in our lives is hard. November is a great month to focus yourself and your kids on gratitude. For years we’ve done a 30 Days of Gratitude Challenge in November. The challenge is fantastic, but it’s a little private. A gratitude wreath is not only a pretty fall decoration but also a visual way for the entire family to participate in a month (or day or week) of gratitude. The gratitude wreath can be made all at once, at Thanksgiving dinner, or over the entire month.
Gratitude Wreath

Gratitude Wreath Kit
Pin For Later-

Reader’s Favorite!
Free Printable Thanksgiving Dinner Invitations
-
Reader’s Favorite!
Gobble Up This Thanksgiving SVG Bundle


Gratitude Wreath Supplies and Tools:
- Gratitude Wreath Kit
- Glue dots, glue sticks, or any type of glue or tape
- 65 lb white card stock and colored card stock
- 11. 7″ Styrofoam wreath form (optional)
- Gold spray paint (optional)
- Scissors
- Cricut Cutting Machine (Maker or Express) (optional)
- LightGrip Cutting Mat (optional)
Gratitude Wreath Instructions:
Download the Gratitude Wreath Kit to your computer. Print the leaves and the wreath form on lightweight white card stock. If you are cutting out the wreath pieces with scissors, then cut out all the pieces. We used three sheets of printed leaves and 1 sheet of blank solid-colored leaves. You can use more or less to your preference. If you are using scissors, you can scroll down to see how to put the wreath together.
How to Print then Cut Leaves and Wreath Form in Cricut Design Space.
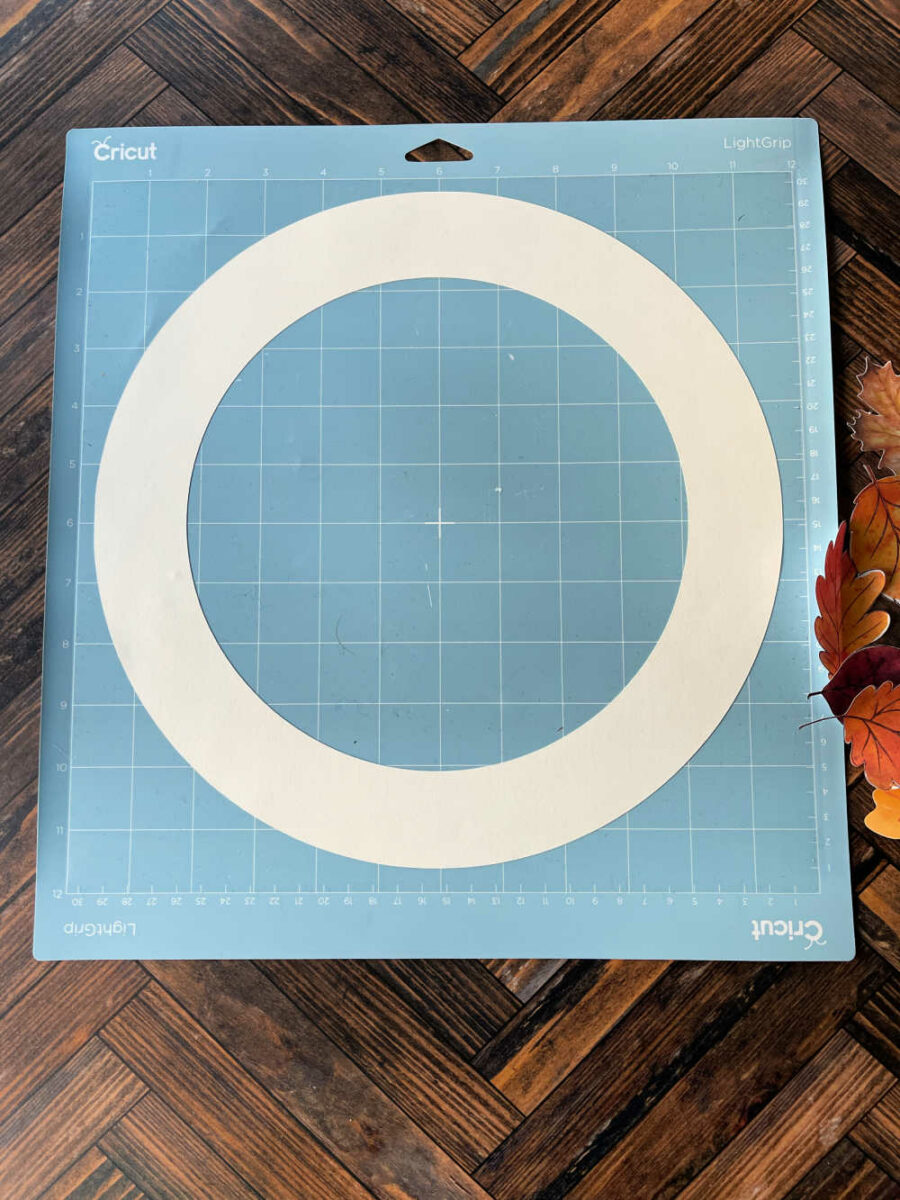
You can use the “Print then Cut” feature to cut out the leaves and wreath form. This makes cutting out the leaves super easy! The kit includes links to the wreath form and leaves in Cricut Design Space. It does create a slightly smaller wreath due to size limitations in Design Space. But the wreath is still around 12″ big.
To cut the kit out in Design Space, first open Design Space. Then click the link to the project. Make sure to save it to your account.

Once the project is opened in Design Space, you can click “Make it” to jump straight to printing and cutting. Or you can click “Customize” to make any changes. We suggest you click “customize” to select which part of the wreath you wish to cut. The solid colored leaves have two options – print then cut or just a cut file for colored card stock. See below for how to use those.
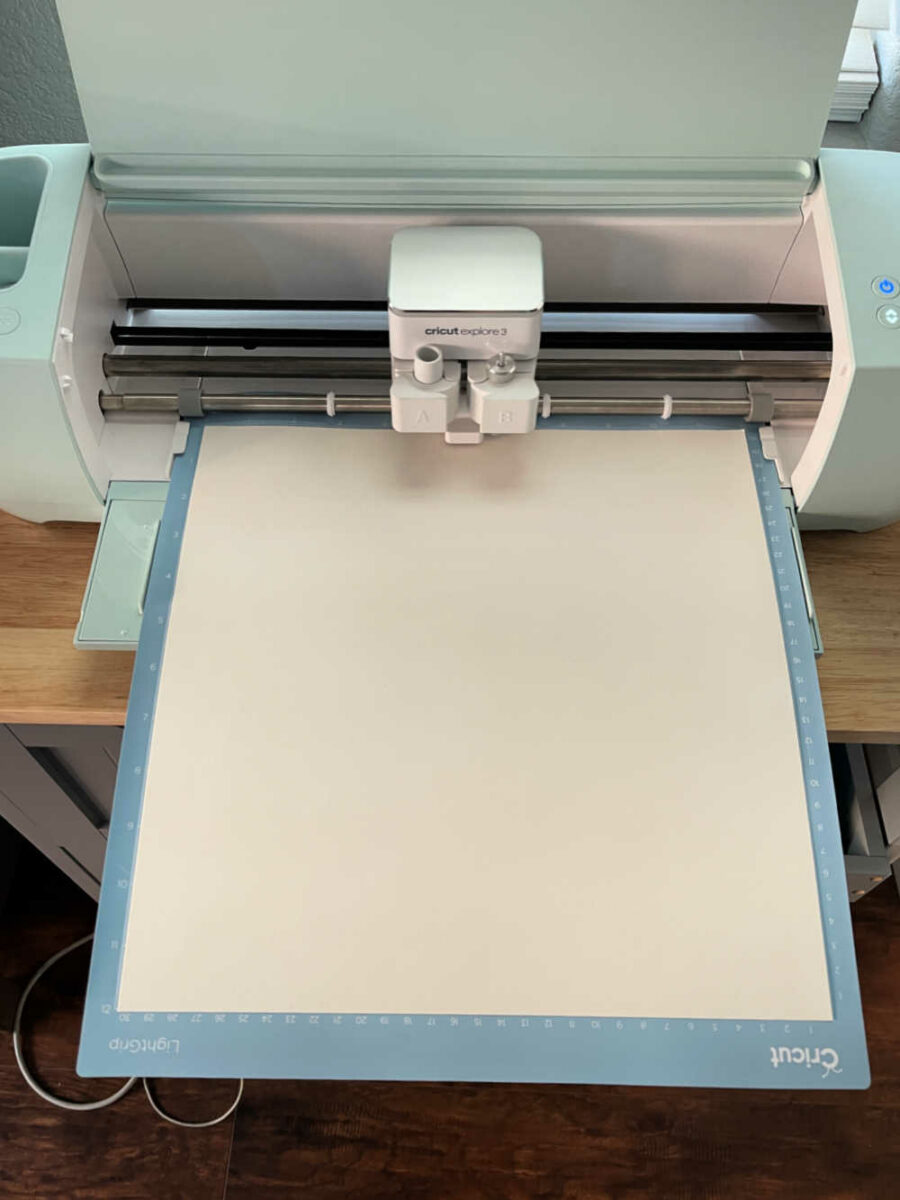
Follow the Design Space prompts to print and cut the printed leaves and form on white card stock. For the wreath form, you could also use orange, brown, yellow, or another fall color.
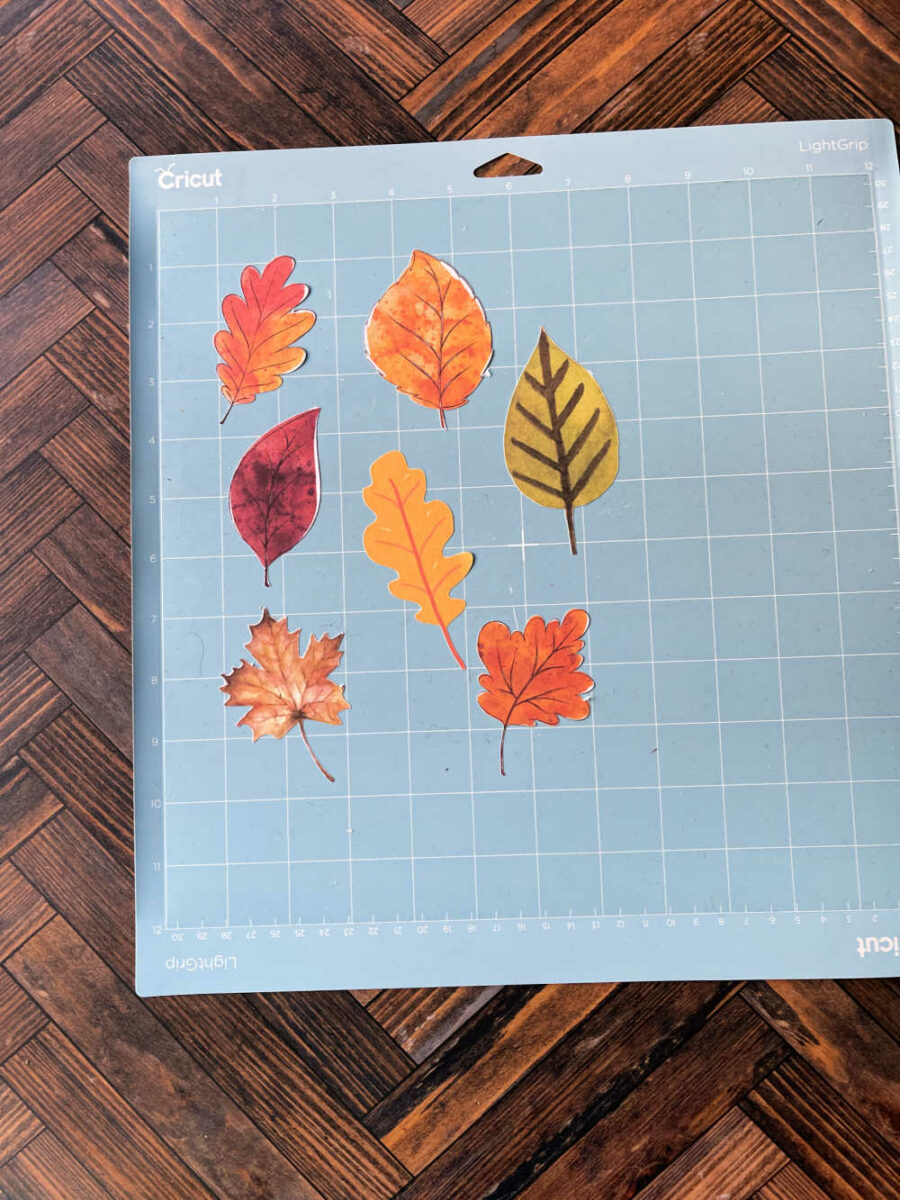
Design Space will work with one sheet at a time. You will send the design to your printer to print. Then follow the prompts in Design Space to cut out the shapes on the Cricut machine. Make sure you use a LightGrip Cutting Mat (light blue) for cutting. Once the leaves and wreath form are cut out, very slowly and carefully remove them from the mat. Even thought it is a LightGrip, go slowly so nothing rips or tears.
How to Cut Solid Colored Leaves on Colored Card Stock
To make the solid color leaves, you can use “Print then Cut” and print them out and cut them just like the printed leaves. Or you can use the black leaves, which are just cut files, in Design Space and cut them out on colored card stock.
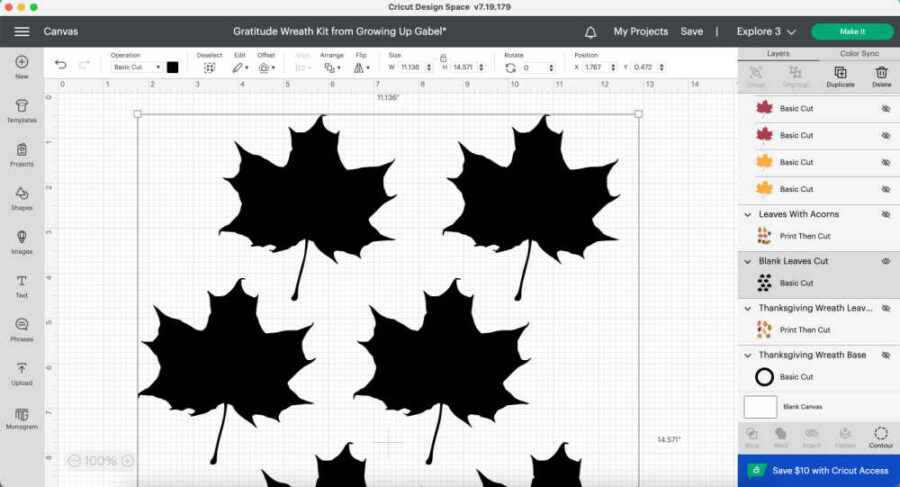
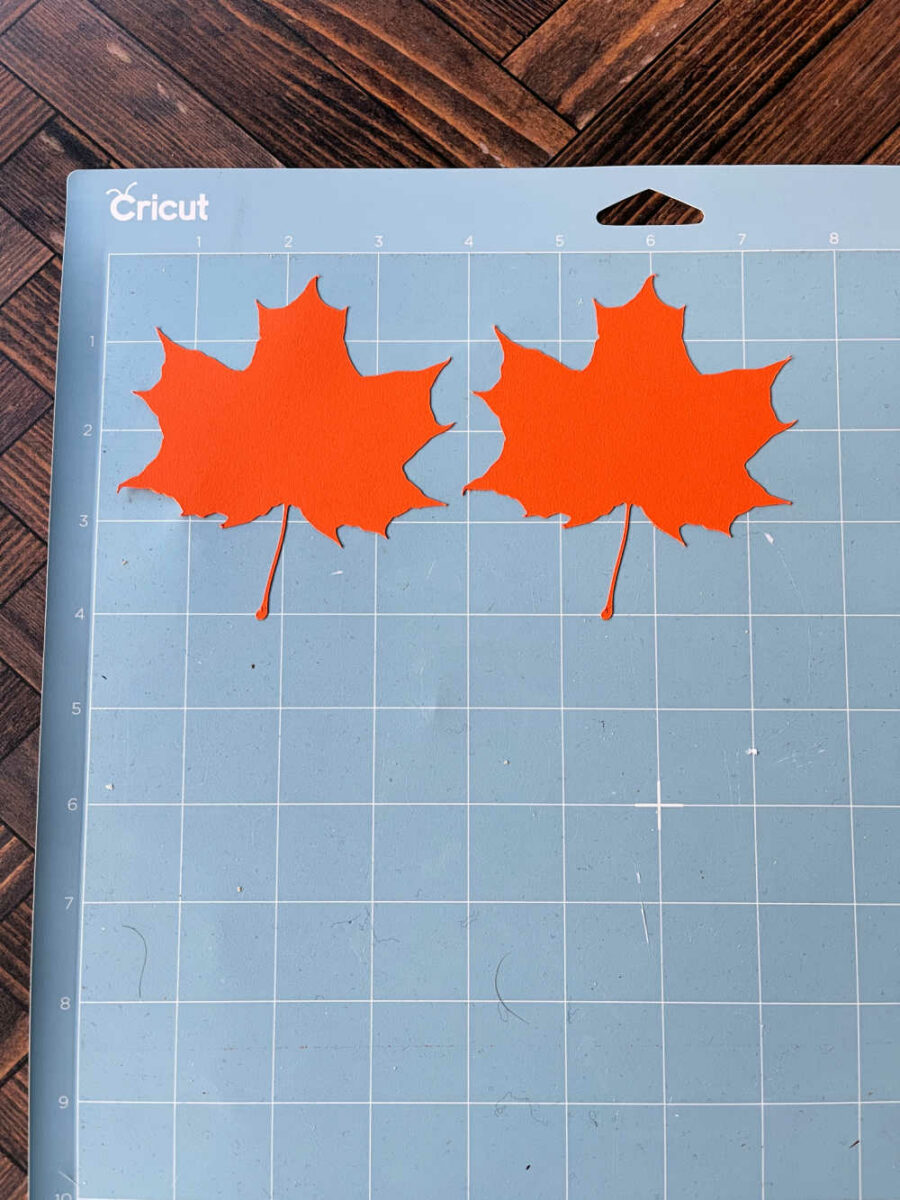
To do cut them using colored card stock, use the black leaves layer in Design Space. The layer is called “Blank Leaves Cut.” You will need to do 1 cut for each color leaf you want. We cut out orange, red, and yellow.
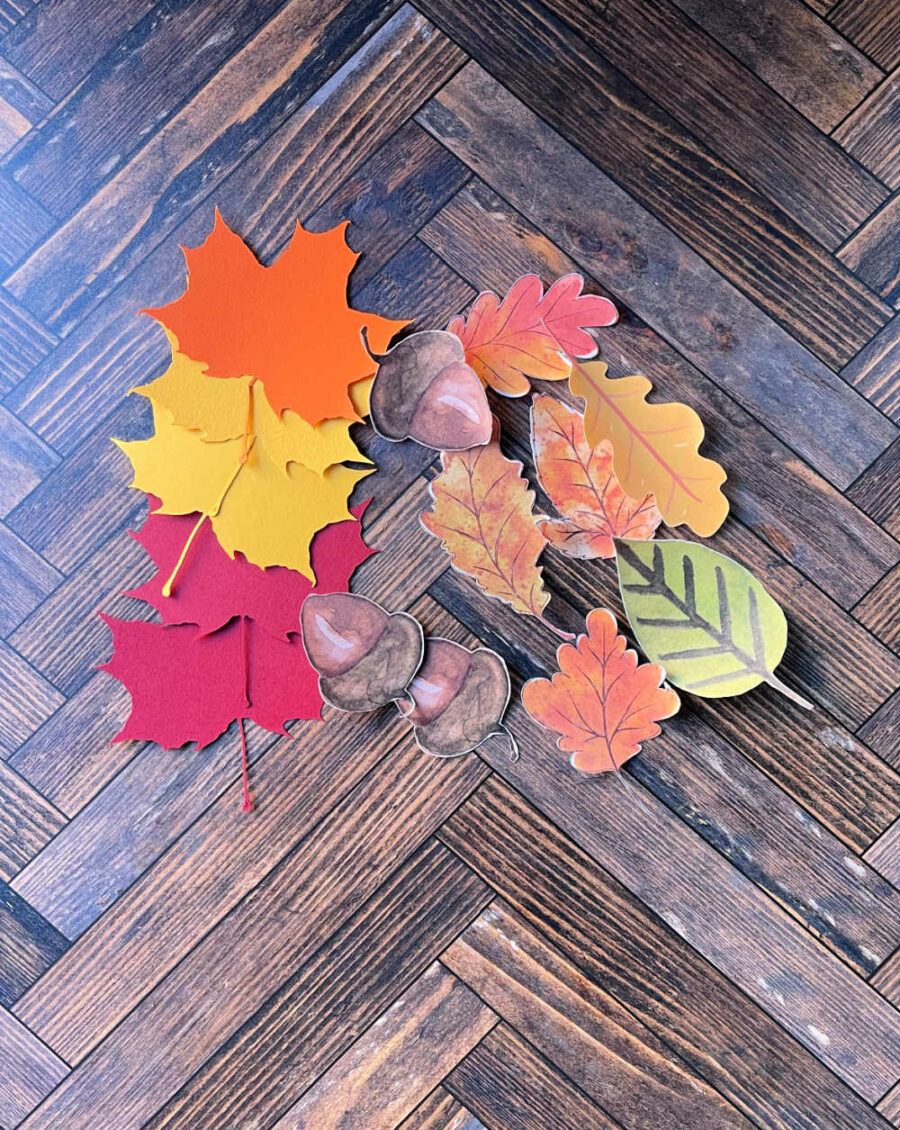
Now that all the leaves and the wreath form are cut out, you are ready assemble the wreath.
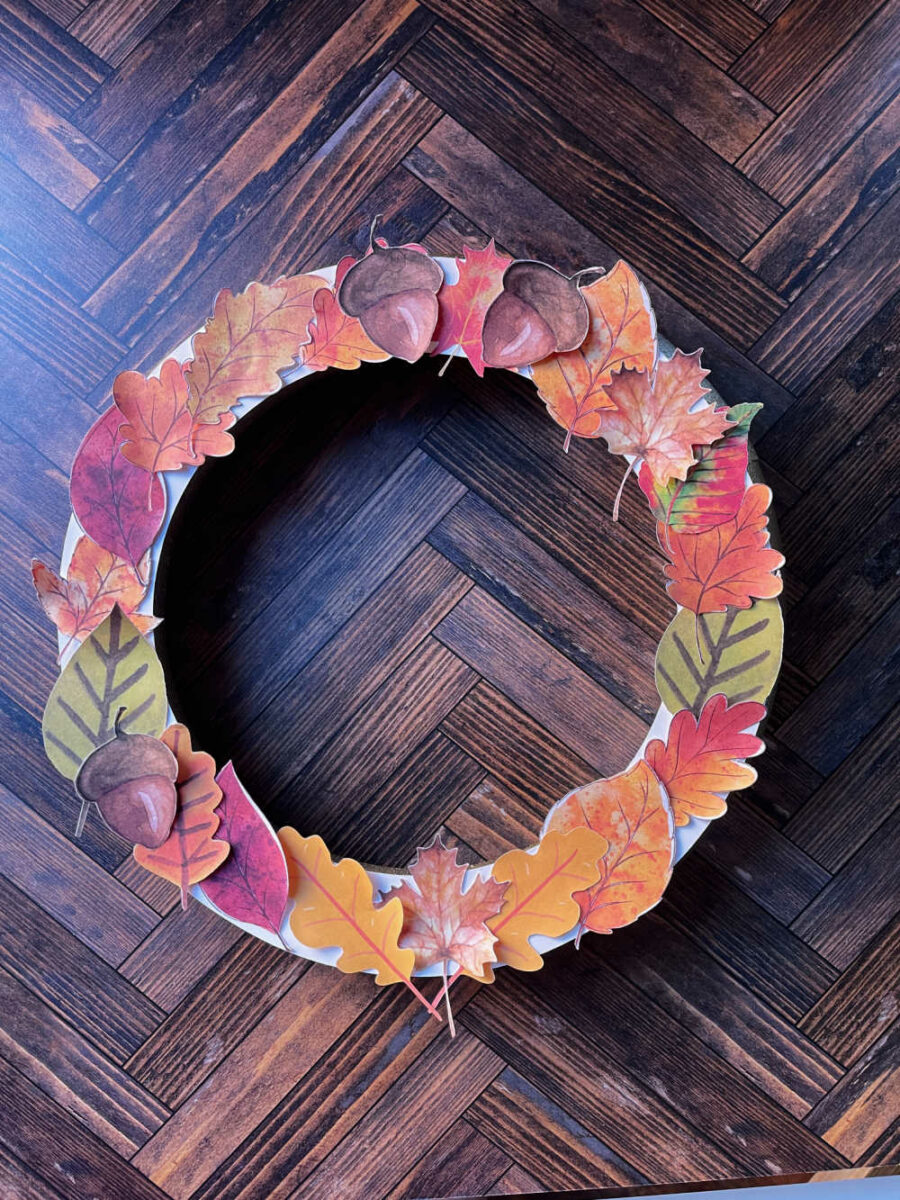
Adhere the Leaves to the Wreath Form
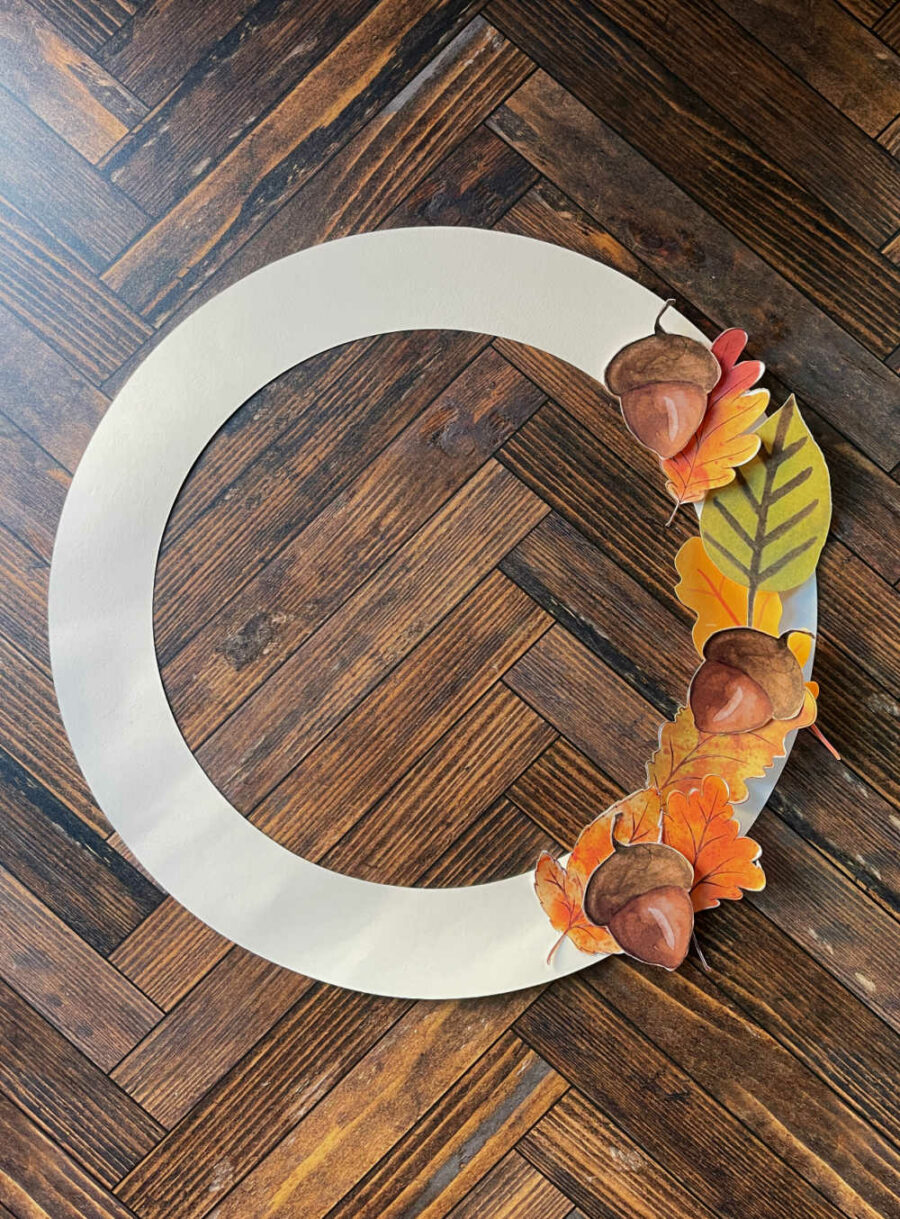
Once all the leaves are cut out, attach them to the wreath form. We used Glue Dots to do this, but a glue stick would work too.

Just keep adding leaves until you like how the wreath looks. You can print out more leaves or acorns to fill the wreath more.
Attach the paper wreath to a styrofoam wreath form.
You can use the paper wreath as is. If you want the wreath to be a little more stable, you can attache it to a styrofoam wreath form.
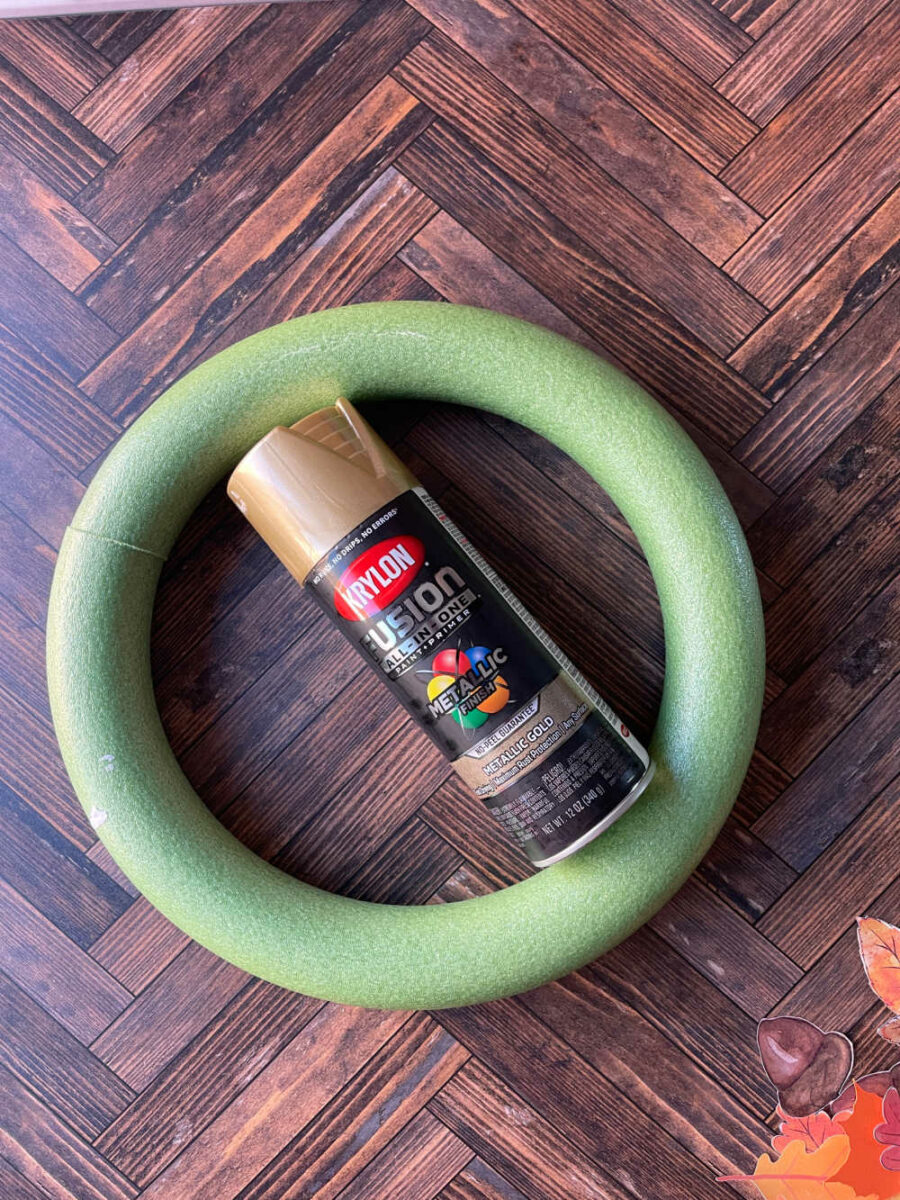
The wreath forms come in either green or white. We spray-painted it gold to make the form look more like a fall color.
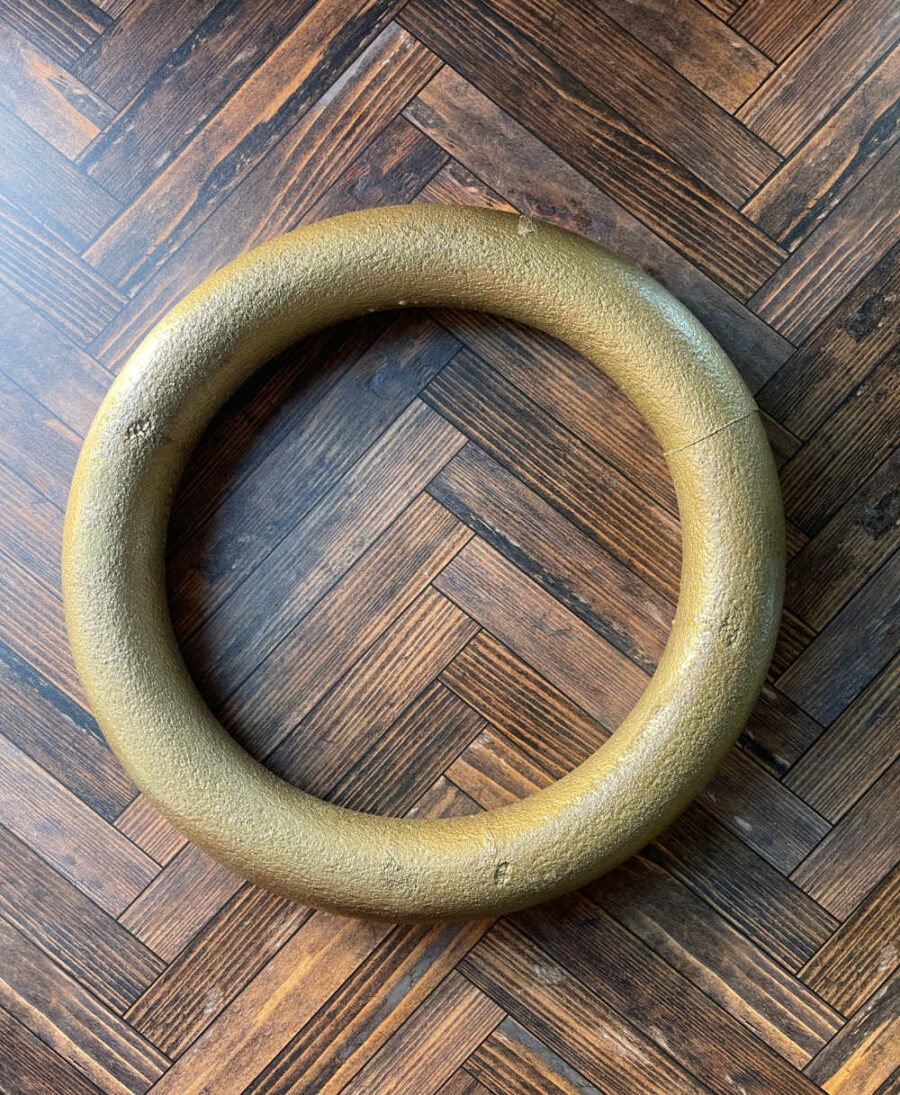
Spray painting a round styrofoam wreath form was interesting. It took several coats of paint, and some of the green still shows through slightly. I do like how the wreath looks with the gold. It’s totally up to you if you want to do it. Let the form dry completely before attache the paper part.
We used Glue Dots (I use these for all things!) to attach the paper wreath to the styrofoam wreath form. You could also use glue. I’m not sure that hot glue would work on the styrofoam.

Finally, add blank leaves to the gratitude wreath.
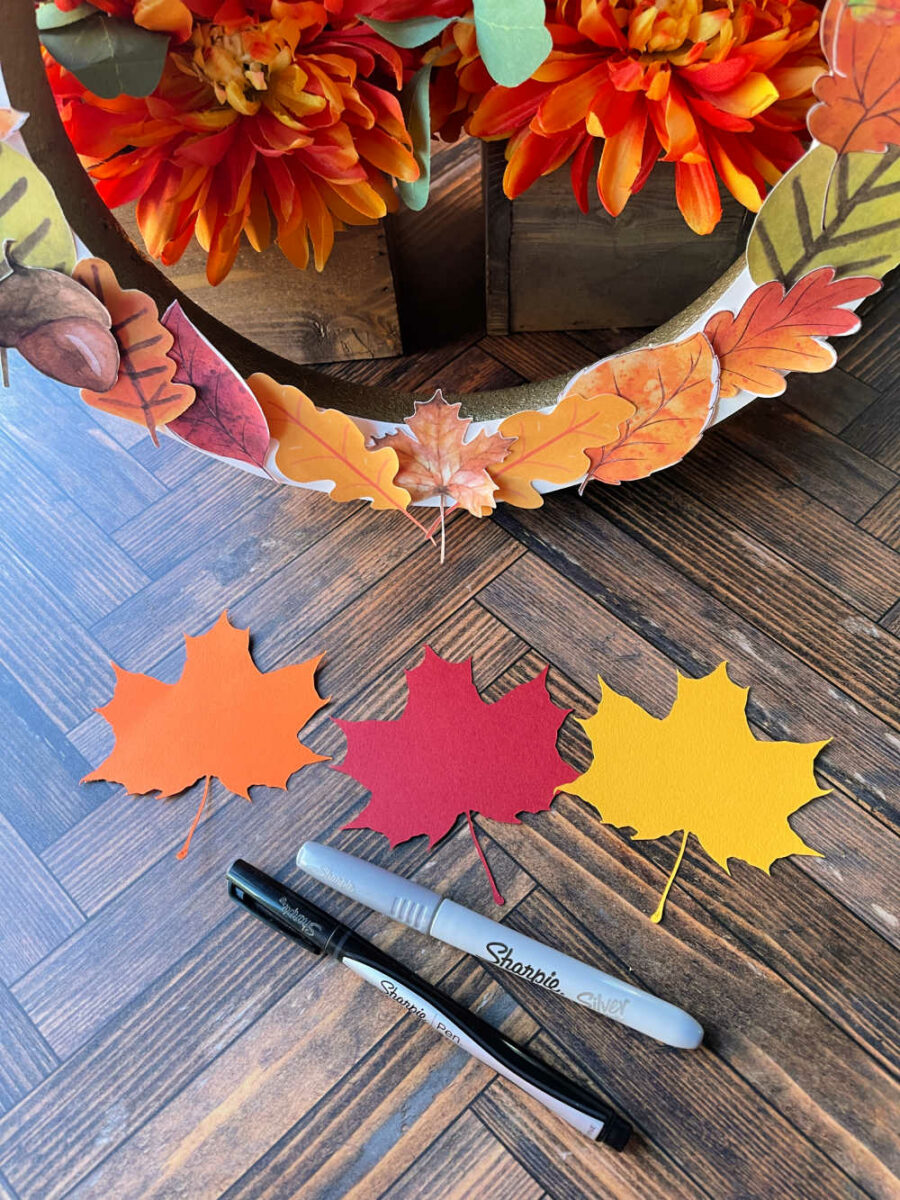
The wreath looks great just as it is. But this is a gratitude wreath so you need to add some things you are grateful for. Use markers to write what you are grateful for on the blank, solid-colored leaves. Attach the leaves to the wreath with Glue Dots or tape, or just tuck them into the other leaves.

This is a great school activity, or on Thanksgiving Day, while waiting for the turkey to cook. Set a blank leaf at every place setting at Thanksgiving dinner and have everyone add their blessings to your gratitude wreath.