Making milk and honey soap at home using goat’s milk melt and pour soap base, powdered honey, and basic soap-making tools is a rewarding and enjoyable DIY project. With just a few simple steps, you can create beautiful and nourishing soap bars for pampering yourself or gifting to others. Give it a try and add this delightful soap-making project to your crafting repertoire.
Easy DIY Goat’s Milk And Honey Soap
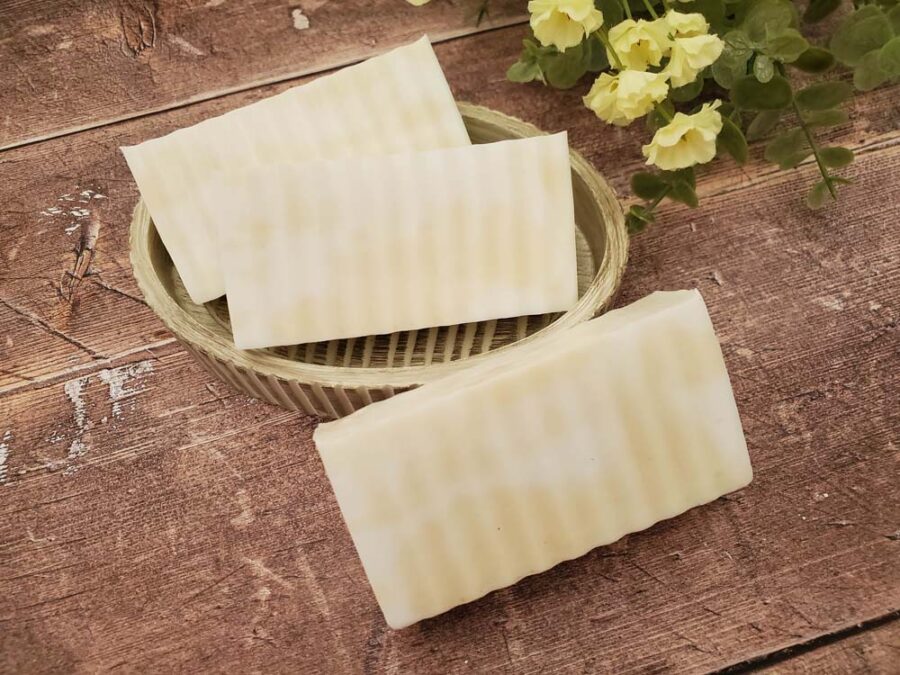
Soap making can be a fun and creative hobby allowing you to customize your skincare products with natural ingredients. One popular soap variation is milk and honey soap, known for its nourishing properties and luxurious feel on the skin. It’s easy to make! Just follow our step-by-step process of making milk and honey soap using goat’s milk melt and pour soap base, powdered honey, and basic soap-making tools.
Easy DIY Goat’s Milk and Honey Soap
Pin For Later-
Reader’s Favorite!
“Made with Love” Printable Tags for Homemade Gifts
-
Reader’s Favorite!
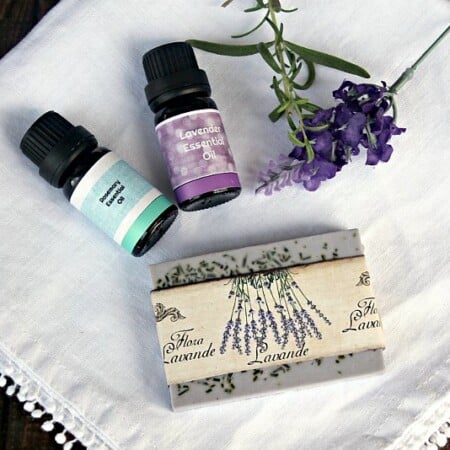
Rosemary Lavender Soap Recipe with Melt and Pour Goat’s Milk Soap
Milk And Honey Soap Making Supplies
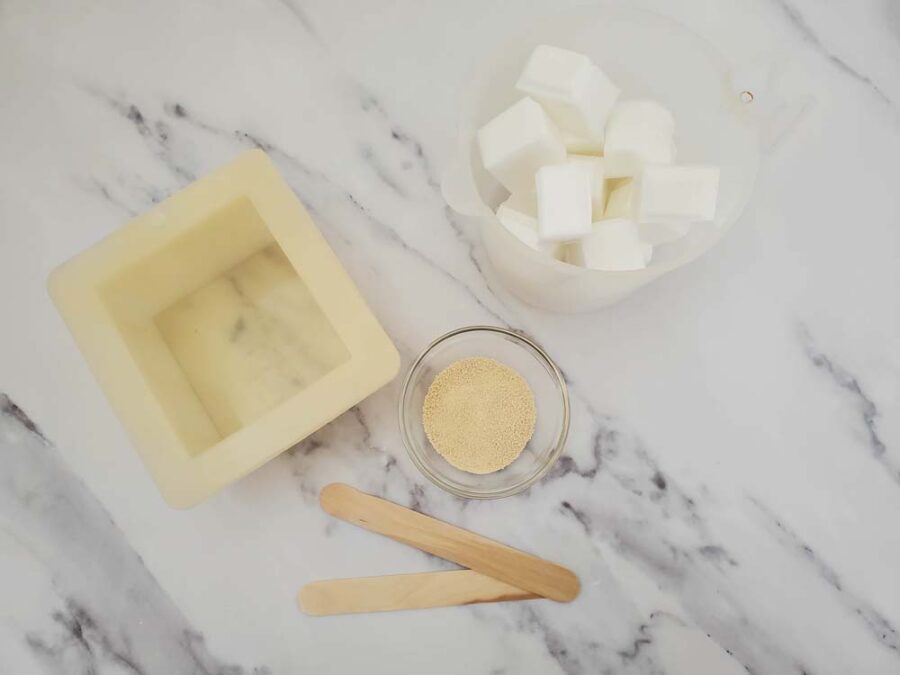
- 1 lb goat’s milk melt and pour soap base
- 1 Tablespoon powdered honey
- 2 microwave-safe, 4 cup measuring cup
- 4-inch soap mold
- 2 wooden craft sticks stirring
- Spray bottle with rubbing alcohol (optional)
- Wavy soap cutter (optional) (but makes really cool soap bars)
Milk And Honey Soap Instructions
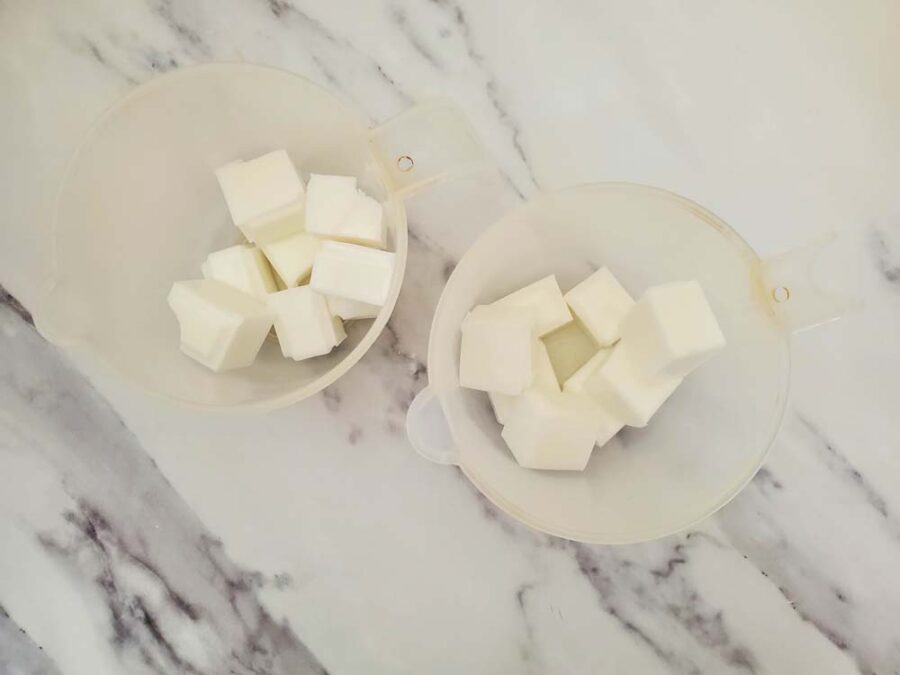
Cut the Soap Base for Melting
Begin by cutting the goat’s milk melt and pour soap base into 1-inch cubes. You can use a kitchen knife to cut the base. This will help it melt evenly and quickly. Divide the soap cubes evenly between the two microwave-safe measuring cups.
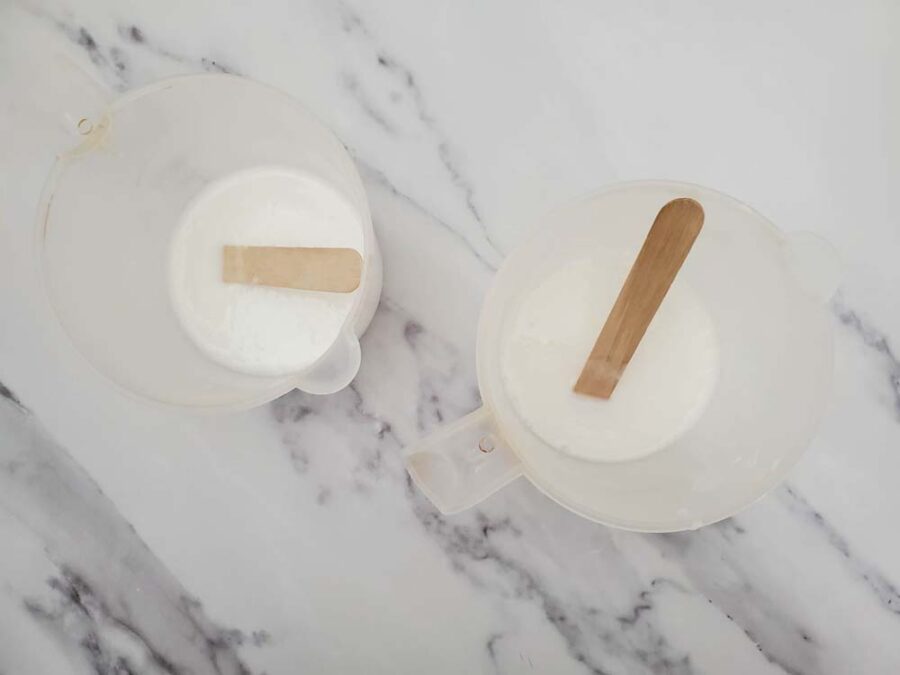
Melt the Soap Base
Place one measuring cup with the soap cubes in the microwave and heat on high for 30-second intervals, stirring between each heat session. Continue this process until the soap base is fully melted and smooth. Repeat the same process with the other measuring cup containing the remaining soap cubes.
If you don’t want to use a microwave, you can also melt the soap in a pot over low heat on a stove. Keep stirring until the soap melts.
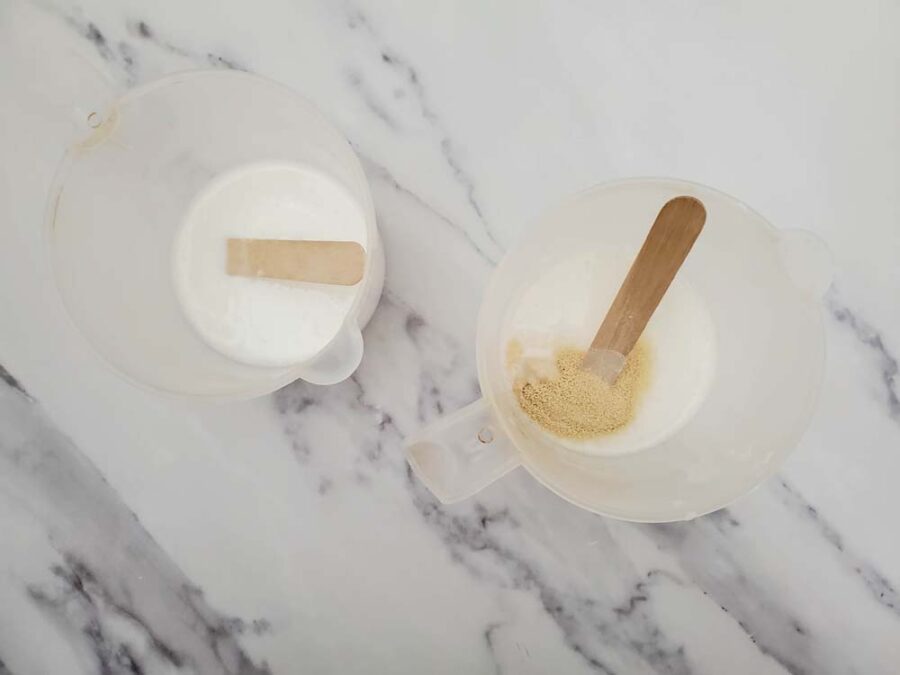
Add Honey to the Soap
Once both soap bases are melted, add one tablespoon of powdered honey to one of the measuring cups. Stir well to incorporate the honey into the soap base, ensuring no lumps.
Where is the milk? It’s in your soap base made with goat’s milk!
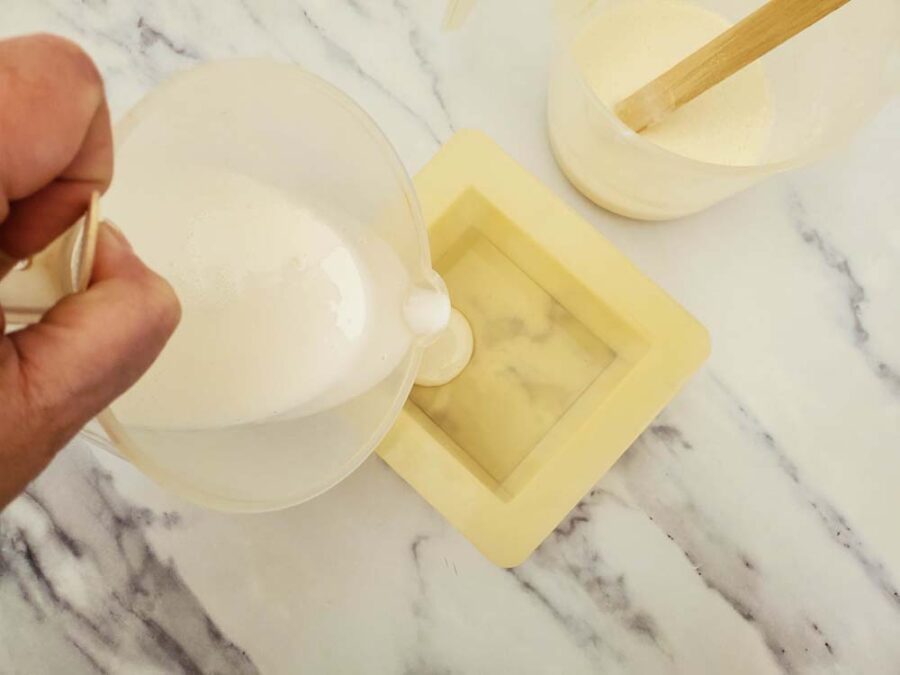
Pour the Soap Base into the Mold
Now it’s time to start pouring the two soap bases into the soap mold to create a marbled effect. Begin by pouring a small amount of the plain soap base into the mold, just enough to cover the bottom. Allow it to set for about 45 seconds or until it thickens slightly. This creates a base for the honey soap base to adhere to.
Next, pour some honey soap base into the mold, covering the plain soap base. Allow it to set for another 45 seconds. Continue alternating between pouring the plain and honey soap bases into the mold, allowing each layer to set for 45 seconds before pouring the next. This will create a beautiful marbled pattern in the soap. Use up all of the soap base.
Pro tip: If the soap bases start to thicken too much while pouring, you may need to reheat them in the microwave for 10-second intervals to maintain a pourable consistency.
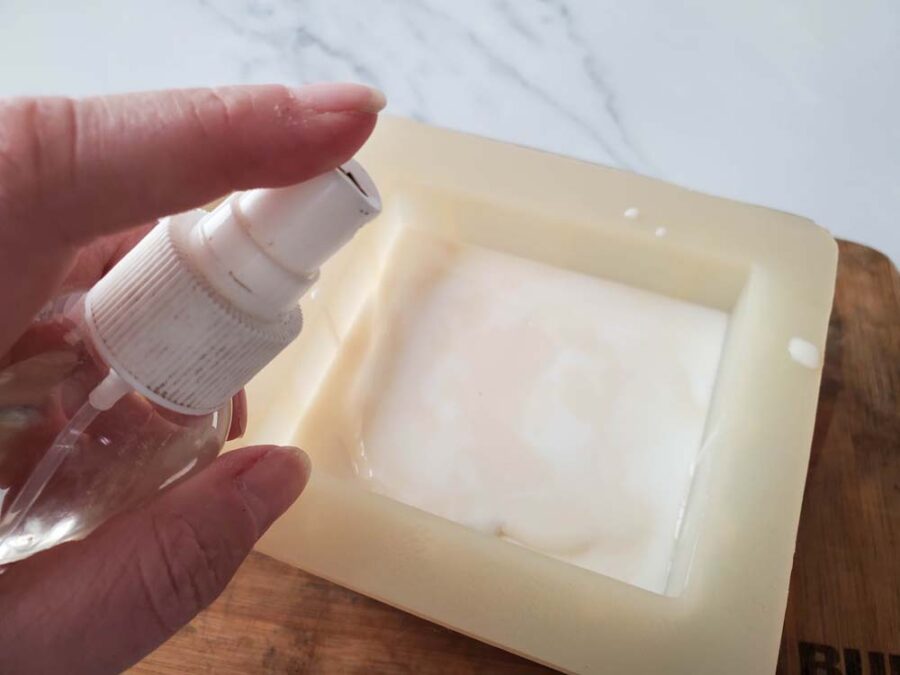
Spray with Rubbing Alcohol (Optional)
To reduce the formation of bubbles on the surface of the soap, you can lightly spray the top of the soap with rubbing alcohol. This will help to create a smoother finish on the soap bars. Spray the top of the soap once all the base has been poured in.
Allow the Soap to Set
Once you have poured all the soap bases into the mold, set the mold aside in a cool, dry place for about 4 hours. Allow the soap to set and harden fully. Avoid touching or disturbing the soap during this time to prevent surface imperfections.
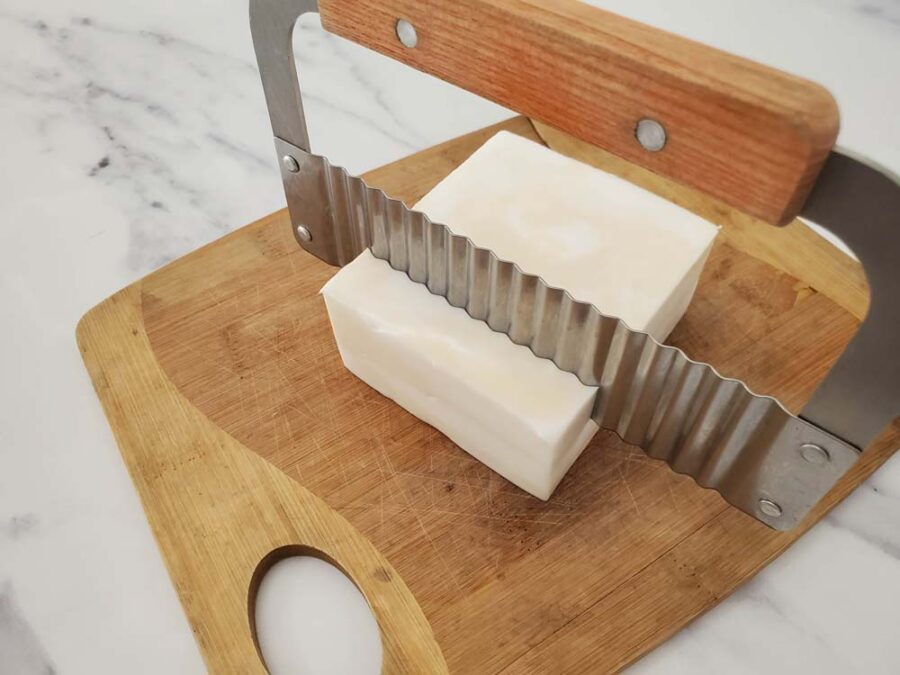
Remove and Cut the Soap
After the soap has completely set and hardened, it’s time to remove it from the mold. Gently push on the bottom of the mold or flex the sides to release the soap. Once the soap is released from the mold, you can use a wavy soap cutter or a sharp knife to cut it into 1-inch bars or any desired size and shape.
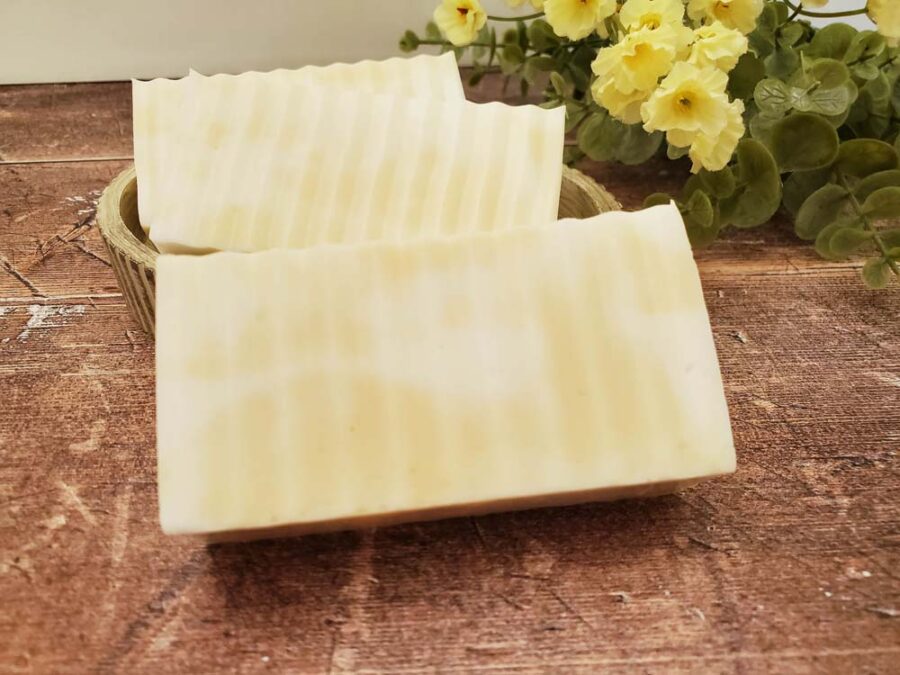
Congratulations, you’ve successfully made your own milk and honey soap! Now you can enjoy your homemade soap’s nourishing and luxurious benefits during your daily skincare routine. Homemade soap also makes great gifts for family and friends, so feel free to share your handmade creations with your loved ones.
Easy DIY Goat’s Milk And Honey Soap
Equipment
- 2 4 cup measuring cups microwave-safe
- 1 4-inch soap mold
- 2 wooden craft sticks for stirring
- Spray bottle with rubbing alcohol (optional)
- Wavy soap cutter (optional) (but makes really cool soap bars)
Materials
- 1 lb goat’s milk melt and pour soap base
- 1 Tablespoon powdered honey
Instructions
- Cut the goat’s milk melt and pour soap base into 1-inch cubes. Divide the soap cubes evenly between the two microwave-safe measuring cups.
- Place one measuring cup with the soap cubes in the microwave and heat on high for 30-second intervals, stirring between each heat session. Continue this process until the soap base is fully melted and smooth. Repeat the same process with the other measuring cup containing the remaining soap cubes.
- Add one tablespoon of powdered honey to one of the measuring cups. Stir well to incorporate the honey into the soap base, ensuring no lumps.
- Pour a small amount of the plain soap base into the mold, just enough to cover the bottom. Allow it to set for about 45 seconds or until it thickens slightly.
- Next, pour some honey soap base into the mold, covering the plain soap base. Allow it to set for another 45 seconds. Continue alternating between pouring the plain and honey soap bases into the mold, allowing each layer to set for 45 seconds before pouring the next.
- Lightly spray the top of the soap with rubbing alcohol.
- Set the mold aside in a cool, dry place for about 4 hours. Allow the soap to set and harden fully.
- Release soap from the mold, you can use a wavy soap cutter or a sharp knife to cut it into 1-inch bars.

