
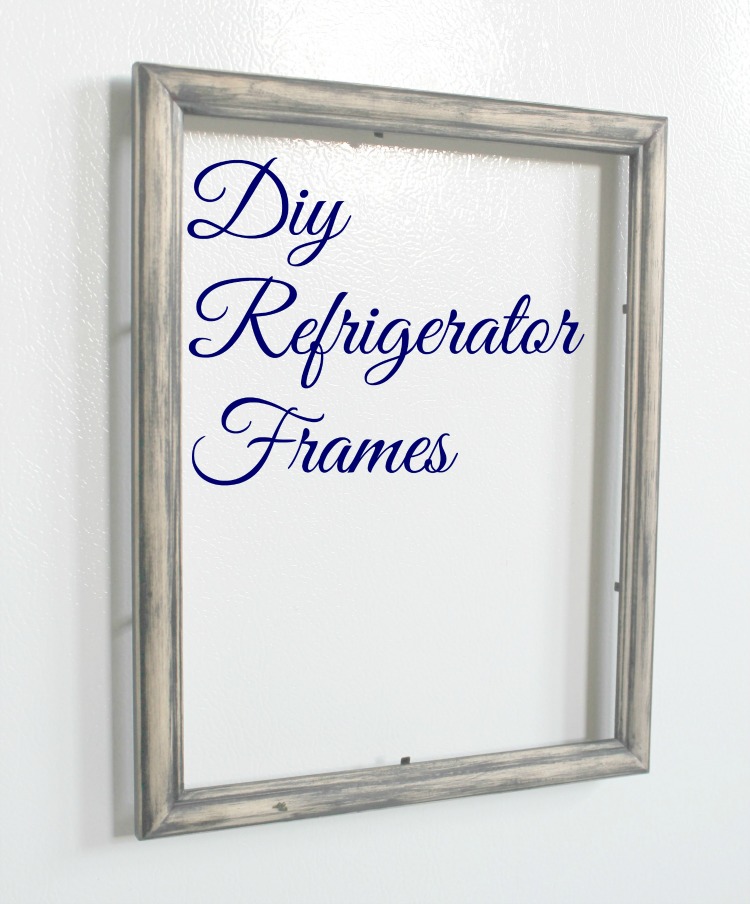
Display your child’s hard work and masterpieces with these quick and easy DIY Refrigerator Frames. Back to school means lots of papers will be coming in soon! Some will be returned and others will be filed, but what about the ones you want to show off?
I’m so excited to be here today, sharing my first craft/ diy project with you. For those of you who don’t know me, I blog at Life After Laundry. I share about all things crafty and family. I love creating things for our home but for me, it has to be practical. You know, something I will actually use! Not only does it need to be functional, but I’m going to have to do it on a Stay-at-Home-Mom budget.
I don’t know about you but back to school time is at the for front of my mind. Mainly because this isn’t back to school for my son, it’s his first year of preschool. He has been home with me for four years, and it is hard to believe we are days away from SCHOOL! I’m trying to prepare myself emotionally and physically, or rather my physical house.
I definitely want to be as organized as possible as we enter into this next chapter of our lives. I already have plans for organizing our schedule and the papers coming in and out, but I wanted to find a cute way to show off his first school papers. I don’t think we will have homework to worry about this year (hopefully not, right?) but I’m sure he will be bringing home plenty of doodles and practice sheet that will make this mammas’ heart beam.
I decided I wanted to do a frame to display and hold his work in place on the refrigerator. I found document frames on ebay for around $3.50 each. I had originally planned on painting the frames, but after I sanded the shiny coat off I really loved how it looked. I have very rustic/ vintage taste so this beat up frame was the perfect addition to our decor.
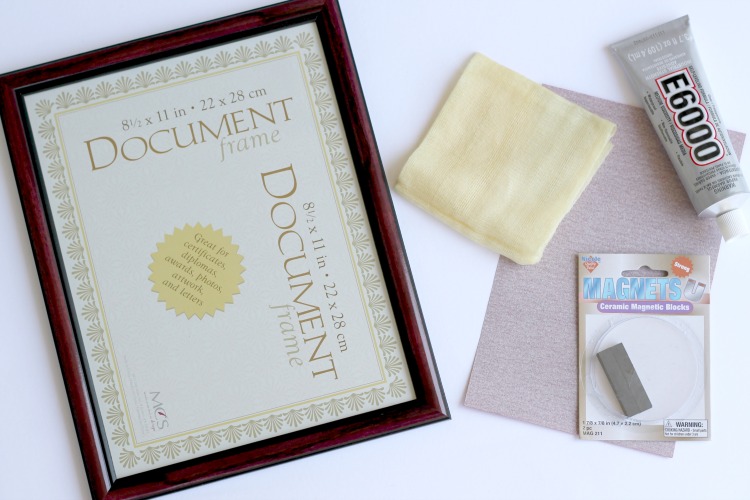
You will need:
Document size frames
Sandpaper
Tack cloth
Heavy Duty Adhesive
Magnets
Optional: Spray Paint
To Make:
Remove the glass and backing. Keeping the glass is optional, but you will want to keep the backing piece to help secure your artwork in later.
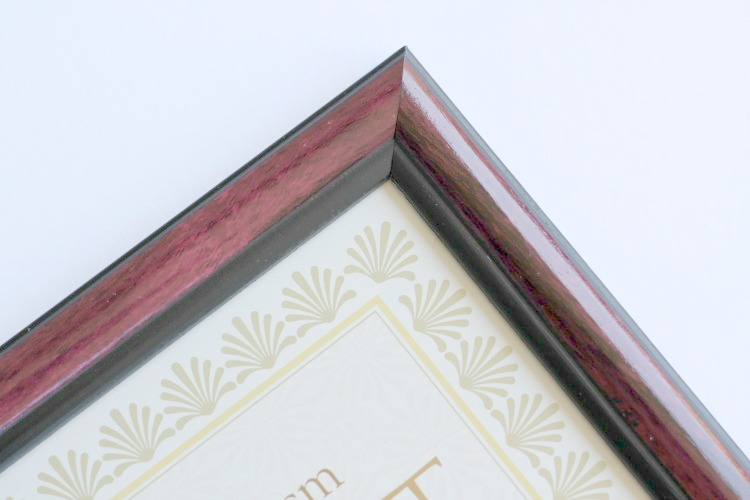
Sand the frame to the desired level. If you are painting you will want to try to remove the shiny surface with the sandpaper. If you are just wanting to rough it up for an aged look, it is completely up to you the level of sanding you do. You can see what I started off with above and what it turned into after sanding below.

After you are done sanding, clean off the dust with either a tack cloth or damp rag. I prefer the tack cloth, no waiting for it to dry before moving on.
This is where you would paint your frame, if desired. I originally had planned to use a spray primer/ paint that I picked up at the local craft store, but it’s whatever works for you.
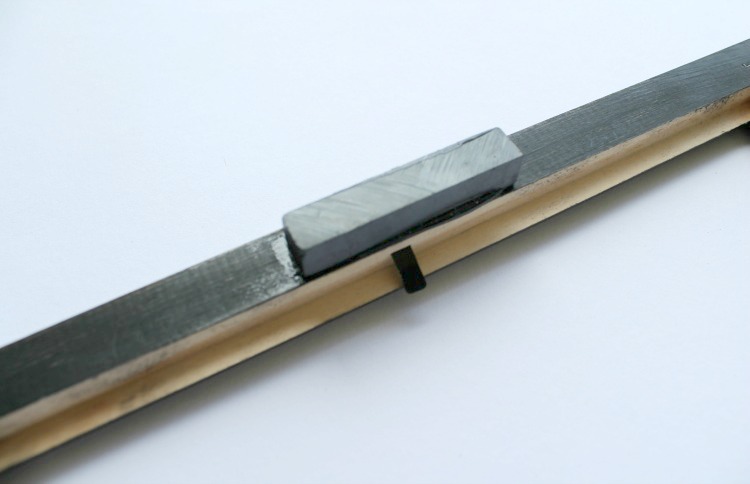
Next apply the magnets with your supper duty adhesive. Place one magnet on each of your short sides. Beware of the little metal tabs that hold your backing in. I had to really push them out of the way because my magnet kept being drawn to it.
Allow to dry before framing your masterpiece and hanging on fridge.
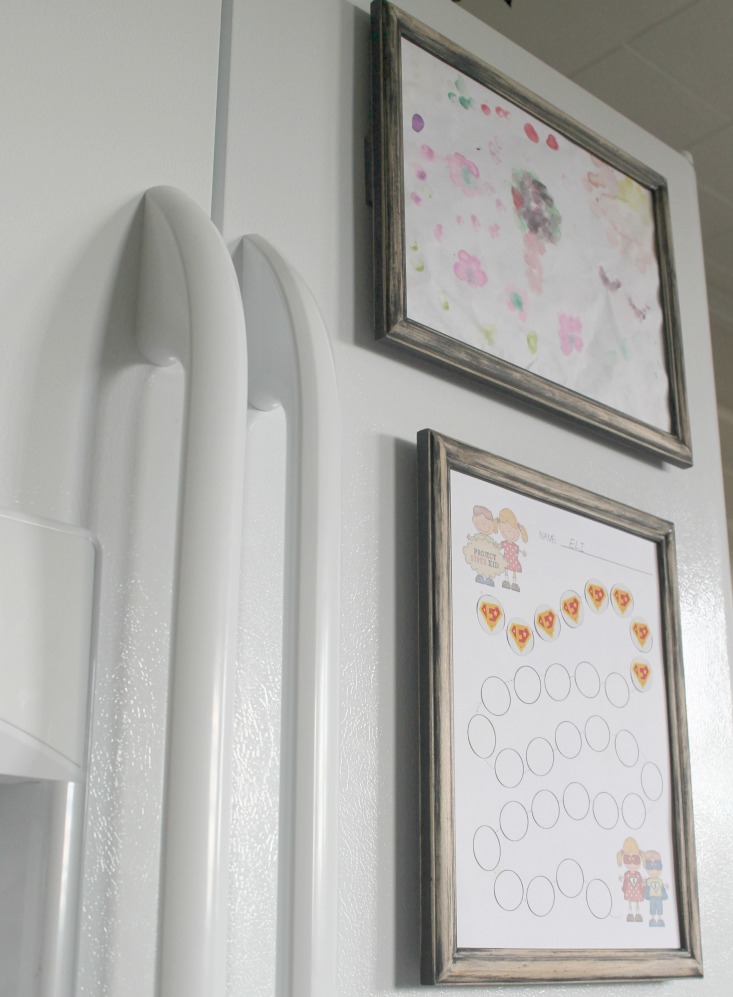
Of course, since school time isn’t here yet, our frames are currently holding a crinkled painting that would have been better off to be in a frame in the first place and our reward chart. With a preschooler around there is always plenty of things to go on the fridge.