
I have been wanting to figure out how to make placemats for a few years. When my husband and I got married nearly a decade ago I registered for and received a set of eight black placemats. I love them, but they aren’t very colorful!
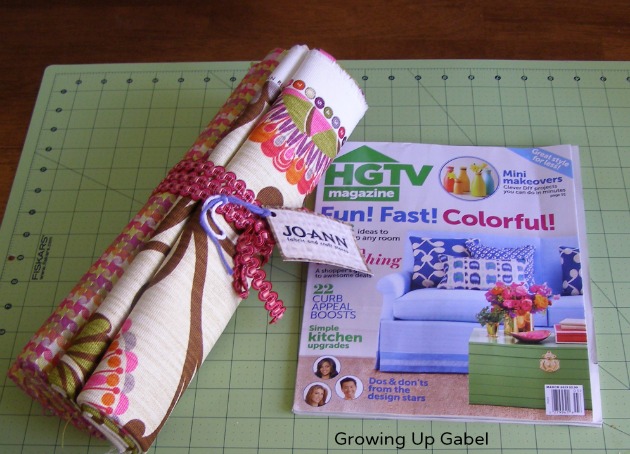
So when Jo-Anns sent me a few yards of their very colorful HGTV inspired fabrics, I knew it was time to figure out how to make placemats. For even more fun and versatility, I decided to make the placemats reversible!

I have a pattern for tableware that my mom gave me, but I decided to see if I could just wing it to make placemats. Sometimes this works for me and sometimes, well, it doesn’t. This time around, though, was a great success!
How to Make Placemats – Reversible
Jo-Ann’s sent me a yard of HGTV Urban Blossom and Cherry and a yard of HGTV Checkered Past Berry. I love the colors and the patterns!
It is suggested to dry clean the fabric, but I’ll just wash them in cold water on a gentle cycle and line dry. I had to have placemats made with these fabrics!
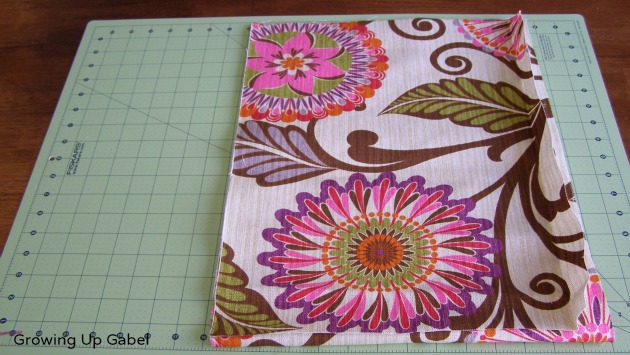
The first thing I did was to cut off all the selvages and measure out the fabric. You don’t have to cut off the selvages – you can just sew them in, but I like to cut them off.
I folded the fabric in half length lengthwise and then measured the fabric and divided by 4. That came to 13.5″ , which is what I cut at. This will get me 8 place mats total, using up all of the fabric.
I was very, very precise when I cut the first place mat so I could use it as a pattern for the rest of my cutting.
After I cut out the 13.5″ cuts, I measured those and cut them in half -I think it was around 17″ but I just did half the width of the material.
Now it’s time to sew! I sew on a pretty basic Brother sewing machine that I absolutely adore.
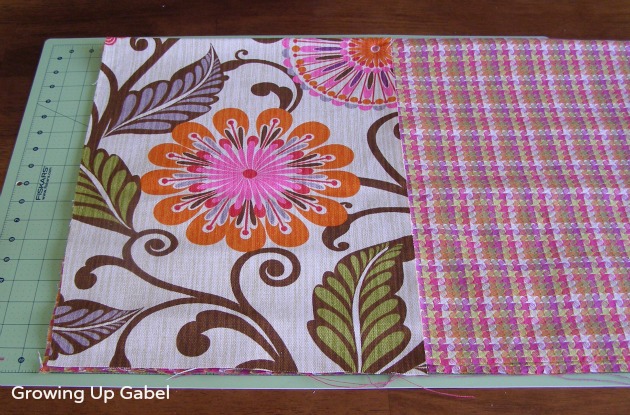
I paired up one rectangle of the Urban Blossom with one rectangle of the Checkered Past and put them right sides together.
I sewed one without pins and it required too much pulling and adjusting. So the next ones I pinned and the sewing was much easier!
Sew along the edges with a 5/8″ seam allowance. I used a matching thread because I wanted to top stitch and these are reversible so I needed the thread to blend in a bit.
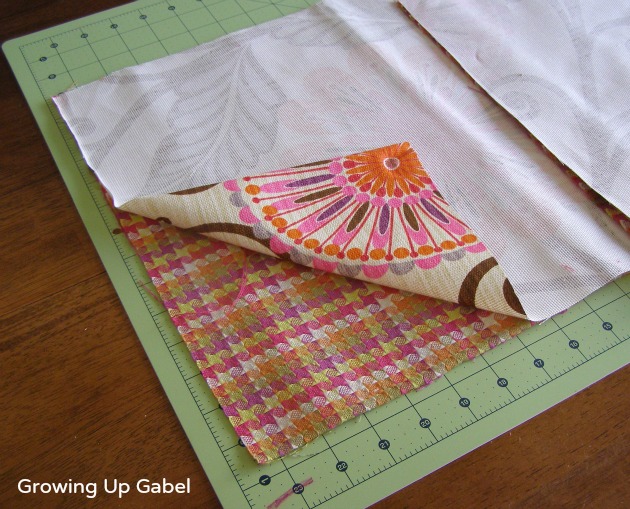
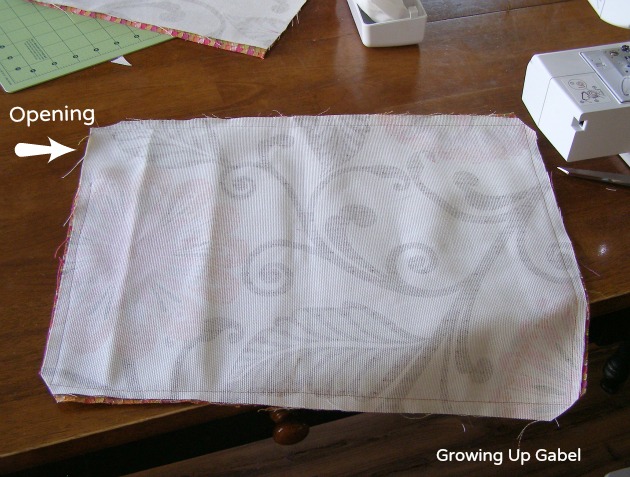
Leave a 2″ opening when sewing around so you can turn them right side out. Clip your corners and turn the place mats right side out. I used an iron to iron down the seams and the open hole.
Then I top stitched around the entire place mat, with the Urban Blossom side facing up. This way the bottom of the stitches just faded right in to the checkered print and you can’t even see it when using that side of the place mats.
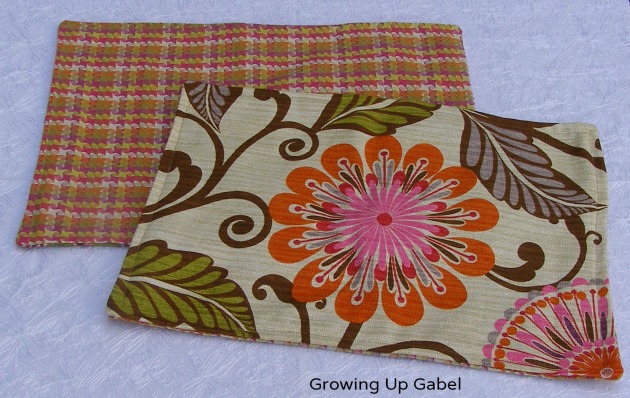
Voila! Bright, colorful reversible placemats ready for any special occasion or everyday use.
Thank you to Jo-Ann for sponsoring this post and providing the materials for the project!
[dtbaker_banner text=”You Will Also Love:” linkhref=”” type=”brush”]
Amish Baked Chicken Recipe
Waffle Omelet Recipe
Easy Knit Dishcloth
This post contains affiliate links.