
Send your favorite teacher off in style for the summer with this easy teacher beach bag made with your favorite vinyl and a Cricut Air 2 and Easy Press 2.
This is a sponsored conversation written by me on behalf of Cricut. The opinions and text are all mine.

My husband and sister are both full time public school teachers. Our families live for summers. Teachers work hard for 9 months of the year and desperately need a few months to rest before heading back in to teach our kids. This teacher beach bag is super cute. It’s quick and easy to make in the Cricut Design Space, cut with the Cricut Air 2 and then press on to the bag with the Cricut Easy Press 2. You can grab the Teacher Beach Bag design in Cricut Design Space to make it easy.
I recently received a Cricut Air 2 from Cricut. A few weeks ago I shared how I started using the cutting machine in a A Beginner Guide to Crafting with the Cricut Explore Air 2. Along with the Air 2 machine, Cricut also sent me an Easy Press 2 to use with iron on vinyl. I put off using the Easy Press 2 because I was scared of seriously messing something up. But it turns out that the Easy Press 2 is super easy to use. I am now obsessed!
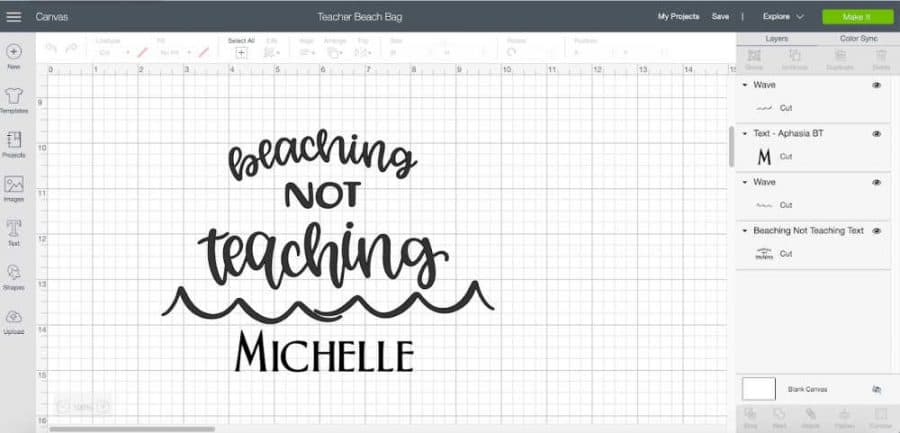
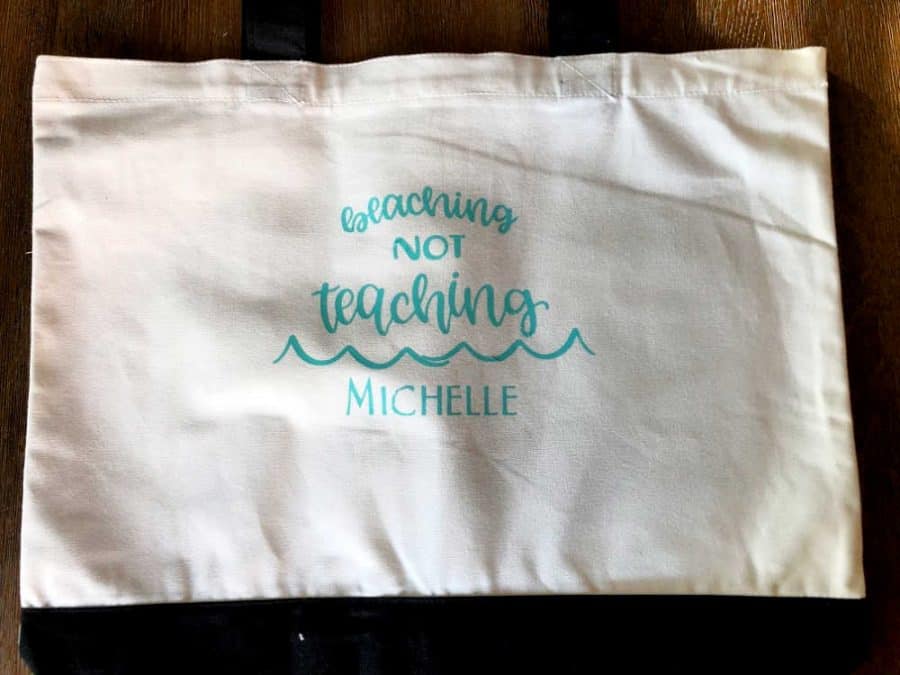
You can click here to get the teacher beach bag design in Design Space. You may need to scroll down a bit because I used a tote template to get the correct sizing. This design use 3 elements: the quote; the waves; and the name. You can leave the waves or delete them. I set them to all cut in 1 color to make it easy.

Click on the name a box will appear so you can delete it or add a different name. Use command (Mac) or control (PC) To click and highlight all 4 of the design elements (there are 2 waves so make sure to get both). Then, click on the “Attach” button on the bottom right of the screen. This will make sure that the design cuts exactly as it appears on the screen.
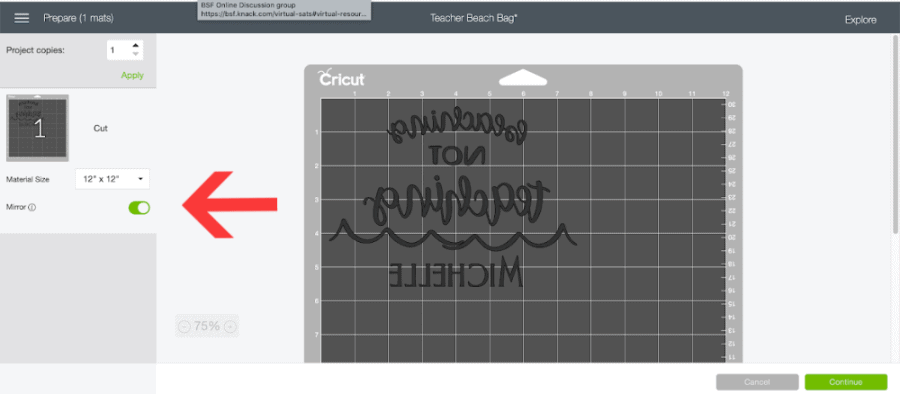
On the next screen make sure to hit mirror on the right hand side. When ironing on vinyl, you always want to mirror.
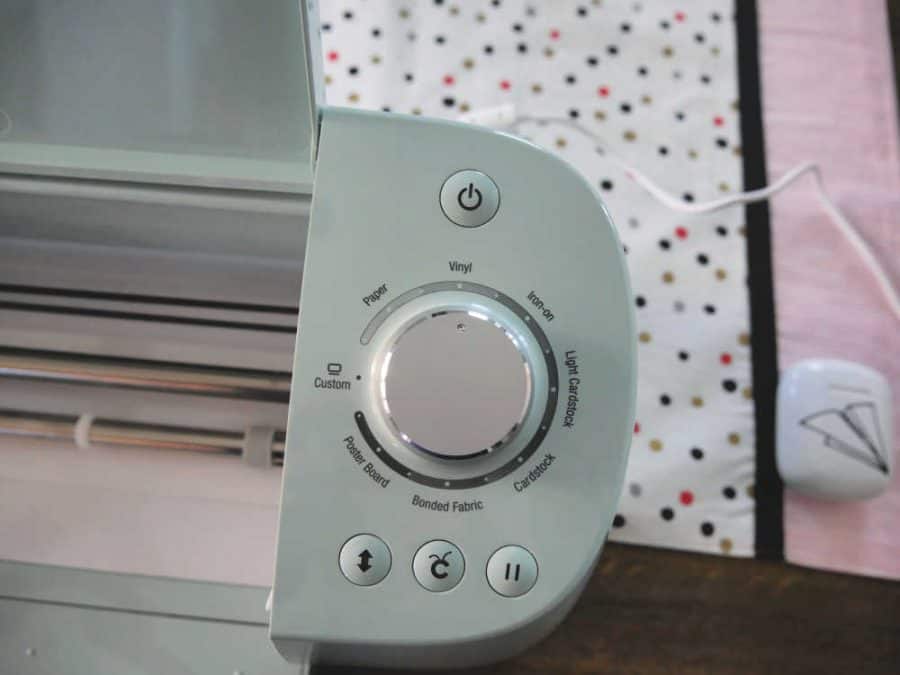
On the next screen your Air 2 will connect to your computer and you tell the machine what kind of vinyl you are cutting. If you are using Everyday Iron On, like we used, you can set the knob on the machine to Iron On. If you are using glitter iron on, then you need to do a custom setting.
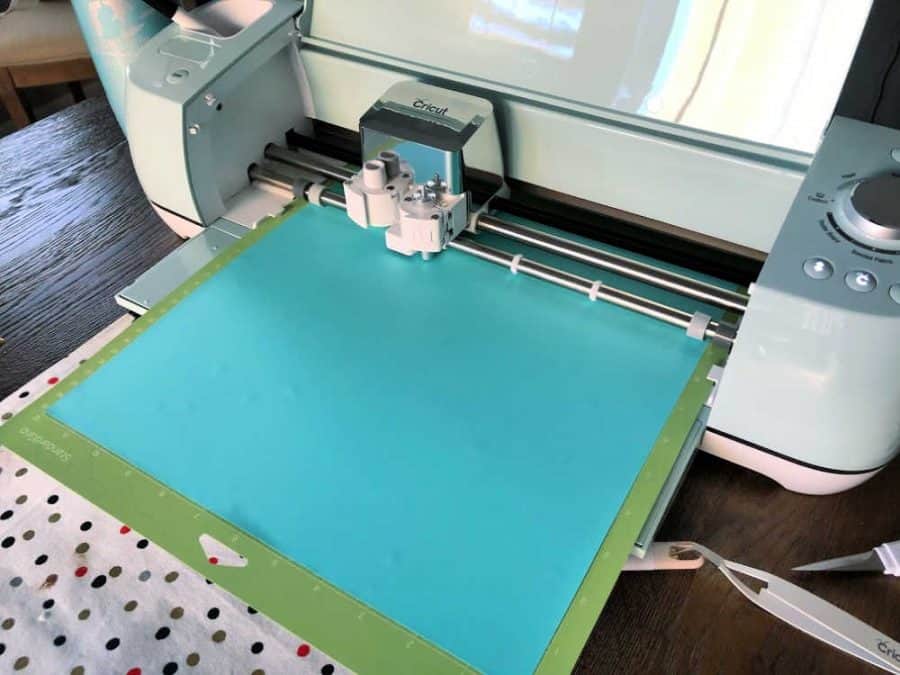
Then let the machine do the work and cut the vinyl. Once cut, you will weed the vinyl leaving the design attached to the clear plastic cover.
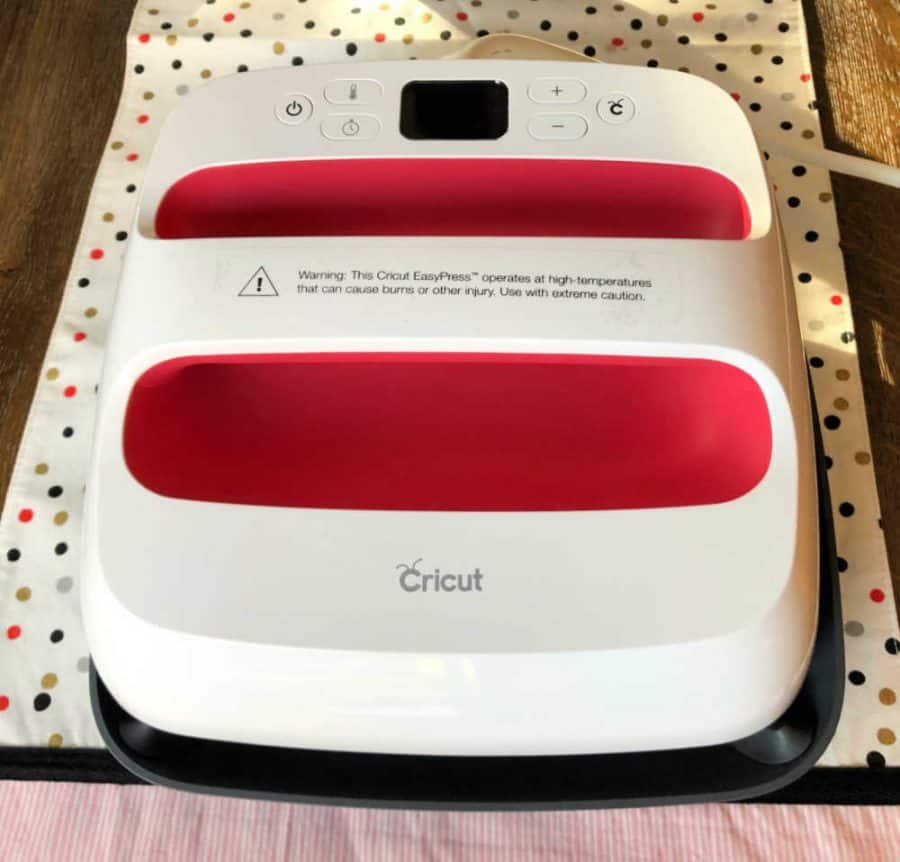
Once the vinyl is weeded, it’s time to iron it on. We used this cotton bag for our beach bag. We used a Cricut Easy Press 2 and a Cricut Easy Press Mat to iron on the design. The Easy Press 2 comes with great instructions on how to use it and a simple project to learn how to use it.
Use the Cricut Heat Guide to determine how warm the Easy Press 2 needs to be, how many seconds it needs to stay on the iron on, and if it needs a warm or cool peel temp. This design got a little messy because I put in the wrong vinyl type so make sure to double check.

And that’s it! This bag was done in about 15-20 minutes. These would be easy and inexpensive gifts for Teacher Appreciation Week. Fill them with a towel, a water bottle, and sunscreen.