Add a touch of creativity to your reading routine with an origami corner bookmark. These adorable little creations are practical and bring personality to your favorite books. Once you learn the basic fold to make the little paper pocket, you can embellish it with whatever you love most. This is also a great craft project to teach kids.
Why Make Origami Corner Bookmarks?
Save Your Pages in Style: Tired of folding down the corners of your book pages or using scraps of paper as bookmarks? Origami corner bookmarks are an awesome alternative! They’re designed to slide over the corner of your page, securing it without damaging your book. Plus, they come in various shapes and designs, making reading a more visually appealing experience.
Be Creative: In your daily routine, finding time for creative outlets can be challenging. Origami corner bookmarks offer a brief but enjoyable opportunity to express your artistic side. You can experiment with different patterns, colors, and origami techniques, allowing your imagination to soar. It’s a fantastic way to unwind and rejuvenate!
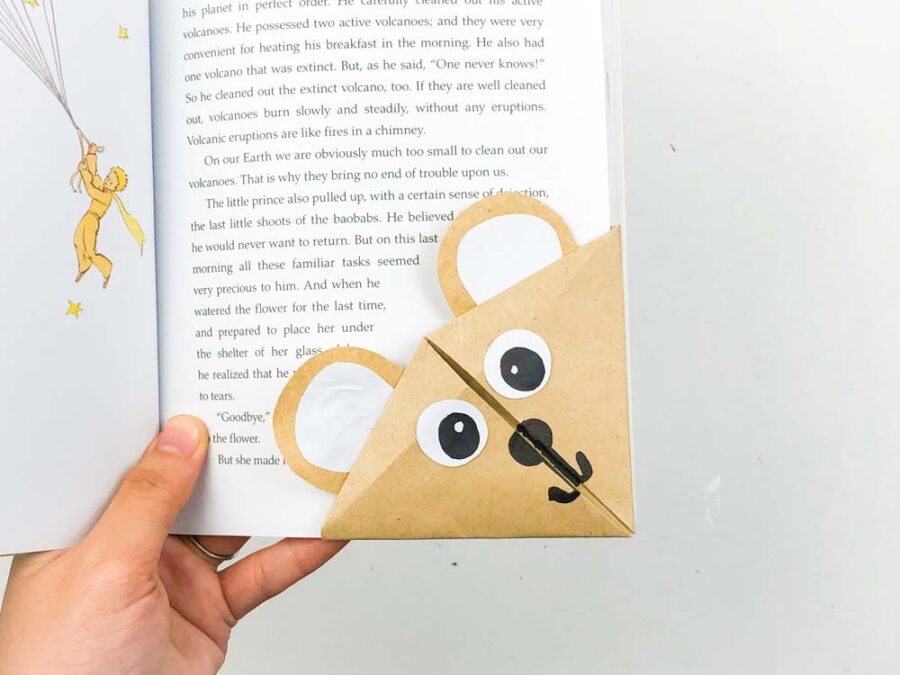
Engage Your Kids: Origami corner bookmarks are the perfect fun and educational activity to do with your kids. They’re simple enough for little hands to fold, and the result will make them proud of their creation. Spend quality time together, bonding over a shared craft project while fostering their love for reading.
Personalize Your Reading Collection: Each origami corner bookmark is a unique piece of art. You can customize them to reflect your personality or match the theme of your favorite books. From cute animals to funky geometric shapes, the possibilities are endless! Let your bookmarks become a reflection of your reading journey.
How to Make an Origami Corner Bookmark
Pin For Later-
Reader’s Favorite!
Origami Heart Bouquet and Garland
-
Reader’s Favorite!
Ice Cream Cone Garland
Tips for Making Origami Corner Bookmarks:
Start Simple: If you’re new to origami, begin with basic designs hearts. Once you’re comfortable with the folding techniques, you can move on to more intricate patterns.
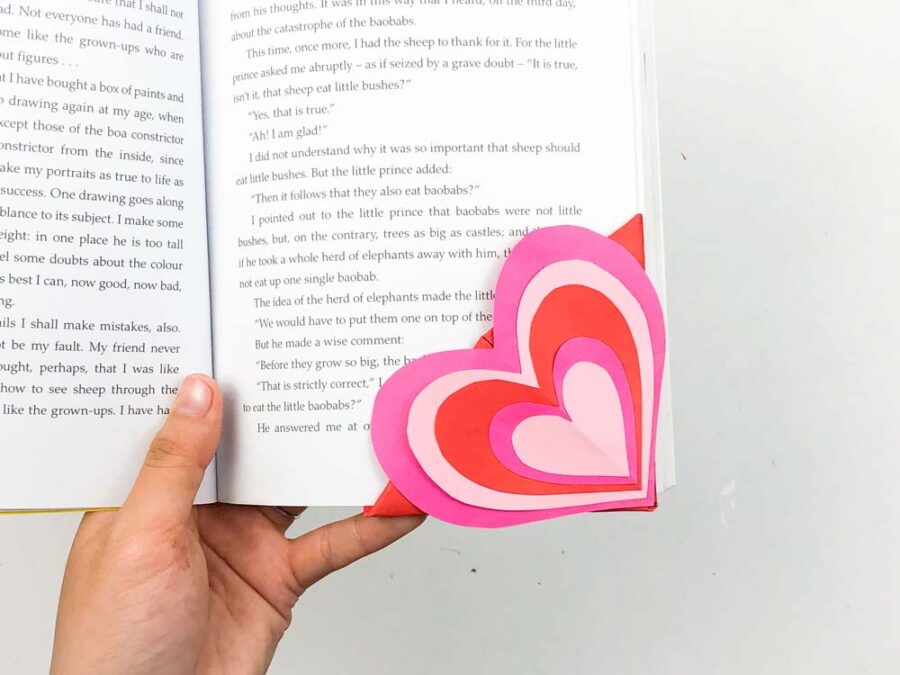
Use Sturdy Paper: Opt for thicker paper, such as construction or origami paper, to ensure durability. A thinner paper might not hold up well over time, especially if you’re an avid reader.
Embrace Colors and Patterns: Don’t be afraid to play with colors and patterns. Use markers, colored pencils, or stickers to add personality to your bookmarks.
Origami Corner Bookmark Supplies:
At its basic level, you only need paper to do origami. When you embellish these bookmarks, you will need some glue and markers. But that’s it!
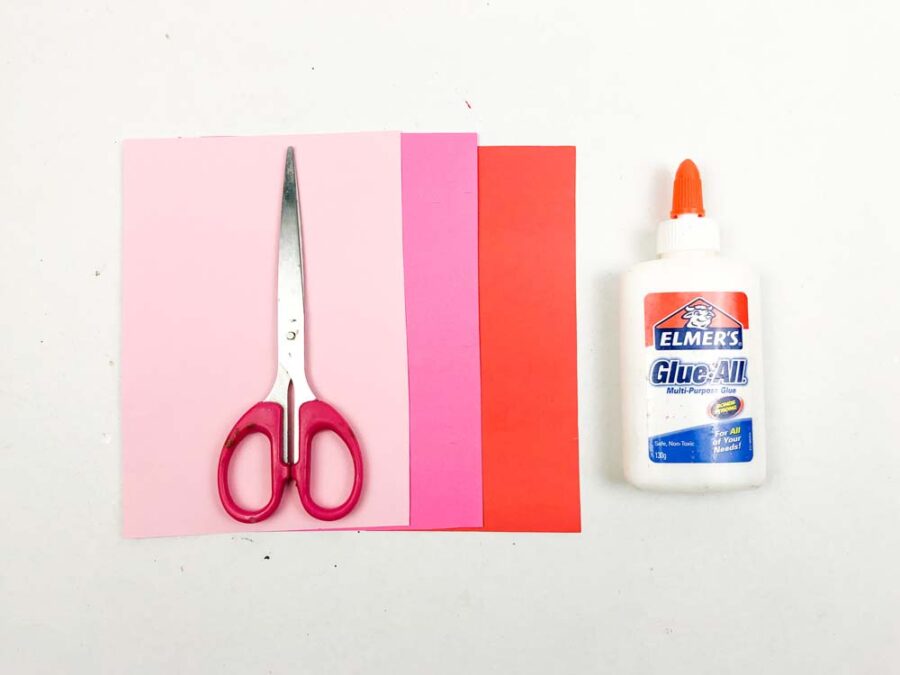
You can buy origami paper online or in a craft store. It most often comes in 6″ x 6″ squares. You can use smaller or larger squares to change the size of the finished bookmarks. Origami paper can be single or double-sided. I suggest using double-sided paper so the color is uniform.
Instead of buying origami paper, you can cut a piece of construction or printer paper into a 6″ or 7″ square. This is a great way to do a test run before purchasing specialty paper.
How to Fold an Origami Corner Bookmark
To start, use any colored piece of paper or a 6″ or 7″ square of origami paper. If not using origami paper, cut the paper into the square.
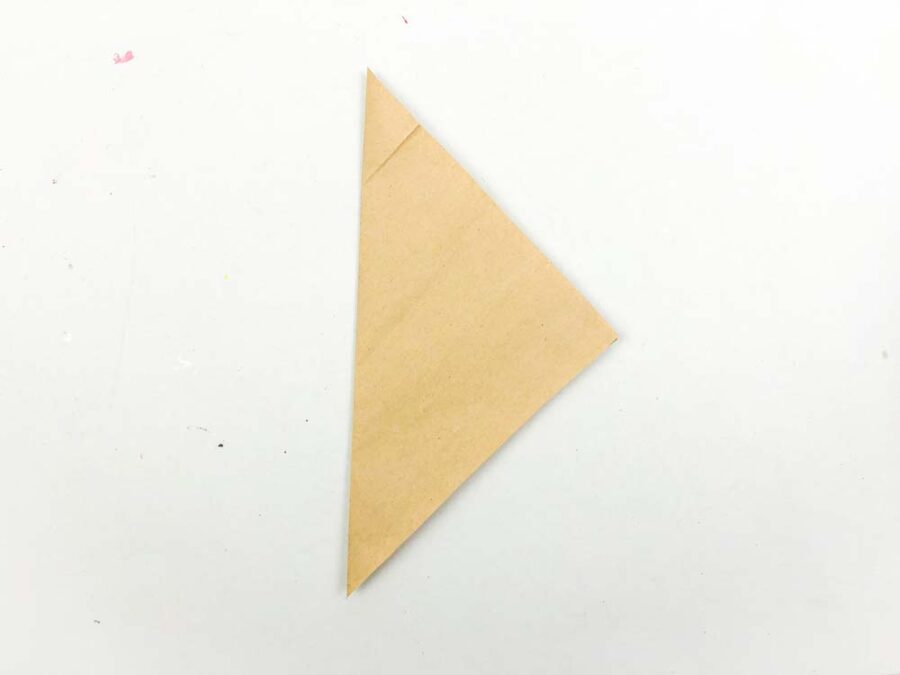
The first step is to fold the square in half to make a triangle.

The second step is to fold the tip of the triangle down so it lines up with the base.
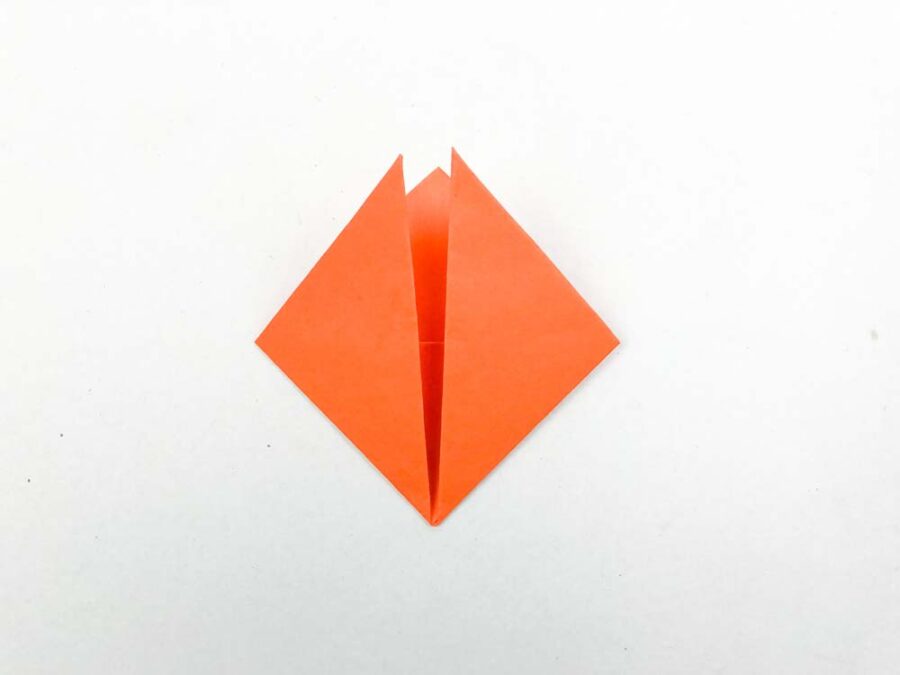
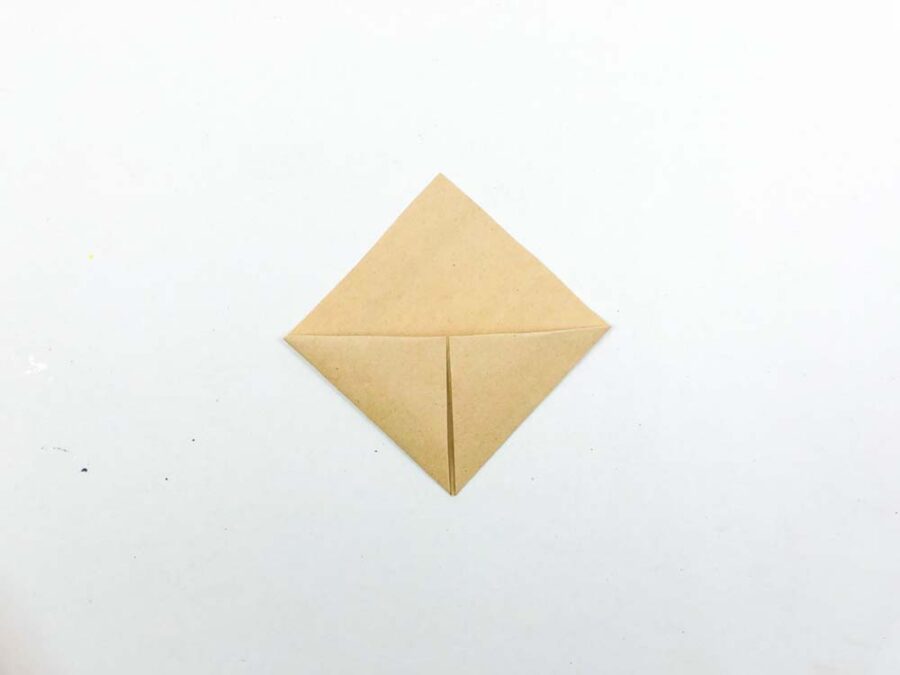
The third fold is to fold the right and left corners of the triangle up to the top.
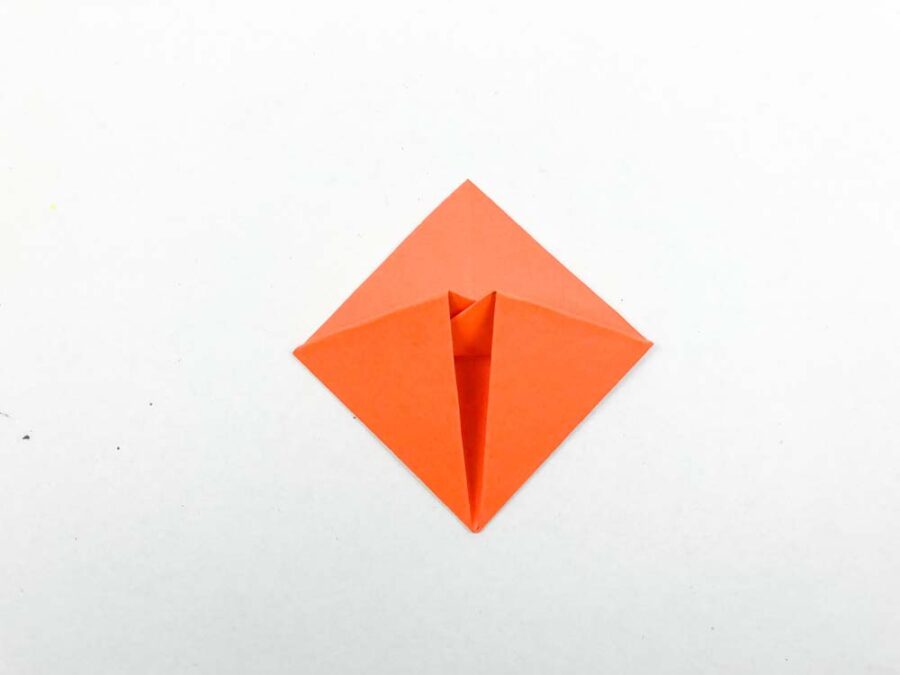
Finally, fold the tips of the triangles down.

Gently tuck them inside the pocket. This completes the basic origami corner bookmark. The pocket ensures it stays in place and keeps your page marked.
How to Make an Origami Corner Bookmark
Equipment
- Scissors if cutting paper to size
Materials
- Origami or construction paper
Instructions
- To start, use any colored piece of paper or a 6″ or 7″ square of origami paper.
- Fold the square in half to make a triangle.
- Fold the tip of the triangle down so it lines up with the base.
- Fold the right and left corners of the triangle up to the top.
- Fold the tips of the triangles down and tuck into the pocket.

