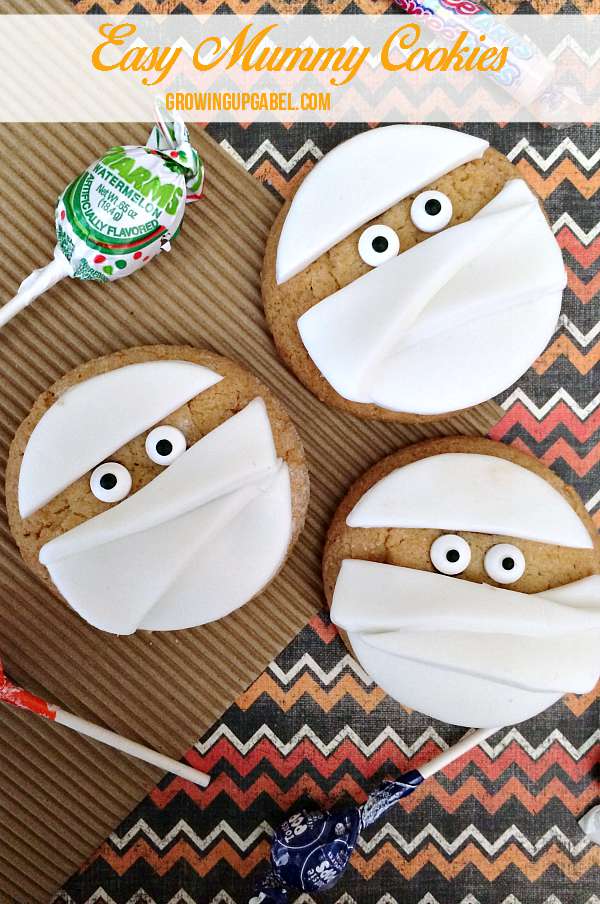
Easy mummy Halloween cookies are made with store-bought cookies, pre-made fondant, and frosting.
Sometimes you just run out of time to make all things homemade. Or you just really need a short cut when it comes to bringing another treat to a school party. These adorable Halloween cookies don’t require much work or pre-planning. They are entirely semi-homemade so they’re perfect for a last-minute Halloween party. They are also great for kids to help make.
Make sure to check out our semi-homemade Frankenstein Cookies, too!
Easy Mummy Halloween Cookies
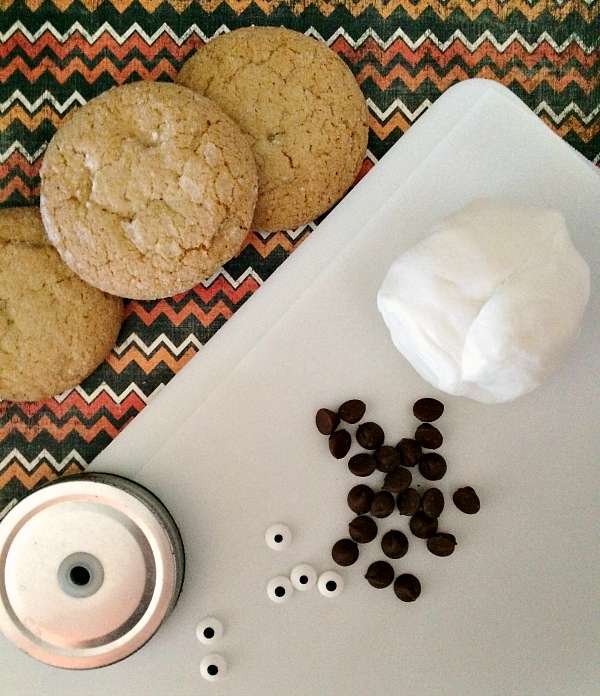
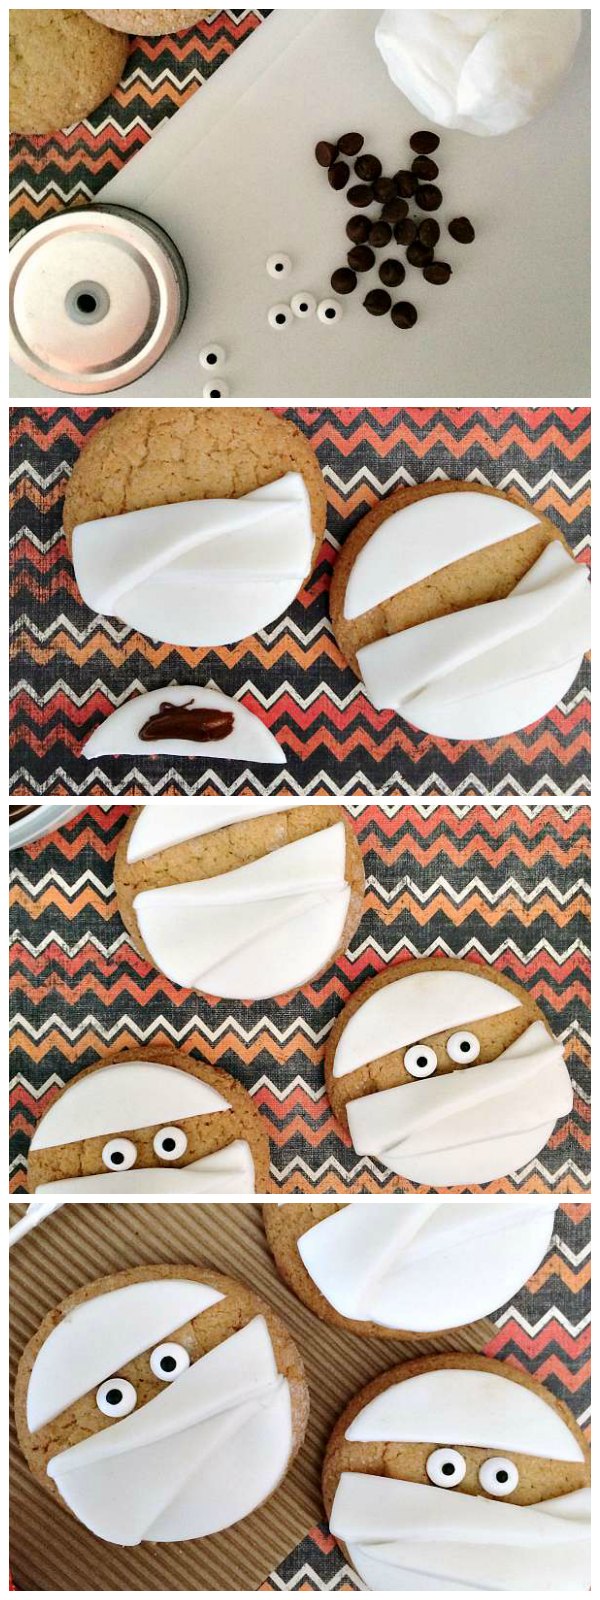
Everything on these cookies is store-bought including the cookies. These were made with sugar cookies purchased from the grocery store bakery. You could also make some homemade sugar cookies. I think homemade sugar and spice cookies would work nicely, too.
Along with the cookies, you’ll also need to pick up white fondant and candy eyeballs. A top to a mason jar is used to cut the fondant into circles, but a glass or round cookie cutter would work as well.
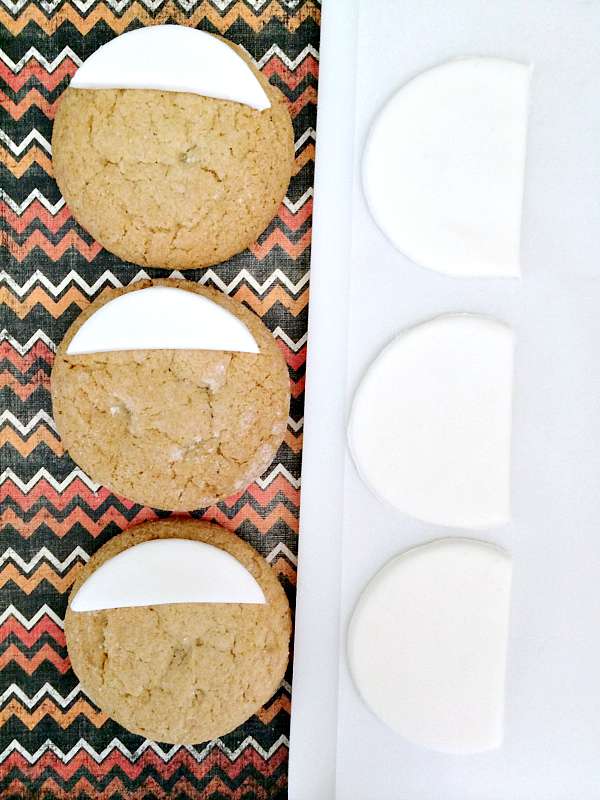
To make the cookies, roll and cut the fondant out into 10 circles. Cut the top 1/4 of your white circles off. Melt chocolate chips in your microwave. Use the melted chocolate chips to “glue” the fondant onto the bottom, and press down on the top of your cookies to get the piece of fondant to stick.
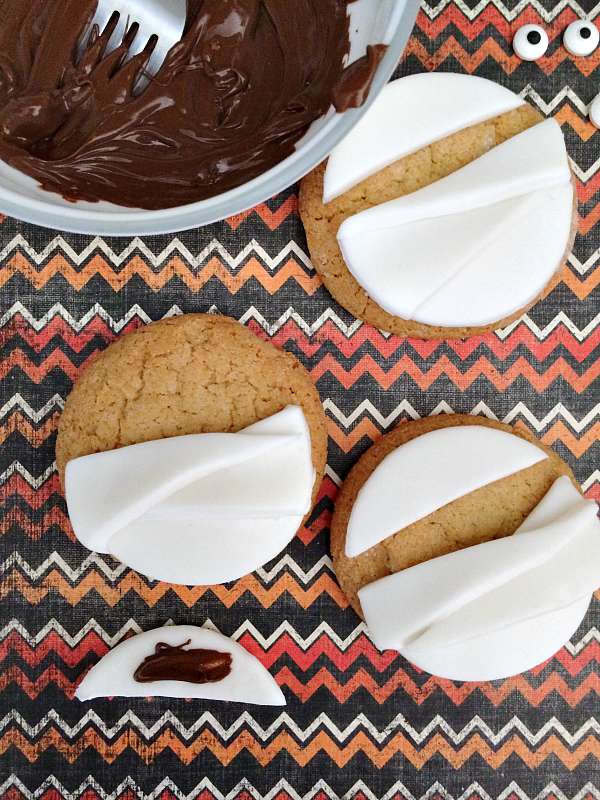
Repeat the same process with the bottom 1/4 of the white fondant circles. Layer the fondant like mummy wrappings.
Cut the remaining portion of the fondant circle in half at an angle and use the chocolate to secure it to the cookies creating the rest of the mummy’s face. Make sure to leave a strip for the mummy’s eyes.
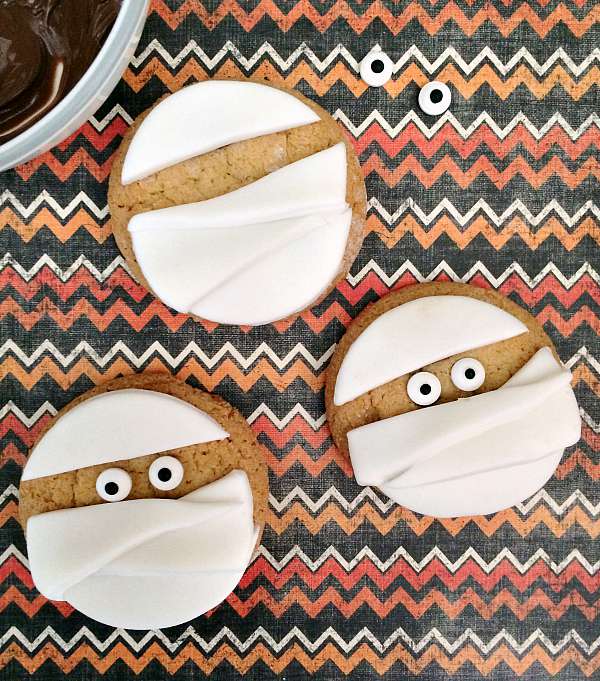
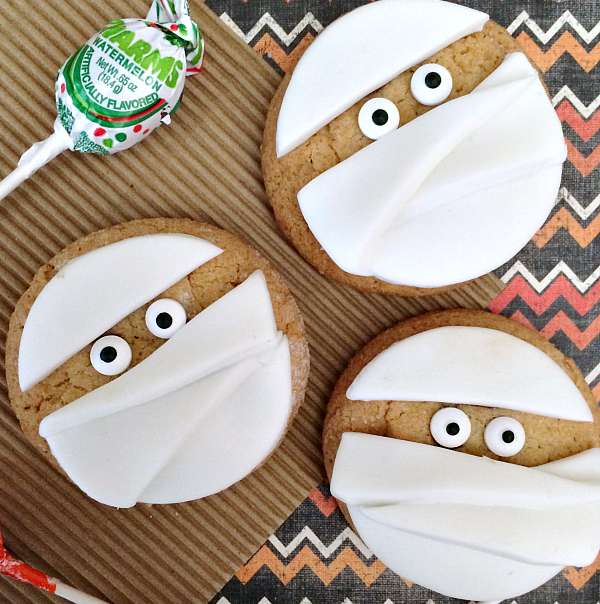
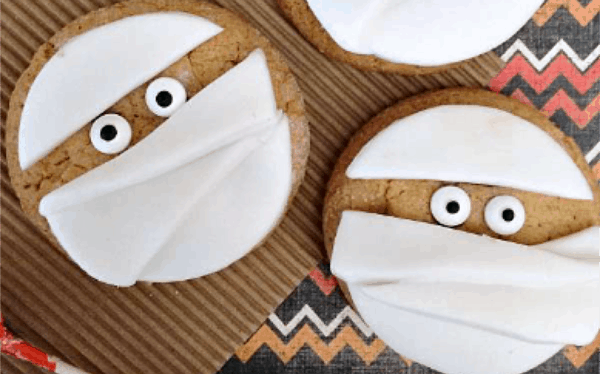
Once all the fondant wrapping is on the cookie, use more melted chocolate to attach the eyeballs. These might even work well as a fun project for a party, scout meeting, or classroom activity.
Mummy Cookies
Ingredients
- Store-bought or homemade molasses cookies
- White fondant
- 1/8 cup chocolate chips
- Candy eyeballs
Instructions
- Take a piece of white fondant the size of a tennis ball and roll into a ball with your hands.
Use a rolling pin to roll it out thin and flat. - Once the fondant is thin and flat, use a mason jar lid or a large cup as a cookie cutter and cut out 10 circles. Set aside.
- Melt 1/8 cup of chocolate chips in the microwave for 1 minute, or until melted, stir, and set aside.
- Cut the top 1/4 of the white fondant circles off, spread a little melted chocolate on the bottom and press down on the top of cookie.
- Cut the bottom 1/4 of the fondant circles off, spread a little chocolate on the bottom and press down on the bottom of cookies.
- Cut the last piece of white fondant in half at an angle, spread a little chocolate on the bottom, and press down on the cookie, leaving a space for the eyes
- Dip a toothpick in the melted chocolate and put a little on the bottom of the eyes, then press onto your cookies in the open space
- Your cookies are ready for your kids next class party!
Nutrition Information:
Yield:
10Serving Size:
1Amount Per Serving: Calories: 36Total Fat: 1gSaturated Fat: 1gTrans Fat: 0gUnsaturated Fat: 0gCholesterol: 2mgSodium: 18mgCarbohydrates: 7gFiber: 0gSugar: 5gProtein: 0g