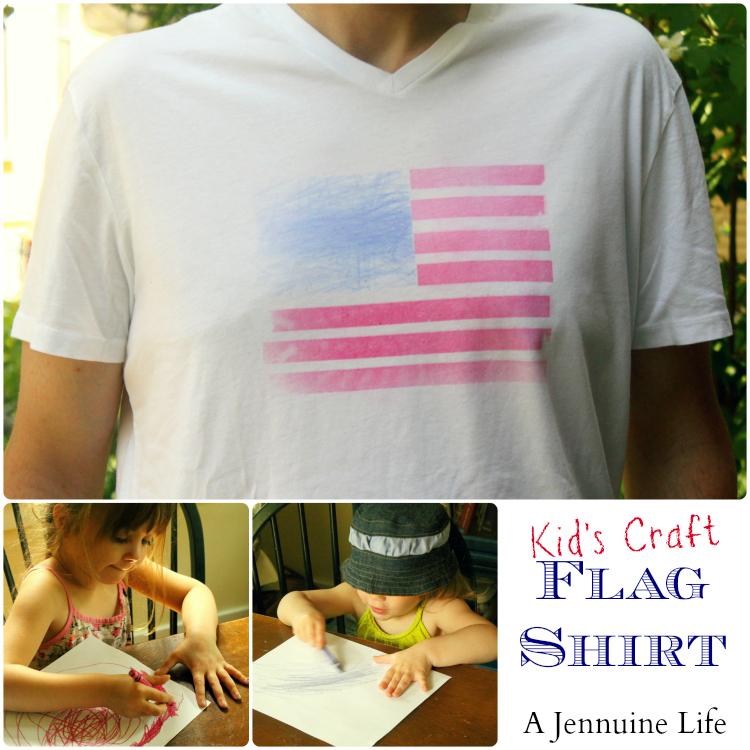
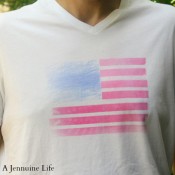
Make an American flag shirt with a simple white t-shirt, fabric crayons and an iron.
This fun American flag shirt tutorial was written for us by Jenn from A Jennuine Life .
It’s always fun to dress up in patriotic red, white and blue for summer holidays like Memorial Day and July 4th. This cute American flag tee shirt craft is super quick and easy to make. It’s a great summer craft project for the entire to make. You can even make matching shirts for the whole family. Then take a family photo in front of this Patriotic Star Banner.
What You Need to Make an American Flag Shirt:
- A white cotton shirt – You definitely want to use a white shirt. This will create the white stripes of the American flag. Make sure to wash and dry the shirts first to avoid shrinkage after.
- Fabric crayons – These are surprisingly inexpensive. Crayola makes an 8 set of fabric crayons that are perfect for this craft and are inexpensive. If you want a little better quality, Pentel also makes a set with more colors. Just keep in mind that fabric crayons are soft so be gentle.
- White copy paper – you can use scrap paper for this. You just need one blank side.
- Iron – Your household iron will work just fine.
How to Make an American Flag Shirt
When we first made these shirts, the kids were little and just learning to color. So you can definitely have a pre-schooler or toddler help make this shirt.
For little kids, start by getting them to color with fabric crayons on a plain sheet of white paper. Give them the appropriate color and encourage them to scribble or fill a large area. Have them color the entire paper. You will need one blue and one red paper for each shirt.
If your kids are older, or if you are making the shirt yourself, do the same thing. But feel free to make some stars on the blue paper. You can also simply draw the flag on a piece of paper.
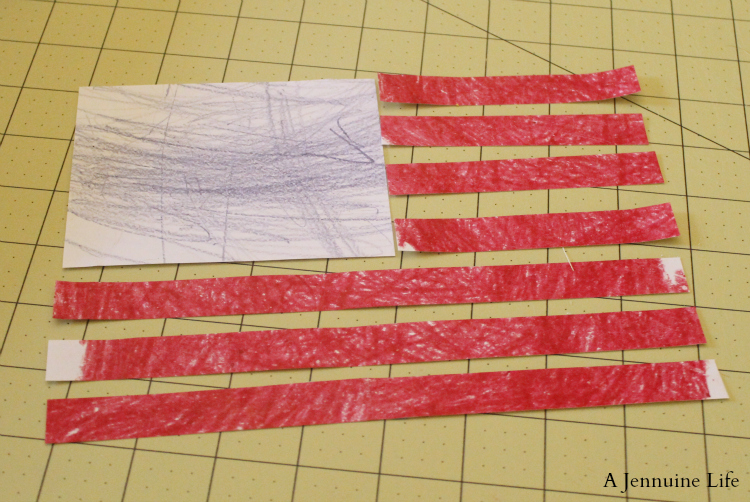
Next, take the two sheets of paper that are colored red and blue. You will cut the colored paper into the pieces of a flag.
Cut the red paper into 7 strips. We made 3 long strips and 4 short strips. You can adjust for bigger or smaller shirts. You don’t need to be too precise on the size of the strips. Make them fit your shirt sizes. Our were just over 1/4″ wide and 8.5″ long for the three full-length strips. The shorter strips at the top were 4″ long for the four strips next to the blue field.
Next, cut the blue paper into a rectangle. The blue is 4.5″ wide by 3.5″ wide. This is not exactly the correct proportions of the US flag, but it’s fairly close. Adjust the size of the blue rectangle as needed for the sizes of your shirts.
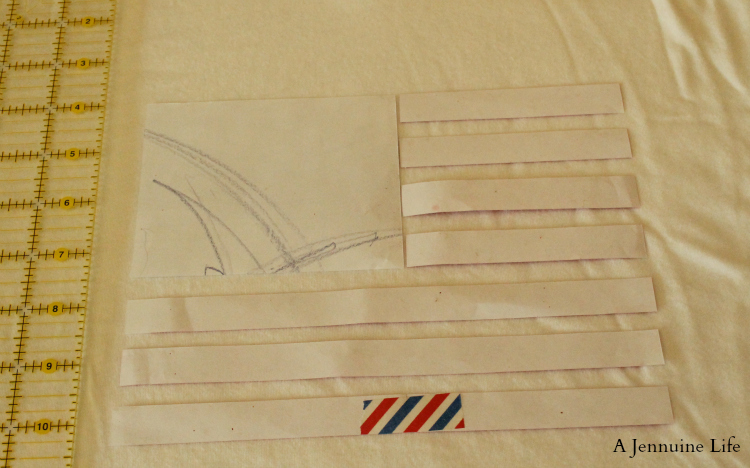
Once you have all the flag parts cut out, you will iron the crayon on to your shirt. Lay out your t-shirt on a towel or an ironing board. Arrange the strips colored side down on top. Set your iron to the highest heat setting for the fabric of your shirt. Using a pressing cloth to protect your iron, transfer the coloring by pressing the strips down onto the shirt. Do not use steam.
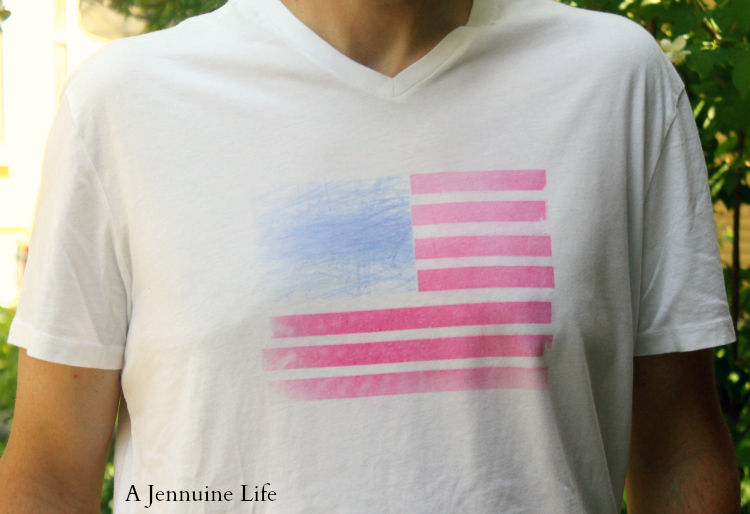
And that’s it! You have an American flag shirt made with love from your little ones. These make great gifts for grandparents, too. You can use the same process for little handprints.
DIY American Flag Shirt
Equipment
- Iron
Materials
- Plain white cotton t-shirt washed and dried
- Fabric crayons
- White copier paper
Instructions
- Color two sheets of paper with fabric crayons. Color one red and one blue.
- Cut the red paper into 7 strips: 3 long and 4 short. Cut the strips so that they fit the size of the shirt.
- Cut the blue paper into a rectangle a size that fits with the size of the shirt and the red stripes.
- Heat an iron to the highest heat setting for the fabric of the shirt.
- Place the flag pieces colored side down on the shirt in the shape of an American flag.
- Use a pressing cloth or towel and iron the color on to the shirt.

