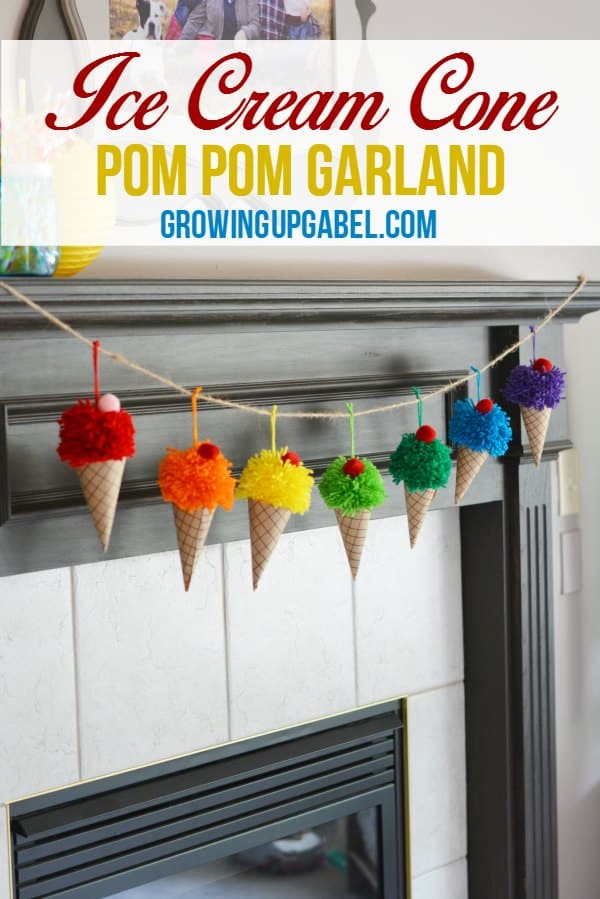
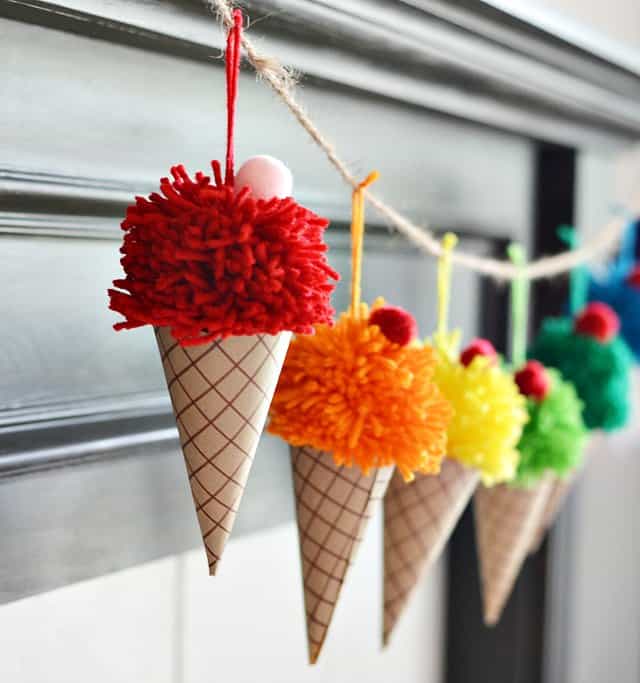
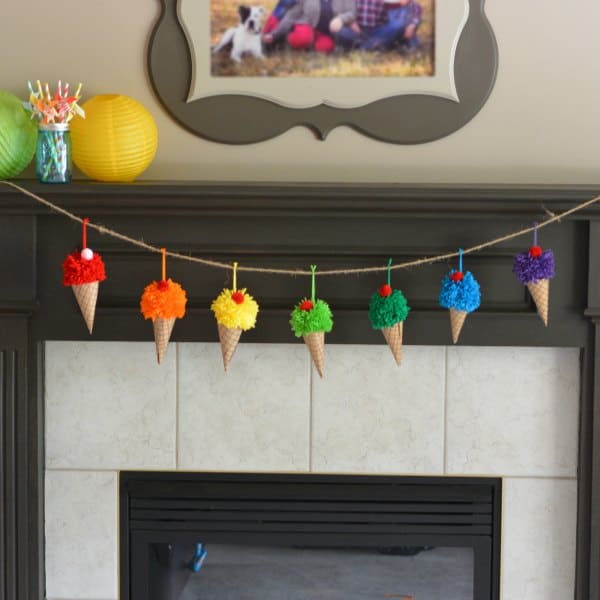
Make an ice cream cone garland out of yarn and paper for a festive summer decoration.
I am slightly obsessed with garlands made out of yarn pom poms. I have this cute Halloween yarn garland and even a yarn pom pom turkey! They are just so easy to make and look adorable on display.
I couldn’t let summer go by without making a yarn garland for decoration. And what says summer better than ice cream cones?!
Ice Cream Cone Garland
Materials
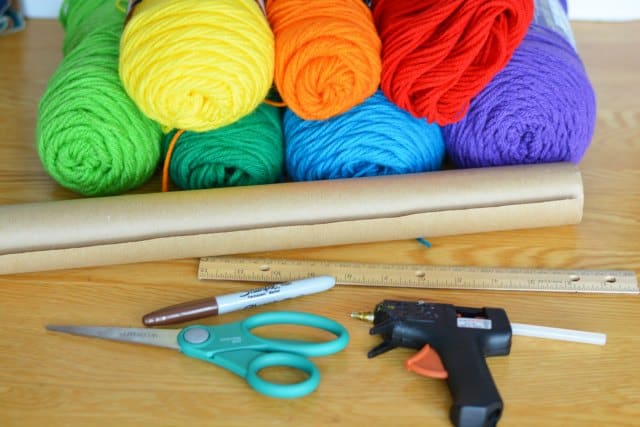
Start by gathering your supplies:
Brown Kraft Paper
Brown Sharpie
Ruler
6″ plate or similar circle template (try a pyrex lid)
Twine
Pencil
Scissors
1″ red pom poms and 1 pink
Yarn in rainbow colors:
Bernat Super Value Yarn in Peacock and Light Damson
Red Heart Yarn in Cherry Red, Bright Yellow, Pumpkin, Spring Green, and Paddy Green
Instructions
Make the Pom Poms
Cut 1 piece of yarn about 12″ long of each color and set it aside. This will be used to tie the middle of the pom pom. Since one of your hands will be occupied with yarn, it’s easiest to cut this first.
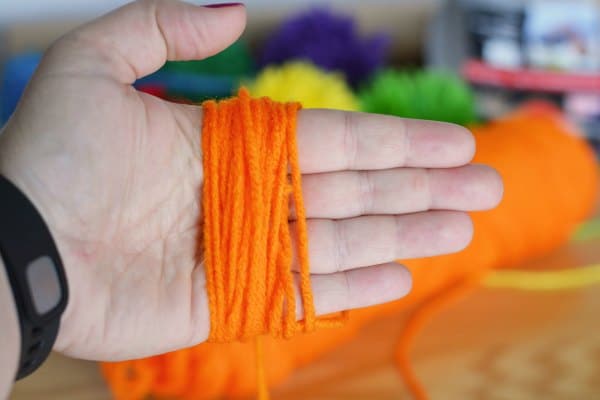
Wrap one color yarn around the palm of your hand around 150 times and then trim the ends.
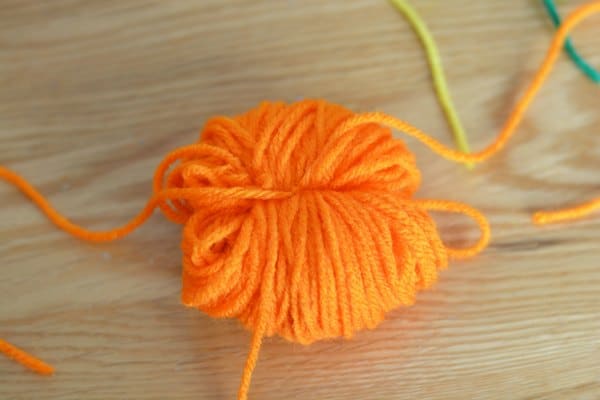
Next, slide the pre-cut piece of yarn through your fingers and slide the yarn off your hand. Tie the piece you slid through tightly. Double knot.
Gently flip over the bundle of yarn and bring the two pieces you just tied to the other side to do the same, double knotting them.
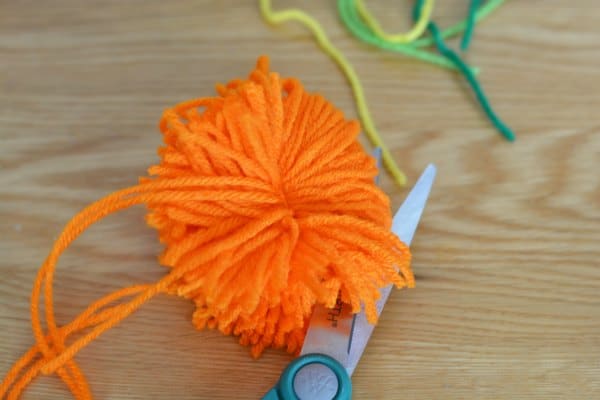
Then use your scissors to cut the loops to create a pom pom.
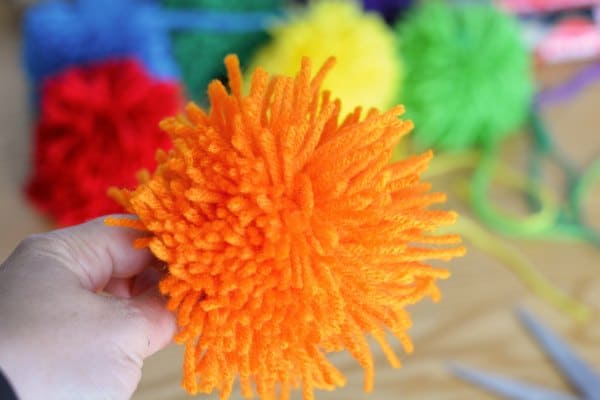
Finally trim the pom pom. Hang onto the “tail”, which is the piece that holds the yarn together and was tied on both sides. Trim the pom pom into the shape desired.
Do not cut the tail, that is what you will use to hang the cones. If you do cut it, simply tie another one on, very tightly.
Make one pom pom with each color of yarn.
Make Paper Cones
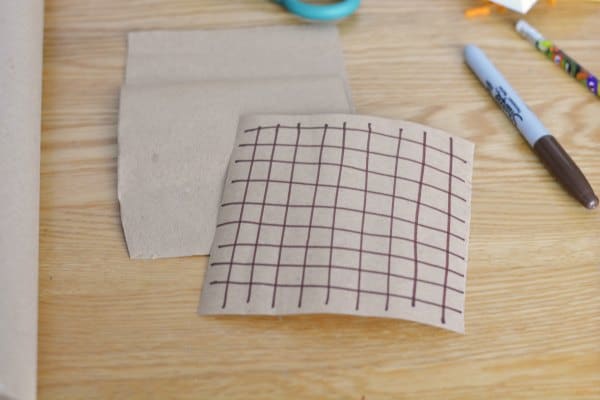
Next, make the paper ice cream cones. Cut one 5″ x 5″ piece of kraft paper for each color pom pom.
Use the brown Sharpie to draw grided lines on each square of paper.
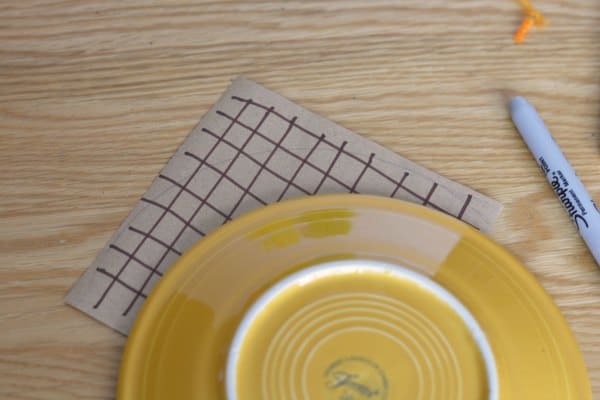
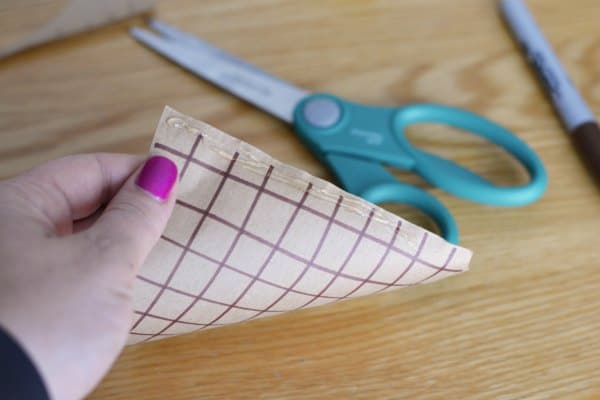
Now, cut the paper square in to a cone shape. Free hand it or use a plate as a circle guide to create an arched side to the paper.
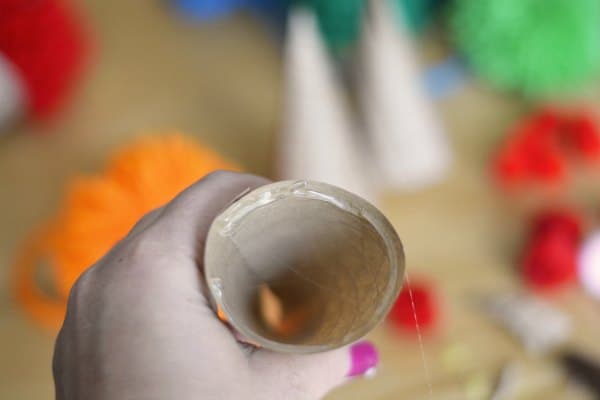
Next, roll each paper into a cone shape and secure the edges with hot glue.
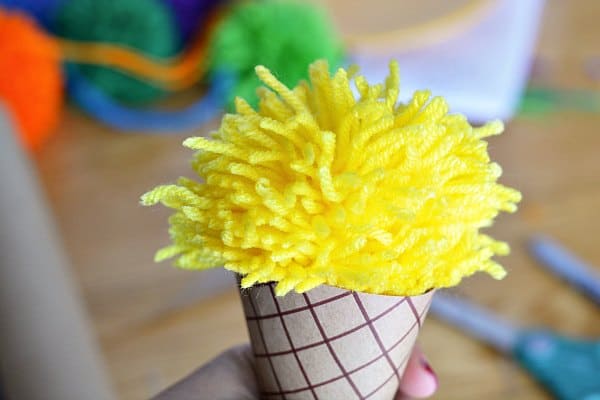
Now it’s time to make the ice cream cones! Attach the pom poms to the paper cones by putting hot glue into the top of the cone. Set the pom pom on top, pushing it somewhat down into the cone so the glue catches the yarn.
Keep the tail on top and not in the cone to use to create a loop by knotting to hang.
Hang the Ice Cream Cones
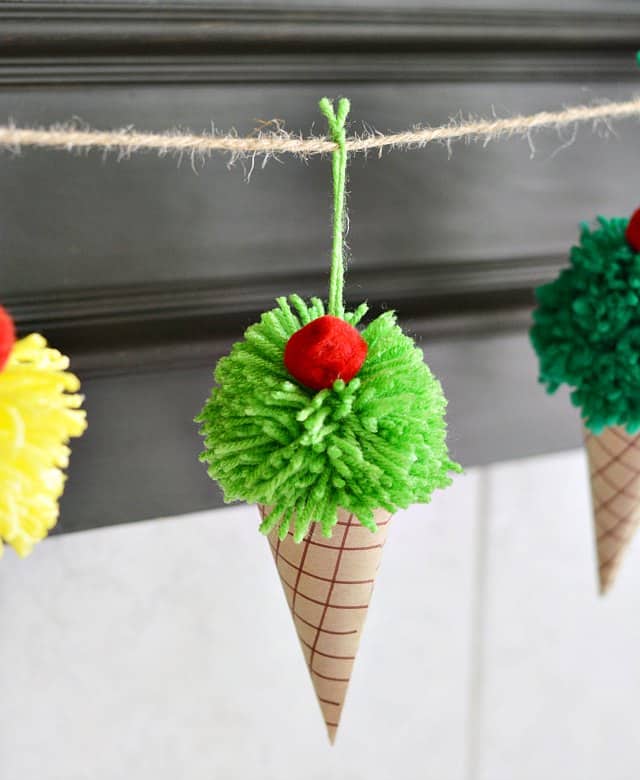
After each cone is made, string them up on the twine. Measure the length needed for the twine and add about 12″. Add a slip knot to each end and slide the cones onto the twine. Hang as desired.
Finally, add pom pom cherries to the top of each ice cream cone. To get the “cherries” to sit straight, add them on after the cones are hung on the twine. Add a white or pink pom pom to the red ice cream cone to make the cherry stand out more.
Finally, hang the finished garland on a mantle, or a deck. This would be adorable for an ice cream party!
[dtbaker_banner text=”You Will Also Love:” linkhref=”” type=”brush”]

