Hang a mug of hot cocoa Christmas ornament on your Christmas tree! Made with just a few basic craft supplies and a great craft for kids!
Turn small plastic espresso mugs into tiny cozy mugs of hot cocoa that you can hang on your Christmas tree. Use brown craft paint, cardboard, and glue to create the hot chocolate. Top with cotton ball marshmallows and a candy cane made with pipe cleaners. Festive red and white twine will hang the mug from the handle on your Christmas tree.
Kids love to make homemade Christmas ornaments for their Christmas trees. Clay ornaments or homemade dough ornaments are always popular Christmas ornaments to make. But you can put only so many clay ornaments on a tree. This year grab your kids (or some friends) and make these adorable hot cocoa mugs to hang on your tree and give as gifts.
Easy and Cute Mug of Hot Cocoa Christmas Ornament
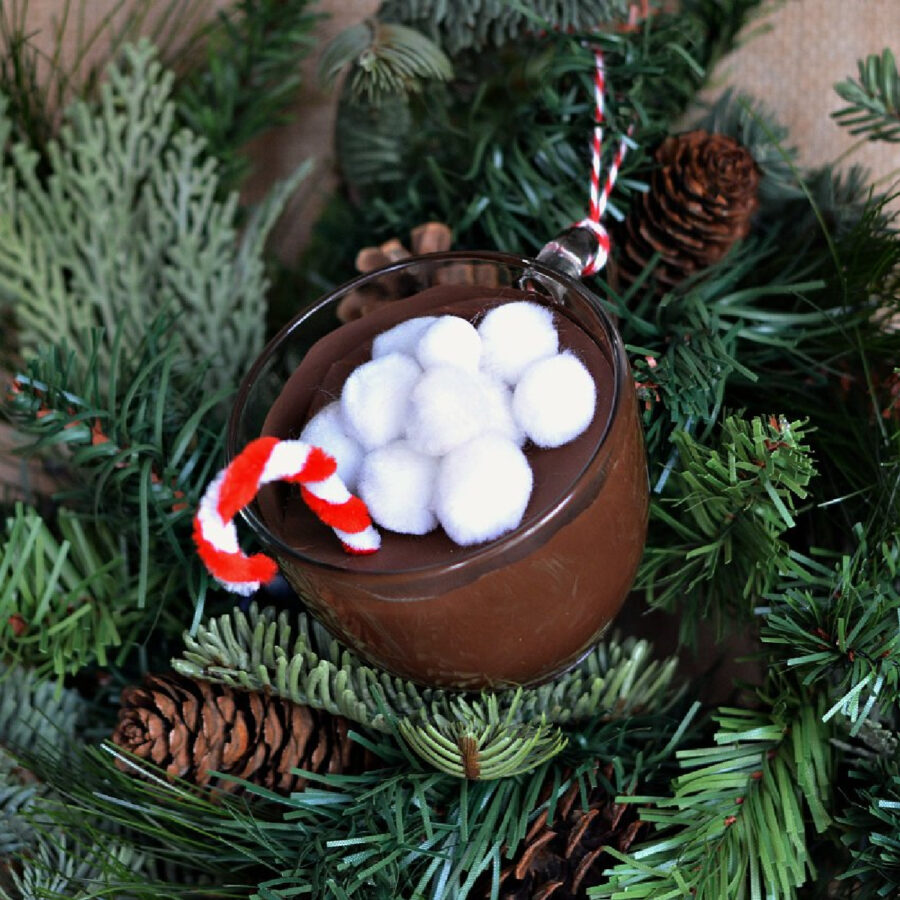
Hot Cocoa Christms Ornament
Pin For Later-
Reader’s Favorite!
Printable Photo Frame Christmas Ornaments
-
Reader’s Favorite!
Printable Polar Bear Christmas Gift Tags to Color
Hot Cocoa Mug Ornament Materials:
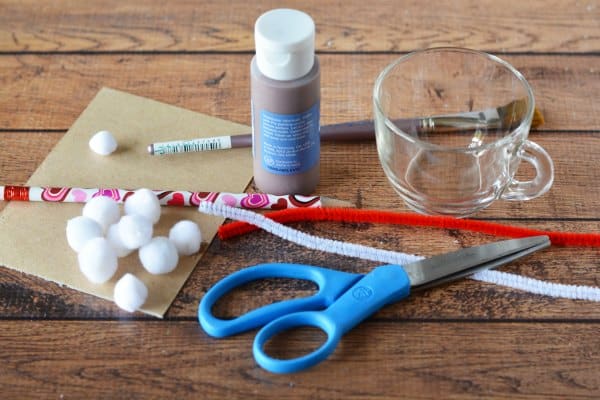
- 1 clear plastic mug
- Brown acrylic paint
- Cardboard (use a cereal box!)
- Small white pom poms
- 1 white pipe cleaner and 1 red pipe cleaner (or you can buy them already twisted!)
- Paint brush
- Scissors
- Hot glue gun and hot glue
- String or ribbon for hanging
- Pencil
- Pen
Hot Cocoa Mug Ornament Directions:
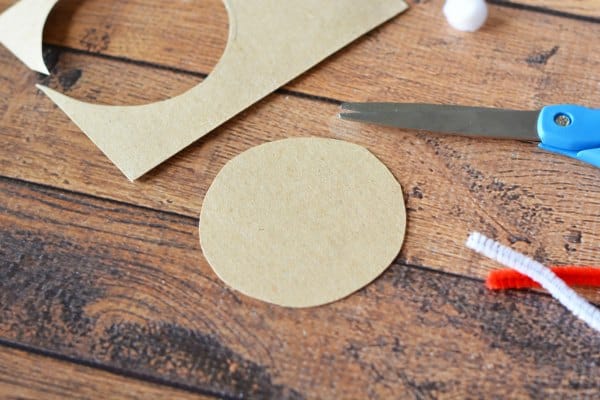
Wash and dry your clear glass mug. Place your mug, upside down, onto a piece of cardboard and trace it with a pencil. Cut out the cardboard circle and set it aside for later.
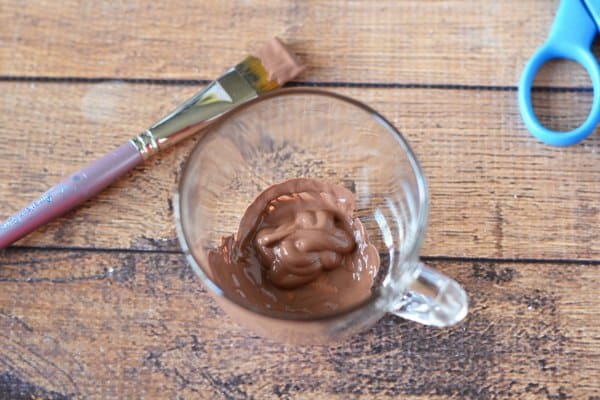
Put brown paint into the mug. If your paint is thin enough (mine was not) swirl the mug around to evenly coat the inside of the mug. Add additional paint as needed.
If your paint is thick, you can thin it first or use a paint brush to carefully spread the paint up the sides of the mug and on the bottom. Make sure there are no holes showing. Let dry completely.
You may need to let the thick paint dry for two days. You can check to see if it’s dry by looking at the outside of the mug. If the color is a consistent color, it’s dry. If you see light and dark spots of brown, some parts are dry and some are not. Paint dries just a bit darker than it does when it’s a liquid.
I would suggest thinning the paint out so it just doesn’t take so long to dry.
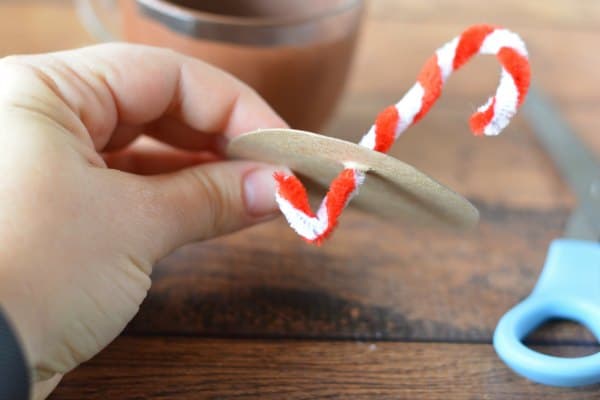
Fold the ends of a white and red pipe cleaner together to keep them in one place. Then twist the two pipe cleaners together to create a candy cane. If you end up with two even pieces when finished twisting, fold the ends together to secure. Otherwise, trim the long piece even with the shorter one and fold the pieces together to secure. Bend the tip to resemble a candy cane. Set aside.
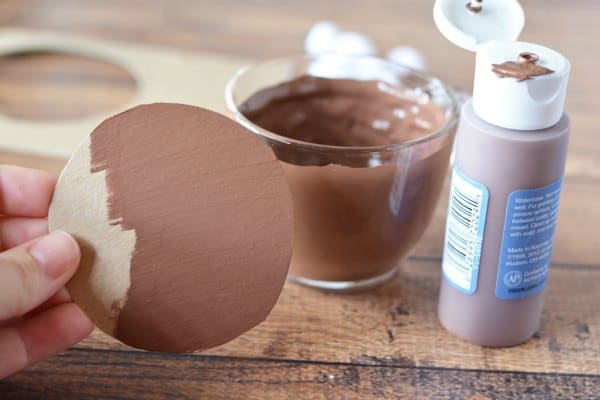
Paint the cardboard circle you made with brown paint on top of the cup. Let dry. Trim your painted circle with scissors. You want it to be about 1/8″ smaller all the way around.
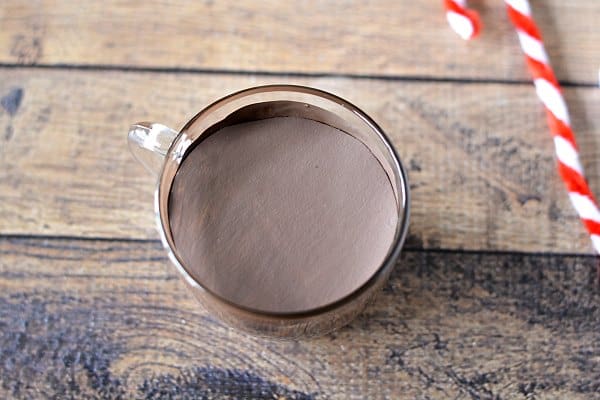
Place your circle inside the mug. It should sit just below the line of paint. Trim and adjust if necessary.
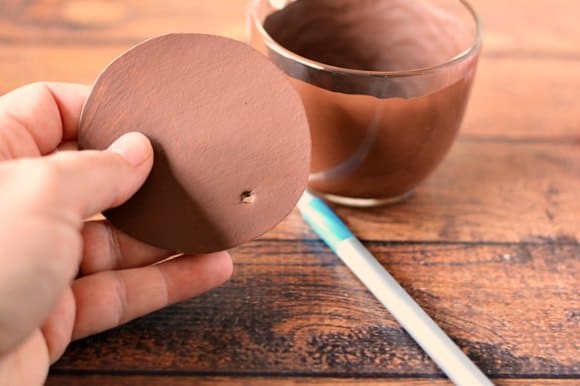
Use the tip of a pen to create a hole in your cardboard as shown. Slide the candy cane through the card board and bend the bottom portion about 1″ to prevent someone from pulling it out of the cardboard. Set the cardboard into the mug. Position your candy cane as desired.
Use hot glue to add white pom poms to look like marshmallows and tie a string on the handle to hang.
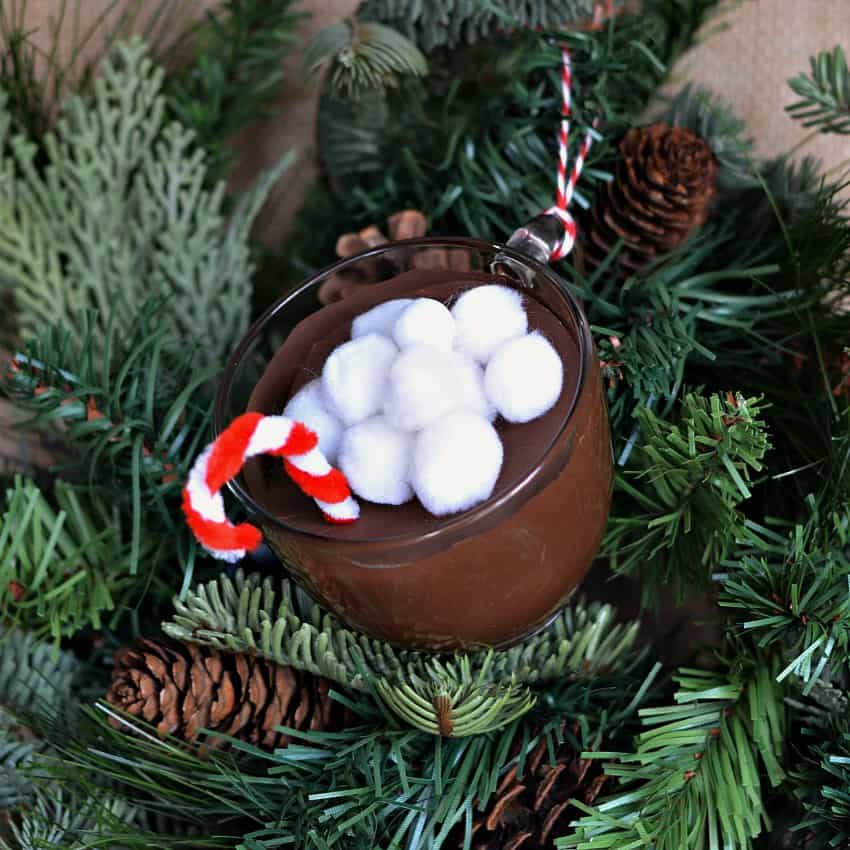
Mug of Hot Cocoa Christmas Ornament
Equipment
- Paint brush
- Scissors
- Hot glue and hot glue gun
- Pencil
- Pen
Materials
- Clear plastic mug
- Brown acrylic craft paint
- Cardboard
- Small white pom poms
- White and red pipe cleaner
Instructions
- Wash and dry your clear glass mug.
- Place your mug, upside down, onto a piece of cardboard and trace it with a pencil. Cut out the cardboard circle and set it aside for later.
- Put brown paint into the clear glass mug. If your paint is thin enough (mine was not) swirl the mug around to evenly coat the inside of the mug. Add additional paint as needed. Let dry completely.
- Fold the ends of a white and red pipe cleaner together to keep them in one place.
- Then twist the two pipe cleaners together to create a candy cane. If you end up with two even pieces when finished twisting, fold the ends together to secure. Otherwise, trim the long piece even with the shorter one and fold the pieces together to secure. Bend the tip to resemble a candy cane. Set aside.
- Paint the cardboard circle you made with the top of the cup with brown paint. Let dry. Trim your painted circle with scissors. You want it to be about 1/8″ smaller all the way around.
- Place your circle inside the mug. It should sit just below the line of paint. Trim and adjust if necessary.
- Use the tip of a pen to create a hole in your cardboard as shown. Slide the candy cane through the cardboard.
- Bend the bottom portion about 1″ to prevent someone from pulling it out of the cardboard.
- Set the cardboard into the mug. Position your candy cane as desired.
- Use hot glue to add white pom poms to look like marshmallows and tie a string on the handle to hang.

