
Learn how to make a DIY notebook cover using scrapbook paper and a composition notebook.

Having the same old school supplies as every kid in class gets pretty boring. Kids love expressing themselves in the supplies they use everyday in school. Let them express their personalities by making a DIY notebook cover. Use scrapbook paper to cover an inexpensive composition notebook for a one of a kind notebook or journal.
Let your kids really express their personalities by choosing a fun scrapbook paper with their favorite hobby, sports team, color, or move character. Match that up with a printed or glitter washi tape for the binding and add a colored pencil to match.
How to Make a DIY Notebook Cover
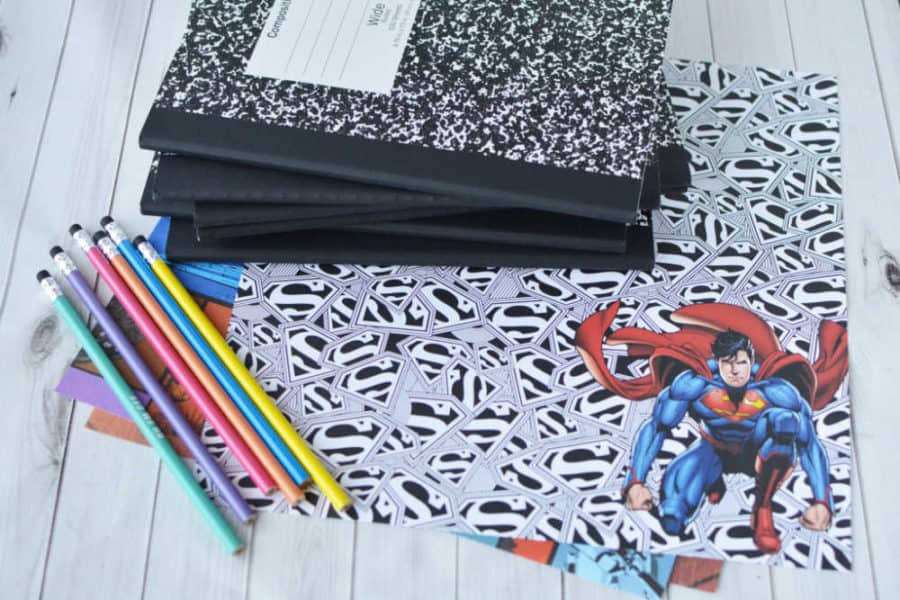
Materials:
- 1 composition notebook
- 1, 12 x 12 piece of scrapbook paper
- Washi tape
- Paper trimmer
- Spray adhesive
-
Newspaper or similar drop clothScissors
- Pencil
- Baker’s twine
- Pencil
Directions:
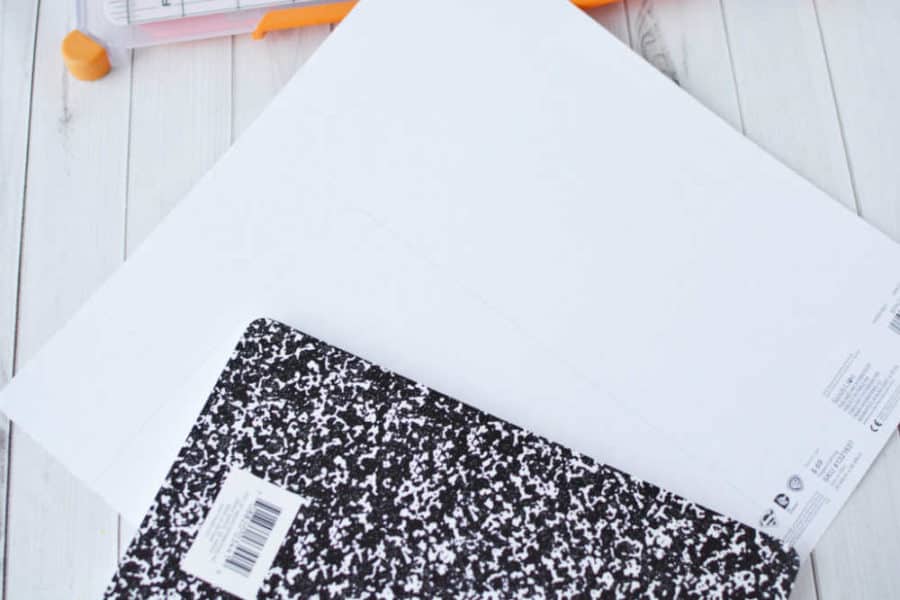
Start by trimming the scrapbook paper to fit the size of your composition notebook. Scrapbook paper is usually a 12 x 12 inch square and a composition book is about 8.5 x 10. Open the composition book and trace the cover onto the back of a piece of scrapbook paper. The back is usually white.
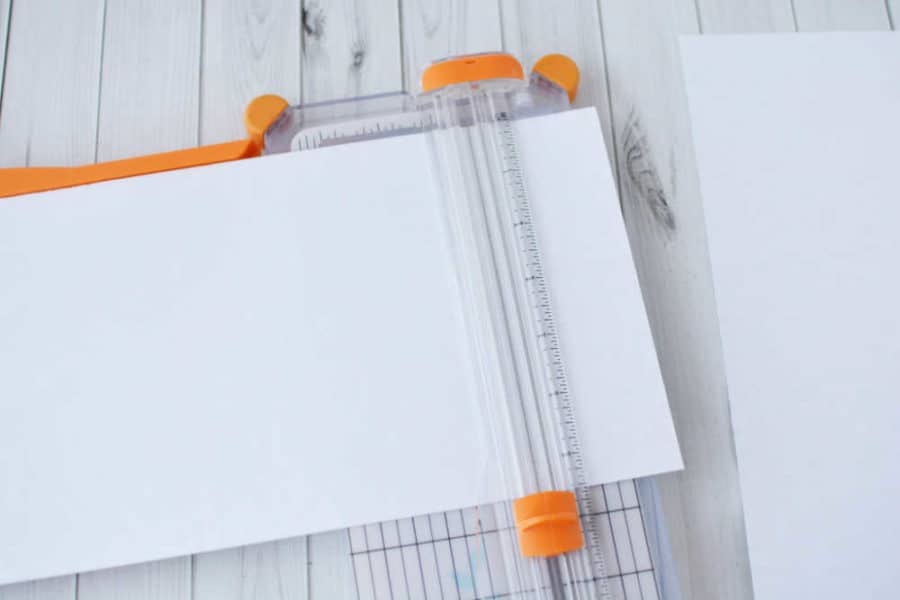
You can either use the paper trimmer or scissors to trim the paper into the shape of the cover you traced on the scrapbook paper. Do not worry about the curved corners just yet. Just get it to the size needed to cover the notebook.
When you trim the scrapbook paper, you will some left over. You have two choices to cover the back. You can take that piece of paper and place it onto the back of the cover and trim it to fit on the top and bottom of the notebook. It will not fit the entire width of the back cover of the composition book. It will, however, fit in the center to cover the UPC code on the back.
Or you can repeat the same process you did to cover the front of the notebook using a second piece of scrapbook paper. It is entirely up to you. We were OK with the back not being perfectly covered and just used the leftover paper.
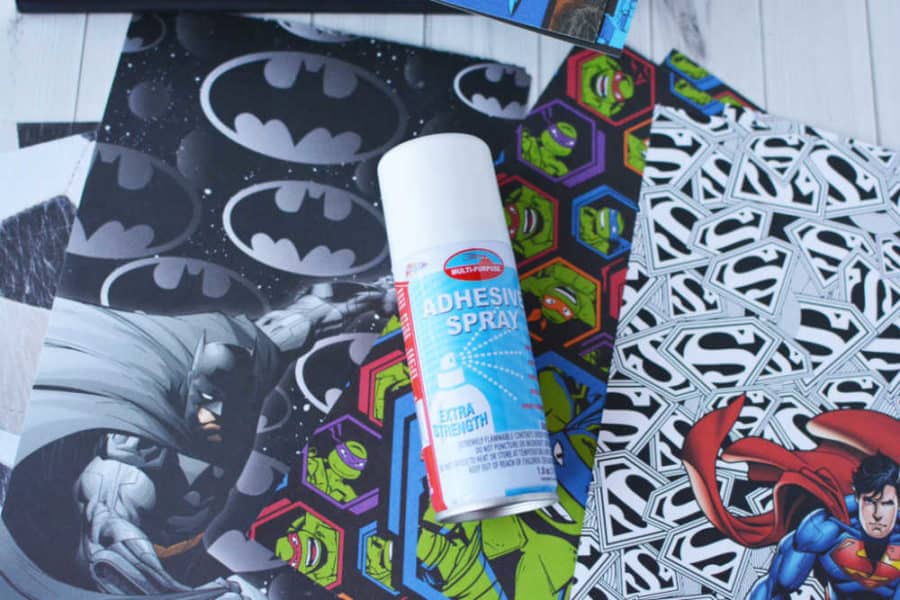
Once you have the scrapbook paper cut for the front and back of the notebook, you attach the paper to the notebook using spray adhesive. You will need a well ventilated area to use the spray adhesive. Using spray adhesive ensures that there are not any wrinkles in the paper and a great permanent attachment to the notebook.
Spread out some newspaper or a large table cloth in a well ventilated area. Place the scrapbook paper, face down, onto the newspaper. Lightly spray the spray adhesive to the back, non-printed part paper. You need a thin even coat. The paper will be tacky and sticky. Carefully pick up the paper and place it onto the front of the composition book and the back. Press from the center, outward until smooth.
Tip: If your finger tips get sticky, use nail polish remover to clean them up!
Once the paper is on the front and back of the notebook, use scissors to trim the round corners of the book.
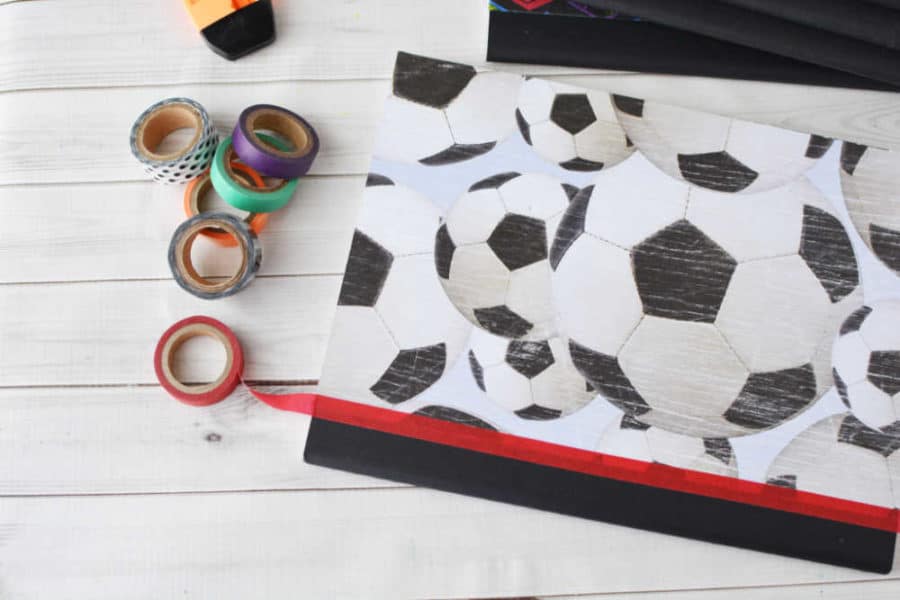
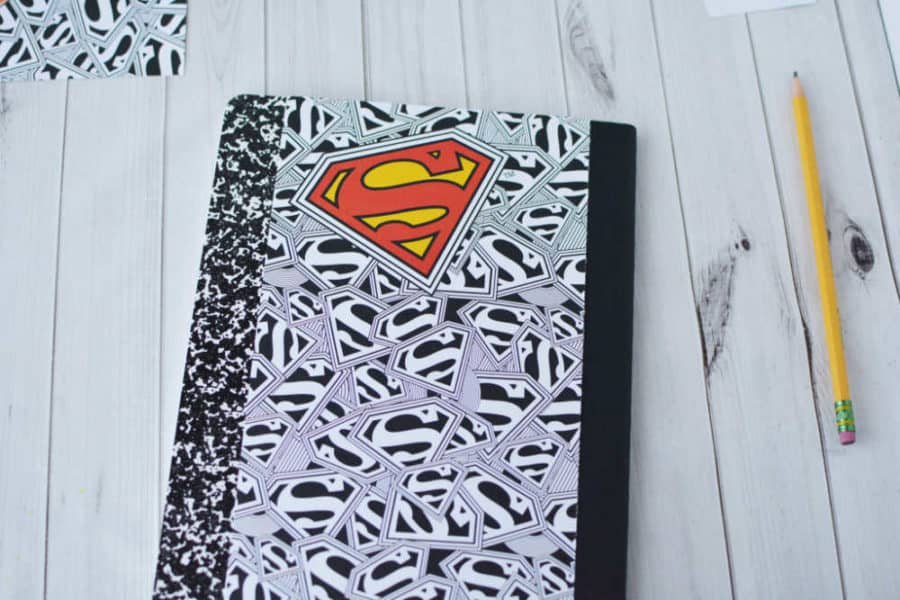
Once the notebook is covered in your scrapbook paper, you will add a few finished touches. First, cover the seams, or edges of the paper with washi tape or even thin duck tape. Trim the excess with scissors.
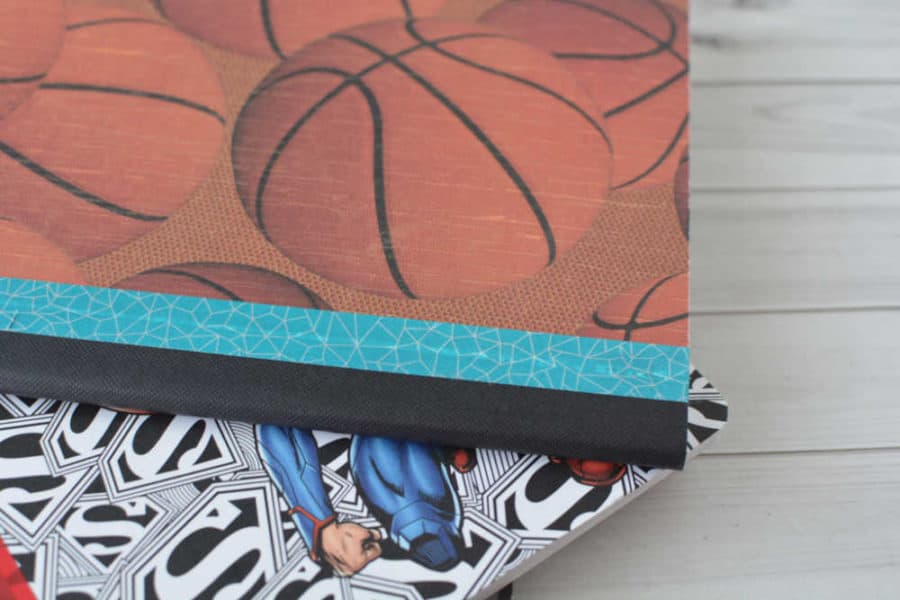
We made several different notebooks (soccer, basketball, super hero) and used different washi tape to match each theme.
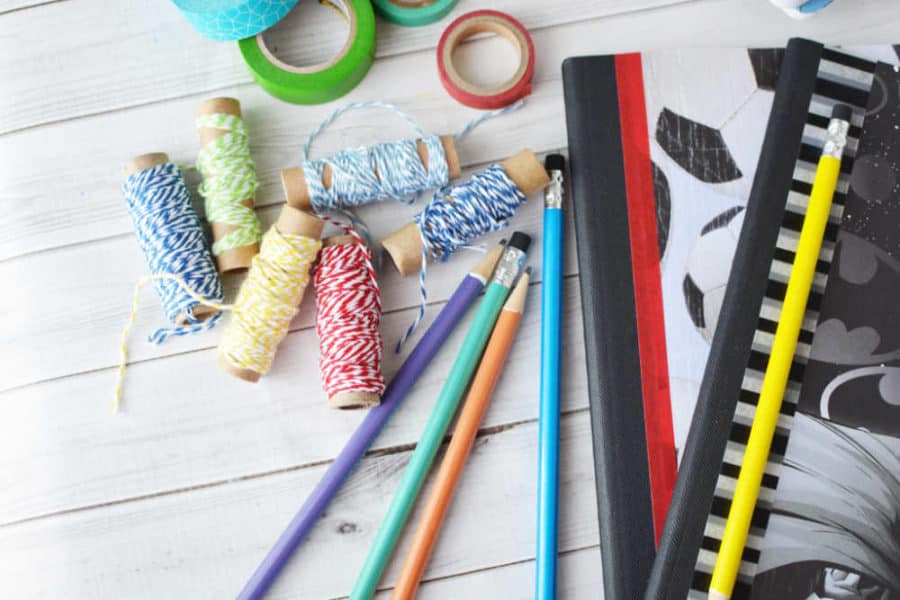
It’s really fun to attach a pencil to the notebook with baker’s twine, but not necessary. So you can skip this step.
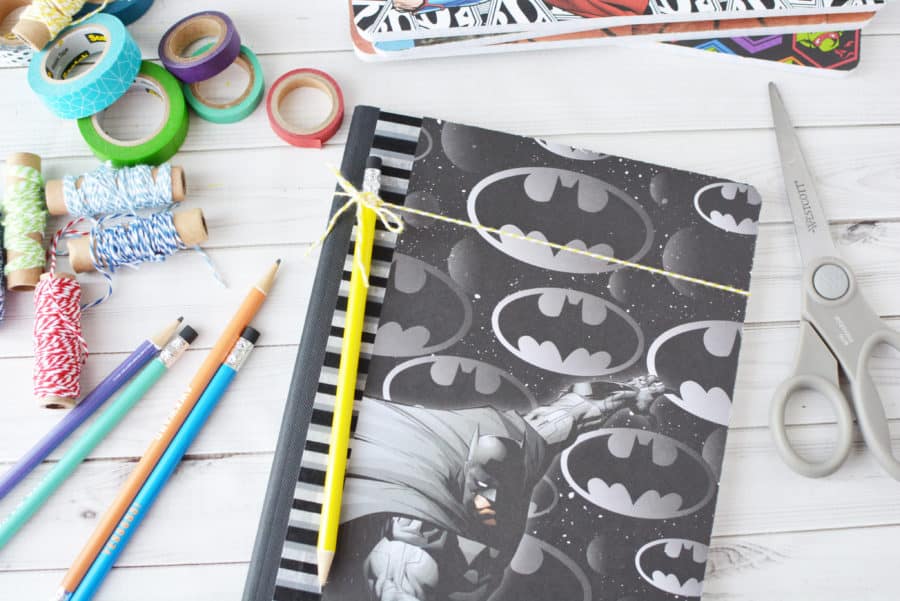
Cut a long piece of baker’s twine and tie it around the book. Tie the pencil onto the baker’s twine and tie it in a bow.
How to Make a DIY Notebook Cover
Let your kids really express their personalities by choosing a fun scrapbook paper with their favorite hobby, sports team, color, or move character. Match that up with a printed or glitter washi tape for the binding and add a colored pencil to match.
Yield: 1 Notebook Cover
Cost: $2.00
Equipment
- Paper trimmer
- Scissors
- Pencil
Materials
- 1 composition notebook
- 1, 12 x 12 piece of scrapbook paper
- Washi tape
- Spray adhesive
- Baker's twine
- Pencil
- Newspaper or similar drop cloth
Instructions
- Trim the scrapbook paper to fit the size of your composition notebook. Open the composition book and trace the cover onto the back of a piece of scrapbook paper. The back is usually white.
- When you trim the scrapbook paper, you will some left over. You have two choices to cover the back. You can take that piece of paper and place it onto the back of the cover and trim it to fit on the top and bottom of the notebook. It will not fit the entire width of the back cover of the composition book. It will, however, fit in the center to cover the UPC code on the back.
- Or you can repeat the same process you did to cover the front of the notebook using a second piece of scrapbook paper.
- Attach the paper to the notebook using spray adhesive. Spread out some newspaper or a large table cloth in a well ventilated area. Place the scrapbook paper, face down, onto the newspaper. Lightly spray the spray adhesive to the back, non-printed part paper. You need a thin even coat. The paper will be tacky and sticky. Carefully pick up the paper and place it onto the front of the composition book and the back. Press from the center, outward until smooth.
- Once the paper is on the front and back of the notebook, use scissors to trim the round corners of the book.
- Cover the seams, or edges of the paper with washi tape or even thin duck tape. Trim the excess with scissors.
- Attach a pencil to the notebook with baker’s twine. Cut a long piece of baker’s twine and tie it around the book. Tie the pencil onto the baker’s twine and tie it in a bow.