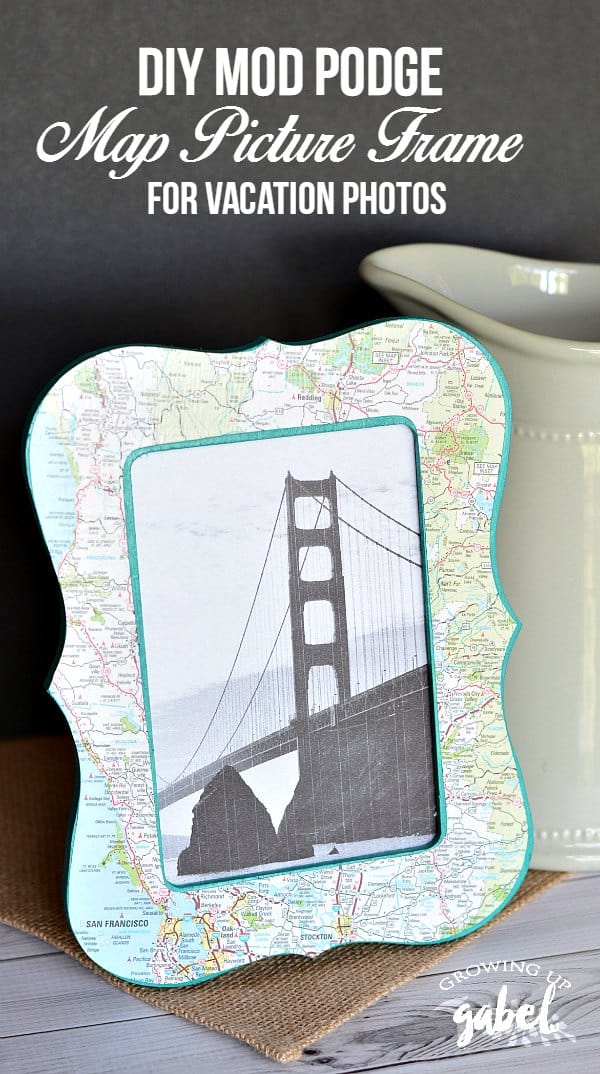
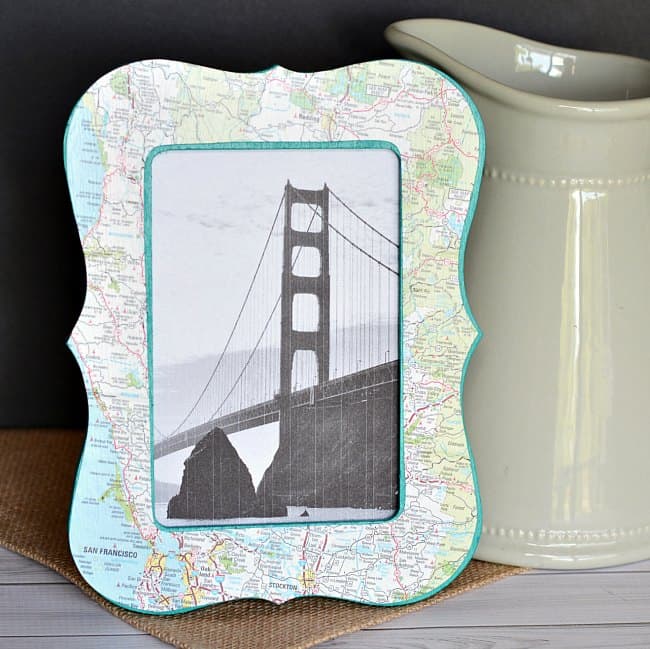
A DIY map picture frame is the perfect way to display favorite vacation photos.
Vacation photos are one of my most treasured possessions. I used to collect mugs from the places we visited, but they started taking up too much room and they are expensive.
My favorite mementos from vacations are the pictures we take. I can, and do, fill up photo books every year of our vacations. But the books get buried and I don’t get to look at the pictures often.
My daughter had an old atlas laying around that I’ve been saving for a crafting project. Making photo frames using the maps to show off our photos is a fun way to use the maps and display photos so we can all see them daily.
DIY Map Picture Frame
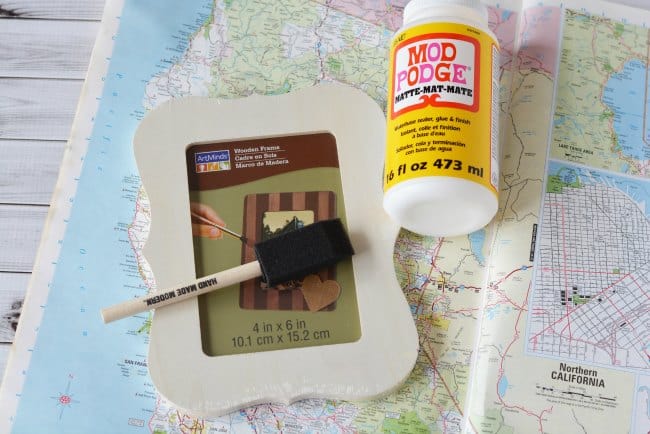
Materials:
4 x 6 wood craft frame
Teal acrylic paint (or any color)
Mod Podge
Foam brush
Paint brush
Map or Atlas orprint a map from Google Maps
Pencil
Scissors
Directions:
Pick any craft frame, size or shape you like. These frames are readily available cheaply at most craft stores and online.
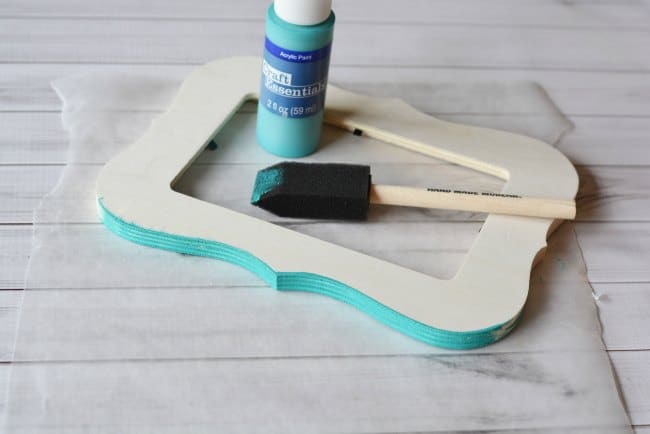
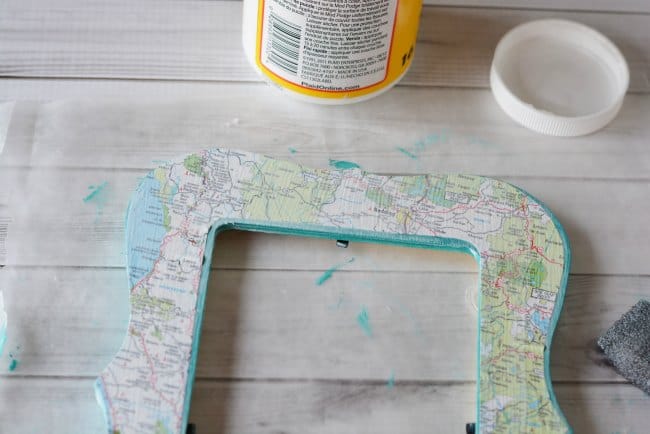
Paint your frame with acrylic paint. We used teal paint, but any color will work. Cover the edges and overlap onto the surface about 1/4″ -1/2″. Let the paint dry completely before moving on to the next step.
Use your frame to trace the section of map desired. Try to get the name of the city or part of the landmark where the photo was taken on to the frame to make it more personal.
Cut out the map, trimming about 1/4″ inside of the line you traced.
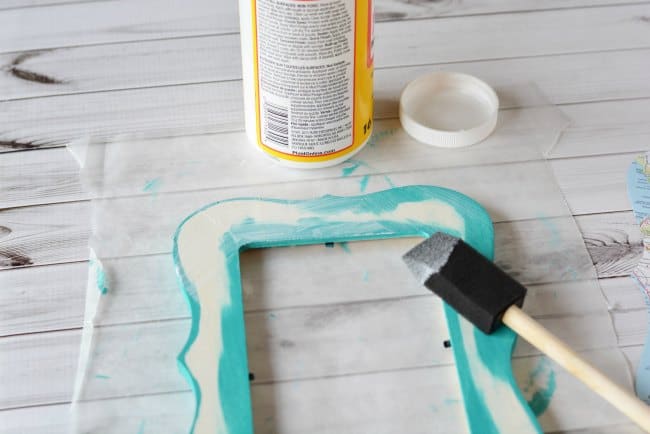
Apply a thin layer of Mod Podge to the frame and carefully lay the map over the frame. There are several different types of Mod Podge. Matte or gloss will both work.
Gently smooth the bubbles and wrinkles out of the paper with your thumb. Set aside to completely dry.
Once the first layer is dry, add another layer of Mod Podge to seal the frame.
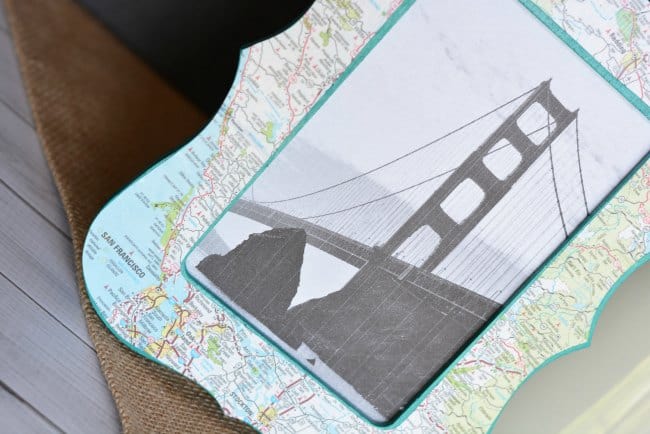
Choose your favorite photo and add it to the frame.
We didn’t take this photo of the Golden Gate bridge so you could also use a stock photo to commemorate where your family has traveled.

