
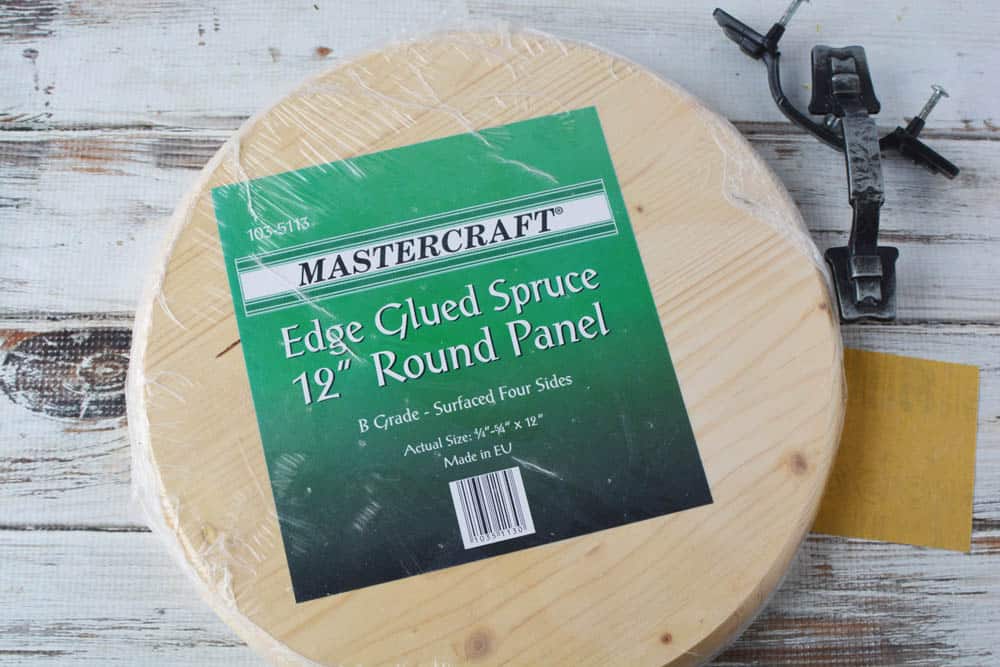
Making your DIY wood tray is easy using a pre-cut round piece of wood, paint, and drawer handles. This project is excellent for beginners who want to try chalk paint or a drill. You could add personality using different paint colors or a Cricut Explore Air 2 to make a monogram or add a name.
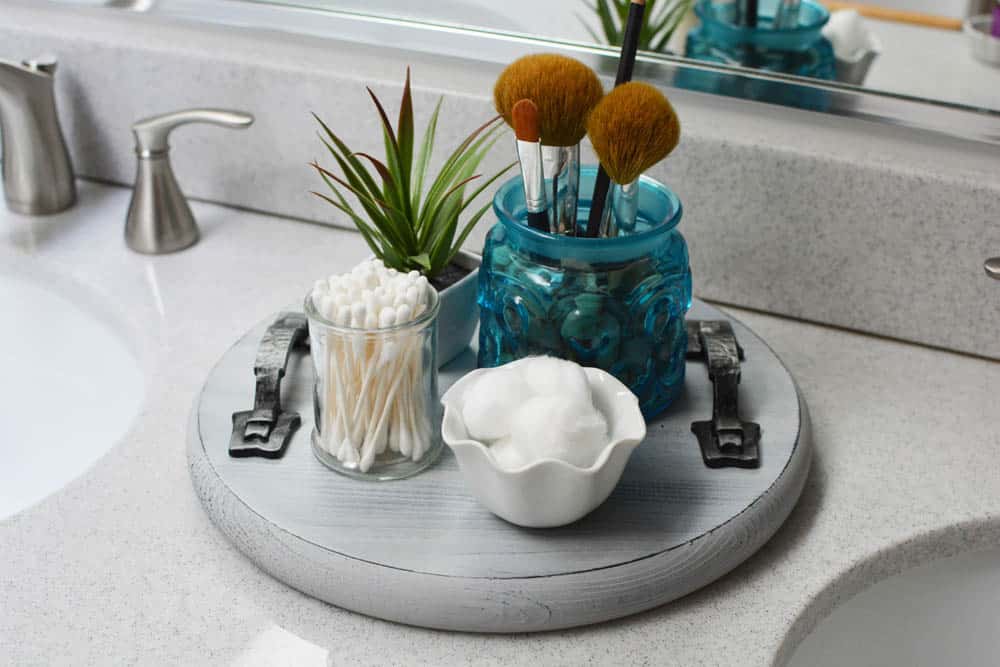
The best thing about this DIY wood tray is how many uses there are for it in your house. You can use it in your bathroom for those little odds and ends daily.
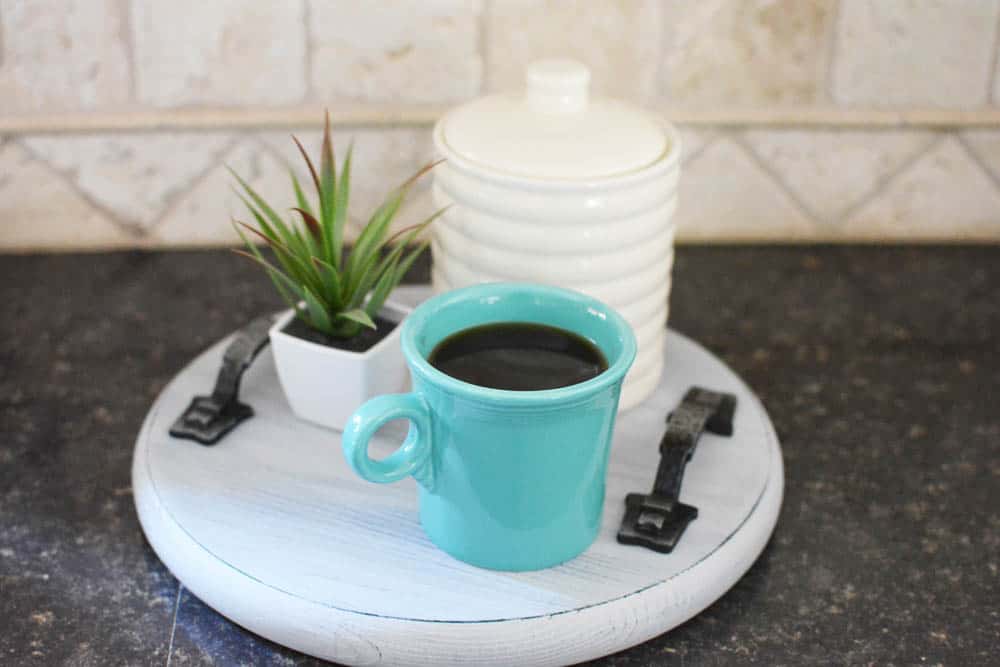
You can use it in your kitchen to hold coffee-making supplies, flour and sugar canisters, or maybe even a cookie jar.
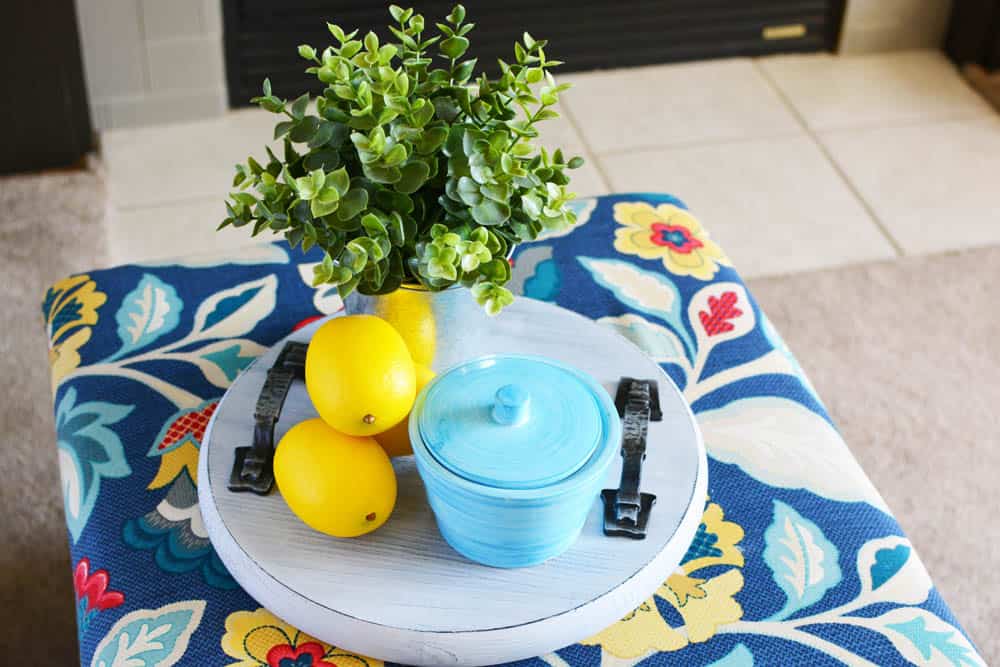
You can use it in your living room to decorate an ottoman or coffee table.
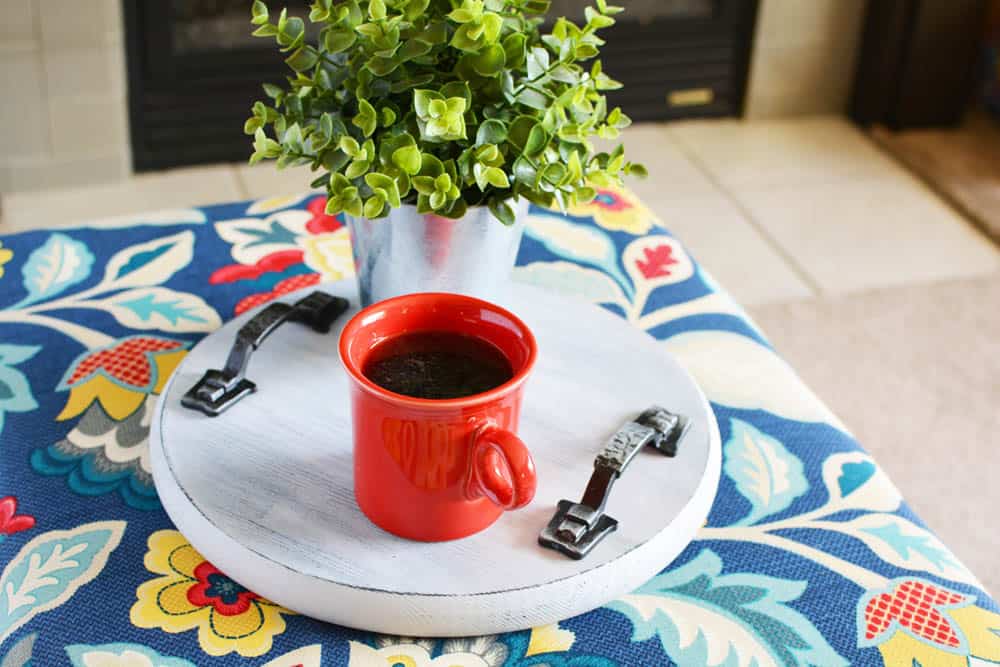
You can also use it as a serving tray for appetizers, picnic condiments, or anything else. It is truly a versatile DIY project!
DIY Wood Tray Supplies
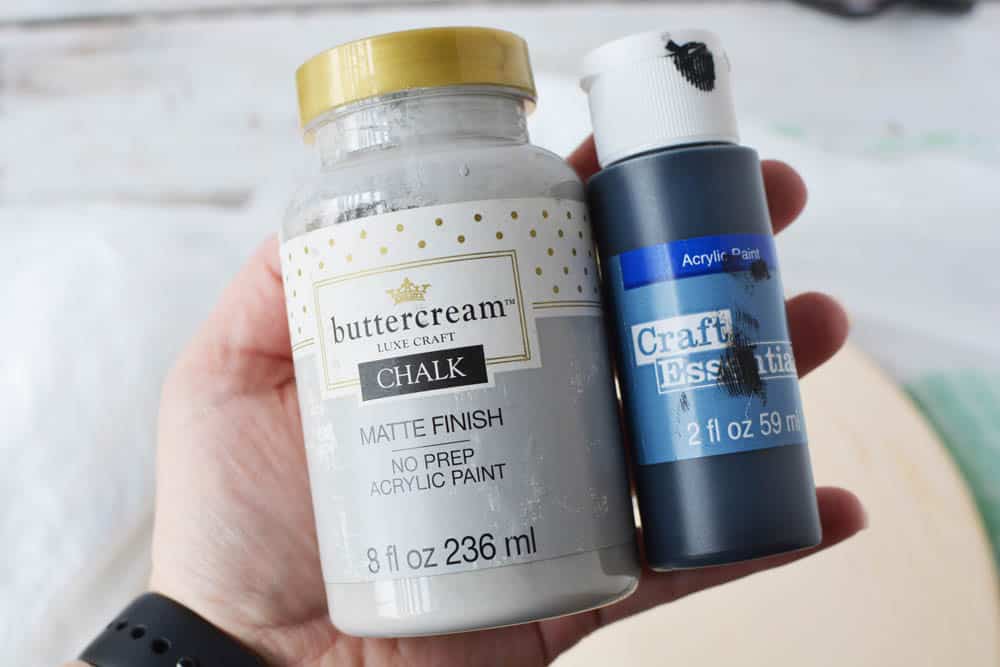
- Black acrylic paint
- Gray chalk paint
- Wax for chalk paint
- 2 handles (cabinet pulls)
- Cabinet handle screws (see note below)
- Foam brush
- Paint brush
- Brush for applying wax
- Dry cloth
- Lint free cloth (optional)
- Cordless Drill
- 3/32″ Drill bit
- Ruler or Tape measure
How to Make a DIY Wood Tray:
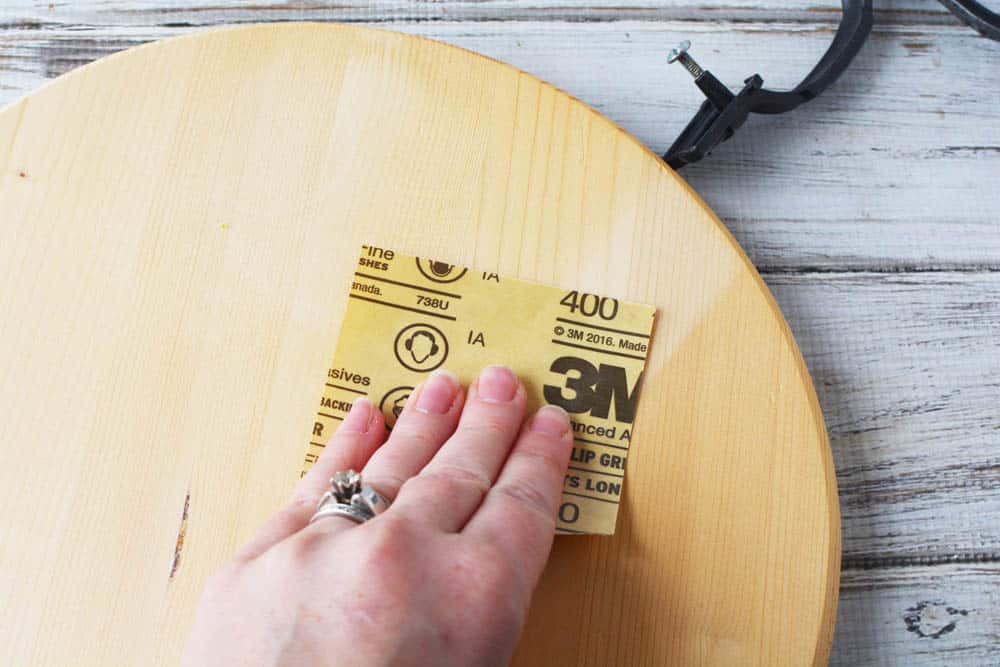
Use sand paper to sand the wood round. Wipe clean with a dry cloth.
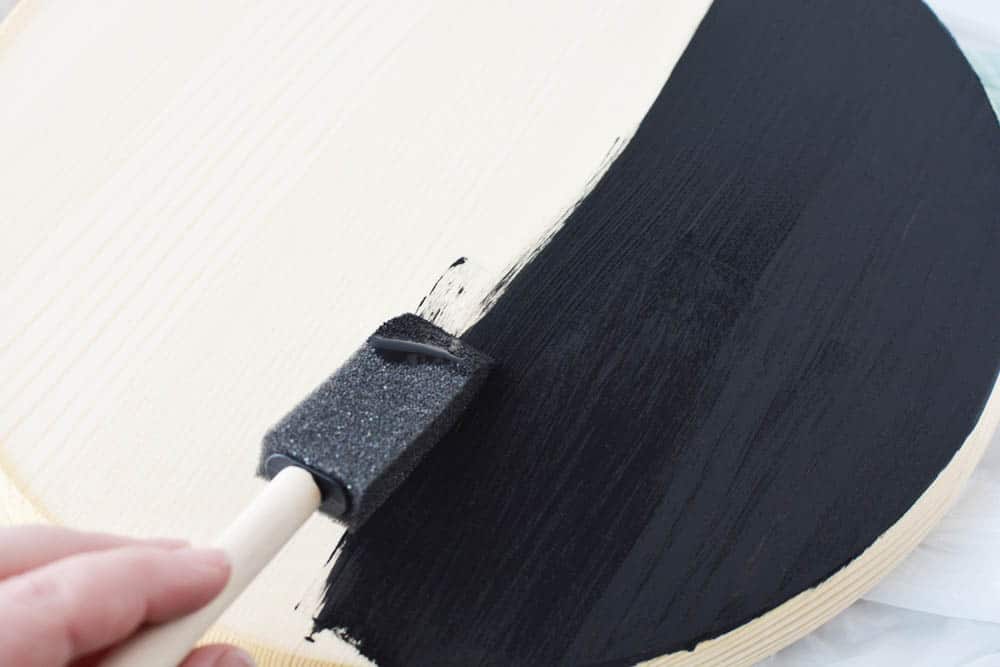
Use black acrylic paint and a foam brush to paint both sides of the wood round. Let dry completely.
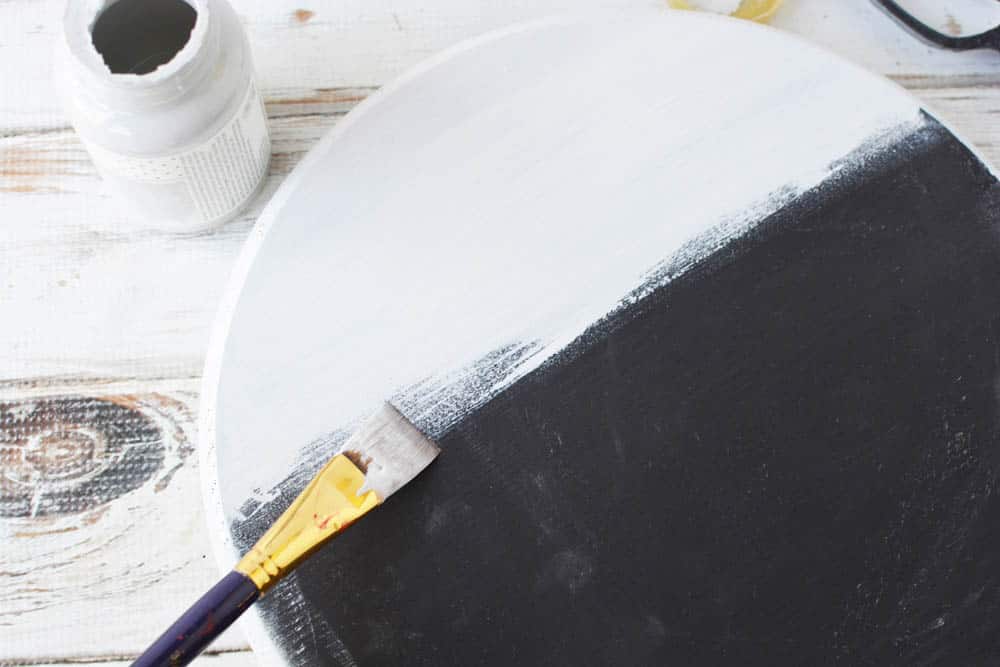
Paint over the black with chalk paint. A thin even layer works best. Let dry completely.
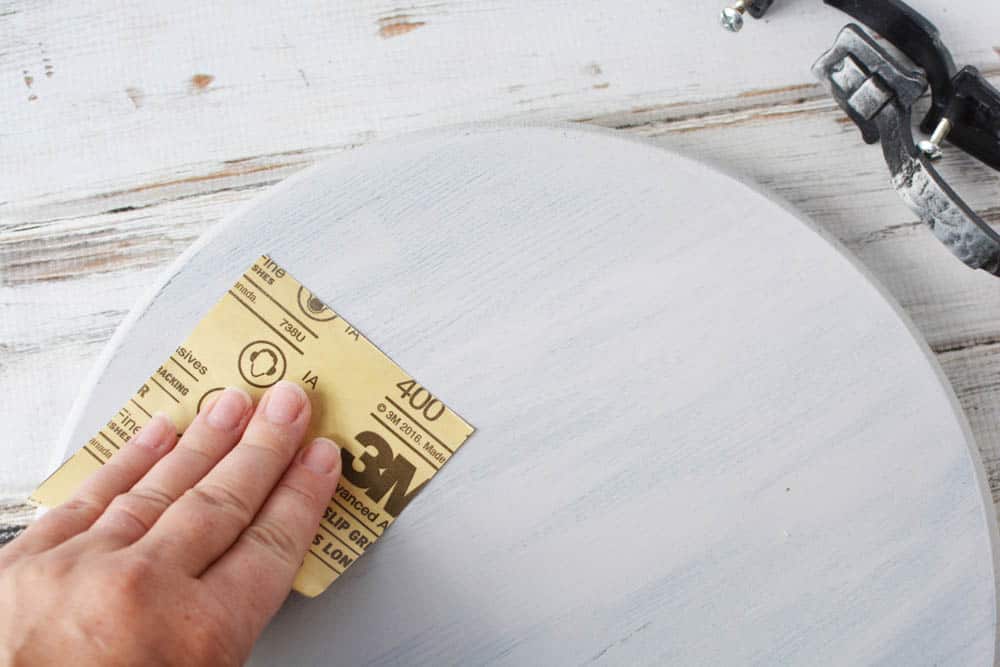
Use 400 grit sand paper to gently sand the chalk paint until smooth. This is where you begin to distress the tray so you can see some of the black paint underneath. Wipe gently with a dry cloth when finished.
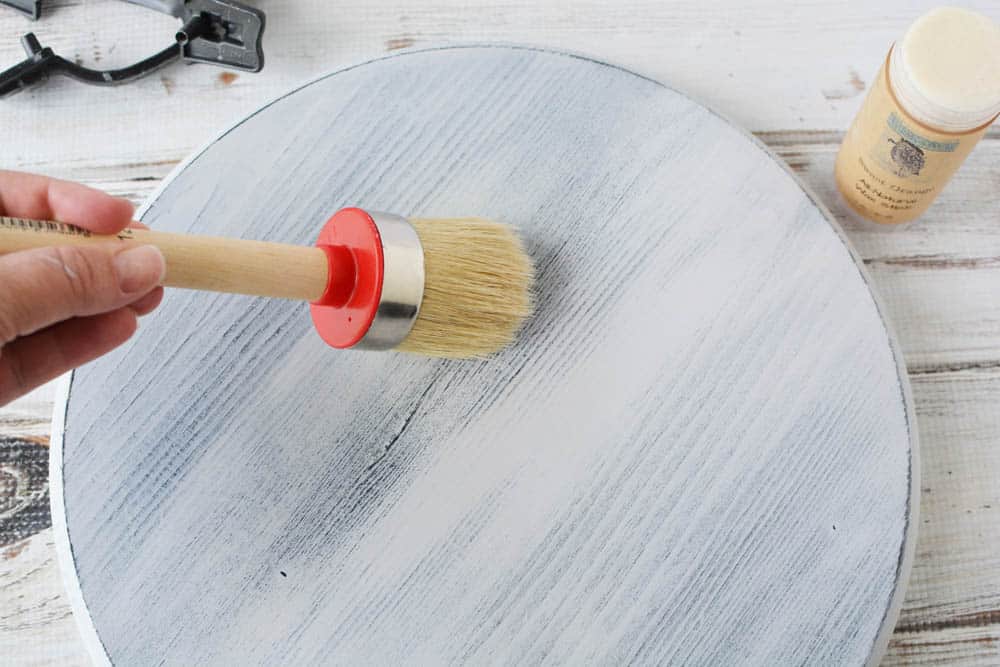
Use a brush to apply wax to the tray. Let set for 24 hours to cure. If the wax is still sticky after 24 hours, wipe off gently with a lint free cloth and let set for another day until cured.

Once the wood tray is fully cured, attach the handles to the tray. Flip the tray over so you are working on whichever side is the bottom. You want screws that are long enough to go through the wood and into the handle. The screws that come with your handles may be too short as you can see above.
Instead, you can use Machine Screws. The size for most standard hardware is #8-32 and then the length varies. When you buy these screws it will say 8-32 x 1-1/2 or 8-32×1-3/4. The last number is the length. So it’s 1-1/2″ long or 1-3/4″ long. We used ones that are 1 – 1/4″ long. Check your handle by bringing it with you to the store when you buy the screws.
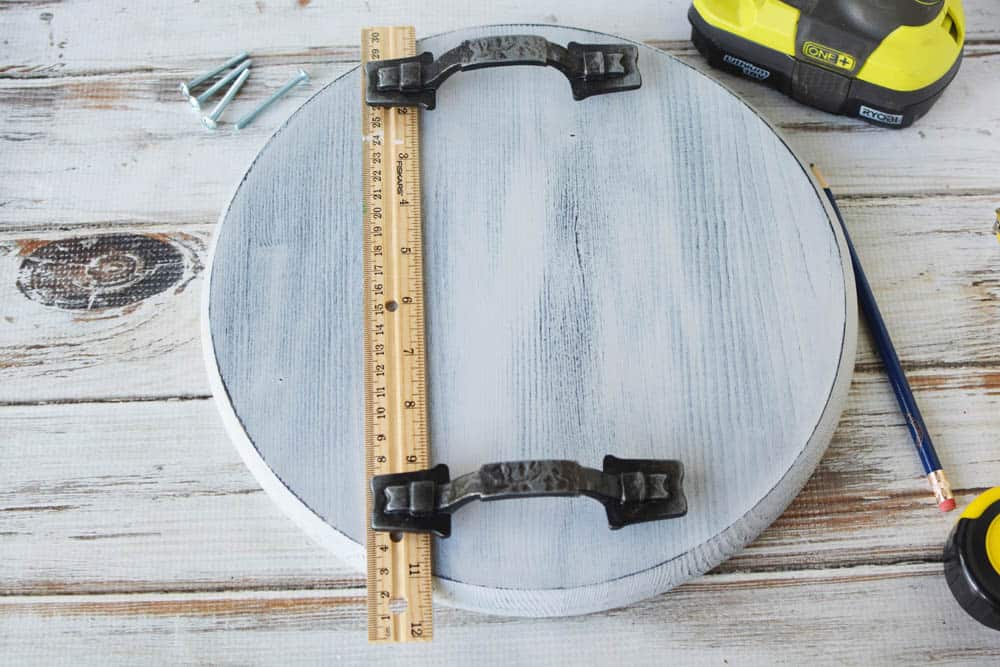
Once you have the proper screws, use a ruler or measuring tape and a pencil to measure and mark where the holes for the handles go on either side of the tray.

Then mark the distance between the holes for handle screws. These were 3″ apart.
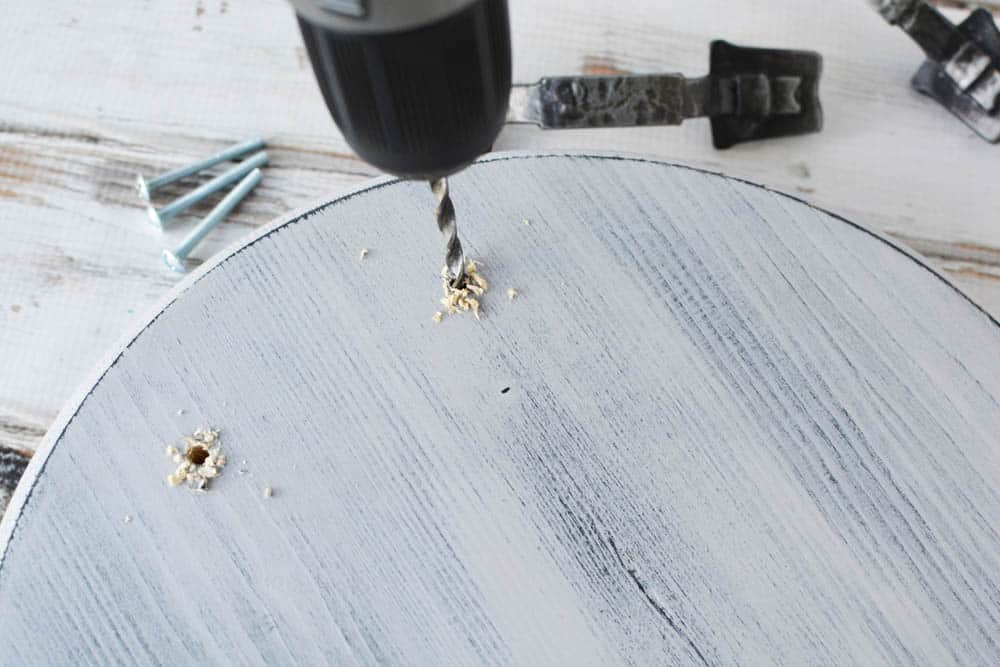
Use a drill to pre-drill into the wood on the bottom of the wood tray. We used a 3/32″ drill bit to pre-drill holes for the handle
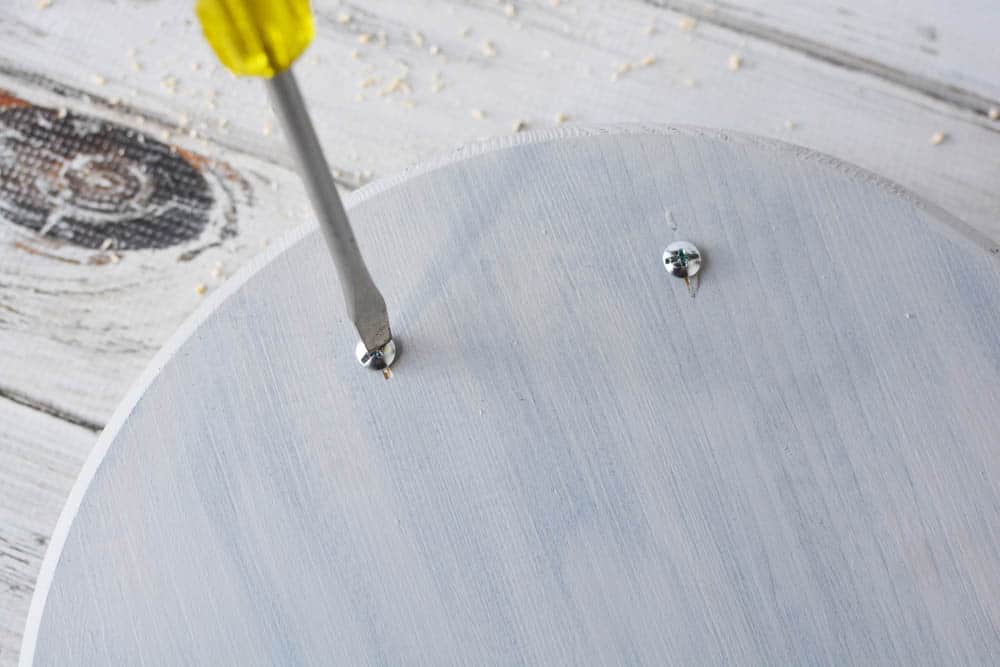
Once the holes are all drilled, attach the handles with a screw driver. Place the handles on the top and screw them on through the bottom. The screw heads should end up on the bottom of the tray.
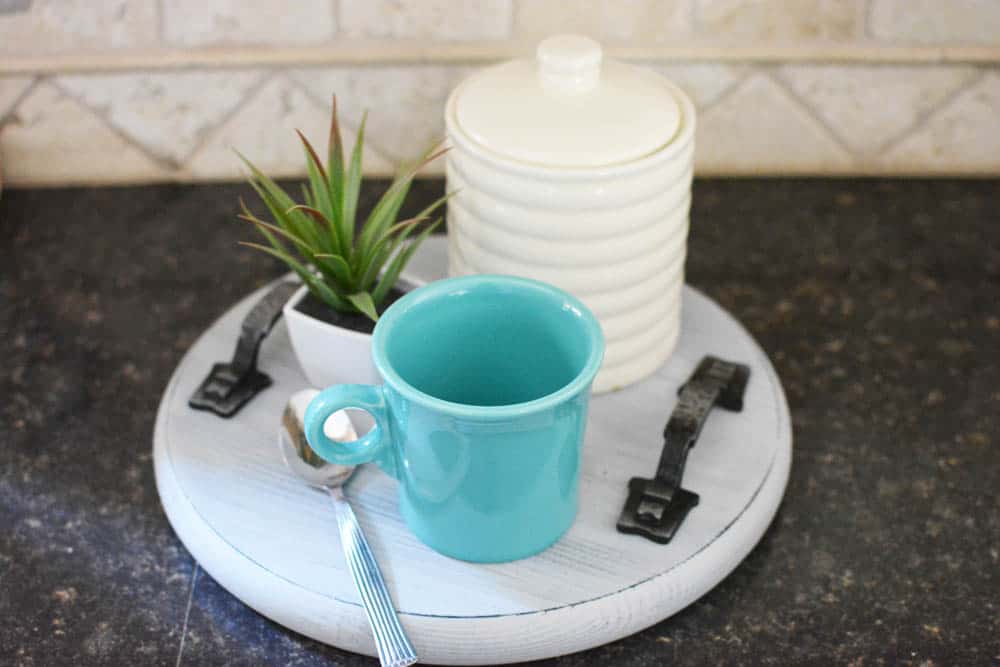
Use your wooden tray wherever you like it best – or better yet, make a few for your entire house.

DIY Distressed Wood Tray
Equipment
- 200 or 400 grit sand paper
- Foam brush
- Paint brush
- Brush for applying wax
- Dry cloth
- Lint free cloth (optional)
- Cordless Drill
- 3/32" Drill bit
- Ruler or Tape measure
Materials
- 1, 12 " diameter x 1" wood round
- Black acrylic paint
- Gray chalk paint
- Chalk Paint Wax
- 2 handles
- Cabinet handle screws
Instructions
- Use sand paper to sand the wood round. Wipe clean with a dry cloth.
- Use black acrylic paint and a foam brush to paint both sides of the wood round. Let dry completely.
- Paint over the black with chalk paint. A thin even layer works best. Let dry completely.
- Use 400 grit sand paper to gently sand the chalk paint until smooth. This is where you begin to distress the tray so you can see some of the black paint underneath. Wipe gently with a dry cloth when finished.
- Use a brush to apply wax to the tray. Let set for 24 hours to cure. If the wax is still sticky after 24 hours, wipe off gently with a lint free cloth and let set for another day until cured.
- Once the wood tray is fully cured, attach the handles to the tray. Flip the tray over so you are working on whichever side is the bottom.
- Use a ruler or measuring tape and a pencil to measure and mark where the holes for the handles go on either side of the tray.
- Mark the distance between the holes for handle screws.
- Use a drill with a 3-3/2" drill bit to pre-drill into the wood on the bottom of the wood tray.
- Once the holes are all drilled, attach the handles with a screw driver. Place the handles on the top and screw them on through the bottom. The screw heads should end up on the bottom of the tray.