
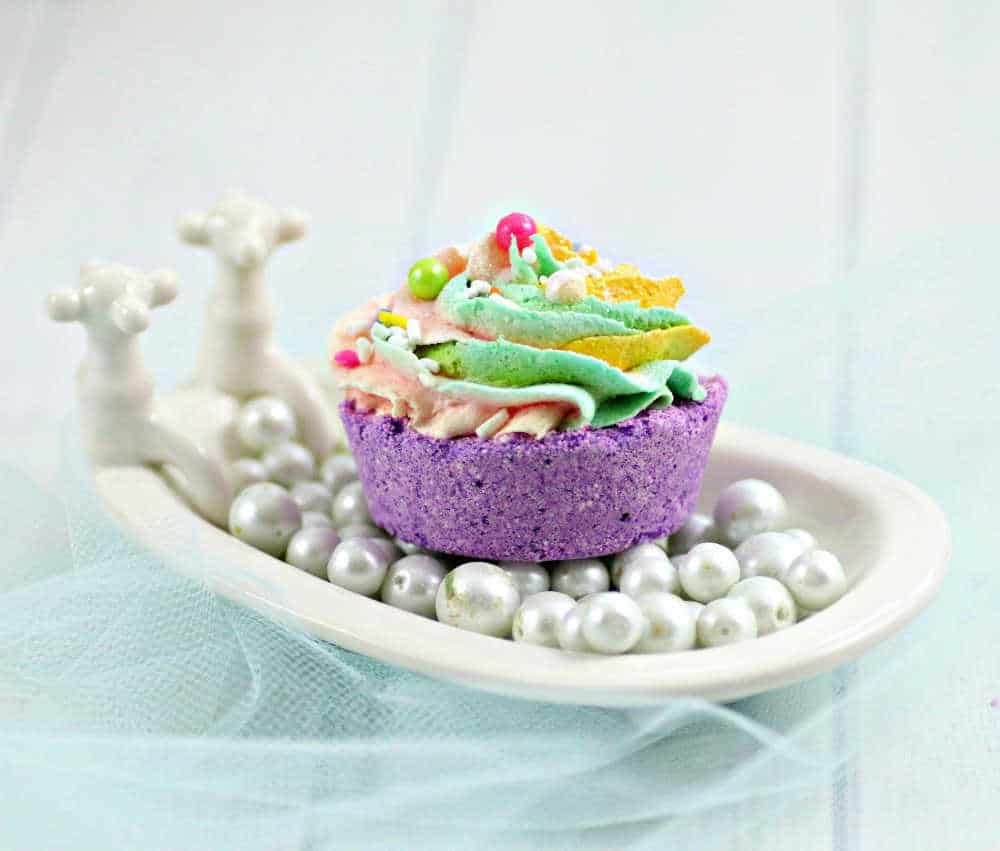
Make homemade cupcake unicorn bath bombs with a rainbow swirled frosting that can be used separately as a soap.

If you’ve been around this site for long at all, then you’ll know that I love homemade and DIY bath and beauty items. It’s so easy to make your own Homemade soaps and even DIY Coconut Milk Shampoo. Once you realize how easy, and inexpensive, it is to make these items at home, you too will be hooked.
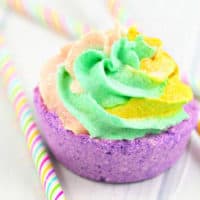
Last year I saw these cupcake bath bombs at a local retail store and fell in love. I mean, how cute are these things? That rainbow swirl frosting that’s a separate soap is about to die for. We figured out how to make them at home and it’s super easy and fun. These cupcake unicorn bath bombs make great gifts, too!
How to Make Cupcake Unicorn Bath Bombs
Gather together the Ingredients to Make Unicorn Cupcake Bath Bomb:
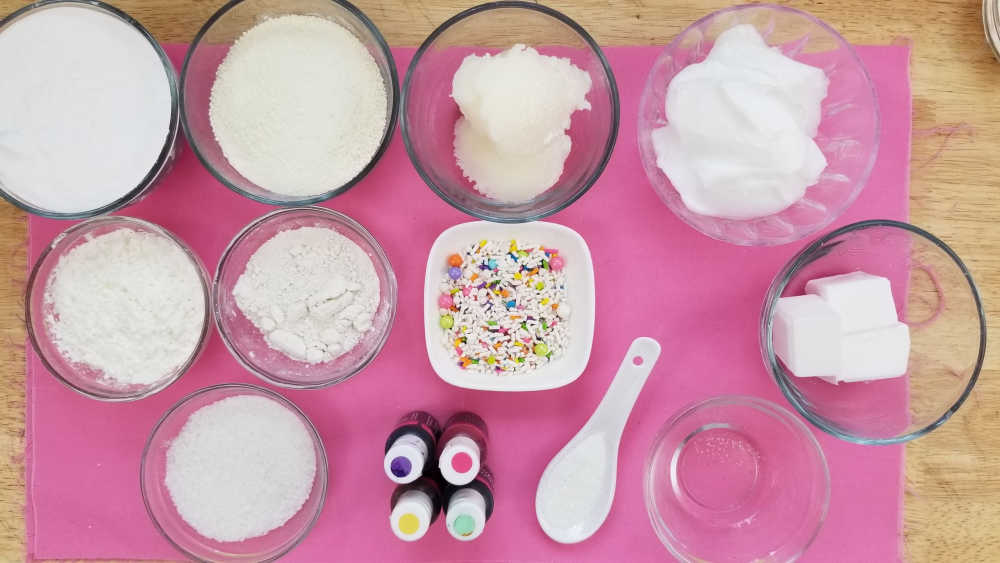
Don’t let the list of necessary supplies to make the unicorn bath bombs scare you away. You can scroll down to see them in the instructions at the bottom of this post. These are actually inexpensive to make per bath bomb. You will find that you can use the bath bomb supplies over and over for other DIY projects like All Natural Homemade Mermaid Bath Bombs or Rosemary Lavender Soap Recipe with Melt and Pour Goat’s Milk Soap. These supplies will last you many, many DIY projects.
How to Make Cupcake Bath Bombs
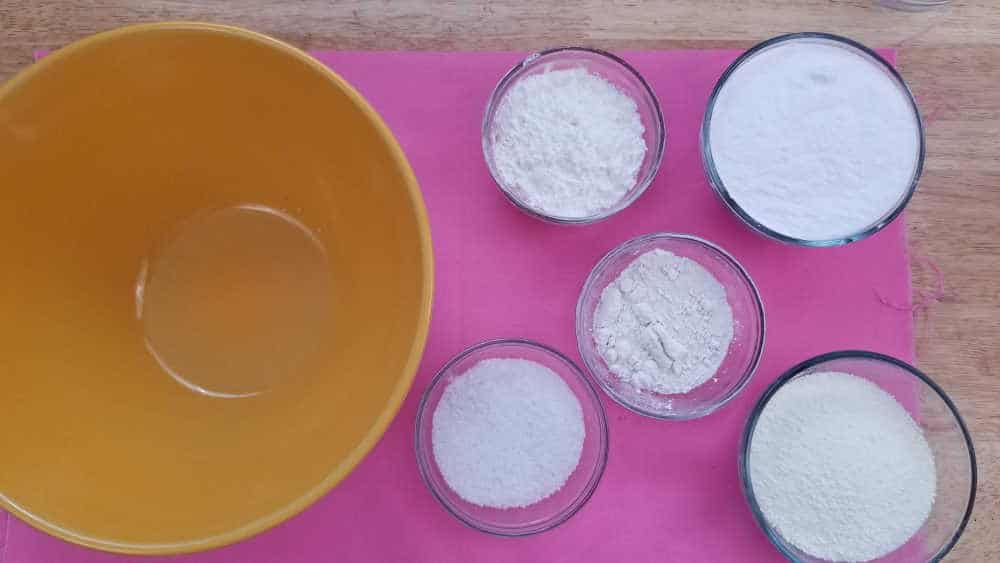
Start by mixing together all the ingredients to create bath bombs. Whisk together the baking soda, citric acid, Kaolin white clay, dead sea salts and cornstarch in a large bowl. Make sure they are well combined.
Why You Need to Use Coconut Oil and Polysorbate in Bath Bombs
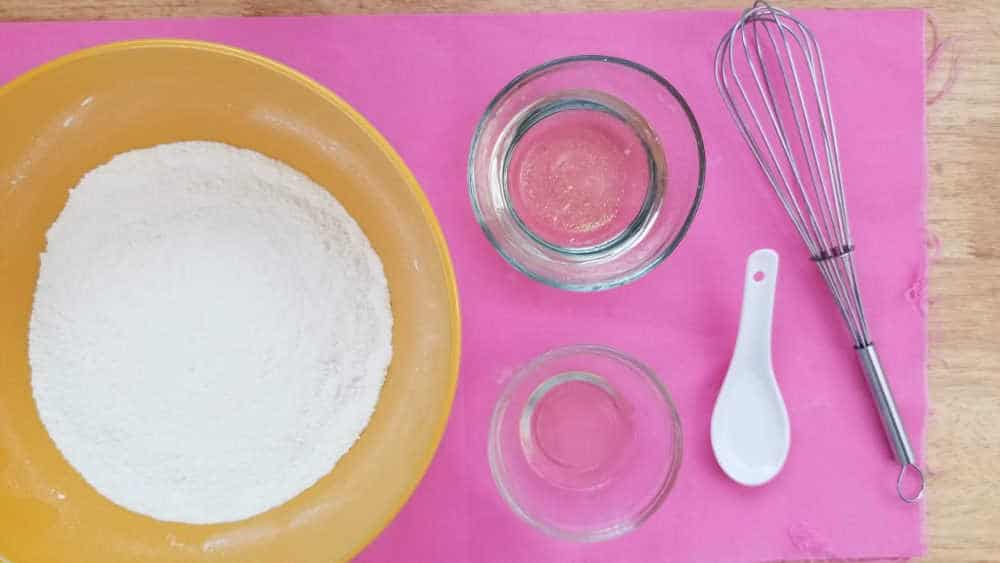
Next, stir the the coconut oil into the dry ingredients. The coconut oil binds all the ingredients together, so your bath bombs don’t crumble when you touch them. Then add the Polysorbate 80. Don’t skip the polysorbate! It helps the coconut oil disperse more evenly in your bath water, makes the bath bombs bubbly and prevents the colorant from sticking to the side of the tub.
After the oil and polysorbate, add in scented oil and mix well. You can use any skin safe scented oils you like. You may need to use your hands to break down any lumps and make sure everything is mixed in. The mixture is perfect when it holds together when you press it into your hands and feels like wet sand.
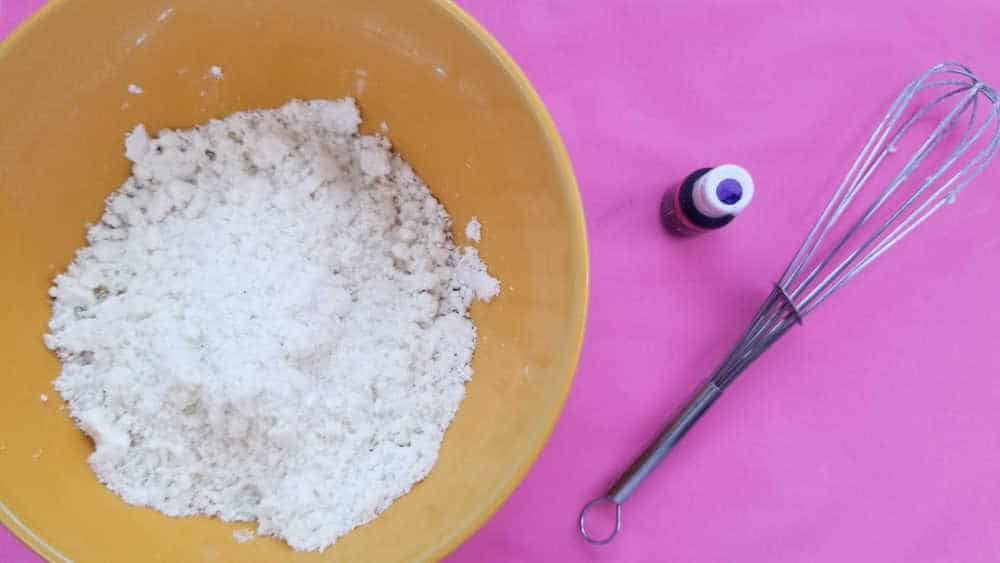
Once the oil is incorporated, you will mix in the purple colorant. Start with 1-2 drops of color and mix it in. If you want a darker color, add 1-2 more drops and repeat until you get the color you want.
Use Silicone Muffin Pans to Mold the Bath Bombs into Cupcakes
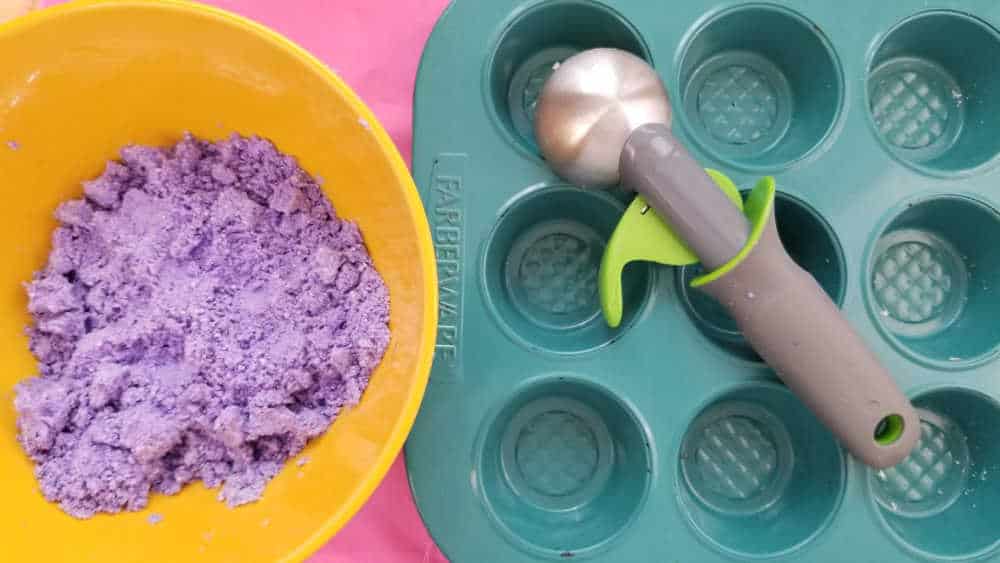
Now it’s time to make the cupcakes. Using an ice cream scoop or spoon, fill each cavity of the muffin tin or mold. Press down firmly. Add more until the cavity is filled to the top. In the photos we used a metal cupcake time. But we discovered in another batch that silicone cupcake molds are much easier to work with and recommend using them instead of the metal tins.

Allow the cupcake bath bombs to dry a minimum of 24 hours. If your climate is wet or cold, allow an additional 24 hours. The rule of thumb is that when they are nice and hard to the touch, they are ready for the frosting! To remove from a metal muffin tin, gently run a knife around the outer edge and release. If using a silicone mold, gently pop each bomb free.
How to Make Whipped Soap Frosting for Cupcake Bath Bombs:
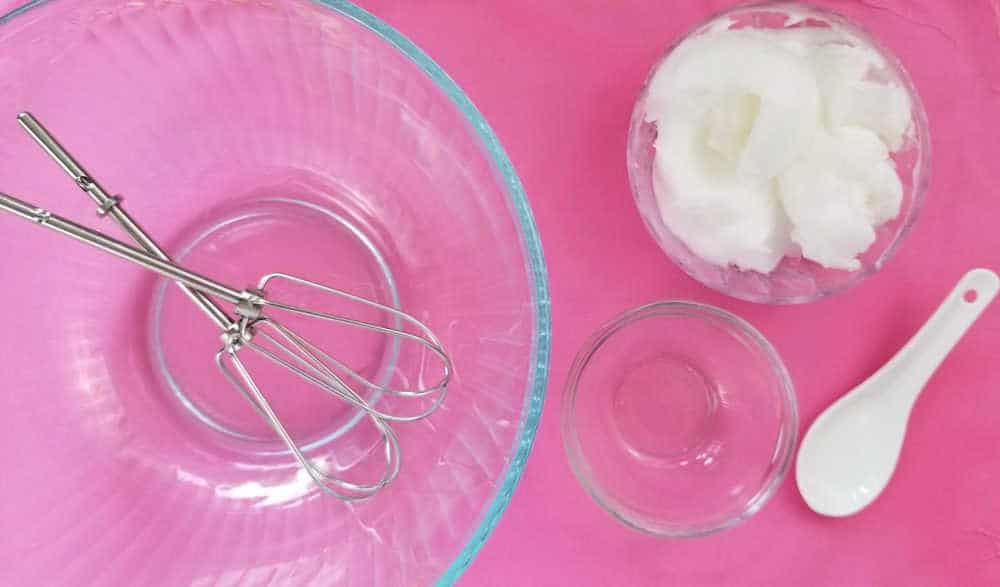
Begin to make the whipped soap frosting by adding the whipped soap base, scented oil and glycerin to a mixing bowl. Mix on low speed until fluffy, or about 1 minute.
Next, melt your soap base in microwave safe bowl in 30-second intervals, stirring after each until melted. You can also melt the soap base on low heat in a small pot on the stove top. Allow to cool for about a minute after being melted.
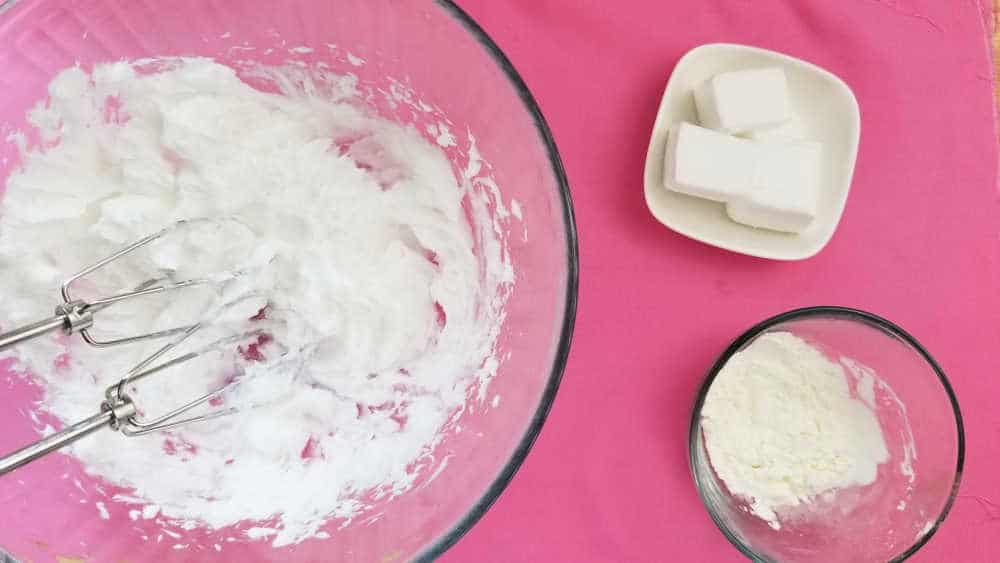
Mix together the melted soap base and cornstarch. Mix on high speed for 1 minute or until the mixture forms peaks, similar to making a meringue. If your frosting is not stiff enough, add a bit more cornstarch and mix in. Repeat until the mixture is nice and firm.
Tips for Coloring and Swirling Whipped Soap for Bath Bomb Cupcakes

Divide the whipped soap into 3 small mixing bowls. Add pink color to one bowl, yellow to another and light green to the last bowl. Start with 1-2 drops of color. If you want a darker color, add 1-2 more drops and repeat until you get the desired intensity in the colors.
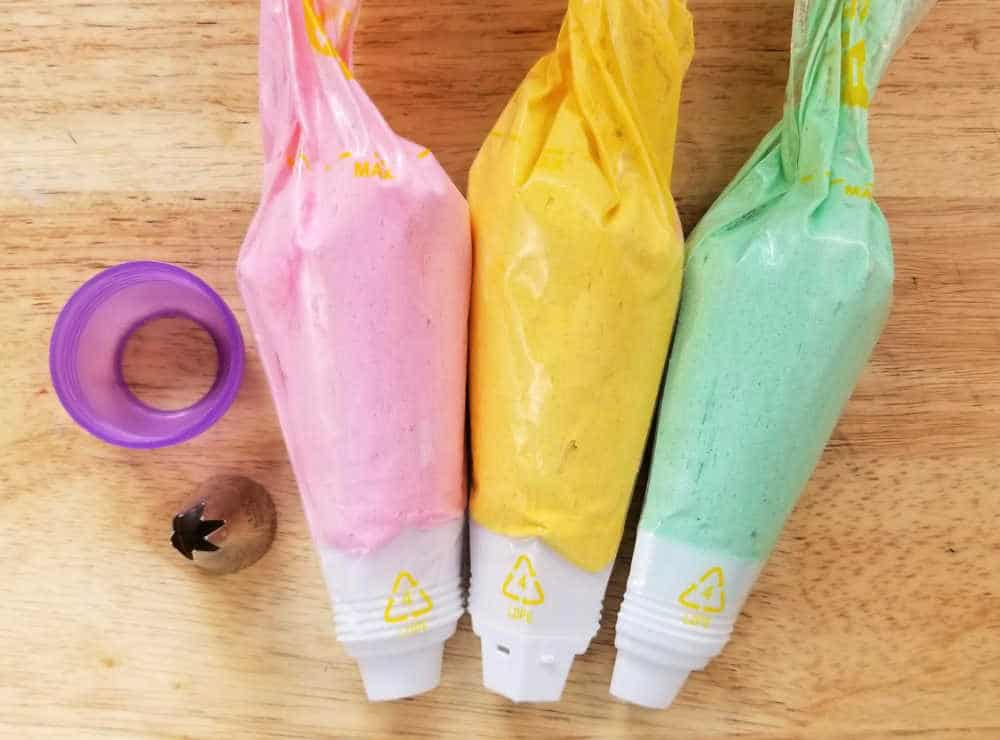
Now it’s time to frost the cupcakes. You will need a 3 color piping bag coupler in order to get the cool rainbow swirl effect. The kit will have all of the bags, tips and couplers you need to make the swirl. Start by adding one of each color frosting to each of the 3 piping bags.
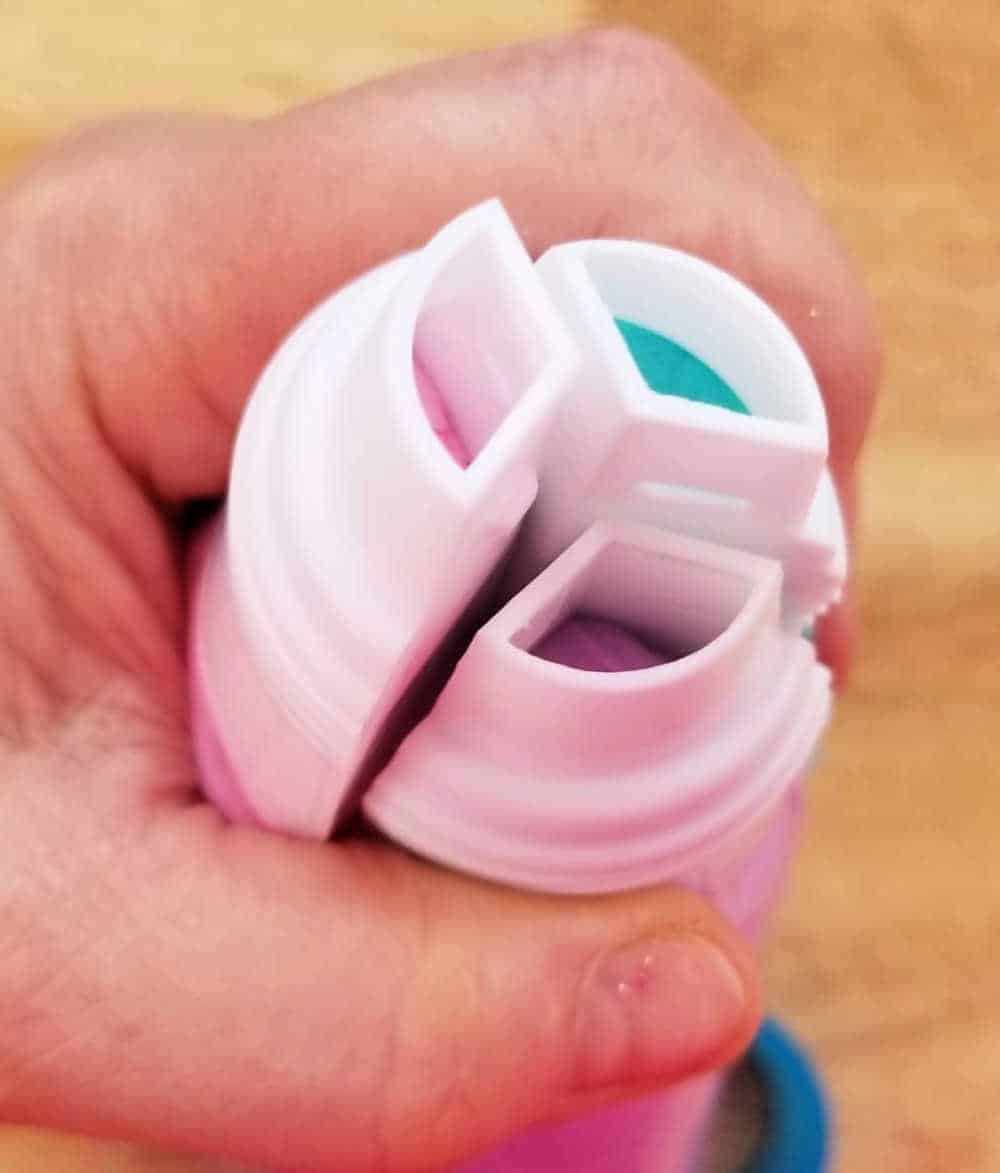
Once the bags are full of the whipped soap, hold the bags together so all sides of the tips meet. Put it all together by add frosting tip and the coupler.
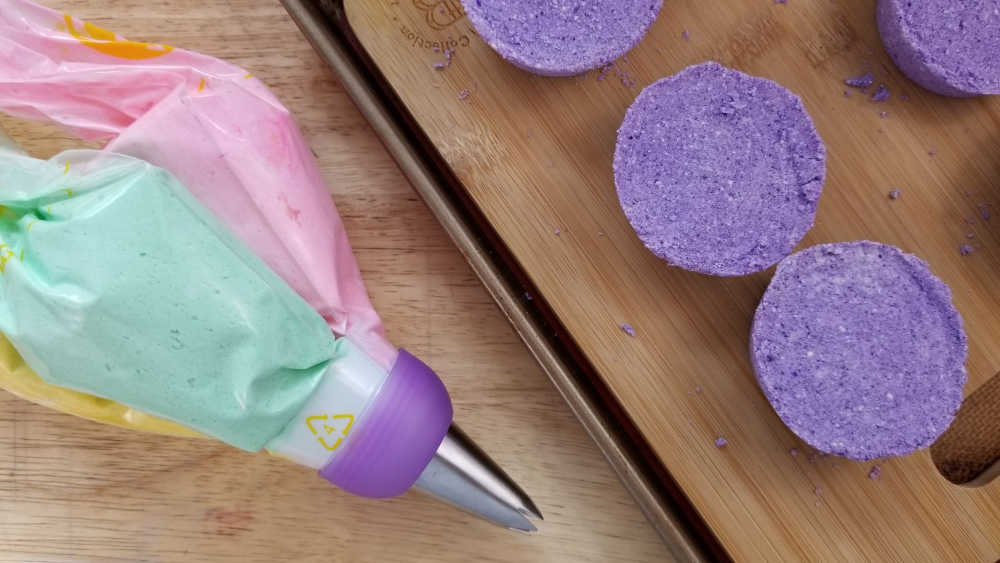
Holding all three bags tightly in your dominant hand, frost cupcake bombs as you would an edible cupcake. Add a few sprinkles if you like. These will not be harmful, especially if you only add a bit. The sugar will easily melt in your warm bath water.
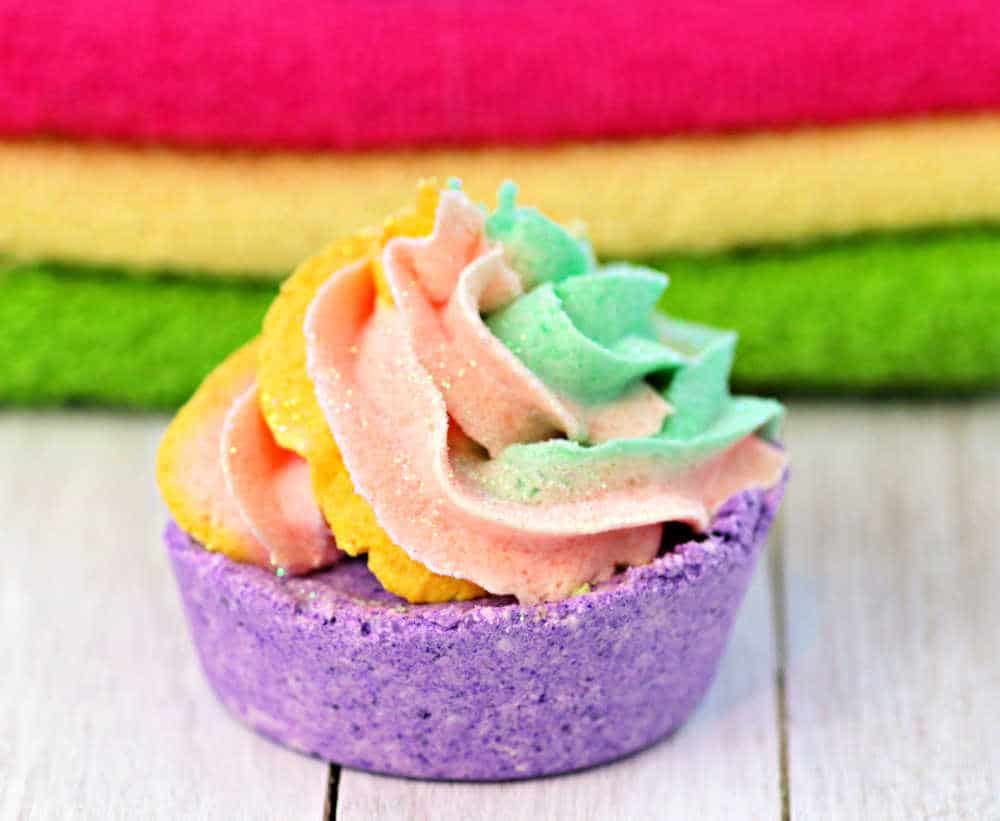
After 2-3 days, the frosting will harden enough that you can easily remove it from the cupcake and use the soap once you have enjoyed your soak in the tub with your bath bomb!
Cupcake Unicorn Bath Bombs
Equipment
- 2 Large mixing bowls
- 3 small mixing bowls
- Silicone muffin tin
- Tricolor frosting kit
Materials
For the Cupcake Bath Bombs
- 1 1/2 Cups baking soda
- 1/4 Cup White Kaolin Clay
- 1 cup citric acid
- 1/2 cup cornstarch
- 1/4 cup dead sea salts
- 1/4 cup coconut oil
- 2 teaspoons polysorbate 80
- 1-2 drops essential oil
- 2-3 drops purple food colorant
- Unicorn Sprinkles
- Spray bottle of rubbing alcohol
For Whipped Soap Topping
- 1/4 cup white or clear pour and melt soap base
- 1 Tablespoon glycerin
- 1 Tablespoon corn starch
- 3/4 cup whipped soap base
- 2/3 drops each of pink yellow, and light green soap colorant
Instructions
To Make the Bath Bombs:
- Whisk together the baking soda, citric acid, Kaolin white clay, dead sea salts and cornstarch in a large bowl. Make sure they are well combined.
- Stir the the coconut oil into the dry ingredients until combined then stir in the Polysorbate 80.
- Add in scented oil and mix well. You can use any skin safe scented oils you like. You may need to use your hands to break down any lumps and make sure everything is mixed in. The mixture is perfect when it holds together when you press it into your hands and feels like wet sand.
- Mix in the purple colorant. Start with 1-2 drops of color and mix it in. If you want a darker color, add 1-2 more drops and repeat until you get the color you want.
- Using an ice cream scoop or spoon, fill each cavity of the muffin tin or mold. Press down firmly. Add more until the cavity is filled to the top.
- Allow the cupcake bath bombs to dry a minimum of 24 hours. If your climate is wet or cold, allow an additional 24 hours. The rule of thumb is that when they are nice and hard to the touch, they are ready for the frosting!
- To remove from a metal muffin tin, gently run a knife around the outer edge and release. If using a silicone mold, gently pop each bomb free.
To Make the Whipped Frosting:
- Add the whipped soap base, scented oil and glycerin to a mixing bowl. Mix on low speed until fluffy, or about 1 minute.
- Melt soap base in microwave safe bowl in 30-second intervals, stirring after each until melted. You can also melt the soap base on low heat in a small pot on the stove top. Allow to cool for about a minute after being melted.
- Mix together the melted soap base and cornstarch. Mix on high speed for 1 minute or until the mixture forms peaks, similar to making a meringue. If frosting is not stiff enough, add a bit more cornstarch and mix in. Repeat until the mixture is nice and firm.
- Divide the whipped soap into 3 small mixing bowls. Add pink color to one bowl, yellow to another and light green to the last bowl. Start with 1-2 drops of color. If you want a darker color, add 1-2 more drops and repeat until you get the desired intensity in the colors.
- Fill the piping bags by adding one of each color frosting to each of the 3 piping bags. Once the bags are full of the whipped soap, hold the bags together so all sides of the tips meet. Put it all together by add frosting tip and the coupler.
- Holding all three bags tightly in your dominant hand, frost cupcake bombs as you would an edible cupcake. Add a few sprinkles if you like.
- Allow the cupcakes to sit for 2-3 days. The frosting will harden enough that you can easily remove it from the cupcake and use the soap once you have enjoyed your soak in the tub with your bath bomb!