Diffuse your favorite essential oil wherever you go with a homemade essential oil diffuser necklace. We tried two different types of clay and found the perfect one to make your essential oil clay necklaces.
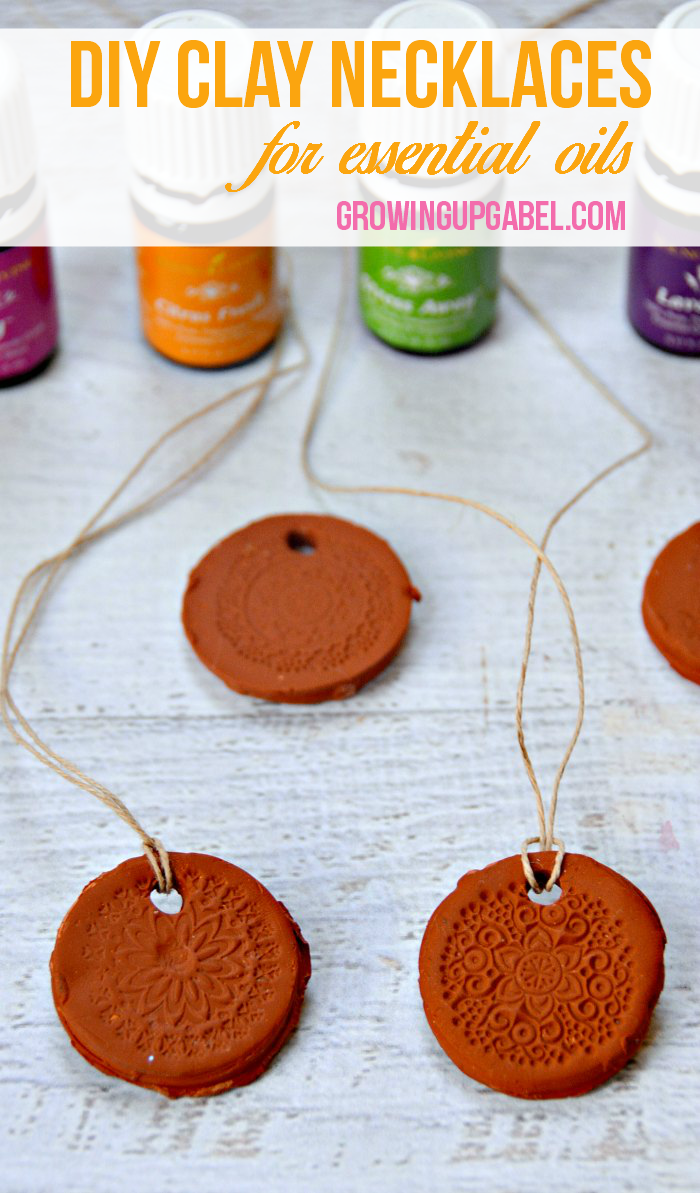
Unfortunately, you can’t take an essential oil diffuser with you. A diffuser necklace is a great way to take your essential oils on the go.
How to Make Clay Essential Oil Diffuser Necklace
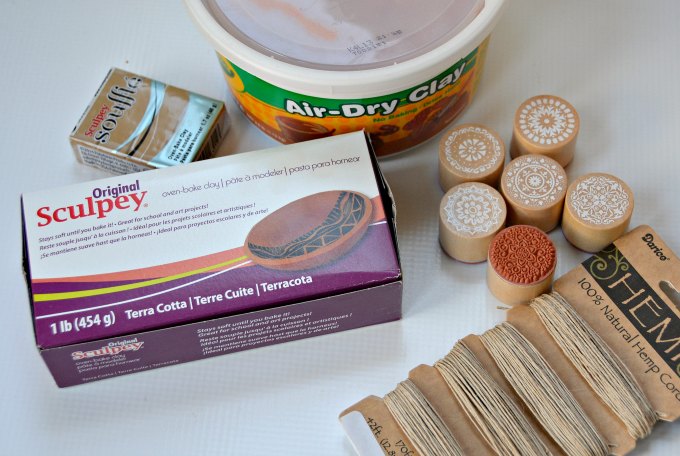
The supplies to make clay necklaces are pretty inexpensive. You’ll need clay (either air dry or oven bake see our suggestions below), hemp cord, and decorative stamps if you want them. We used the plastic top to a 1-gallon water bottle to cut our clay disks out.
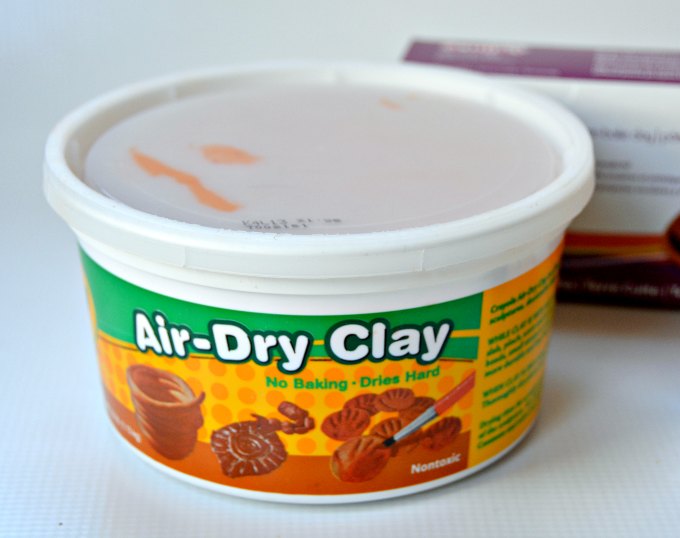
DIY clay essential oil necklaces are generally made with one of two different types of clay – either air dry clay or oven-bake clay. We tried both and there are pros and cons to each. You can choose the one that will work best for you.
Essential Oil Necklace made with Air Dry Clay
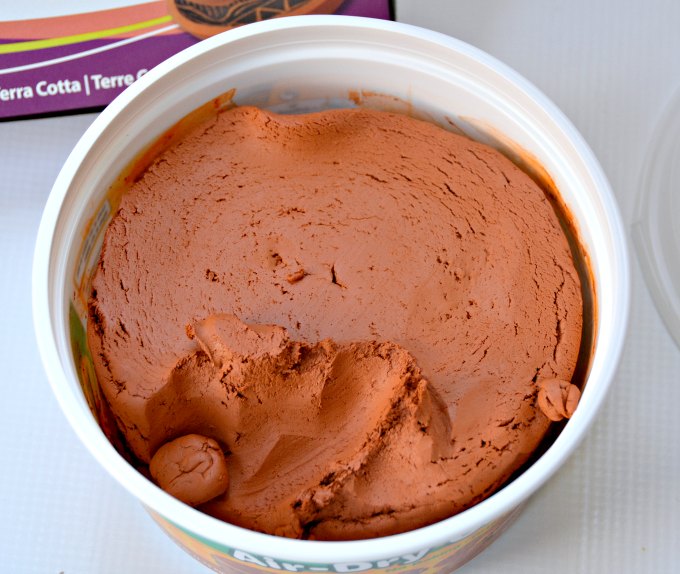
The quickest and easiest way to make a clay necklace is to use air-dry clay. The Air Dry clay was very sticky and wet and was somewhat difficult it was to work with. My daughter and I had a hard time getting the clay up off the placemats we were using to roll out the clay discs.
The air-dry clay is also was very messy and stained everything red (most of it washed out but not all). Scroll down to see how a video on how we made the necklaces. Once you have the disks cut out and decorated, they just sit out for a few days to dry out.
Essential Oil Necklace made with Oven Bake Clay
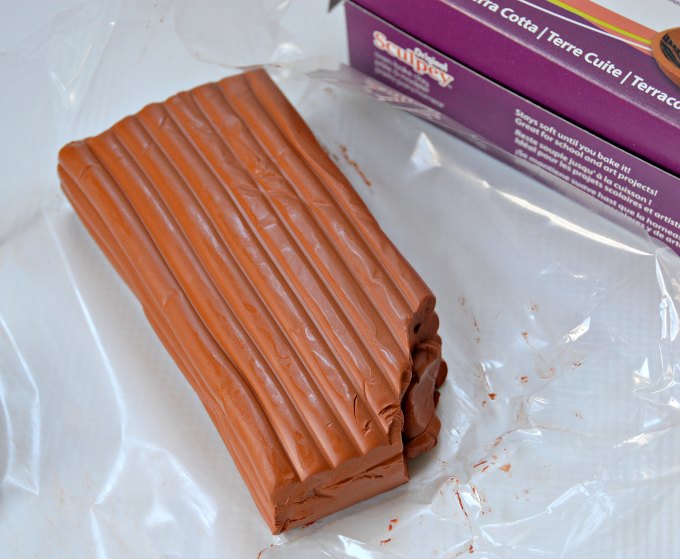
Next we tried Sculpey clay, which is an oven bake clay. The Sculpey was much easier to work with. It was way less sticky. In fact, it starts out a little stiff so we had to work it in our hands a bit to get it soft enough to roll out. The Sculpey clay bakes at 275 degrees and our clay necklaces only took 15 minutes so they are actually faster to make than the air dry clay.
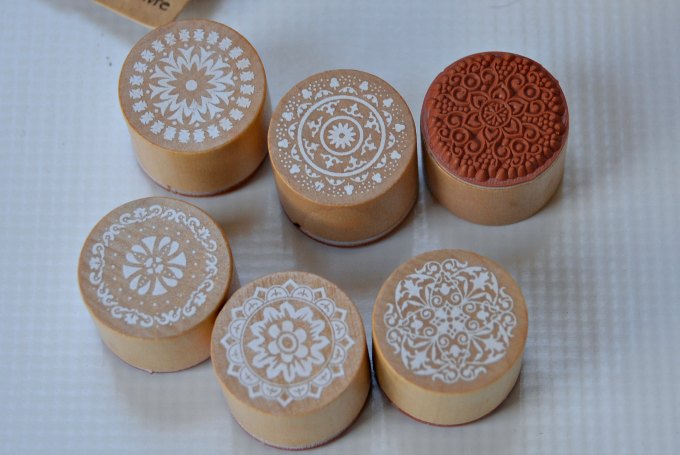
I bought these round wooden floral stamps to decorate our clay necklaces. Stamp the clay BEFORE it dries. They worked great! I think that any rubber stamp would work. We used a straw to push out a small hole for the hemp cord to wear them with. Again, see the video below for a little tutorial on how to make them.
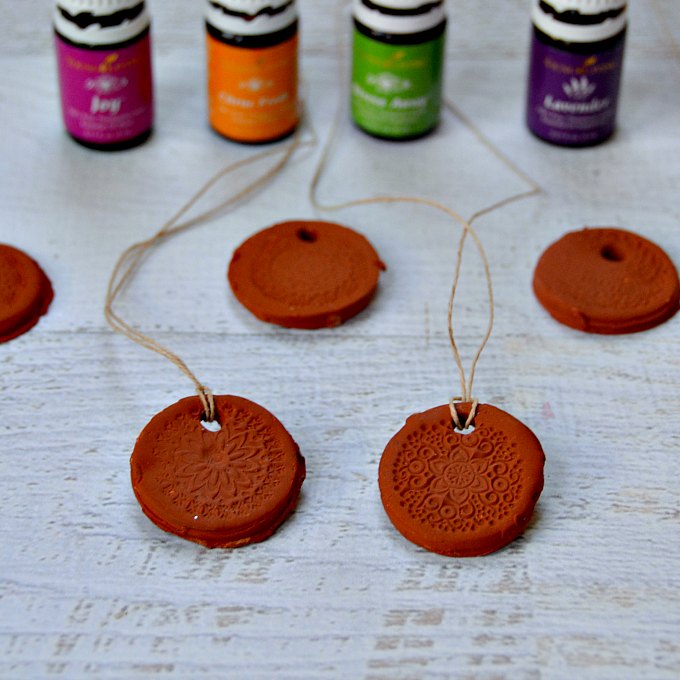
One of the things I loved most about this little craft is that it was easy enough for my daughter to do on her own. In fact, she insisted we make a video showing how to make the clay necklaces. Check it out!
The Best Clay for Your Essential Oil Necklace
I had read that the Air Dry clay necklaces do a better job of absorbing the essential oils and I found that to be true. But they also crumble very easily. We lost a few within a day.
The clay necklaces made with the Sculpey clay didn’t really absorb the oils. I had to rub the oil in, but I could still smell it on the disk. The clay necklaces made with the Sculpey seem to be more durable as well. We haven’t lost one yet.
We will probably be sticking to the Sculpey clay (and trying out some more colors) for making more clay necklaces for essential oils.
Love love love this idea!!!
Have you experimented with Paperclay? If so, what were your findings regarding scent retaining?
No I haven’t tried that!
I used the sculpey soufflé and found the oils do not soak in well at all , which is what led me to search the Internet and locate your site here. I tried sanding a little to see if I can improve the acceptance of oils. Did you sand at all? I was wondering if the different scupper clays differ at all with accepting oils. I will keep searching
I know this is an old post, but I use Das Modeling Clay. It’s air dry and works great. I’ve dropped my pendant designs several times (issues with my hands) and they’ve never broken or cracked. Just an idea for those still coming across your article! Thank you!
Thanks for sharing! I noticed that Crayola has discontinued the terra cotta color of the air dry clay and it was on my to do list to find another alternative. Great to know that the Das works.
What a fun idea this is!! I might want to hang one from my car mirror!! Sorry I didn’t get a chance to comment right after you posted to Throwback Thursday last week,
Mollie
Oooooh! GREAT idea!
Sounds odd but would mixing both air dry with bake clay to get the best of both but let them air dry? Would that work?
I’m not sure on that!
I love Sculpey clay. I have never tried their air dry clay yet. Such a fun DIY / craft project. Thanks for sharing with us at the Inspiration Spotlight party. Pinned & shared. See you again soon.
Great tutorial and such a good idea! What a wonderful way to take your essential oils with you on the go!
Thanks for sharing at the Ladies Collective Linkup this week!
Stephanie @ Mommyzoid
I absolutely LOVE you website design! Adorable. And i love this tutorial, I am going to have to give it a try. I actually got clay on clearance the other day and have no plans for it yet, so this is perfect! Thanks for posting!
Thanks, Gabrielle! I love it too! Have fun with the clay!
I think my granddaughter would really enjoy making these! Thanks for sharing your idea!
Have fun!
We love using oils in our house for so many things. I have always wanted to make our own clay necklaces to bring oils out of the house with us, but wasn’t sure what clay would be best, thanks for sharing your experience with us now I know what is the best to use. Sharing with my followers. Thanks for sharing over on Inspire Me Monday. I hope you have a wonderful week!!
I was interested to learn about which necklace “held on” to the essential oil scent better. And I just love those decorative stamps!
Hahaha! She is so adorable! Her concept of time on making the hole for the cord was too funny. 1 minute or so, or 20 seconds, but I spin the straw to make it 10 seconds! 🙂
This is a great project I cant wait to try!
It was close! LOL She LOVES to do video so I couldn’t resist letting her make one.
i love these ideas, but I have a question, may seem silly, but when/where do you add the oil and how much?
We added the oils after they dried/baked. Just a drop or two. Allow it to absorb in.
Thanks for sharing both ways! This is a great tutorial, and I love how easy it seems to make these pretty necklaces. <3
We’re still making them! My kids love sitting and creating them.
These are a great idea! I don’t think I’d use a necklace most of the time, but I can think of some specific times when it would be helpful to have the necklace. We already have some sculptey in the school closet, so woohoo. The stamp idea is genious, I was wondering how you got that pretty design.
Yeah, I don’t think I’d wear this on a regular basis, but some days, I just want to take my oils with me. Sculpey is too fun! I can’t believe I haven’t tried it before now.
I made them smaller to hang off the car mirror or to hang on the Christmas tree (with pine scent). We also made some without holes to tuck into drawers. They were well received and we’ve had them for years. We used the air dry clay, but a different brand than Crayola.
I’m so glad you did both and listed the pros and cons, I’ve seen this done both ways and wondered, thanks for sharing your results. I suppose the best would be actual terracotta but since most of us don’t have a kiln laying around this is a great alternative!
Yes, if you’ve got a kiln, I’d think that would work best. We are a few weeks out and the air dry are not holding up well. The Sculpey are so far holding their own.
Thanks for the tutorial and pros and cons. Worth a try.