
Diffuse your favorite essential oil wherever you go with a homemade essential oil diffuser necklace. We tried two different types of clay and found the perfect one to make your essential oil clay necklaces.
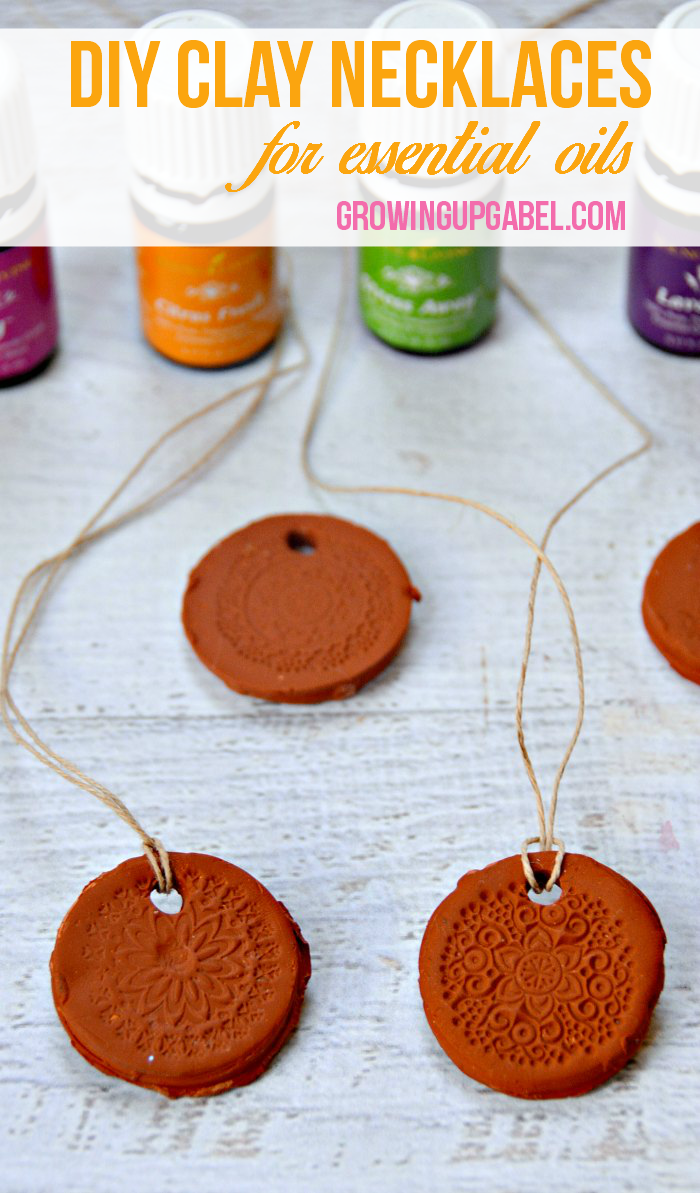
Unfortunately, you can’t take an essential oil diffuser with you. A diffuser necklace is a great way to take your essential oils on the go.
How to Make Clay Essential Oil Diffuser Necklace
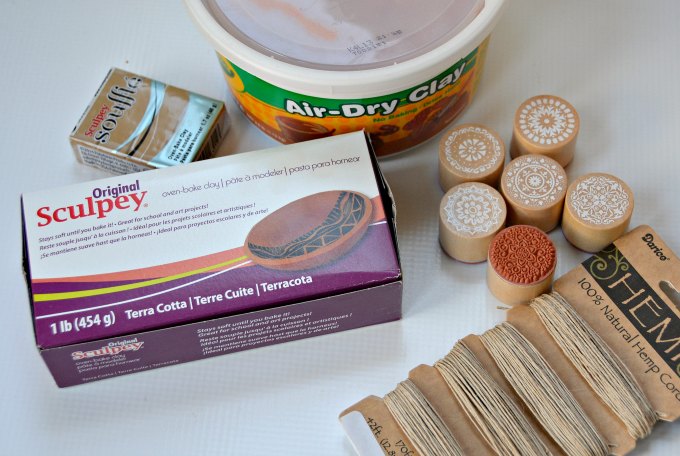
The supplies to make clay necklaces are pretty inexpensive. You’ll need clay (either air dry or oven bake see our suggestions below), hemp cord, and decorative stamps if you want them. We used the plastic top to a 1-gallon water bottle to cut our clay disks out.

DIY clay essential oil necklaces are generally made with one of two different types of clay – either air dry clay or oven-bake clay. We tried both and there are pros and cons to each. You can choose the one that will work best for you.
Essential Oil Necklace made with Air Dry Clay
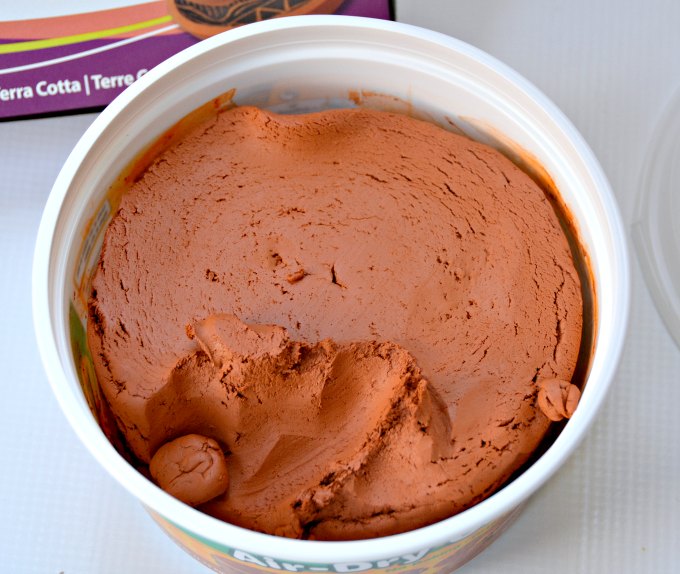
The quickest and easiest way to make a clay necklace is to use air-dry clay. The Air Dry clay was very sticky and wet and was somewhat difficult it was to work with. My daughter and I had a hard time getting the clay up off the placemats we were using to roll out the clay discs.
The air-dry clay is also was very messy and stained everything red (most of it washed out but not all). Scroll down to see how a video on how we made the necklaces. Once you have the disks cut out and decorated, they just sit out for a few days to dry out.
Essential Oil Necklace made with Oven Bake Clay
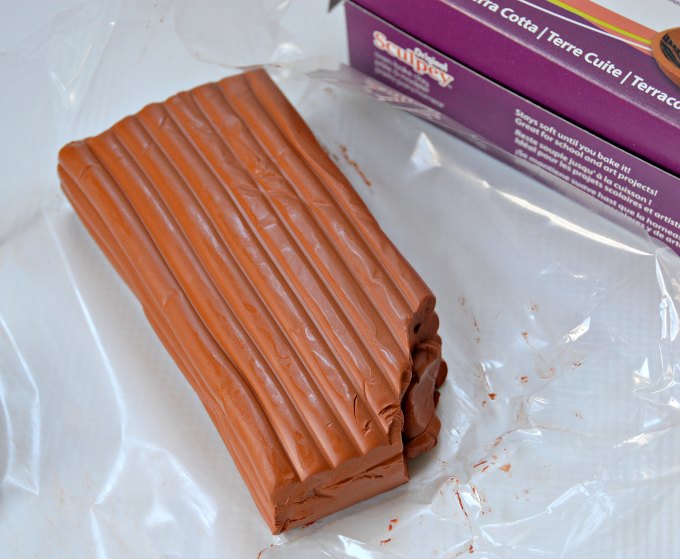
Next we tried Sculpey clay, which is an oven bake clay. The Sculpey was much easier to work with. It was way less sticky. In fact, it starts out a little stiff so we had to work it in our hands a bit to get it soft enough to roll out. The Sculpey clay bakes at 275 degrees and our clay necklaces only took 15 minutes so they are actually faster to make than the air dry clay.
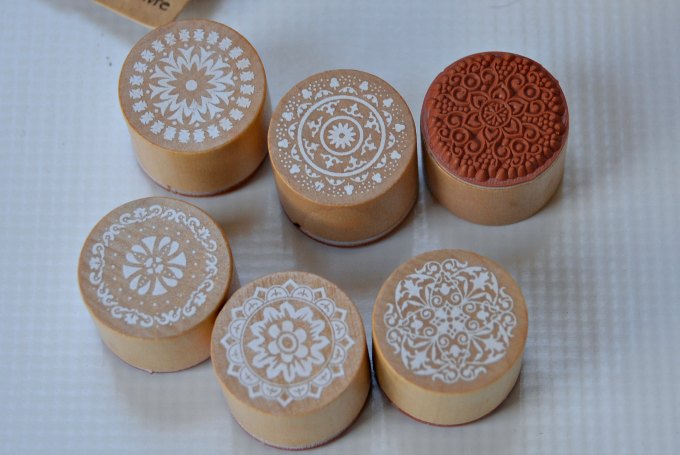
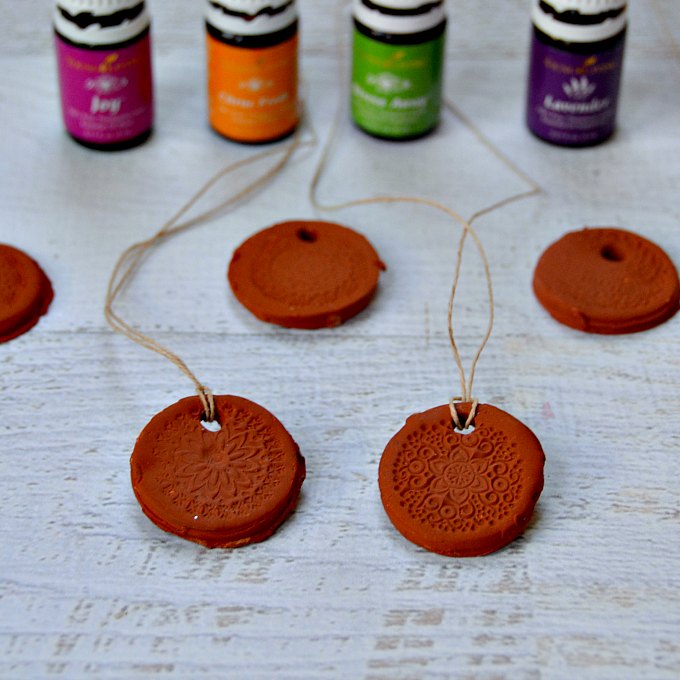
I bought these round wooden floral stamps to decorate our clay necklaces. Stamp the clay BEFORE it dries. They worked great! I think that any rubber stamp would work. We used a straw to push out a small hole for the hemp cord to wear them with. Again, see the video below for a little tutorial on how to make them.
One of the things I loved most about this little craft is that it was easy enough for my daughter to do on her own. In fact, she insisted we make a video showing how to make the clay necklaces. Check it out!
The Best Clay for Your Essential Oil Necklace
I had read that the Air Dry clay necklaces do a better job of absorbing the essential oils and I found that to be true. But they also crumble very easily. We lost a few within a day.
The clay necklaces made with the Sculpey clay didn’t really absorb the oils. I had to rub the oil in, but I could still smell it on the disk. The clay necklaces made with the Sculpey seem to be more durable as well. We haven’t lost one yet.
We will probably be sticking to the Sculpey clay (and trying out some more colors) for making more clay necklaces for essential oils.